Einführung
Thank you for choosing the Lexip Tsume Kakashi Kamui Naruto Shippuden Controller. This high-performance gaming controller is designed to enhance your gaming experience with its unique design and advanced features. This manual provides essential information for setting up, operating, and maintaining your controller.
Packungsinhalt
Bitte prüfen Sie das Paket auf folgende Artikel:
- Lexip Tsume Kakashi Kamui Naruto Shippuden Controller
- USB-Lade- / Datenkabel
- Benutzerhandbuch (dieses Dokument)
Controller-Layout
Familiarize yourself with the various components of your controller.

Abbildung 1: Front view des Controllers, showcasing the limited edition design inspired by Naruto Shippuden.
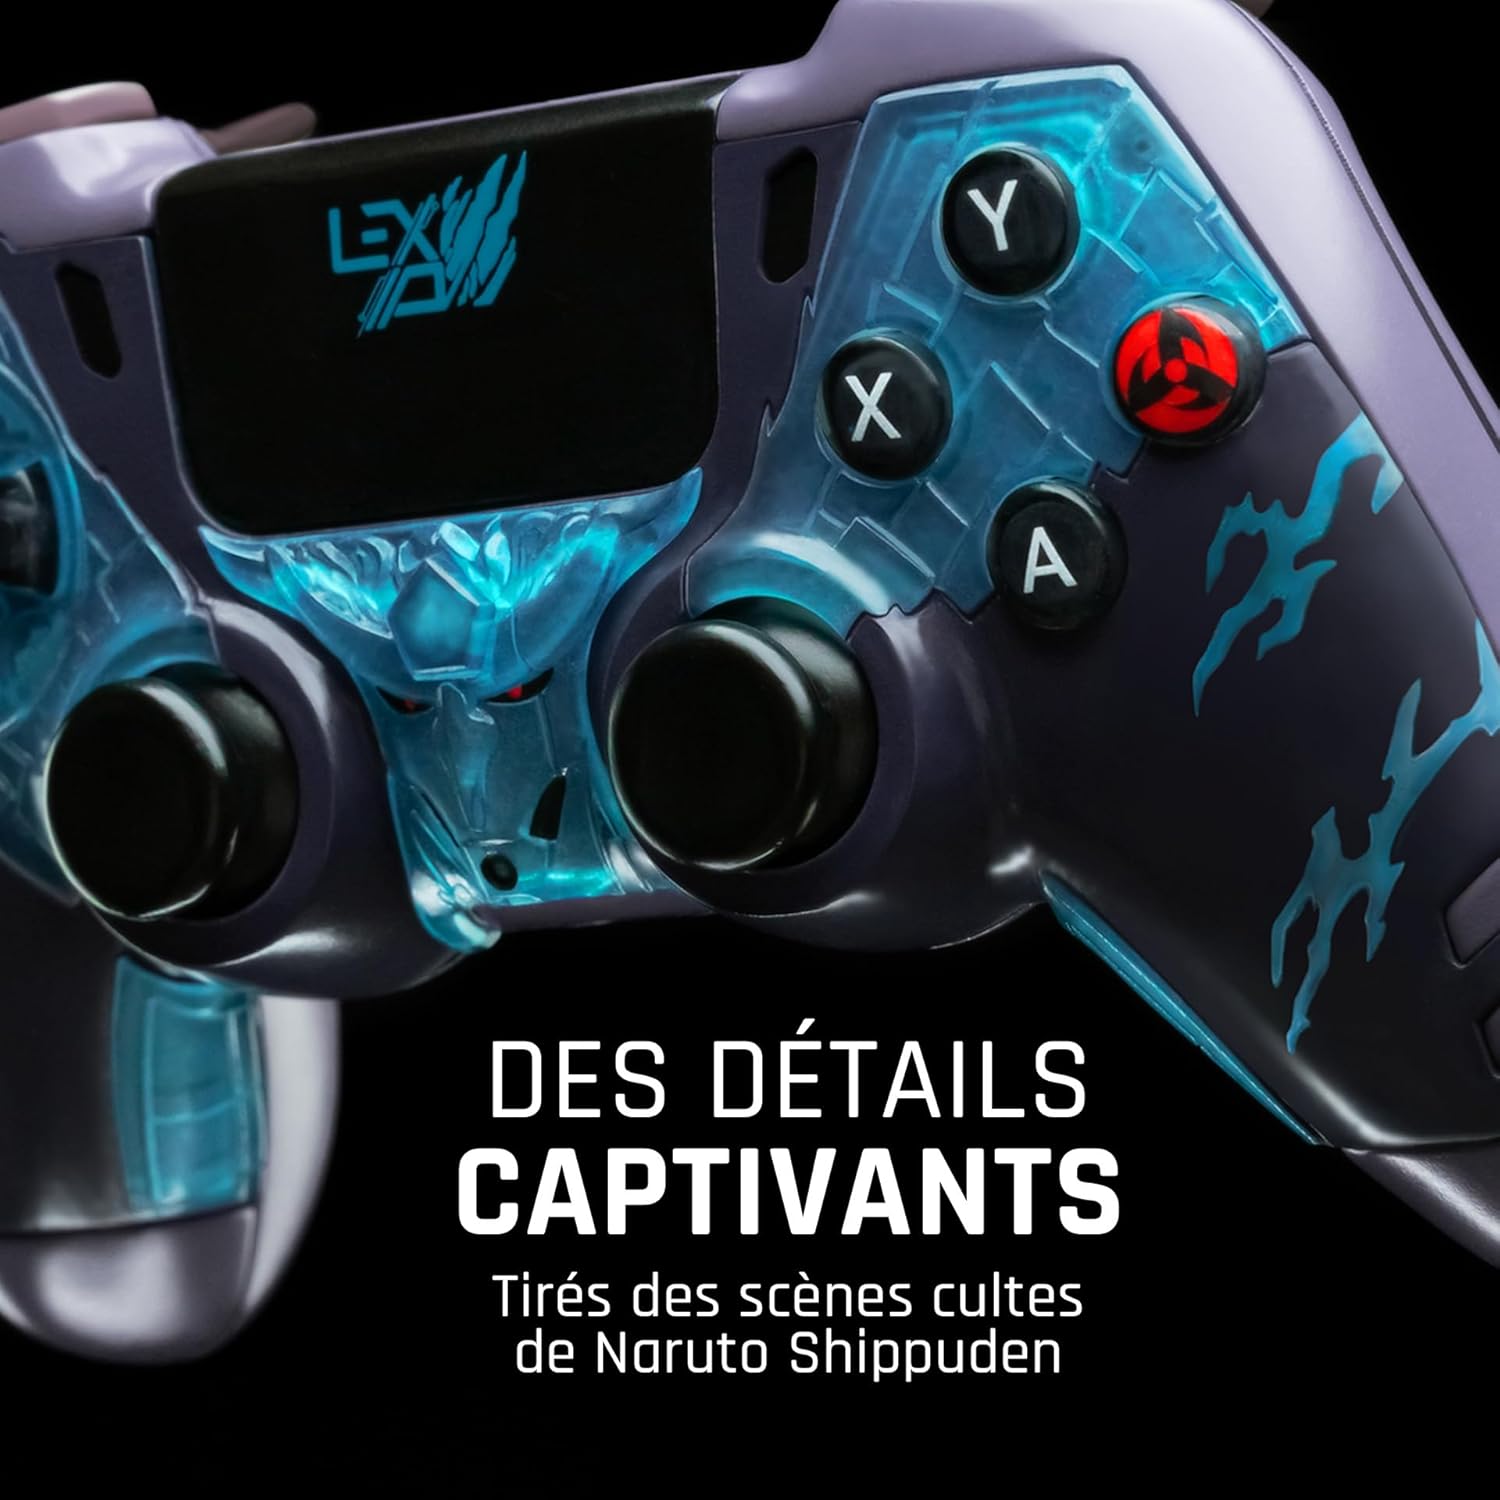
Abbildung 2: Detaillierte view of the controller's face buttons and analog sticks, highlighting the intricate Naruto Shippuden design elements.

Abbildung 3: Hinteren view of the controller, illustrating the placement of the programmable paddles (M1, M2, M3) for enhanced gameplay.
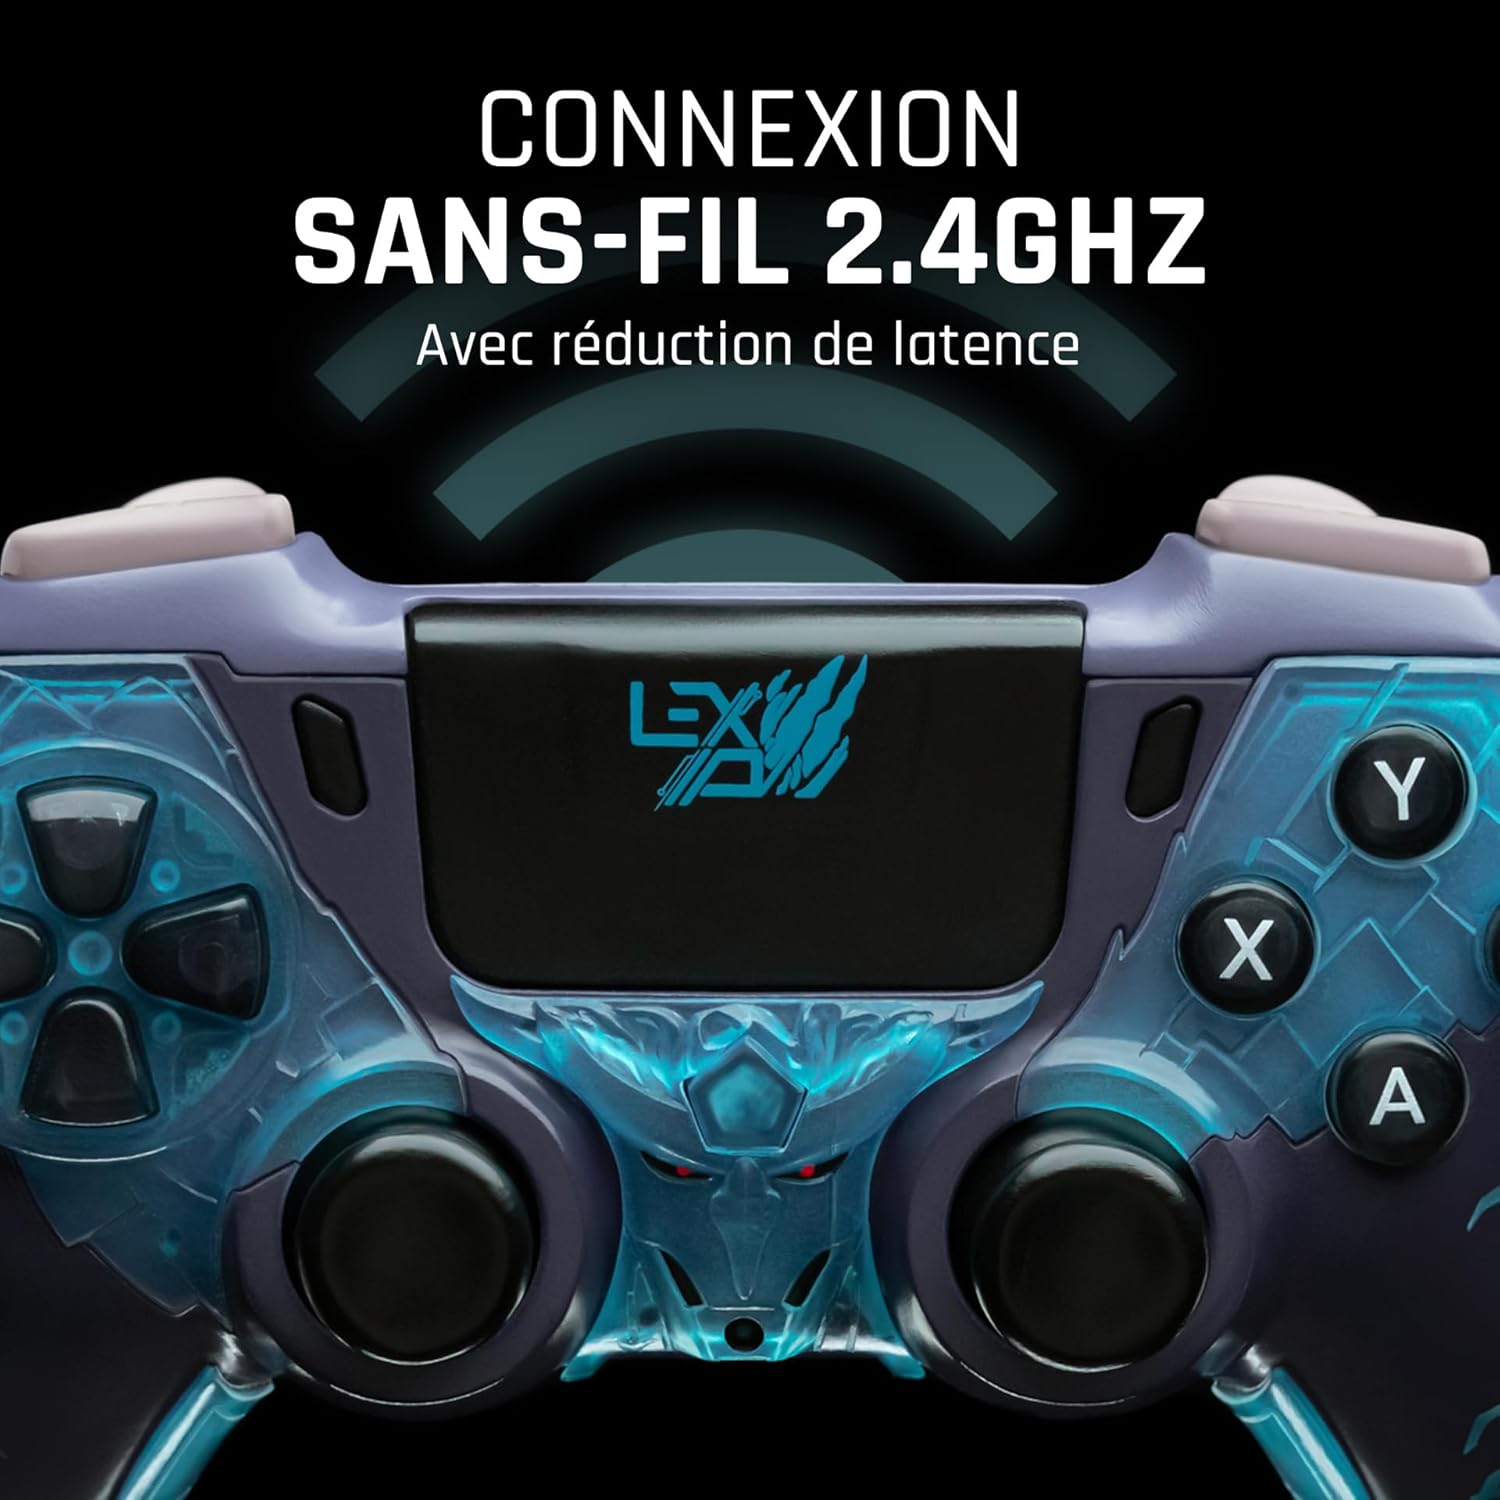
Abbildung 4: Front view of the controller, indicating its 2.4GHz wireless connection capability for reduced latency.
Schlüsselkomponenten:
- Analogsticks: Two high-precision analog sticks for movement and camera control.
- Steuerkreuz: Richtungssteuerkreuz für präzise Eingaben.
- Tasten auf der Vorderseite (A, B, X, Y): Standard-Aktionsschaltflächen.
- Schultertasten (L1, R1) & Trigger (L2, R2): Für verschiedene Aktionen im Spiel.
- Programmable Paddles (M1, M2, M3): Located on the rear for custom button assignments.
- Home "Button: Für den Zugriff auf das Systemmenü.
- Share/Options Buttons: For in-game menu and sharing functions.
- USB-C-Anschluss: Zum Laden und für kabelgebundene Verbindungen.
Aufstellen
1. Erstes Aufladen
Before first use, fully charge the controller. Connect the supplied USB cable to the controller's USB-C port and the other end to a powered USB port (e.g., console, PC, or USB wall adapter). The charging indicator will show the charging status and turn off when fully charged.
2. Drahtlose Verbindung (2.4 GHz)
- Insert the 2.4GHz wireless dongle (if included, typically found in the controller's packaging or a dedicated slot) into an available USB port on your gaming console or PC.
- Schalten Sie den Controller durch Drücken der Home-Taste ein.
- The controller will automatically attempt to pair with the dongle. The indicator light on the controller will stop flashing and remain solid once connected.
3. Connecting via USB Cable
To use the controller in wired mode or if wireless connection is not desired:
- Connect the USB cable to the controller's USB-C port.
- Connect the other end of the USB cable to an available USB port on your gaming console or PC.
- The controller will be recognized as a wired device and is ready for use.
Bedienungsanleitung
Ein-/Ausschalten
- So schalten Sie das Gerät ein: Press the Home button. The controller will attempt to connect to the last paired device.
- So schalten Sie das Gerät aus: Press and hold the Home button for approximately 5-10 seconds until the indicator lights turn off. The controller will also power off automatically after a period of inactivity to conserve battery.
Using Programmable Paddles
The controller features three programmable paddles (M1, M2, M3) on the rear. These paddles can be assigned to replicate other button inputs for quick access during gameplay. Refer to your console or PC's controller settings for specific button remapping options, as dedicated software for programming these paddles may not be available.

Abbildung 5: A user holding the controller, demonstrating its ergonomic design during use.
Wartung
- Reinigung: Reinigen Sie den Controller mit einem weichen, trockenen Tuch. Bei hartnäckigem Schmutz leicht andrücken.ampBefeuchten Sie das Tuch mit Wasser. Verwenden Sie keine scharfen Chemikalien oder Scheuermittel.
- Lagerung: Bewahren Sie den Controller an einem kühlen, trockenen Ort fern von direkter Sonneneinstrahlung und extremen Temperaturen auf.
- Batteriepflege: Um die Batterielebensdauer zu verlängern, vermeiden Sie häufiges vollständiges Entladen des Controllers. Laden Sie ihn regelmäßig auf, auch wenn er längere Zeit nicht benutzt wird.
Fehlerbehebung
Controller verbindet sich nicht
- Stellen Sie sicher, dass der Controller aufgeladen ist.
- For wireless connection, ensure the 2.4GHz dongle is securely plugged into the console/PC and the controller is powered on.
- Try connecting the controller via the USB cable to verify functionality.
- Restart your console/PC and try connecting again.
Buttons/Sticks Unresponsive
- Stellen Sie sicher, dass der Controller ordnungsgemäß angeschlossen und eingeschaltet ist.
- Check for any physical obstructions or debris around the buttons or sticks.
- Test the controller with another game or application to determine if the issue is specific to one program.
Kurze Akkulaufzeit
- Stellen Sie sicher, dass der Controller vor der Verwendung vollständig aufgeladen ist.
- Reduce rumble intensity if possible through system settings, as vibration motors consume significant power.
- Avoid extreme temperatures during use and storage.
Technische Daten
| Besonderheit | Detail |
|---|---|
| Modellnummer | TSXLXGC0002 |
| Konnektivität | 2.4-GHz-Funkverbindung, USB-Kabelverbindung |
| Abmessungen (L x B x H) | 3.94 x 1.97 x 0.5 Zoll |
| Gewicht | 1.01 Pfund |
| Eingangslautstärketage | 3V - 500mA |
| Programmierbare Paddel | Yes (M1, M2, M3) |
Garantie und Support
For warranty information and technical support, please refer to the official Lexip website or contact Lexip customer service. Keep your proof of purchase for warranty claims.
Lexip Official WebWebsite: www.lexip.com (Note: This is a placeholder link, please refer to actual Lexip support channels.)


