
1. Einleitung
Thank you for choosing the ieGeek 5MP Outdoor Wi-Fi Security Camera. This manual provides essential information for the proper installation, operation, and maintenance of your camera. Please read these instructions carefully before use and retain them for future reference. This camera is designed to provide reliable outdoor surveillance with advanced features for enhanced security.
2. Produktüberschreitungview
The ieGeek 5MP Outdoor Wi-Fi Security Camera offers high-definition monitoring with flexible connectivity and smart detection capabilities.
Hauptmerkmale:
- 5MP HD-Auflösung: Provides clear and vivid images and videos with 2880x1600 resolution and 4x digital zoom.
- Dual-Band Wi-Fi (2.4/5 GHz): Supports both 2.4 GHz and 5 GHz Wi-Fi for stable and faster network connection.
- 360° PTZ Monitoring: Pan (355° horizontal) and Tilt (120° vertical) functionality allows for comprehensive area coverage.
- Farbnachtsicht: Three night vision modes (color, infrared, smart) with a range of up to 15 meters (50 feet).
- PIR-Humanoidenerkennung: Advanced human detection reduces false alarms caused by non-human movements.
- Ton- und Lichtalarm: Deters intruders with customizable sound and light alerts.
- Kontinuierliche Aufzeichnung rund um die Uhr: Supports continuous recording and event-based recording.
- Lokaler und Cloud-Speicher: Compatible with Micro SD cards (up to 128GB, not included) and cloud storage options.
- Gemeinsame Nutzung durch mehrere Benutzer: Share camera access with family members via the dedicated app.
- IP65-Wetterbeständigkeit: Für den Außeneinsatz konzipiert, staub- und wasserbeständig.
Kamerakomponenten:
The camera unit typically includes the main camera body, dual Wi-Fi antennas, a power input port, and a Micro SD card slot.
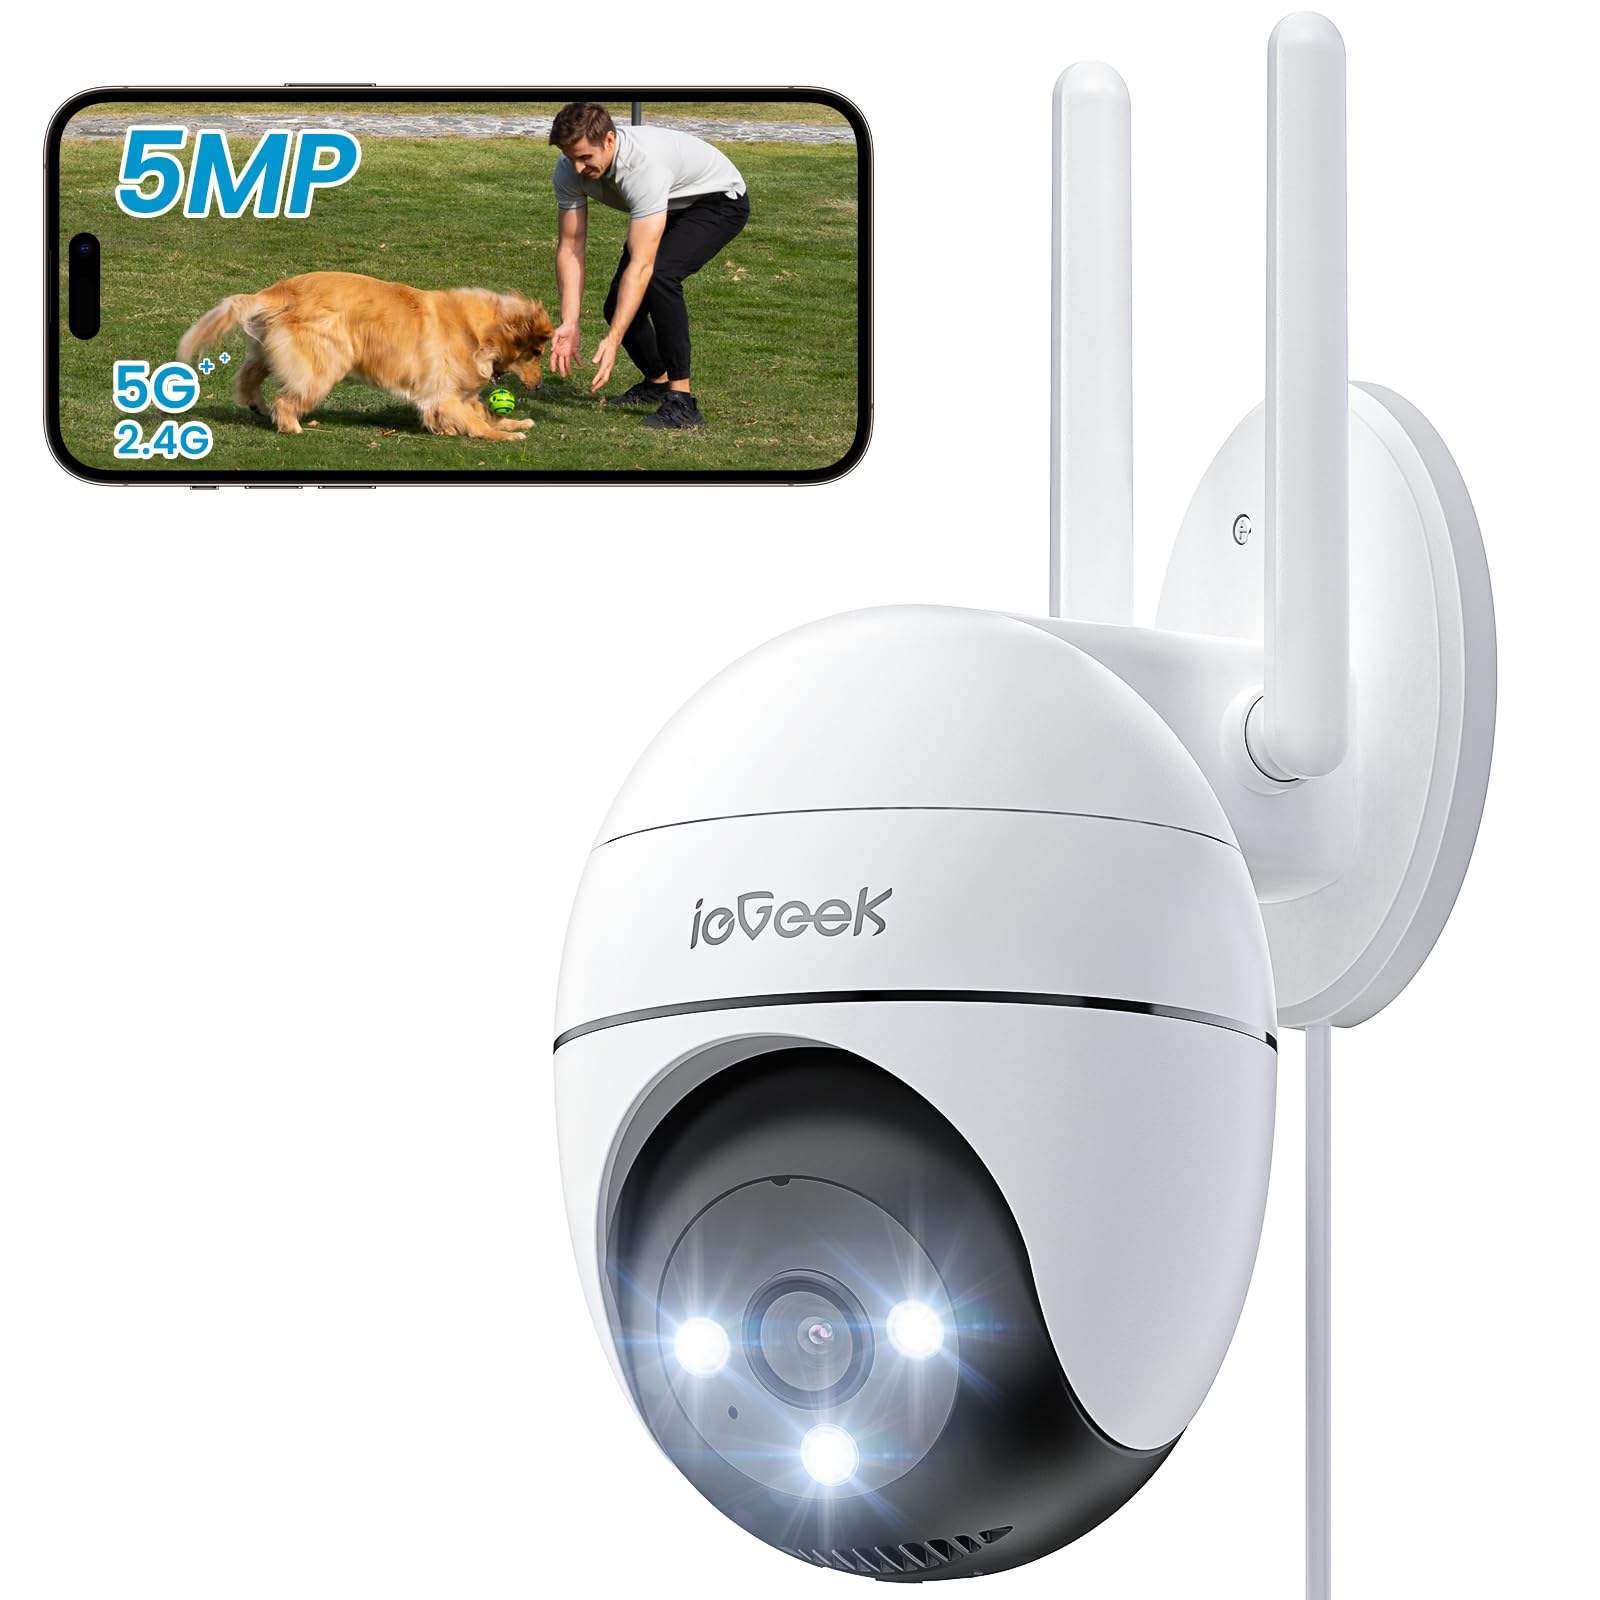
Figure 2.1: ieGeek 5MP Outdoor Wi-Fi Security Camera (Model ZS-GQ4)

Abbildung 2.2: Überview of ieGeek 5MP Camera Features including PTZ, 24/7 recording, 2-way audio, humanoid tracking, Alexa compatibility, local and cloud storage, multi-user sharing, customizable alert areas, AI detection, and acoustic/light alarms.

Figure 2.3: The camera features a 5dBi antenna for improved Wi-Fi signal strength and stability.
3. Einrichtungsanweisungen
3.1 Packungsinhalt
- ieGeek 5MP Outdoor Wi-Fi Security Camera
- Netzteil
- Befestigungsschrauben und Anker
- Bedienungsanleitung
3.2 App-Download und Kontoregistrierung
- Laden Sie die ieGeek Cam or CloudEdge App aus dem App Store Ihres Smartphones (iOS/Android).
- Register for an account using your email address and create a secure password.
3.3 Kameraverbindung
- Power on the camera by connecting it to a power outlet using the provided adapter.
- Open the ieGeek Cam/CloudEdge app and tap the "+" icon to add a new device.
- Follow the on-screen instructions to connect the camera to your 2.4 GHz or 5 GHz Wi-Fi network. Ensure your phone is connected to the same Wi-Fi network during setup.
- Scannen Sie den auf Ihrem Telefon angezeigten QR-Code mit der Kameralinse, wenn Sie dazu aufgefordert werden.
- Sobald die Verbindung hergestellt ist, können Sie Ihrer Kamera einen Namen geben und die Live-Übertragung starten. viewing.

Figure 3.1: Connecting the power adapter to the camera.
3.4 Physische Installation
- Wählen Sie einen geeigneten Standort im Freien mit freiem Blick view und ein starkes WLAN-Signal.
- Verwenden Sie die mitgelieferte Montagevorlage, um die Bohrlöcher zu markieren.
- Drill holes, insert anchors, and secure the camera base with screws.
- Passen Sie den Kamerawinkel nach Bedarf an.

Figure 3.2: Ensure optimal Wi-Fi signal strength at the chosen installation location for stable performance.
4. Bedienungsanleitung
4.1 Live View und PTZ-Steuerung
- Open the ieGeek Cam/CloudEdge app and select your camera to view das Live-Feed.
- Verwenden Sie den Joystick auf dem Bildschirm oder Wischgesten, um die Schwenkbewegungen (horizontal 355°) und die Neigungsbewegungen (vertikal 120°) der Kamera zu steuern.

Figure 4.1: Control the camera's 355° horizontal and 120° vertical rotation directly from your smartphone app.
4.2 Nachtsichtmodi
Die Kamera bietet drei Nachtsichtmodi:
- Farbnachtsicht: Utilizes built-in spotlights to provide full-color images in low-light conditions.
- Infrarot Nachtsicht: Nutzt Infrarot-LEDs für Schwarzweißbilder in völliger Dunkelheit.
- Intelligente Nachtsicht: Automatically switches between infrared and color night vision upon detection of motion.
4.3 Bewegungserkennung und Alarme
- PIR-Humanoidenerkennung: Configure sensitivity levels in the app to minimize false alarms.
- Anpassbare Erkennungszonen: Legen Sie spezifische Bereiche für die Bewegungserkennung fest, um sich auf kritische Zonen zu konzentrieren.
- Ton- und Lichtalarm: When motion is detected, the camera can activate a siren and/or spotlights to deter intruders. You can choose between silent, spotlight only, siren only, or both siren and spotlight modes.

Figure 4.2: Select from silent, spotlight only, siren only, or both siren and spotlight alarm modes to suit your security needs.

Figure 4.3: The camera's humanoid motion tracking follows detected human figures, reducing false alarms from other movements.

Figure 4.4: AI smart monitoring can differentiate between various detection types such as people, animals, packages, and vehicles (some features may require a subscription).
4.4 Aufzeichnung und Speicherung
- Kontinuierliche Aufnahme: The camera supports 24/7 continuous recording to a Micro SD card (not included).
- Ereignisaufzeichnung: Zeichnet Videoclips auf, sobald eine Bewegung erkannt wird.
- Micro SD Karte: Legen Sie eine Micro-SD-Karte (bis zu 128 GB) in den dafür vorgesehenen Steckplatz für die lokale Speicherung ein.
- Cloud-Speicher: Optional cloud storage plans are available through the app for secure off-site backup.

Figure 4.5: The camera supports 24/7 continuous recording, ensuring constant surveillance.
5. Wartung
5.1 Reinigung der Kamera
- Stellen Sie sicher, dass die Kamera vor der Reinigung ausgeschaltet ist.
- Verwenden Sie ein weiches,amp Tuch zum Abwischen des Kameragehäuses.
- Verwenden Sie für die Linse ein spezielles Linsenreinigungstuch, um Kratzer zu vermeiden. Verwenden Sie keine scharfen Chemikalien oder Scheuermittel.
5.2 Umweltaspekte
- The camera has an IP65 weather resistance rating, making it suitable for outdoor use in various weather conditions.
- Betriebstemperaturbereich: -20 °C bis 50 °C (-4 °F bis 122 °F).

Figure 5.1: The camera is designed with IP65 weather resistance to withstand outdoor elements like rain.

Figure 5.2: The camera operates effectively within a wide temperature range of -20°C to 50°C.
6. Fehlerbehebung
If you encounter issues with your ieGeek camera, please refer to the following common troubleshooting steps:
6.1 Verbindungsprobleme
- Kamera offline: Ensure the camera is powered on and within range of your Wi-Fi router. Check your Wi-Fi signal strength in the app. Try restarting the camera and your router.
- Verbindung zum WLAN fehlgeschlagen: Verify your Wi-Fi password is correct. Ensure you are connecting to a 2.4 GHz or 5 GHz network as supported. If using a dual-band router, ensure the camera is connecting to the correct band.
6.2 Probleme der Bewegungserkennung
- Zu viele Fehlalarme: Adjust the PIR detection sensitivity in the app. Define specific detection zones to exclude areas with frequent irrelevant movements (e.g., trees swaying).
- Keine Bewegungserkennung: Ensure motion detection is enabled in the app settings. Check the camera's field of view for obstructions. Increase detection sensitivity if necessary.
6.3 Probleme mit der Bildqualität
- Verschwommenes Bild: Clean the camera lens carefully. Ensure there is no condensation on the lens.
- Schlechte Nachtsicht: Ensure the night vision mode is set correctly (color, infrared, or smart). Check for any obstructions blocking the infrared LEDs or spotlights.
6.4 Andere Probleme
- SD-Karte zeichnet nicht auf: Ensure the Micro SD card is inserted correctly and is not full. Format the SD card via the app if it's a new card or if issues persist.
- App reagiert nicht: Close and restart the app. Ensure your smartphone's operating system is up to date.
If these steps do not resolve your issue, please contact ieGeek customer support for further assistance.
7. Spezifikationen
| Modell | ZS-GQ4 |
| Auflösung | 5MP (2880 x 1600) |
| Linse | 3.6 mm |
| Digital Zoom | 4x |
| Nachtsichtentfernung | Bis zu 15 Meter (50 Fuß) |
| Wi-Fi-Konnektivität | 2.4 GHz / 5 GHz Dualband |
| Schwenk-/Neigebereich | Pan 355 °, Neigung 120 ° |
| Speicheroptionen | Micro-SD-Karte (bis zu 128 GB, nicht im Lieferumfang enthalten), Cloud-Speicher |
| Wetterbeständigkeit | IP65 |
| Betriebstemperatur | -20 °C bis 50 °C (-4 °F bis 122 °F) |
| Maße | 17 x 9 x 10 cm |
| Kontrollmethode | Mobile App (ieGeek Cam / CloudEdge) |
| Alarmtyp | PIR Humanoid Motion Detection, Sound & Light Alarm |
8. Garantie und Support
ieGeek hat sich der Bereitstellung qualitativ hochwertiger Produkte und exzellentem Kundenservice verschrieben.
8.1 Garantieinformationen
- 2 Jahr Garantie: Your ieGeek camera is covered by a 2-year warranty from the date of purchase, protecting against manufacturing defects.
- 30 Tage Geld-zurück-Garantie: If you are not satisfied with your purchase, you may return the product for a full refund within 30 days.

Figure 8.1: ieGeek offers a 2-year warranty and a 30-day money-back guarantee, along with lifetime support.
8.2 Kundendienst
For any questions, technical assistance, or warranty claims, please contact ieGeek customer support. Refer to the contact information provided with your product packaging or visit the official ieGeek webWebsite für Supportdetails.
- Online-Hilfe: Besuchen www.iegeek.com/support (example link, please refer to actual webWebsite)
- E-Mail-Support: support@iegeek.com (example email, please refer to actual contact)
- Lebenslanger technischer Support: ieGeek provides lifetime technical support for its products.