
1. Einleitung
Welcome to the TRU Hydration Blender user manual. This portable, USB-rechargeable personal blender is designed for convenience, allowing you to create smoothies, shakes, and protein drinks anywhere. This manual provides essential information for safe and effective use, including setup, operation, maintenance, and troubleshooting.
2. Wichtige Sicherheitshinweise
Please read all instructions carefully before using the TRU Hydration Blender. Failure to follow these instructions may result in electric shock, fire, or serious injury.
- Always ensure the lid is securely fastened before operating the blender.
- Den Motorsockel nicht in Wasser oder andere Flüssigkeiten tauchen. Mit einem feuchten Tuch reinigen.amp nur Stoff.
- Keep hands and utensils out of the blending cup while blending to prevent injury.
- Heiße Flüssigkeiten dürfen nicht gemischt werden, da sich Druck aufbauen kann, der zum Abspringen des Deckels und damit zu Verbrennungen führen kann.
- Dieses Gerät ist nicht für die Verwendung durch Personen mit eingeschränkten physischen, sensorischen oder geistigen Fähigkeiten oder mangelnder Erfahrung und Kenntnis bestimmt, es sei denn, sie werden von einer für ihre Sicherheit verantwortlichen Person beaufsichtigt oder in die Verwendung des Geräts eingewiesen.
- Unplug the blender from the charging source when not in use and before cleaning.
- Do not operate the blender with a damaged cord or plug, or after the appliance malfunctions or has been damaged in any manner.
- Verwenden Sie nur vom Hersteller empfohlene Aufsätze und Zubehörteile.
- Bewahren Sie den Mixer außerhalb der Reichweite von Kindern auf.
3. Komponenten
The TRU Hydration Blender consists of the following main parts:
- Blender Cup (10 oz capacity)
- Lid with Integrated Blade Assembly
- USB-Ladekabel

Figure 3.1: The TRU Hydration Blender assembled, showing the main cup, lid, and base filled with orange segments.
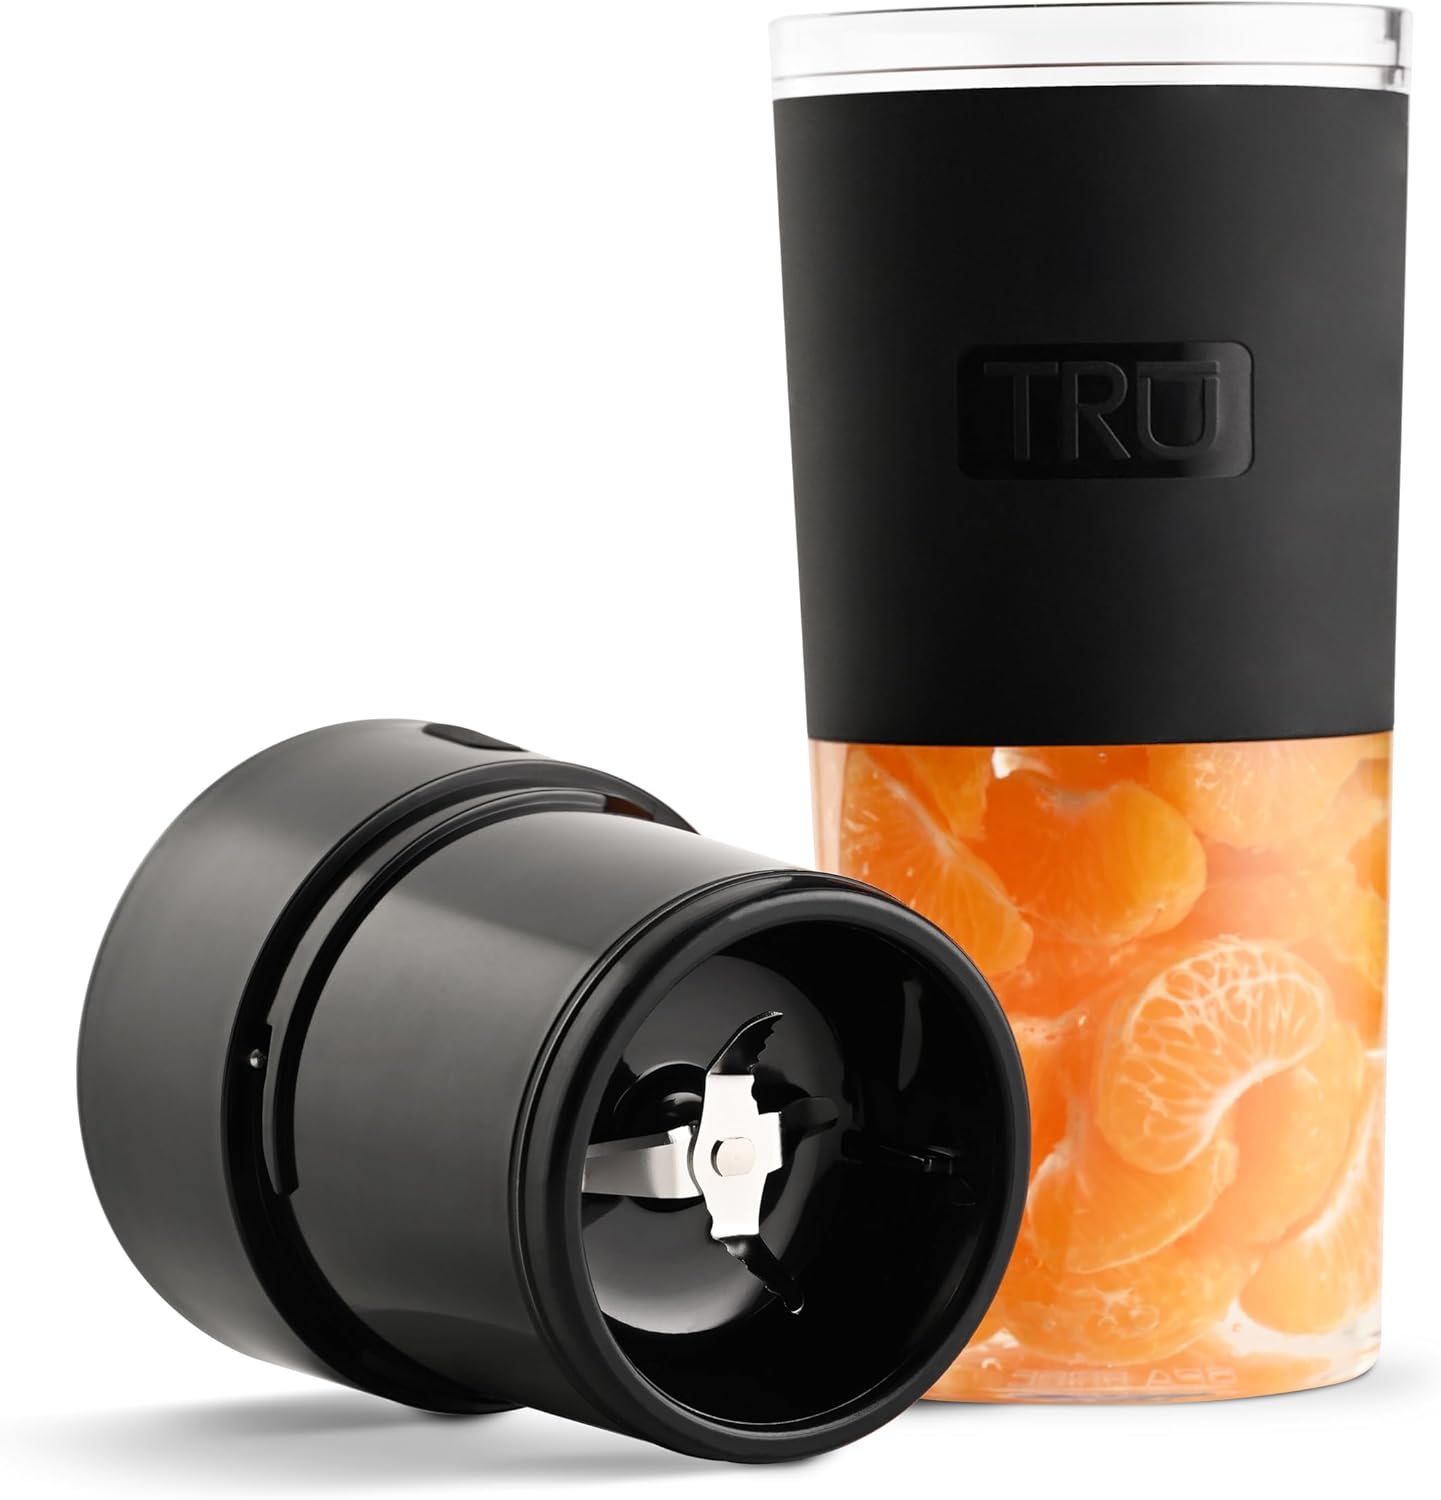
Figure 3.2: The TRU Hydration Blender with the lid detached, revealing the integrated blade assembly.
4. Einrichtung und erste Verwendung
4.1 Charging the Blender
The blender is powered by a built-in rechargeable lithium-ion battery. Before first use, fully charge the blender for optimal performance.
- Locate the USB charging port on the side of the blender base.
- Connect the provided USB charging cord to the blender's port.
- Plug the other end of the USB cord into a compatible USB power source (e.g., wall adapter, computer, power bank).
- The indicator light on the lid will illuminate to show charging status. It will turn solid when fully charged.
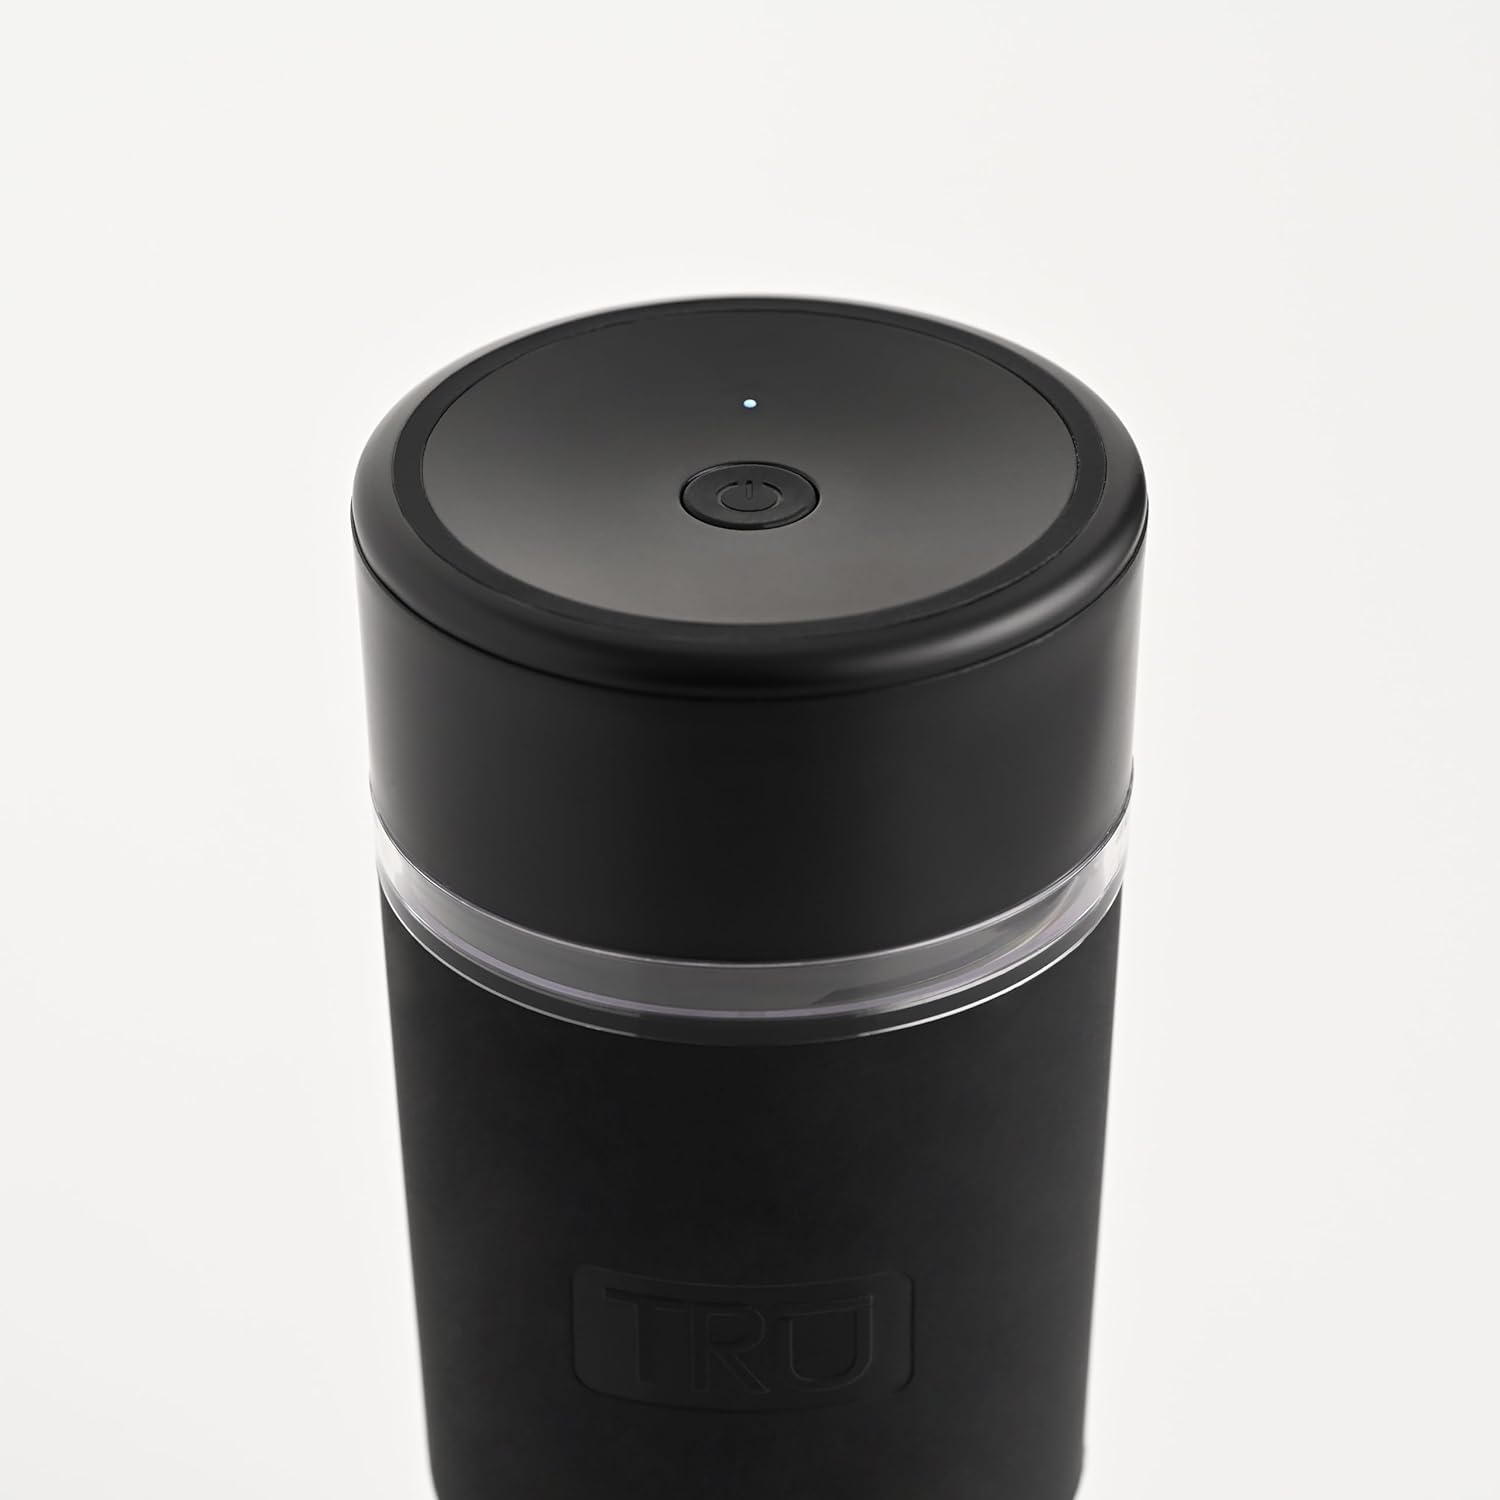
Abbildung 4.1: Nahaufnahme view of the USB charging port located on the blender base, with the charging cable connected.
4.2 Montage
Before blending, ensure the components are correctly assembled.
- Ensure the blender cup is clean and dry.
- Add your desired ingredients to the blender cup. Do not overfill past the maximum fill line.
- Align the lid with the integrated blade assembly onto the blender cup.
- Twist the lid clockwise until it is securely tightened. The blender will not operate if the lid is not properly secured.
5. Bedienung
5.1 Blending Instructions
The TRU Hydration Blender features simple one-button operation.
- After assembling the blender with ingredients, ensure the lid is securely tightened.
- Press the power button located on the top of the lid once to start blending. The indicator light will illuminate.
- Blend until desired consistency is achieved. For best results, shake the blender gently during operation to ensure all ingredients are processed.
- Press the power button again to stop blending.
- Carefully unscrew the lid and enjoy your freshly blended drink.

Abbildung 5.1: Oben view of the blender lid, highlighting the single power button for operation.
5.2 Anwendungstipps
- For optimal blending, cut fruits and vegetables into small pieces (approximately 1 inch or smaller).
- Always add liquid first, then soft ingredients, and finally harder ingredients or ice.
- Do not overload the blender. The 10-ounce capacity is designed for single servings.
- If the blender stops during operation, check for blockages or if the battery needs recharging.
- The blender is designed for portability and fits most standard car cup holders.

Figure 5.2: A person holding the TRU Hydration Blender filled with strawberries, demonstrating its portability.

Figure 5.3: The TRU Hydration Blender placed securely in a car's cup holder, illustrating its travel-friendly design.
6. Reinigung und Pflege
Proper cleaning and maintenance will extend the life of your TRU Hydration Blender.
6.1 Cleaning the Cup and Lid
- After each use, rinse the blender cup and lid immediately to prevent food from drying on the surfaces.
- Schrauben Sie den Deckel vom Becher ab.
- Wash the cup and lid with warm, soapy water. A bottle brush may be helpful for thorough cleaning.
- Mit klarem Wasser gründlich abspülen.
- Do not put the motor base (the part with the charging port and power button) in water. Wipe it clean with a damp Tuch.
- Stellen Sie sicher, dass alle Teile vollständig trocken sind, bevor Sie sie wieder zusammenbauen oder lagern.

Abbildung 6.1: Nahaufnahme view of the integrated blade assembly within the blender lid, showing the blades.
6.2 Storing the Blender
Store the blender in a clean, dry place when not in use. Ensure the lid is not tightly sealed if storing for extended periods to allow for air circulation.
7. Fehlerbehebung
If you encounter issues with your TRU Hydration Blender, refer to the table below for common problems and solutions.
| Problem | Mögliche Ursache | Lösung |
|---|---|---|
| Blender lässt sich nicht einschalten. | Der Akku ist schwach oder leer. Lid is not securely fastened. | Charge the blender fully. Ensure the lid is twisted on tightly and correctly aligned. |
| Die Zutaten vermischen sich nicht gleichmäßig. | Zu wenig Flüssigkeit. Die Zutaten sind zu groß oder zu hart. Overloaded cup. | Fügen Sie mehr Flüssigkeit hinzu. Cut ingredients into smaller pieces (1 inch or less). Reduce the amount of ingredients in the cup. |
| Der Mixer schaltet sich während des Betriebs ab. | Überhitzungsschutz aktiviert. Die Batterie ist schwach. Die Zutaten sind vermengt. | Turn off the blender, let it cool down for 15-20 minutes, then restart. Laden Sie den Akku auf. Turn off, clear any obstructions, and restart. |
| Undichtigkeit am Deckel. | Deckel nicht richtig verschlossen. Overfilled cup. | Ensure the lid is twisted on tightly and the silicone seal is correctly seated. Nicht über die maximale Fülllinie hinaus befüllen. |
8. Spezifikationen
| Besonderheit | Detail |
|---|---|
| Marke | Tru |
| Modellnummer | RC-150DMBK |
| Farbe | Schwarz |
| Kapazität | 10 Flüssigunzen |
| Produktabmessungen (T x B x H) | 3.31"T x 3.31"B x 8.23"H |
| Stromquelle | Batteriebetrieben (wiederaufladbare Lithium-Ionen-Batterie) |
| Bandtage | 7.4 Volt |
| Anzahl der Geschwindigkeiten | 1 |
| Artikelgewicht | 14.6 Unzen |
| Im Lieferumfang enthaltene Komponenten | Charging cord, Cup, Lid with integrated blade |
9. Garantie und Support
Specific warranty details for the TRU Hydration Blender are not provided in this manual. For information regarding warranty coverage, product registration, or customer support, please visit the official Tru webBesuchen Sie die Website oder kontaktieren Sie direkt deren Kundendienstabteilung.
Bitte bewahren Sie Ihren Kaufbeleg für eventuelle Garantieansprüche auf.