1. Einleitung
Thank you for choosing the EasySMX T37 Wireless Switch Pro Controller. This manual provides detailed instructions for setting up, operating, maintaining, and troubleshooting your controller. Please read this manual carefully before use to ensure optimal performance and longevity of your device. This controller is compatible with Nintendo Switch, Switch Lite, and Switch OLED consoles.
2. Produktüberschreitungview
The EasySMX T37 is a wireless gamepad designed for an enhanced gaming experience on Nintendo Switch systems. It features an ergonomic design, dual turbo vibration, and 6-axis gyro motion control.

Bild 2.1: Vorderseite view of the EasySMX T37 Wireless Switch Pro Controller, showcasing dank seiner ergonomischen Form und Tastenanordnung.
3. Einrichtung
3.1 Kopplung mit Nintendo Switch
- Schalte deine Nintendo Switch-Konsole ein.
- Wählen Sie im HOME-Menü die Option Controller > Griff/Reihenfolge ändern.
- On the EasySMX T37 controller, press and hold the SYNC-Taste (located on the top edge of the controller) for 3 seconds until the LED indicators start flashing rapidly.
- Once the controller is successfully paired, the player LED(s) on the bottom of the controller will light up solid.
3.2 Laden des Controllers
Connect the provided USB-C charging cable to the USB-C port on the controller and the other end to a USB power source (e.g., Switch dock, USB wall adapter, computer USB port). The LED indicators will show charging status and turn off when fully charged.
4. Bedienungsanleitung
4.1 Grundlegende Bedienelemente
The controller features standard button layouts for Nintendo Switch compatibility:
- A/B/X/Y-Tasten: Aktionsschaltflächen.
- Steuerkreuz: Richtungseingang.
- Linker/Rechter Analogstick: Bewegungs- und Kamerasteuerung.
- L/R/ZL/ZR-Tasten: Schulter- und Triggerknöpfe.
- Home "Button: Kehrt zum Home-Menü der Switch zurück.
- Aufnahmetaste: Erstellt Screenshots.
- PLUS (+) / MINUS (-) Buttons: Start-/Auswahlfunktionen.

Image 4.1: A user holding the EasySMX T37 controller, demonstrating the comfortable grip and accessible button placement during gameplay.
4.2 Turbo-Funktion
The Turbo function allows for rapid, automatic pressing of a button, useful in action or arcade games.
- Turbo aktivieren: Press and hold the desired action button (A/B/X/Y/L/R/ZL/ZR), then press the Turbo-Taste (T button). The button will now auto-fire.
- Turbogeschwindigkeit anpassen: Halten Sie die Turbo-Taste, verschieben Sie den Rechter Analogstick nach oben oder unten to cycle through three speeds: 5 shots/s, 12 shots/s, and 20 shots/s.
- Turbo deaktivieren: Repeat the activation step (hold the action button, then press the Turbo button) or press and hold the Turbo-Taste for 5 seconds to clear all Turbo settings.
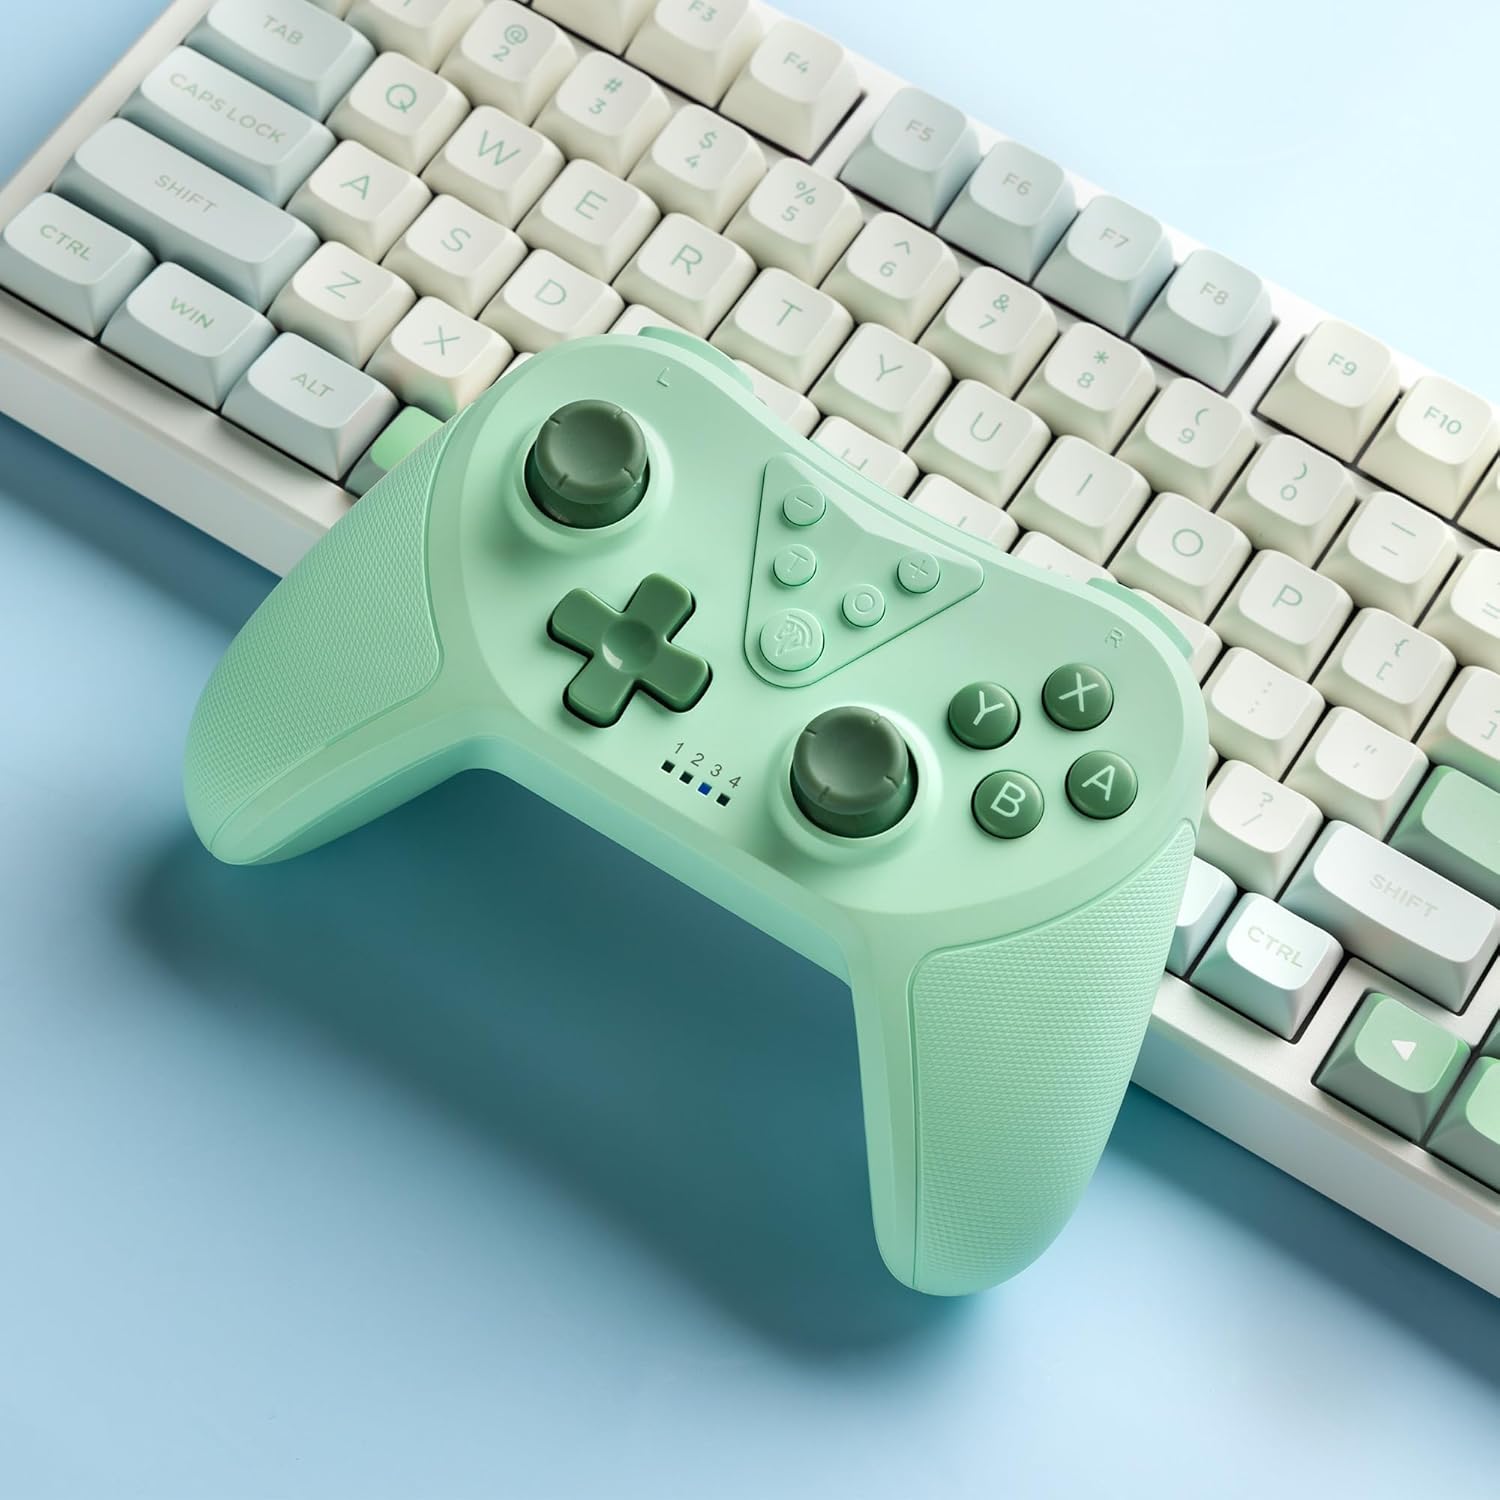
Image 4.2: Illustration of the Turbo function on the EasySMX T37 controller, showing the three adjustable speeds: 5, 12, and 20 shots per second.
4.3 Vibrationsanpassung
The controller features dual motors for adjustable vibration feedback, enhancing immersion in games.
- Vibrationsintensität anpassen: Halten Sie die Turbo-Taste, dann verschieben Sie die Linker Analogstick nach oben oder unten to cycle through four vibration levels: 0% (off), 30%, 70%, and 100%.

Image 4.3: Visual representation of the Dual Vibration feature on the EasySMX T37 controller, indicating four intensity levels from 0% to 100%.
4.4 6-Achsen-Gyro-Bewegungssteuerung
The built-in 6-axis gyroscope provides precise motion sensing, allowing for intuitive control in games that support motion input.

Image 4.4: Illustration depicting the 6-Axis Gyro Motion Control feature of the EasySMX T37 controller, showing how it interacts with a game on the Nintendo Switch screen.
5. Wartung
- Reinigung: Reinigen Sie den Controller mit einem weichen, trockenen Tuch. Vermeiden Sie die Verwendung von scharfen Chemikalien oder Scheuermitteln.
- Lagerung: Bewahren Sie den Controller an einem kühlen, trockenen Ort fern von direkter Sonneneinstrahlung und extremen Temperaturen auf.
- Batteriepflege: Um die Batterielebensdauer zu verlängern, vermeiden Sie häufiges vollständiges Entladen des Controllers. Laden Sie ihn regelmäßig auf, auch wenn er längere Zeit nicht benutzt wird.
- Vermeiden Sie Tropfen: Schützen Sie den Controller vor Stürzen und Stößen, da diese die internen Komponenten beschädigen können.
6. Fehlerbehebung
6.1 Controller verbindet sich nicht
- Stellen Sie sicher, dass der Controller aufgeladen ist.
- Überprüfen Sie, ob die Switch-Konsole auf die neueste Systemversion aktualisiert ist.
- Versuchen Sie, den Controller erneut zu koppeln, indem Sie die Schritte in Abschnitt 3.1 befolgen.
- If issues persist, try resetting the controller by inserting a thin object into the small reset hole (if present, usually on the back) for a few seconds.
6.2 Buttons Unresponsive or Lagging
- Stellen Sie sicher, dass der Controller vollständig aufgeladen ist.
- Move closer to the Switch console to ensure a strong wireless connection.
- Prüfen Sie, ob sich um die Tasten herum physische Hindernisse oder Ablagerungen befinden.
- Koppeln Sie den Controller erneut.
6.3 Controller lädt nicht
- Stellen Sie sicher, dass das USB-C-Kabel sowohl mit dem Controller als auch mit der Stromquelle fest verbunden ist.
- Versuchen Sie es mit einem anderen USB-C-Kabel oder Netzteil.
- Stellen Sie sicher, dass die Stromversorgung funktionsfähig ist.
7. Spezifikationen
- Modell: T37
- Konnektivität: Kabellos (Bluetooth)
- Kompatibilität: Nintendo Switch, Switch Lite, Switch OLED
- Merkmale: Dual Turbo Function, Adjustable Vibration, 6-Axis Gyro Motion Control, Ergonomic Design
- Product Identifier (ASIN): B0CTTWN84L
8. Garantie und Support
Informationen zur Garantie, zum technischen Support oder für weitere Hilfestellungen finden Sie auf der offiziellen EasySMX-Website. webBesuchen Sie die Website oder kontaktieren Sie direkt den Kundendienst. Bewahren Sie Ihren Kaufbeleg für Garantieansprüche auf.