1. Produktüberschreitungview
The ELECTROPRIME CAMSOY S20 is a compact 1080P WiFi action camera designed for security monitoring, pet monitoring, or as a baby monitor. It features two-way audio, IR night vision, and motion detection capabilities, making it a versatile solution for various surveillance needs. Its small size and 360-degree adjustable mount allow for flexible placement.
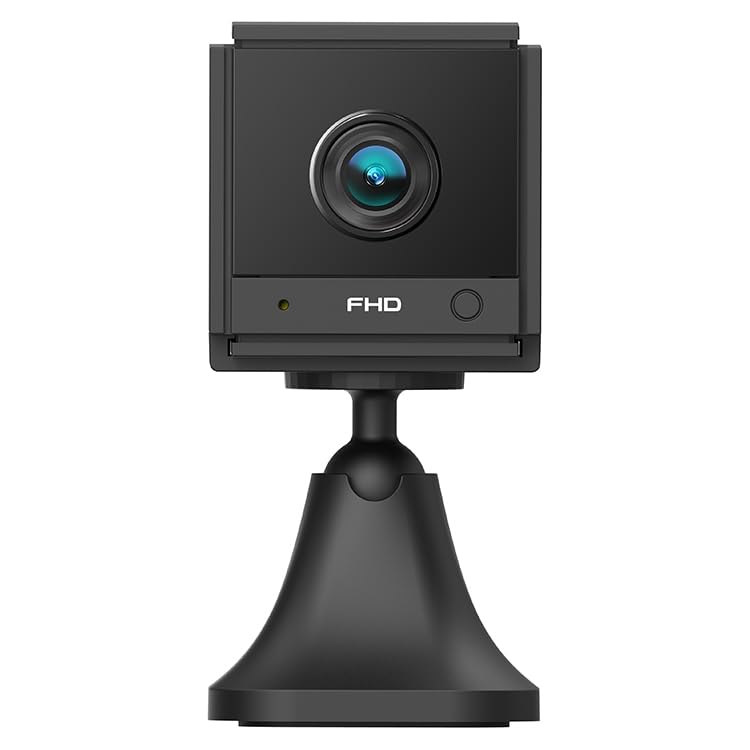
Bild 1.1: Schräg view of the ELECTROPRIME CAMSOY S20 1080P WiFi Action Camera, showing the lens and adjustable mount.
2. Packungsinhalt
Bitte prüfen Sie das Paket auf folgende Artikel:
- ELECTROPRIME CAMSOY S20 Action Camera
- Einstellbare Montagehalterung
- USB-Ladekabel
- Benutzerhandbuch (dieses Dokument)
- Eingebauter 800-mAh-Li-Ionen-Akku (vorinstalliert)
3. Produktmerkmale
- Full-HD-Video (1080p): Nimmt klare und detaillierte Videoaufnahmen auftage.
- IR Nachtsicht: Equipped with 6 infrared LEDs for clear vision up to 5-7 meters in low light or darkness.
- Zweiwege-Audio: Eingebautes Mikrofon und Lautsprecher für die Fernkommunikation.
- Bewegungserkennungsalarm: Benachrichtiget Sie über erkannte Bewegungen.
- Wi-Fi-Konnektivität: Supports 2.4G WiFi (IEEE802.11b/g/n) for remote viewing und Kontrolle.
- Kompaktes Design: Mini size allows for discreet placement.
- Verstellbare Halterung: 360-degree free adjustable mount for flexible positioning.
- Lokaler Speicher: Supports Micro-SD Card up to 128GB (card not included).
- Eingebaute Batterie: 800mAh Li-ion battery provides backup power for 3-4 hours.
4. Installationsanleitung
4.1 Aufladen der Kamera
Before initial use, fully charge the camera. Connect the provided USB charging cable to the camera's Micro USB interface and plug the other end into a standard USB power adapter (not included) or a computer's USB port. The charging indicator light will show the charging status.
4.2 Installing a Micro-SD Card
The camera supports Micro-SD cards up to 128GB for local video storage. Locate the Micro-SD card slot on the camera. Gently insert the Micro-SD card with the gold contacts facing down until it clicks into place. To remove, push the card in again until it springs out.
4.3 Montage der Kamera
Attach the camera to the adjustable mounting bracket. The bracket allows for 360-degree rotation, enabling you to position the camera at the desired angle. Secure the bracket to a wall, ceiling, or flat surface using appropriate fasteners (not included).
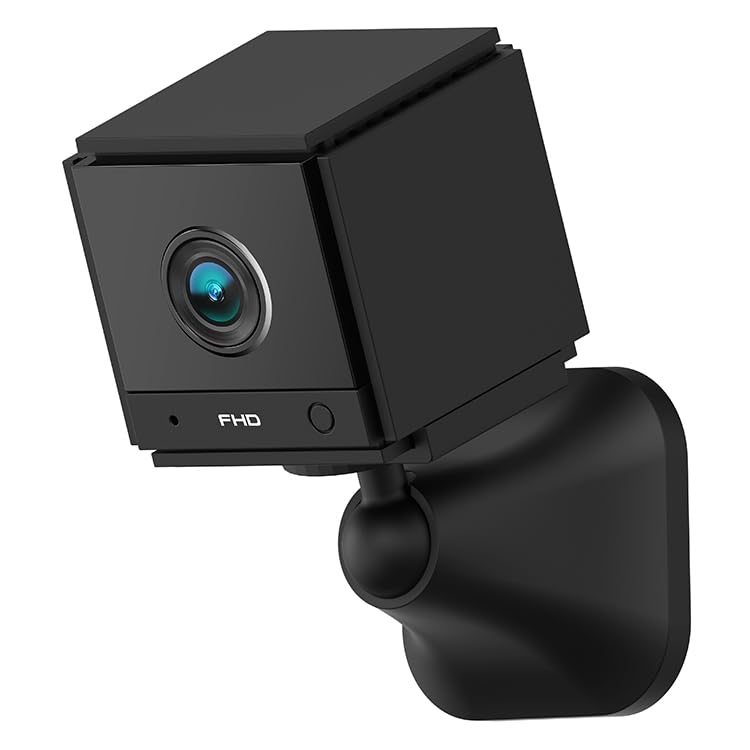
Bild 4.1: Vorderseite view of the ELECTROPRIME CAMSOY S20 camera, showing the lens and indicator lights.
4.4 WLAN-Verbindung herstellen und App-Einrichtung
- Laden Sie die App herunter: Suchen nach the recommended camera application on your smartphone's app store (e.g., "CAMSOY" or a similar security camera app, refer to packaging for specific app name).
- Einschalten: Halten Sie den Ein-/Ausschalter an der Kamera gedrückt, bis die Kontrollleuchte aufleuchtet.
- Gerät hinzufügen: Open the app, create an account if necessary, and select "Add Device" or a similar option.
- Kameratyp auswählen: Follow the in-app instructions to select your camera model.
- Mit WLAN verbinden: The app will guide you through connecting the camera to your 2.4G Wi-Fi network. Ensure your Wi-Fi password is correct.
- Paarung: The camera will pair with your smartphone. Once connected, you can view the live feed and access settings.
Note: The camera supports both AP Mode (direct connection to phone) and WiFi Mode (connection via router). Refer to the app for specific mode selection and setup.
5. Bedienungsanleitung
5.1 Ein-/Ausschalten
- Einschalten: Halten Sie den Netzschalter etwa 3 Sekunden lang gedrückt, bis die Kontrollleuchte aufleuchtet.
- Ausschalten: Halten Sie den Netzschalter etwa 3 Sekunden lang gedrückt, bis die Kontrollleuchte erlischt.
5.2 Live View und Aufzeichnung
Once connected to the app, open the app to access the live video feed. From the live view Schnittstelle können Sie:
- View Echtzeitvideo.
- Manually start/stop video recording to the Micro-SD card or your phone.
- Machen Sie Schnappschüsse.
- Auf aufgezeichnetes Foo zugreifentage from the Micro-SD card.
5.3 Zwei-Wege-Audio
Im Live view interface of the app, locate the microphone icon. Tap and hold the icon to speak through the camera's speaker. Release to listen through the camera's microphone.
5.4 Nachtsicht
The camera automatically switches to IR night vision mode in low-light conditions. The 6 infrared LEDs provide clear black and white video up to 5-7 meters.
5.5 Bewegungserkennung und Alarme
Enable motion detection in the camera settings within the app. You can set sensitivity levels and define detection zones. When motion is detected, the camera can:
- Sende Push-Benachrichtigungen an dein Smartphone.
- Start recording video to the Micro-SD card.
- Trigger a siren alarm (if enabled in settings).
6. Wartung
- Reinigung: Reinigen Sie Objektiv und Gehäuse der Kamera mit einem weichen, trockenen Tuch. Verwenden Sie keine flüssigen Reinigungsmittel oder Scheuermittel.
- Batteriepflege: To prolong battery life, avoid extreme temperatures. If storing for extended periods, charge the battery to about 50% every few months.
- Firmware-Updates: Check the camera app periodically for available firmware updates to ensure optimal performance and security.
- Lagerung: Bewahren Sie die Kamera bei Nichtgebrauch an einem kühlen, trockenen Ort fern von direkter Sonneneinstrahlung und Feuchtigkeit auf.
7. Fehlerbehebung
7.1 Kamera lässt sich nicht einschalten
- Ensure the camera is fully charged. Connect it to a power source using the USB cable.
- Halten Sie den Netzschalter mindestens 3 Sekunden lang gedrückt.
7.2 Keine WLAN-Verbindung möglich
- Vergewissern Sie sich, dass Ihr WLAN-Netzwerk mit 2.4 GHz arbeitet. Die Kamera unterstützt kein 5-GHz-WLAN.
- Stellen Sie sicher, dass das in der App eingegebene WLAN-Passwort korrekt ist.
- Platzieren Sie die Kamera während der Einrichtung näher an Ihrem WLAN-Router.
- Starten Sie Ihren Router und die Kamera neu.
- Reset the camera to factory settings (refer to app or camera for reset button location).
7.3 Schlechte Videoqualität
- Überprüfen Sie Ihre WLAN-Signalstärke. Ein schwaches Signal kann die Streaming-Qualität beeinträchtigen.
- Stellen Sie sicher, dass die Kameralinse sauber und frei von Staub und Fingerabdrücken ist.
- Positionieren Sie die Kamera so, dass Blendung oder starkes Gegenlicht vermieden werden.
7.4 Micro-SD Card Not Recording
- Ensure the Micro-SD card is inserted correctly and fully.
- Format the Micro-SD card through the camera app.
- Check if the Micro-SD card is full. Back up important footage und formatieren Sie die Karte.
- Verify the Micro-SD card is not damaged and is within the supported capacity (up to 128GB).
8. Spezifikationen
| Modellnummer | NC0399B |
| Auflösung | 2MP / 1080P Full HD |
| View Winkel | (H)110 degrees, (D)140 degrees |
| Nachtsicht | 6pcs 940nm SMT IR Led, Range 5~7 meters, Built-in IR-CUT |
| Video-Codec | H.264 / H.264 + |
| Netzwerk | 2.4G WiFi IEEE802.11b/g/n |
| Batterie | Built-in 800mAh Li-ion Battery, lasts 3-4 hours (power cut off) |
| Audio | Zwei-Wege-Audio (Eingebautes Mikrofon und Lautsprecher) |
| Schnittstelle | Micro USB |
| Betriebsarten | AP Mode, WiFi Mode, Motion Detection Alarm |
| Lagerung | Micro-SD Card Max. 128GB (Class 10 recommended) |
| Kompatible Geräte | Smartphone |
| Farbe | Schwarz |
| Hersteller | ELECTROGADGETSSTORE |
9. Garantie und Support
For warranty information and technical support, please refer to the documentation provided at the time of purchase or contact the seller/manufacturer directly. The manufacturer of this product is ELECTROGADGETSSTORE.
Bitte bewahren Sie Ihren Kaufbeleg für eventuelle Garantieansprüche auf.