
1. Einleitung
This manual provides essential information for the proper setup, operation, and maintenance of your NexiGo NG17QH 4K Portable Monitor. Please read this manual thoroughly before using the device to ensure optimal performance and to prevent damage. Keep this manual for future reference.

Image: The NexiGo NG17QH 4K Portable Monitor, showcasing its sleek design and smart cover.
2. Packungsinhalt
Verify that all items listed below are included in your package. If any items are missing or damaged, please contact NexiGo customer support.
- NexiGo NG17QH 4K Portable Monitor
- Smart Cover / Stand
- USB-C-auf-USB-C-Kabel
- Mini-HDMI-zu-HDMI-Kabel
- USB-A auf USB-C Stromkabel
- Netzteil
3. Produktüberschreitungview
Familiarize yourself with the ports and controls on your NexiGo NG17QH portable monitor.
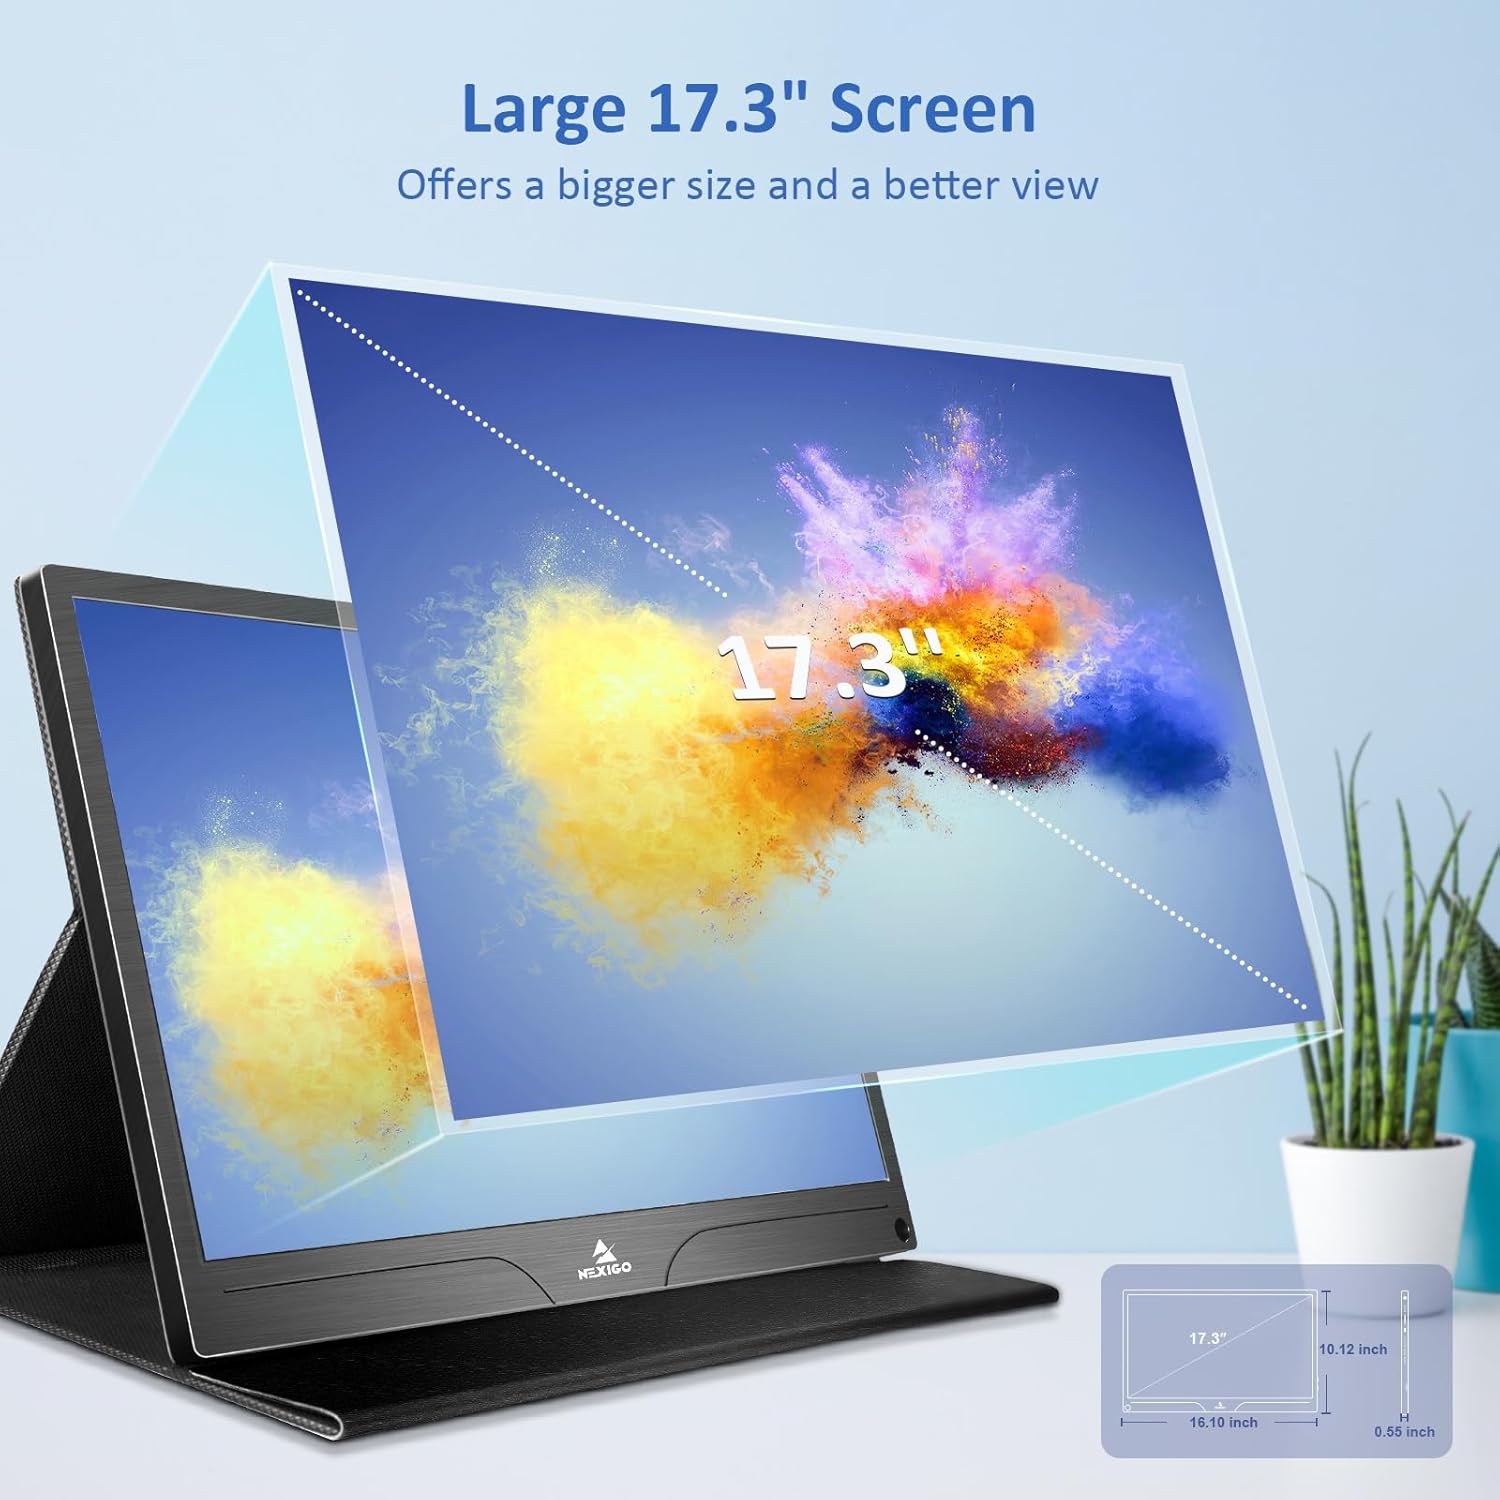
Bild: Detailliert view der Anschlüsse und Bedienelemente des Monitors.
Anschlüsse und Tasten:
- Voll ausgestatteter USB-C-Port: Used for power, video, and audio transmission with compatible devices.
- Mini-HDMI-Anschluss: Used for video and audio transmission with HDMI-compatible devices.
- Netzschalter: Press and hold to power the monitor on or off. Short press to access the OSD menu.
- Kontrollleuchte: Indicates the monitor's power status.
- Multi-Function Key: Used to navigate the OSD menu and adjust settings.
- OTG Interface (USB-C): Allows connection of USB peripherals like keyboards or mice when the monitor is connected via the full-featured USB-C port.
- 3.5mm Kopfhörerbuchse: Zum Anschluss externer Audiogeräte.
4. Einrichtung
Follow these steps to set up your NexiGo NG17QH portable monitor.
4.1 Stromversorgung des Monitors
- Using a single USB-C cable (Full-Featured): If your device (laptop, smartphone) supports full-featured USB-C output, connect the monitor to your device using the provided USB-C to USB-C cable. This single cable can provide both power and display signal.
- Using an external power adapter: If your device does not provide sufficient power or if you are using the Mini HDMI port, connect the provided USB-A to USB-C power cable to the monitor's full-featured USB-C port and plug the USB-A end into the power adapter, then into a wall outlet.
4.2 Mit Geräten verbinden
- Laptop/PC (USB-C): Connect the monitor to your laptop/PC using the USB-C to USB-C cable. Ensure your laptop's USB-C port supports DisplayPort Alternate Mode.
- Laptop/PC (HDMI): Connect the monitor to your laptop/PC using the Mini HDMI to HDMI cable. Ensure the monitor is powered externally via the USB-C power cable.
- Spielkonsolen (PS5, Xbox, Switch): Connect the monitor to your console using the Mini HDMI to HDMI cable. Ensure the monitor is powered externally via the USB-C power cable.
- Smartphone: Connect the monitor to your smartphone using the USB-C to USB-C cable. Ensure your smartphone's USB-C port supports video output.
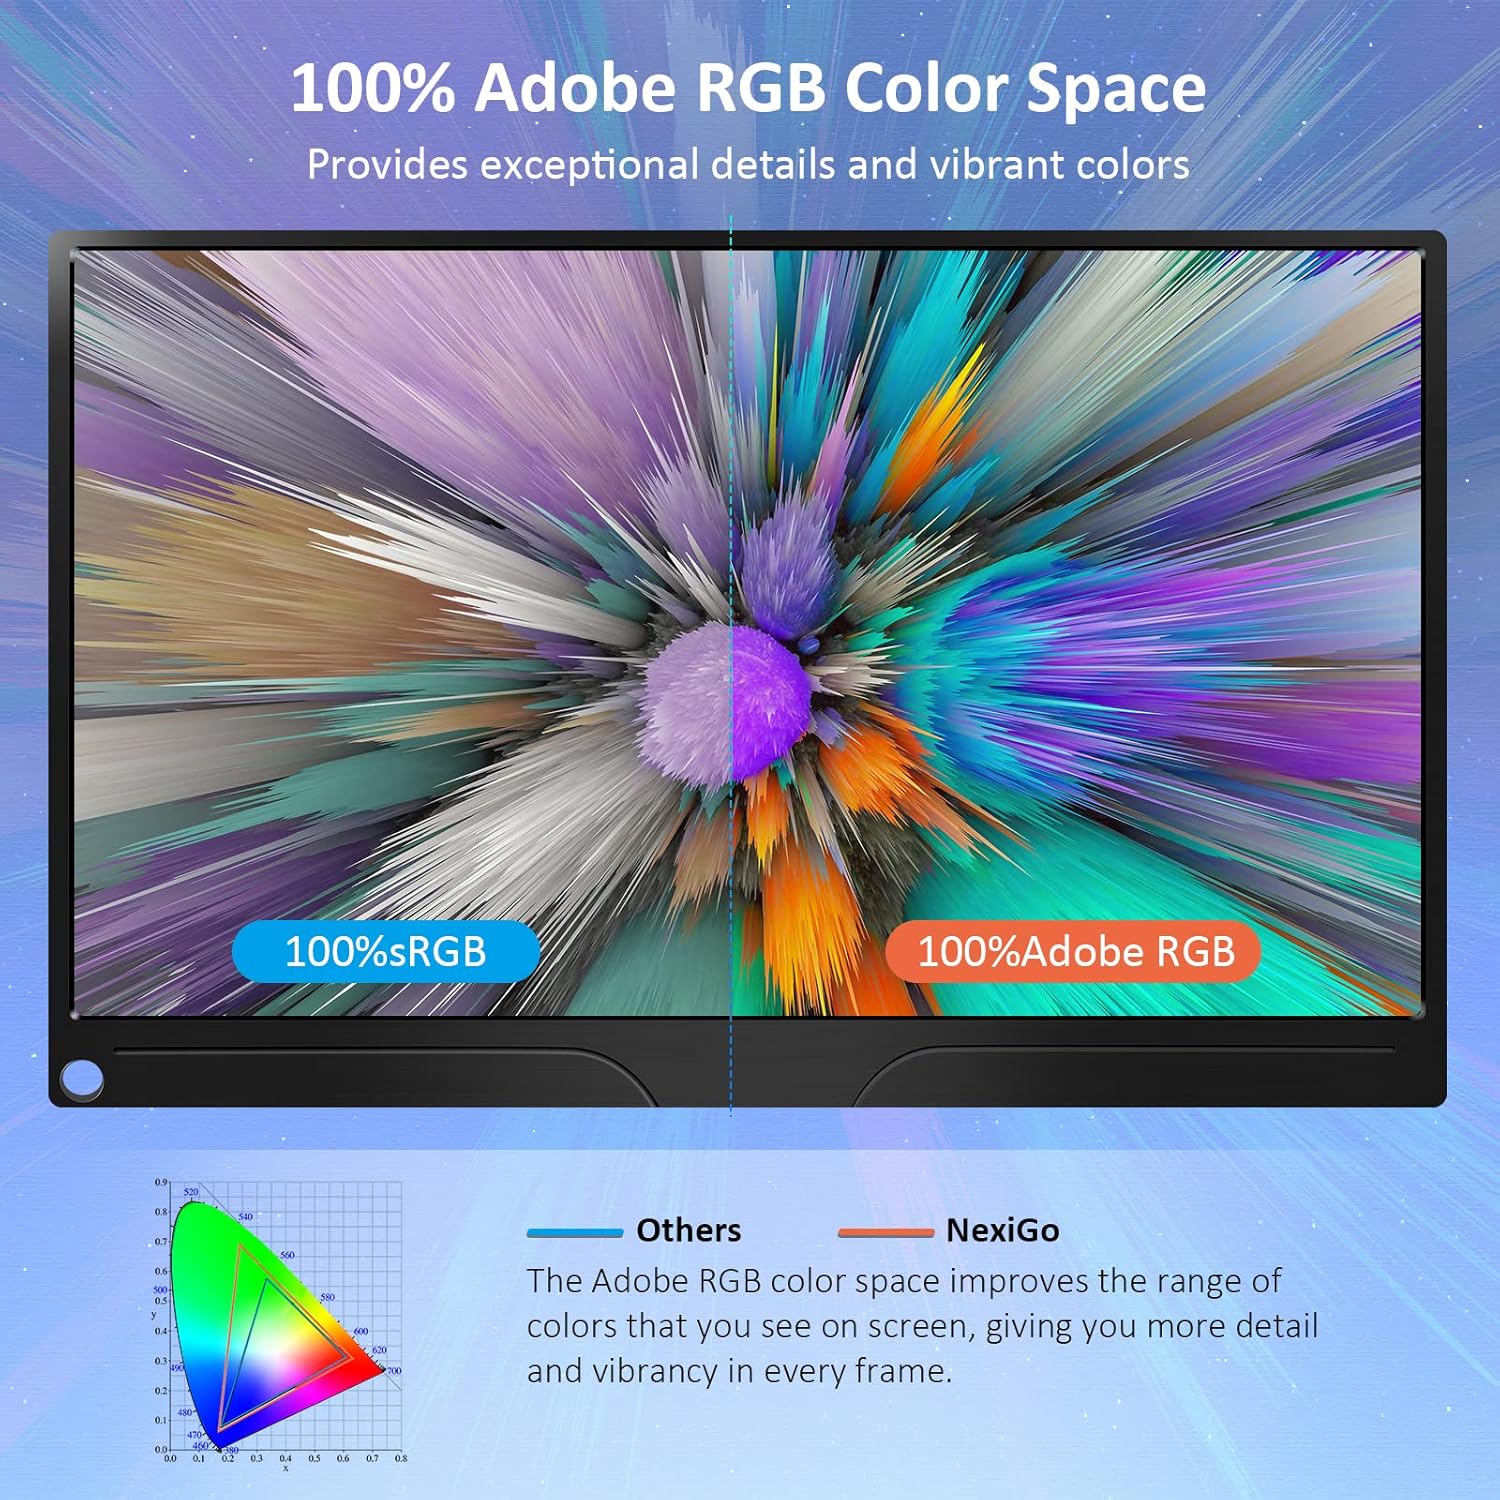
Image: The portable monitor connected to a laptop, demonstrating an extended display setup.
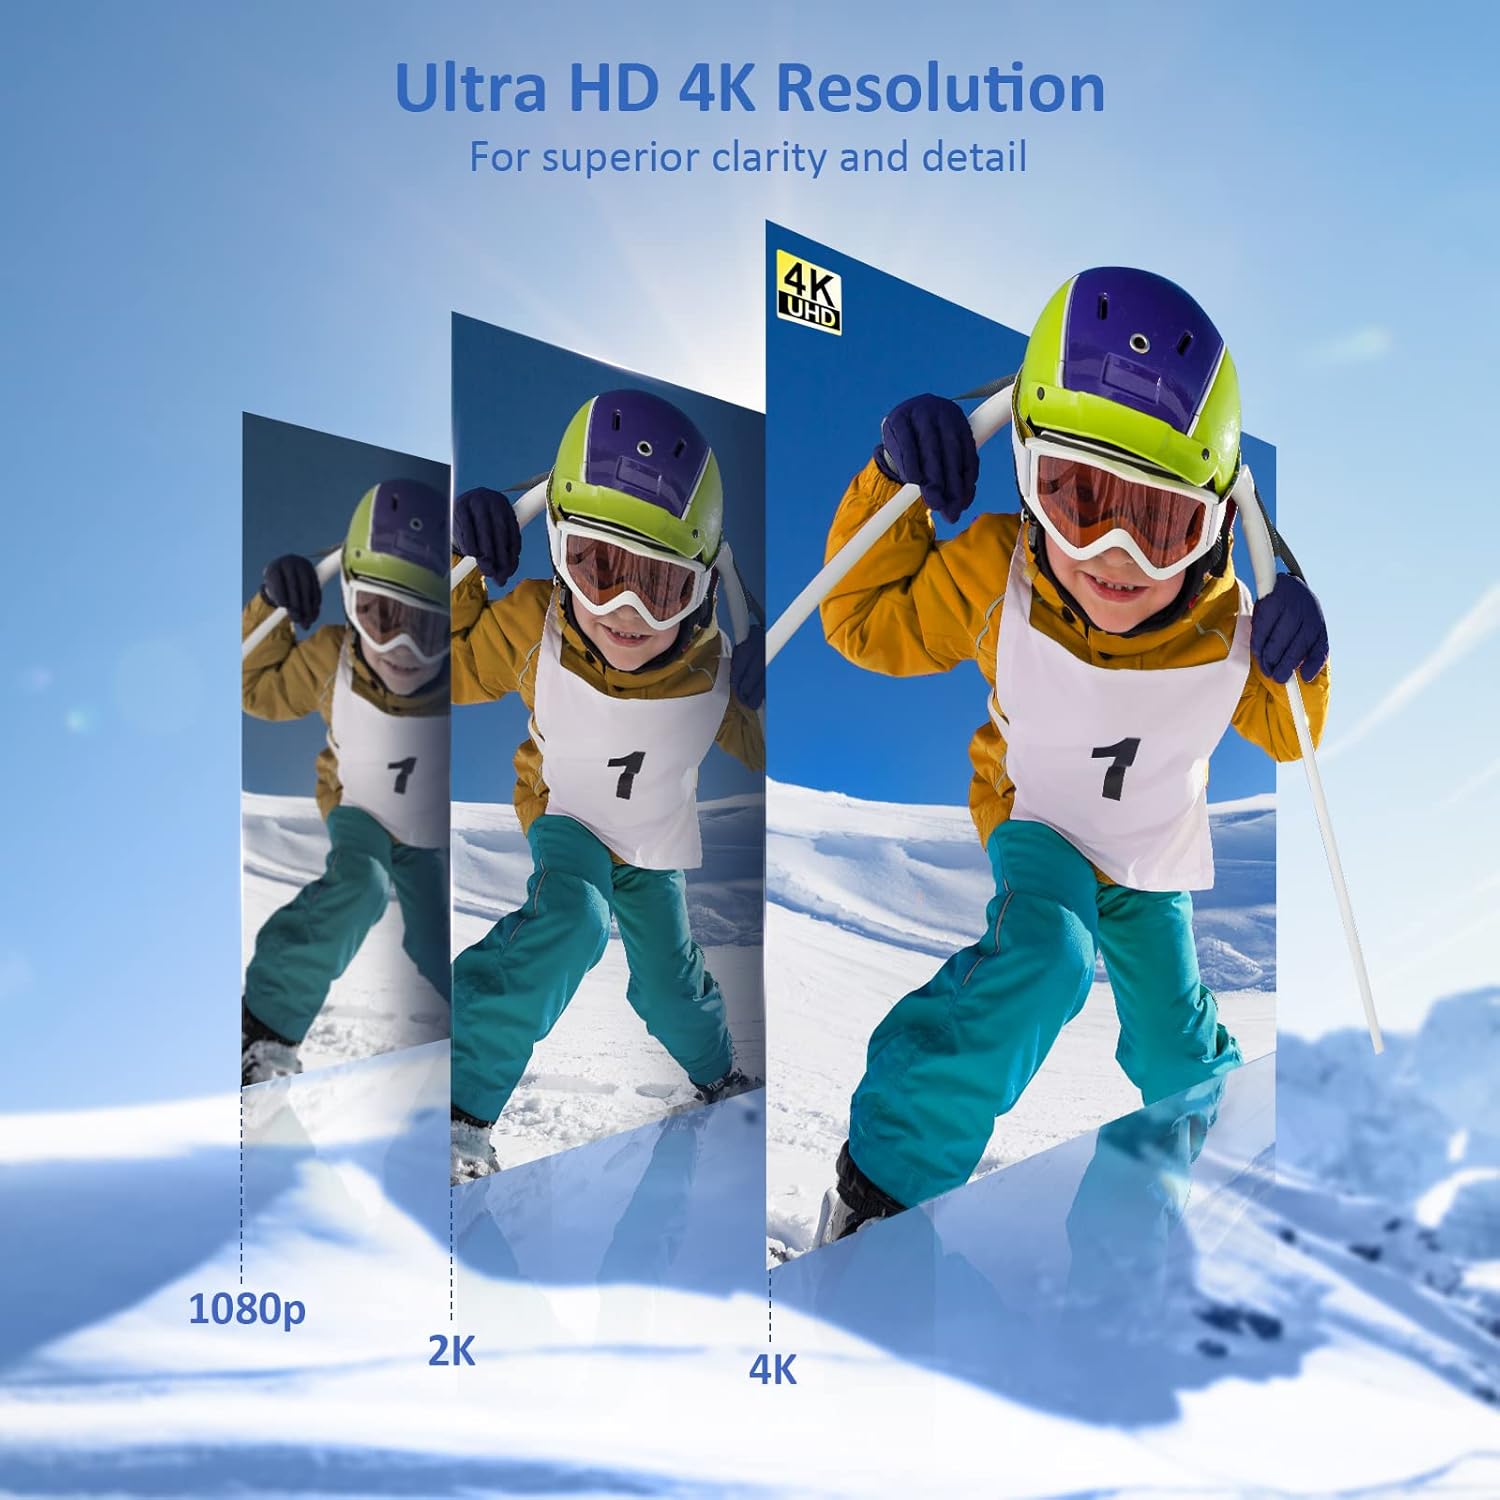
Image: The portable monitor connected to a smartphone, displaying content.
4.3 VESA-Montage
The monitor is compatible with VESA mounts (75x75mm). To mount the monitor, remove the smart cover and attach it to a compatible VESA arm or wall mount using appropriate screws (not included).
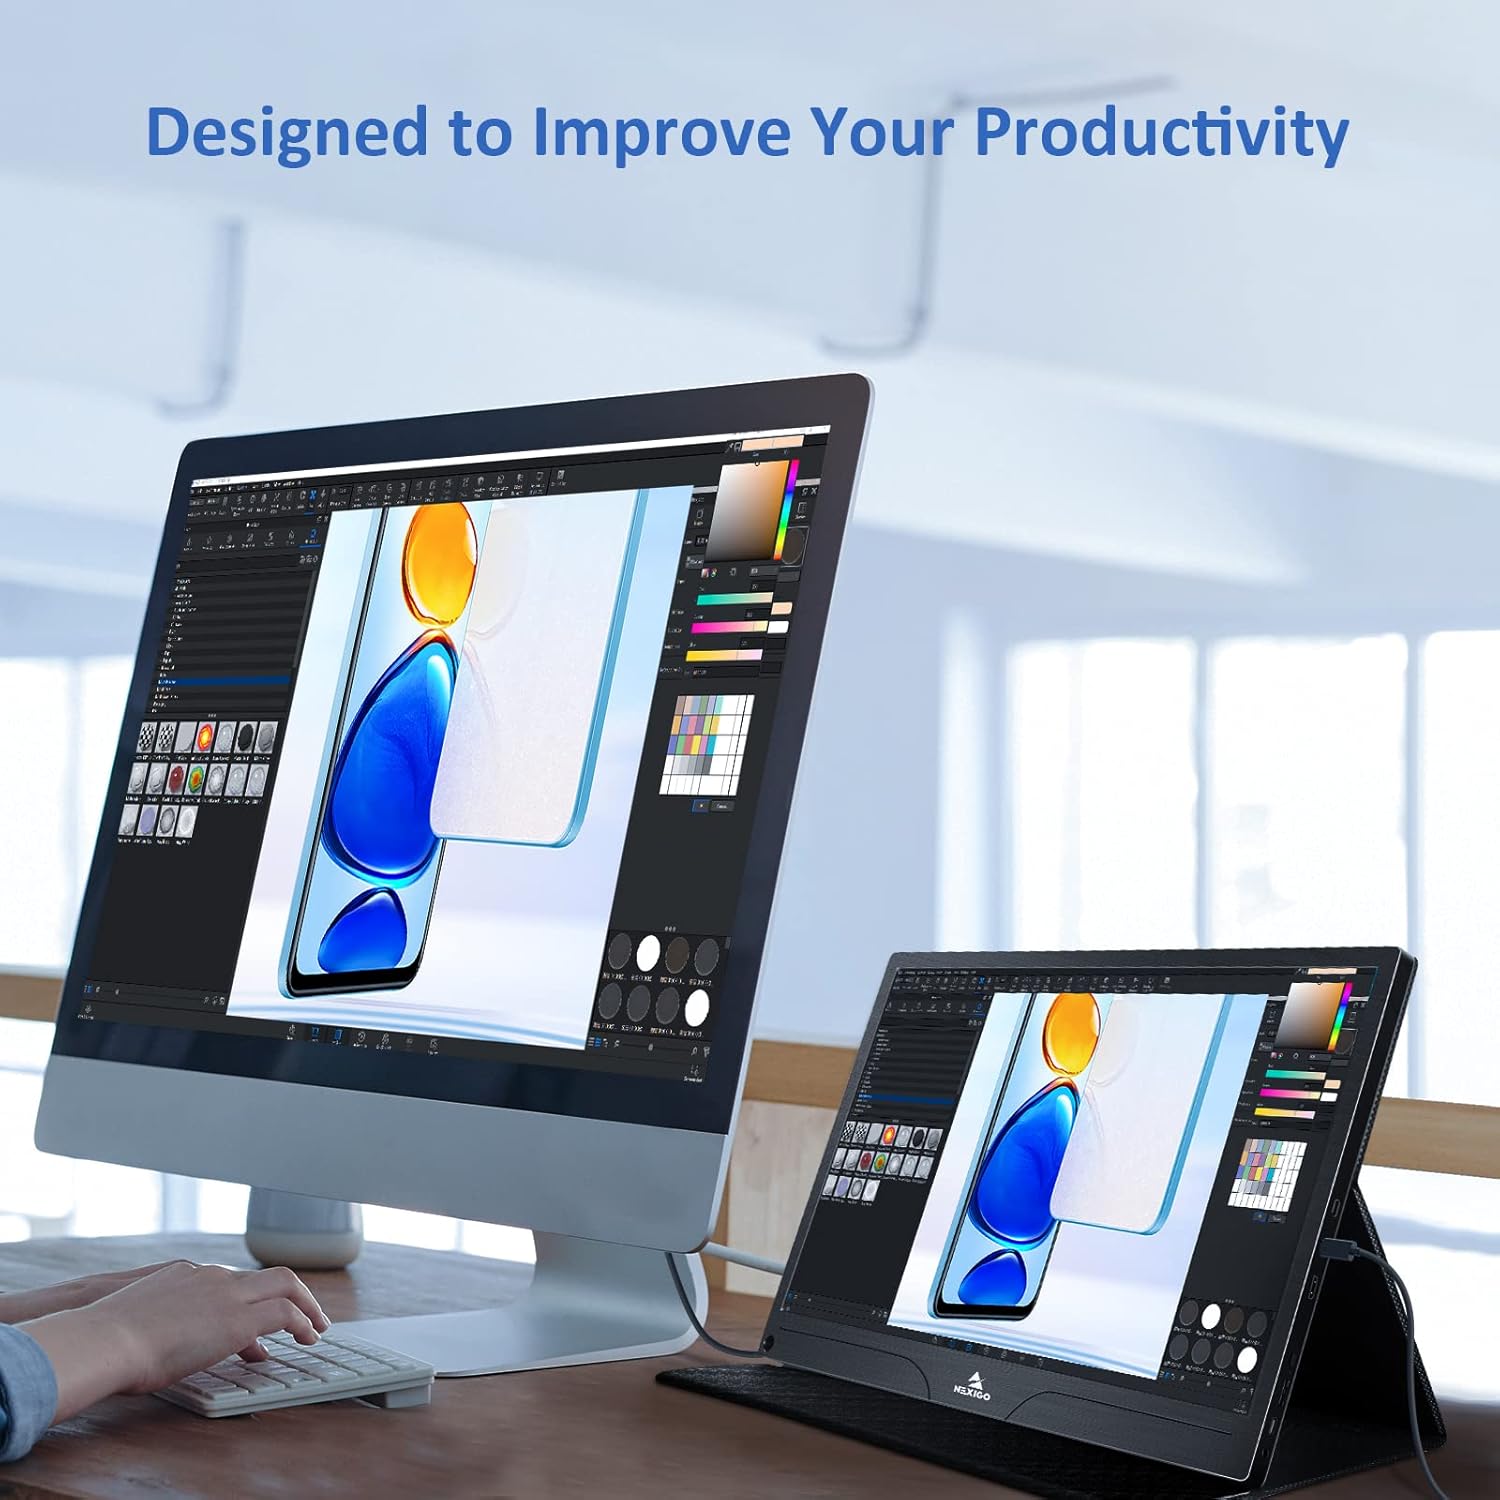
Image: The monitor mounted on a VESA-compatible desk arm.
5. Bedienung des Monitors
5.1 Ein-/Ausschalten
Halten Sie die Netzschalter for approximately 3 seconds to turn the monitor on or off.
5.2 Bildschirmmenü (OSD)
The OSD menu allows you to adjust various display settings. Short press the Netzschalter to open the OSD menu. Use the Multifunktionstaste um zu navigieren und Optionen auszuwählen.
- Oben unten: Move the Multi-Function Key up or down to navigate through menu options.
- Eingeben: Press the Multi-Function Key inward to select an option or confirm a setting.
- Ausfahrt: Press the Power Button to exit the current menu or the OSD.
5.3 Anzeigeeinstellungen
- Helligkeit Kontrast: Passen Sie die Gesamthelligkeit und den Kontrast des Displays an.
- Farbeinstellungen: Farbtemperatur, Farbton und Sättigung anpassen.
- HDR-Modus: Aktivieren oder deaktivieren Sie High Dynamic Range für eine verbesserte Bildqualität bei kompatiblen Inhalten.
- FreeSync: Enable FreeSync for smoother gaming experiences by synchronizing the monitor's refresh rate with your GPU's frame rate.
- Seitenverhältnis: Passen Sie das Seitenverhältnis des Bildschirms an (z. B. 16:9, 4:3).
5.4 Audioeinstellungen
Adjust the volume of the built-in dual speakers or connected headphones through the OSD menu.
6. Wartung
- Reinigen des Bildschirms: Benutzen Sie ein weiches, fusselfreies Tuch, dampMit Wasser oder einem nicht scheuernden Bildschirmreiniger abspülen. Flüssigkeit nicht direkt auf den Bildschirm sprühen.
- Reinigung des Casing: Wischen Sie den Monitor ab.asing with a soft, dry cloth. Avoid using harsh chemicals or solvents.
- Lagerung: When not in use, store the monitor in a cool, dry place, preferably in its original packaging or smart cover to protect it from dust and scratches.
- Vermeiden Sie extreme Bedingungen: Setzen Sie den Monitor keinen extremen Temperaturen, hoher Luftfeuchtigkeit oder direkter Sonneneinstrahlung aus.
7. Fehlerbehebung
Sollten Sie Probleme mit Ihrem Monitor haben, finden Sie in der folgenden Tabelle häufige Probleme und Lösungen.
| Problem | Mögliche Ursache | Lösung |
|---|---|---|
| Keine Anzeige / Meldung „Kein Signal“ | Falsche Kabelverbindung, unzureichende Stromversorgung, falsche Eingangsquelle. | Ensure cables are securely connected. Verify external power is supplied if needed. Check the input source setting in the OSD menu. |
| Der Monitor lässt sich nicht einschalten. | Keine Stromversorgung, defektes Kabel. | Ensure the power adapter is connected and working. Try a different USB-C cable or power source. |
| Flackernder Bildschirm | Faulty cable, unstable power, incompatible resolution/refresh rate. | Replace the cable. Ensure stable power. Adjust the display resolution or refresh rate on your connected device. |
| Kein Ton | Volume too low, incorrect audio output setting, faulty cable. | Increase volume via OSD or connected device. Ensure the monitor is selected as the audio output device on your source. Check cable connections. |
| OTG port not working | Monitor not powered via full-featured USB-C, device incompatibility. | Ensure the monitor is connected to a device via the full-featured USB-C port that supports OTG functionality. |
8. Spezifikationen
Detailed technical specifications for the NexiGo NG17QH 4K Portable Monitor.
| Besonderheit | Spezifikation |
|---|---|
| Modellnummer | NG17QH |
| Bildschirmgröße | 17.3 Zoll |
| Auflösung | 3840 x 2160 (4K UHD) |
| Panel-Typ | IPS |
| Helligkeit | 400 cd/m² |
| Farbumfang | 100% Adobe RGB |
| Seitenverhältnis | 16:9 |
| Viewing-Winkel | 178° |
| Merkmale | FreeSync, HDR, Eye Care Screen |
| Lautsprecher | Zwei eingebaute Lautsprecher |
| Konnektivität | Full-Featured USB-C (x1), Mini HDMI (x1), OTG USB-C (x1), 3.5mm Audio Jack (x1) |
| VESA-Kompatibilität | 75 x 75 mm |
| Technische Daten | 16.1 x 10.12 x 0.55 Zoll |
| Artikelgewicht | 6.39 Pfund |

Image: Visual comparison of 1080p, 2K, and 4K resolutions, demonstrating the clarity of the 4K display.
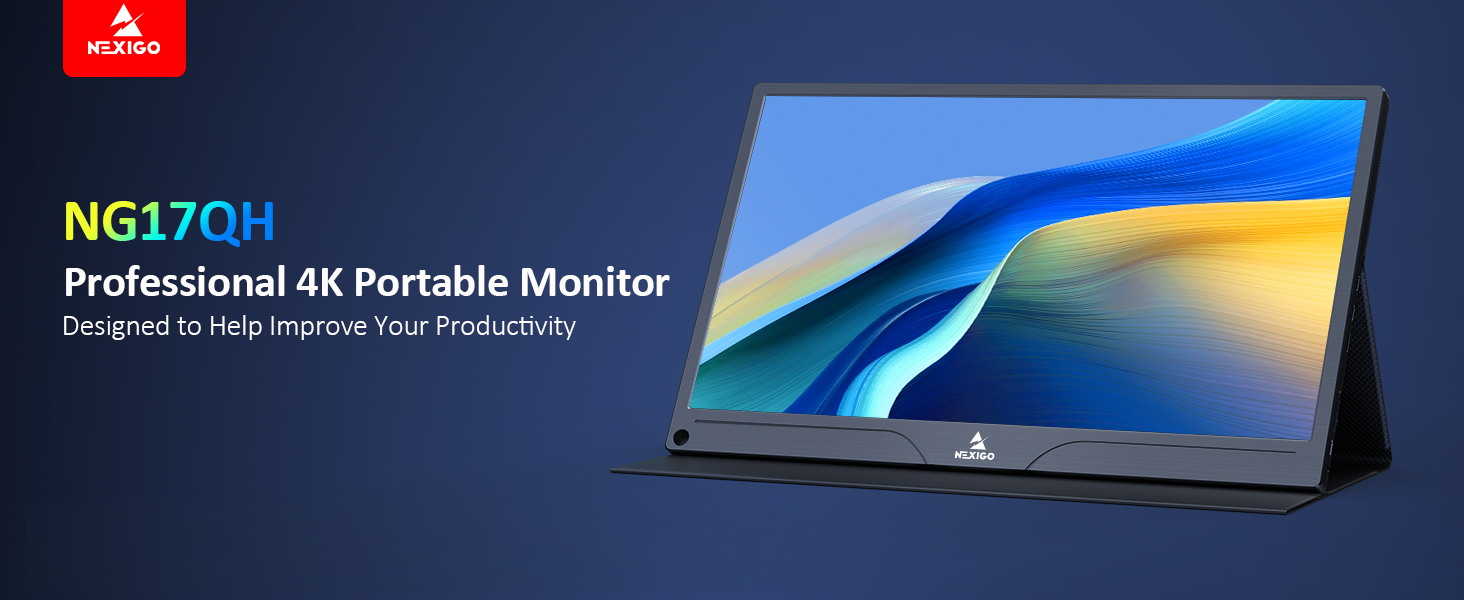
Image: A visual representation of 100% Adobe RGB color space coverage, indicating vibrant and detailed color reproduction.
9. Garantie und Support
Your NexiGo NG17QH Portable Monitor comes with a manufacturer's warranty. For detailed warranty information, product registration, or technical support, please visit the official NexiGo webBesuchen Sie die Website oder kontaktieren Sie direkt den Kundenservice. Bewahren Sie Ihren Kaufbeleg als Kaufnachweis für Garantieansprüche auf.
NexiGo Official WebWebsite: www.nexigo.com


