
1. Einleitung
This manual provides detailed instructions for the setup, operation, and maintenance of your dockteck USB 3.0 to SATA Dual Bay Hard Drive Docking Station. Please read this manual thoroughly before using the device to ensure proper functionality and to prevent data loss.

Image: The dockteck Dual Bay Hard Drive Docking Station, a device designed for external hard drive access and cloning.
2. Packungsinhalt
Überprüfen Sie, ob alle Artikel im Paket vorhanden sind:
- 1 x dockteck HDD Docking Station
- 1 x 12V/3A Power Adapter (cable length: 4.9ft)
- 1 x USB 3.0 Data Cable (cable length: 3.3ft)
- 1 x Bedienungsanleitung (dieses Dokument)
3. Spezifikationen
| Hardware-Schnittstelle | USB 3.0 |
| Marke | dockteck |
| Technische Daten | 5.47 Zoll L x 4.33 Zoll B x 2.6 Zoll H |
| Hardware-Plattform | Windows 7, 8, 10, Mac OS X, Linux |
| Speicherkapazität | Bis zu 20 TB |
| Kompatible Geräte | Desktop, PC (2.5''/3.5'' SATA SSDs/HDDs) |
| Formfaktor der Festplatte | 2.5 Zoll, 3.5 Zoll |
| Supported Devices Quantity | 2 |
| Datenübertragungsrate | 5 Gigabit pro Sekunde (USB 3.0) |
| Gehäusematerial | Acrylnitril-Butadien-Styrol (ABS) |
| Artikelgewicht | 0.5 Pfund |
| Modellnummer | DH0001 |

Image: The docking station showing its dimensions and compatibility with Windows, Mac OS, and Linux operating systems.
4. Einrichtung
4.1 Installieren von Festplatten
- Stellen Sie sicher, dass die Dockingstation ausgeschaltet und vom Computer getrennt ist.
- Gently open the dustproof socket cover.
- Insert your 2.5-inch or 3.5-inch SATA HDD/SSD into the appropriate bay (Bay A for Source, Bay B for Target during cloning). Ensure the drive is firmly seated.

Image: Illustration of 2.5-inch and 3.5-inch SATA hard drives being inserted into the dual bays of the docking station, demonstrating versatile compatibility.
4.2 Anschluss an Strom und Computer
- Connect the 12V/3A power adapter to the DC 12V port on the docking station and then to a power outlet.
- Connect the USB 3.0 data cable to the USB 3.0 port on the docking station and the other end to an available USB port on your computer.
- Press the 'ON/OFF' button to power on the docking station. The blue LED indicators will light up.

Image: Step-by-step guide showing how to connect the power cable and USB 3.0 data cable to the docking station for read/write functionality.
5. Bedienungsanleitung
5.1 Read and Write Function
Once connected to your computer and powered on, the installed hard drives will be recognized as external storage devices. You can access, transfer, and manage fileGenauso wie bei jeder anderen externen Festplatte.
- The blue LED indicators will flash when the hard disk is being read from or written to.
- For optimal performance, connect to a USB 3.0 port on your computer.

Image: Visual representation of data transfer speeds, highlighting 5Gbps with USB 3.0 compared to 480Mbps with USB 2.0.
5.2 Offline-Klonfunktion
The docking station supports offline cloning, allowing you to duplicate a source drive to a target drive without a computer connection. Wichtig: The target drive's capacity must be equal to or larger than the source drive's capacity. All data on the target drive will be overwritten.
- Insert the source drive into Bay A and the target drive into Bay B.
- Ensure the docking station is powered on but nicht connected to a computer via USB.
- Press and hold the 'Clone' button for 3 seconds until the 25% LED indicator starts flashing.
- Release the 'Clone' button, then quickly press it again to confirm and start the cloning process.
- Die LED-Anzeigen (25 %, 50 %, 75 %, 100 %) leuchten nacheinander auf, um den Fortschritt des Klonvorgangs anzuzeigen.
- Once all LEDs are solid blue, the cloning process is complete.
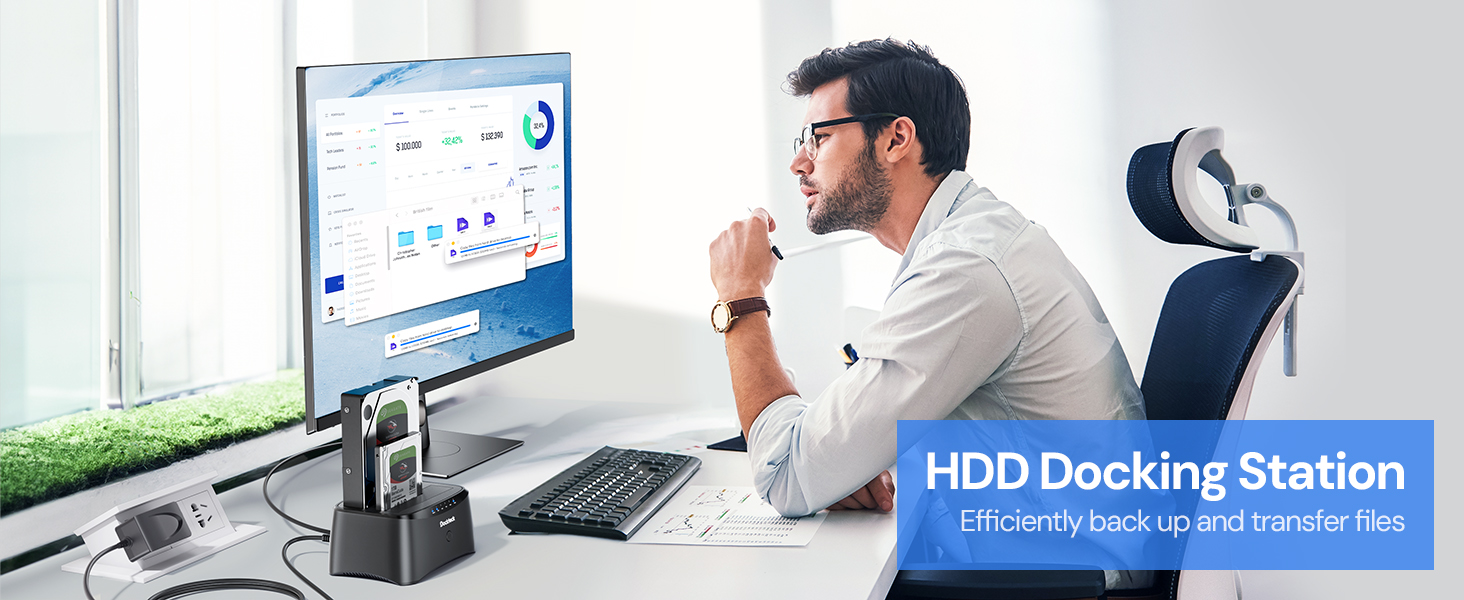
Image: Detailed steps for initiating and monitoring the offline cloning process, showing the source (A) and target (B) drives and the progress LEDs.
Warning: Back up all data on both source and target disks before cloning to prevent accidental data loss.
Video: An official product video demonstrating the setup and basic operation of the Hard Drive Docking Station.
6. Wartung
- Staubdichte Abdeckung: The docking station features a unique dust-proof design cover plate. Keep the covers closed when not in use to protect the SATA connectors from dust and debris.
- Reinigung: Reinigen Sie die Außenseite der Dockingstation mit einem weichen, trockenen Tuch. Verwenden Sie keine flüssigen Reiniger oder Lösungsmittel.
- Antirutschpads: The silicone anti-skid pads on the bottom ensure stability during operation.
- Automatischer Schlafmodus: The device automatically enters sleep mode after 3 minutes of inactivity to conserve energy and extend drive lifespan.

Bild: Nahaufnahme views of the docking station highlighting its dustproof socket cover, LED indicators, included power adapter, and anti-slip pads.
7. Fehlerbehebung
- Issue: Hard drive not detected by computer.
- Stellen Sie sicher, dass die Dockingstation eingeschaltet ist und das USB-Kabel sowohl mit der Dockingstation als auch mit dem Computer fest verbunden ist.
- Versuchen Sie, eine Verbindung zu einem anderen USB-Anschluss an Ihrem Computer herzustellen.
- Prüfen Sie, ob die Festplatte ordnungsgemäß im Schacht sitzt.
- For new drives, they may need to be initialized and formatted in Disk Management (Windows) or Disk Utility (Mac OS) before they appear.
- Problem: Offline-Klonen schlägt fehl oder startet nicht.
- Stellen Sie sicher, dass die Dockingstation angeschlossen ist. nicht connected to a computer via USB during the cloning process.
- Confirm that the target drive (Bay B) has a capacity equal to or greater than the source drive (Bay A).
- Press and hold the 'Clone' button for 3 seconds until the 25% LED flashes, then release and press again quickly to confirm.
- If the process still doesn't start, try using different drives to rule out drive issues.
- Problem: Langsame Übertragungsgeschwindigkeiten.
- Stellen Sie sicher, dass Ihr Computer mit einem USB-3.0-Anschluss verbunden ist. USB-2.0-Anschlüsse führen zu deutlich langsameren Übertragungsgeschwindigkeiten.
- The actual transfer speed can be affected by the performance of the hard drive itself.
8. Garantieinformationen
The dockteck USB 3.0 to SATA Dual Bay Hard Drive Docking Station comes with a 1 Jahr Garantie Diese Garantie gilt ab Kaufdatum und deckt Herstellungsfehler und Funktionsstörungen bei normalem Gebrauch ab. Sie deckt keine Schäden ab, die durch Missbrauch, Unfälle, unbefugte Änderungen oder Naturkatastrophen verursacht wurden.
9. Kundendienst
If you encounter any issues or have questions regarding your dockteck product, please contact our customer support team. Refer to the contact information provided in your product packaging or visit the official dockteck webWebsite für Unterstützung.
Für weitere Informationen und Unterstützung besuchen Sie bitte die dockteck Store on Amazon.