
1. Wichtige Sicherheitshinweise
Bitte lesen und verstehen Sie alle Sicherheitshinweise, bevor Sie dieses Produkt verwenden. Die Nichtbeachtung dieser Anweisungen kann zu Stromschlag, Brand oder schweren Verletzungen führen.
- Elektrische Sicherheit: Always ensure the charger is disconnected from the power outlet before making or breaking connections to the battery. Do not expose the charger to rain or wet conditions.
- Batteriesicherheit: Batteries can produce explosive gases. Ensure adequate ventilation when charging. Wear eye protection and protective clothing. Avoid sparks or flames near the battery.
- OBD2 Scanner Safety: Do not attempt to connect or disconnect the scanner while the vehicle's ignition is on or the engine is running. This could damage the vehicle's electronic system or the scanner.
- Allgemeine Vorsichtsmaßnahmen: Keep out of reach of children. Do not operate if the product or cables are damaged. Use only as intended.
2. Produktüberschreitungview
2.1 MOTOPOWER MP00205B 12V Battery Charger/Maintainer
The MOTOPOWER MP00205B is an automatic 12-volt battery charger and maintainer designed for lead-acid, flooded, or sealed maintenance-free batteries (AGM and gel cell). It features a compact and durable design, utilizing pulse charging technology to optimize battery performance and extend life. The charger incorporates multiple safety protections, including spark-free technology and automatic shut-off to prevent overcharging.

Figure 1: MOTOPOWER MP00205B 12V Battery Charger Maintainer in use.
2.2 MOTOPOWER MP69040 OBD2 Diagnostic Scanner
The MOTOPOWER MP69040 is an OBD2 diagnostic scanner designed to support all OBDII protocols, including KWP2000, J1850 VPW, ISO9141, J1850 PWM, and CAN. It is compatible with most 1996 US-based, 2003 EU-based, and 2008 Asian-based vehicles, as well as newer OBD2 and CAN vehicles. The scanner features a 2.8-inch TFT color screen and a user-friendly interface for efficient vehicle diagnostics.
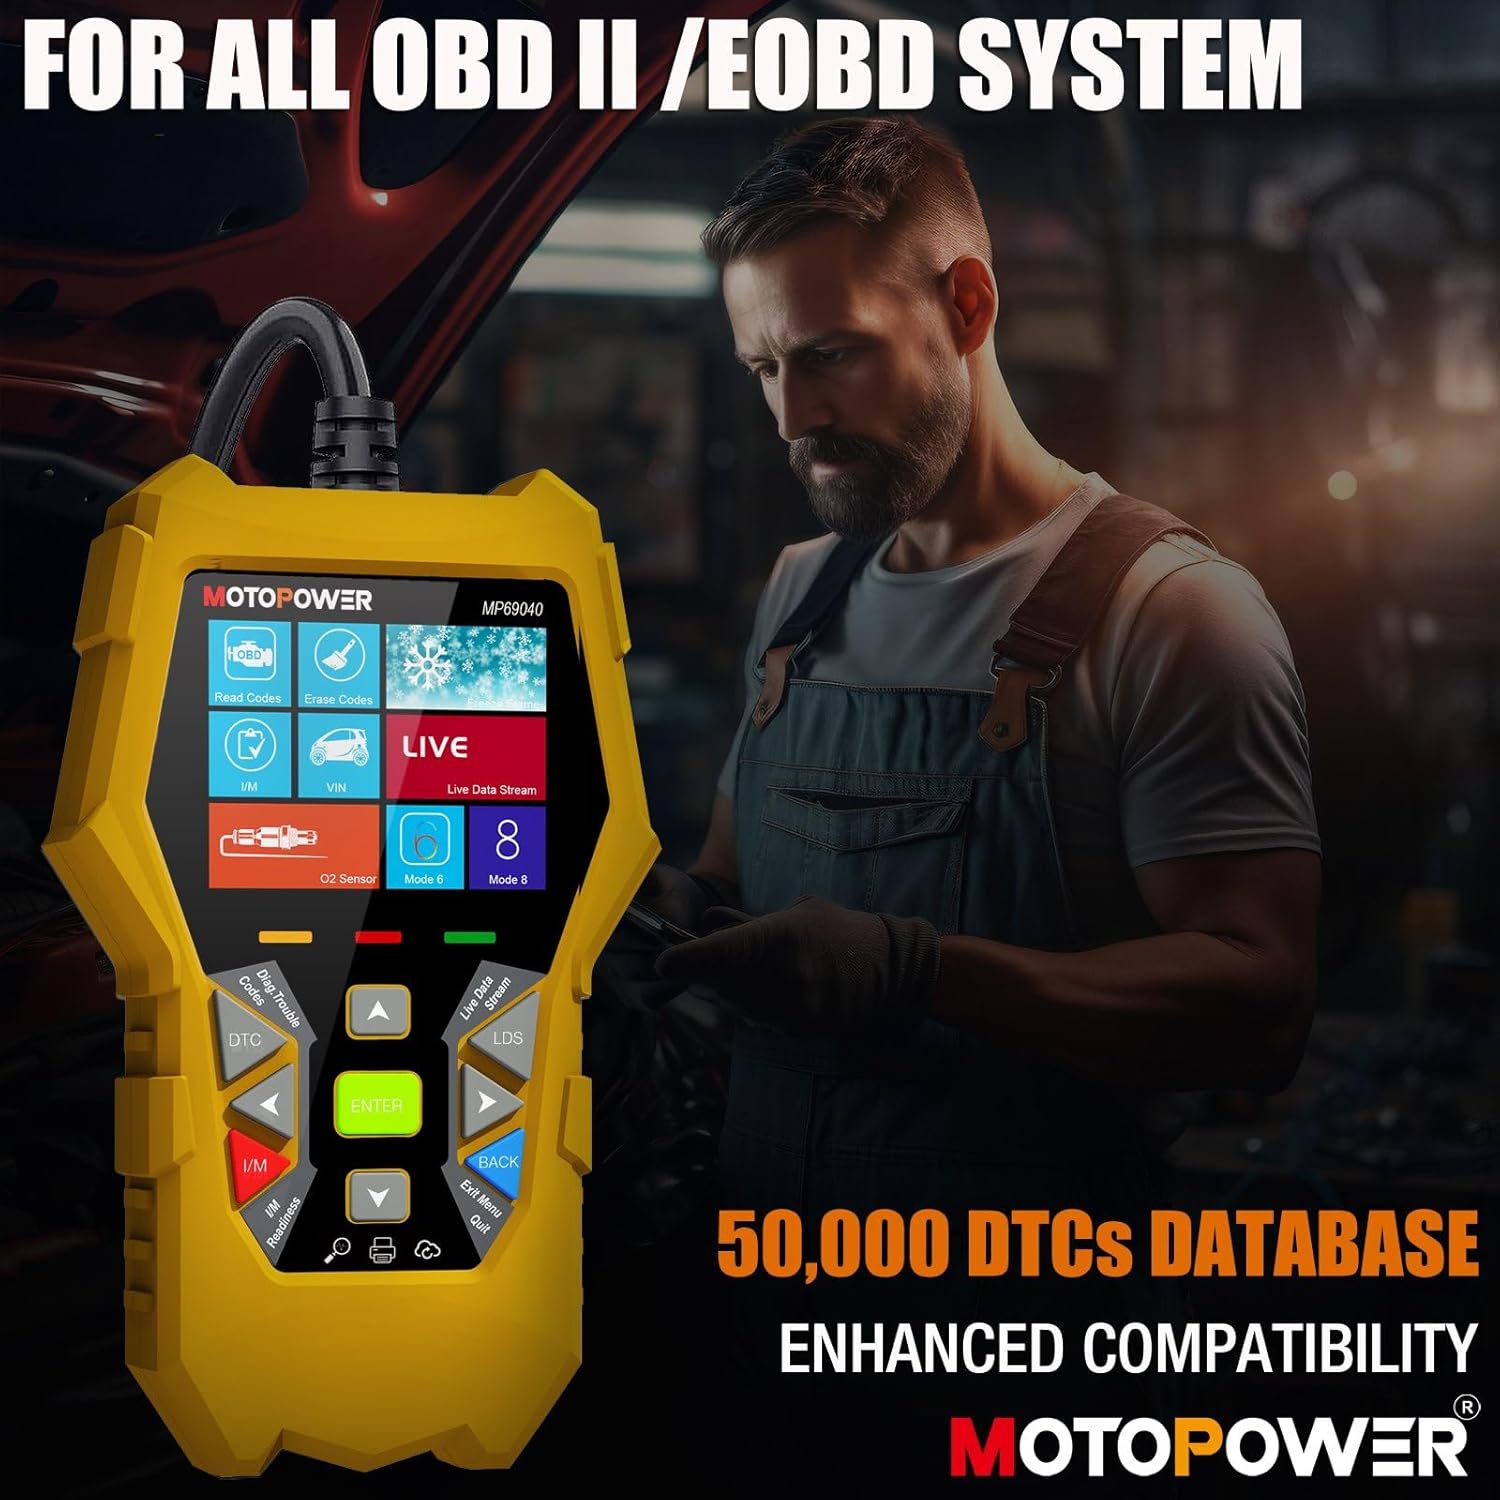
Figure 2: MOTOPOWER MP69040 OBD2 Diagnostic Scanner.
3. Packungsinhalt
Überprüfen Sie, ob alle Artikel im Paket vorhanden sind:
- MOTOPOWER MP00205B 12V Battery Charger/Maintainer
- Alligator Clamp Harness (50amp)
- Ring Terminal Harness (7.5amp fuse protected)
- MOTOPOWER MP69040 OBD2 Diagnostic Scanner

Figure 3: MP00205B Charger and its accessories.
4. MOTOPOWER MP00205B Charger/Maintainer Setup and Operation
4.1 Anschließen des Ladegeräts
- Stellen Sie sicher, dass das Ladegerät vom Stromnetz getrennt ist.
- Wählen Sie den passenden Anschluss:
- Alligator Clamps: Verbinden Sie die roteamp an den Pluspol (+) der Batterie und den schwarzenamp an den Minuspol (-) der Batterie.
- Ringklemmen: If permanently installing, connect the red ring terminal to the positive (+) battery post and the black ring terminal to the negative (-) battery post.
- Connect the SAE quick-release connector from the chosen harness to the charger's output cable.
- Plug the charger into a standard 120V AC power outlet.
4.2 Ladevorgang
The MP00205B operates automatically. Once connected and powered, it will begin its multi-stagDer Ladevorgang:
- Entsulfatierung: If the battery is deeply discharged or sulfated, the charger may enter a desulfation stage to recover the battery.
- Laden: The charger delivers a steady current to bring the battery to a full charge.
- Absorption: The charger switches to a constant voltage, gradually reducing current as the battery approaches full capacity. This stage includes pulse charging technology to maximize battery performance.
- Charged/Maintain: Once fully charged, the charger automatically switches to maintenance mode, providing a float charge at 13.6V to keep the battery at optimal levels indefinitely without overcharging.
The LED indicators on the charger will show the current charging stage. The device features spark-free technology for enhanced safety during connection and disconnection.

Figure 4: Charger indicating Pulse Boost Technology and charging stages.

Figure 5: Charger displaying automatic operation and safety protections.
5. MOTOPOWER MP69040 OBD2 Scanner Setup and Operation
5.1 Anschließen des Scanners
- Suchen Sie den 16-poligen Datenverbindungsstecker (DLC) des Fahrzeugs, der sich üblicherweise unter dem Armaturenbrett auf der Fahrerseite befindet.
- Stellen Sie sicher, dass die Zündung des Fahrzeugs ausgeschaltet ist.
- Plug the scanner's OBD2 cable into the vehicle's DLC.
- Drehen Sie die Zündung des Fahrzeugs in die Position EIN (Motor kann ausgeschaltet sein). Der Scanner schaltet sich automatisch ein.
5.2 Grundfunktionen
The MP69040 scanner provides various diagnostic functions through its user-friendly interface:
- Codes lesen: Ruft Diagnosefehlercodes (DTCs) vom Fahrzeugcomputer ab.
- Codes löschen: Clears DTCs from the vehicle's computer. Hinweis: Das Löschen von Fehlercodes behebt nicht das zugrunde liegende Problem.
- Lebensdaten: Displays real-time data streams from the vehicle's sensors, such as Engine RPM, Fuel Pressure, and more.
- I/M-Bereitschaft: Prüft den Status emissionsrelevanter Überwachungseinrichtungen, um festzustellen, ob das Fahrzeug für eine Abgasuntersuchung bereit ist.
- Vehicle Identification (VIN): Reads the Vehicle Identification Number and other vehicle information.
- DTC-Bibliothek: Bietet Definitionen für generische und herstellerspezifische Codes.
- Aktualisieren: Supports lifetime free online updates for the latest functions and vehicle compatibility.

Figure 6: MP69040 Scanner user interface.

Figure 7: Key features of the MP69040 Scanner.

Figure 8: Live Data display on the MP69040 Scanner.
6. Wartung
- Reinigung: Reinigen Sie die Geräte mit einem weichen, trockenen Tuch. Verwenden Sie keine Scheuermittel oder Lösungsmittel.
- Lagerung: Store both the charger and scanner in a cool, dry place away from direct sunlight and extreme temperatures. Ensure cables are neatly coiled to prevent damage.
- Kabelinspektion: Regularly inspect all cables and connectors for any signs of damage, fraying, or corrosion. Replace if necessary.
7. Fehlerbehebung
7.1 MP00205B Charger/Maintainer
- Ladegerät schaltet sich nicht ein: Check the AC power connection. Ensure the outlet is functional. Verify the battery connections are secure.
- Ladeanzeige leuchtet nicht: Bestätigen Sie die Batterielautstärketage is above 2V. If the battery is severely discharged, it might take a few minutes for the charger to detect it. Ensure proper polarity.
- Charger not maintaining charge: Ensure the charger remains connected to both the AC outlet and the battery. Check for any loose connections.
7.2 MP69040 OBD2 Scanner
- Scanner lässt sich nicht einschalten: Ensure the OBD2 cable is securely connected to the vehicle's DLC. Verify the vehicle's ignition is in the ON position.
- Kommunikationsfehler: Check the vehicle's ignition status. Ensure the OBD2 cable is not damaged. Try connecting to a different vehicle (if available) to rule out a vehicle-specific issue. Verify the vehicle is OBDII compliant.
- Bildschirm eingefroren: Trennen Sie den Scanner vom Fahrzeug, warten Sie einige Sekunden und schließen Sie ihn wieder an.
8. Spezifikationen
8.1 MOTOPOWER MP00205B Charger/Maintainer
| Spezifikation | Wert |
|---|---|
| Eingangslautstärketage | 120V AC (Standard) |
| Ausgangsvolumentage | 12 Volt Gleichstrom |
| Ausgangsstrom | 1000 mA (1 A) |
| Kabellänge | Up to 8.5FT (18AWG UL standard) |
| Sicherheitsfunktionen | Spark-free, Overcharge Protection |
| Zertifizierungen | CE, FCC, UL |
8.2 MOTOPOWER MP69040 OBD2 Scanner
| Spezifikation | Wert |
|---|---|
| Anzeige | 2.8-Zoll-TFT-Farbbildschirm |
| Unterstützte Protokolle | KWP2000, J1850 VPW, ISO9141, J1850 PWM, CAN |
| Fahrzeugkompatibilität | 1996 US-based, 2003 EU-based, 2008 Asian-based and newer OBD2/CAN vehicles (excluding new energy/hybrid) |
| DTC-Datenbank | Mehr als 50,000 Codes |
| Sprachen | 10 integrierte Sprachen |
9. Garantie und Support
MOTOPOWER products are designed for reliability and performance. For warranty information, technical support, or service inquiries, please contact MOTOPOWER customer support through their official webBitte wenden Sie sich an den Kundendienst oder den Händler, bei dem Sie das Produkt gekauft haben. Halten Sie bitte Ihre Produktmodellnummer und das Kaufdatum bereit, wenn Sie den Kundendienst kontaktieren.