1. Einleitung
This manual provides comprehensive instructions for the Andoer Mini Compact Digital Camera. This portable device is designed for capturing 1080P photos and videos, featuring a built-in LCD screen, flash, and rechargeable battery. It is suitable for beginners and casual users seeking a simple and functional camera.
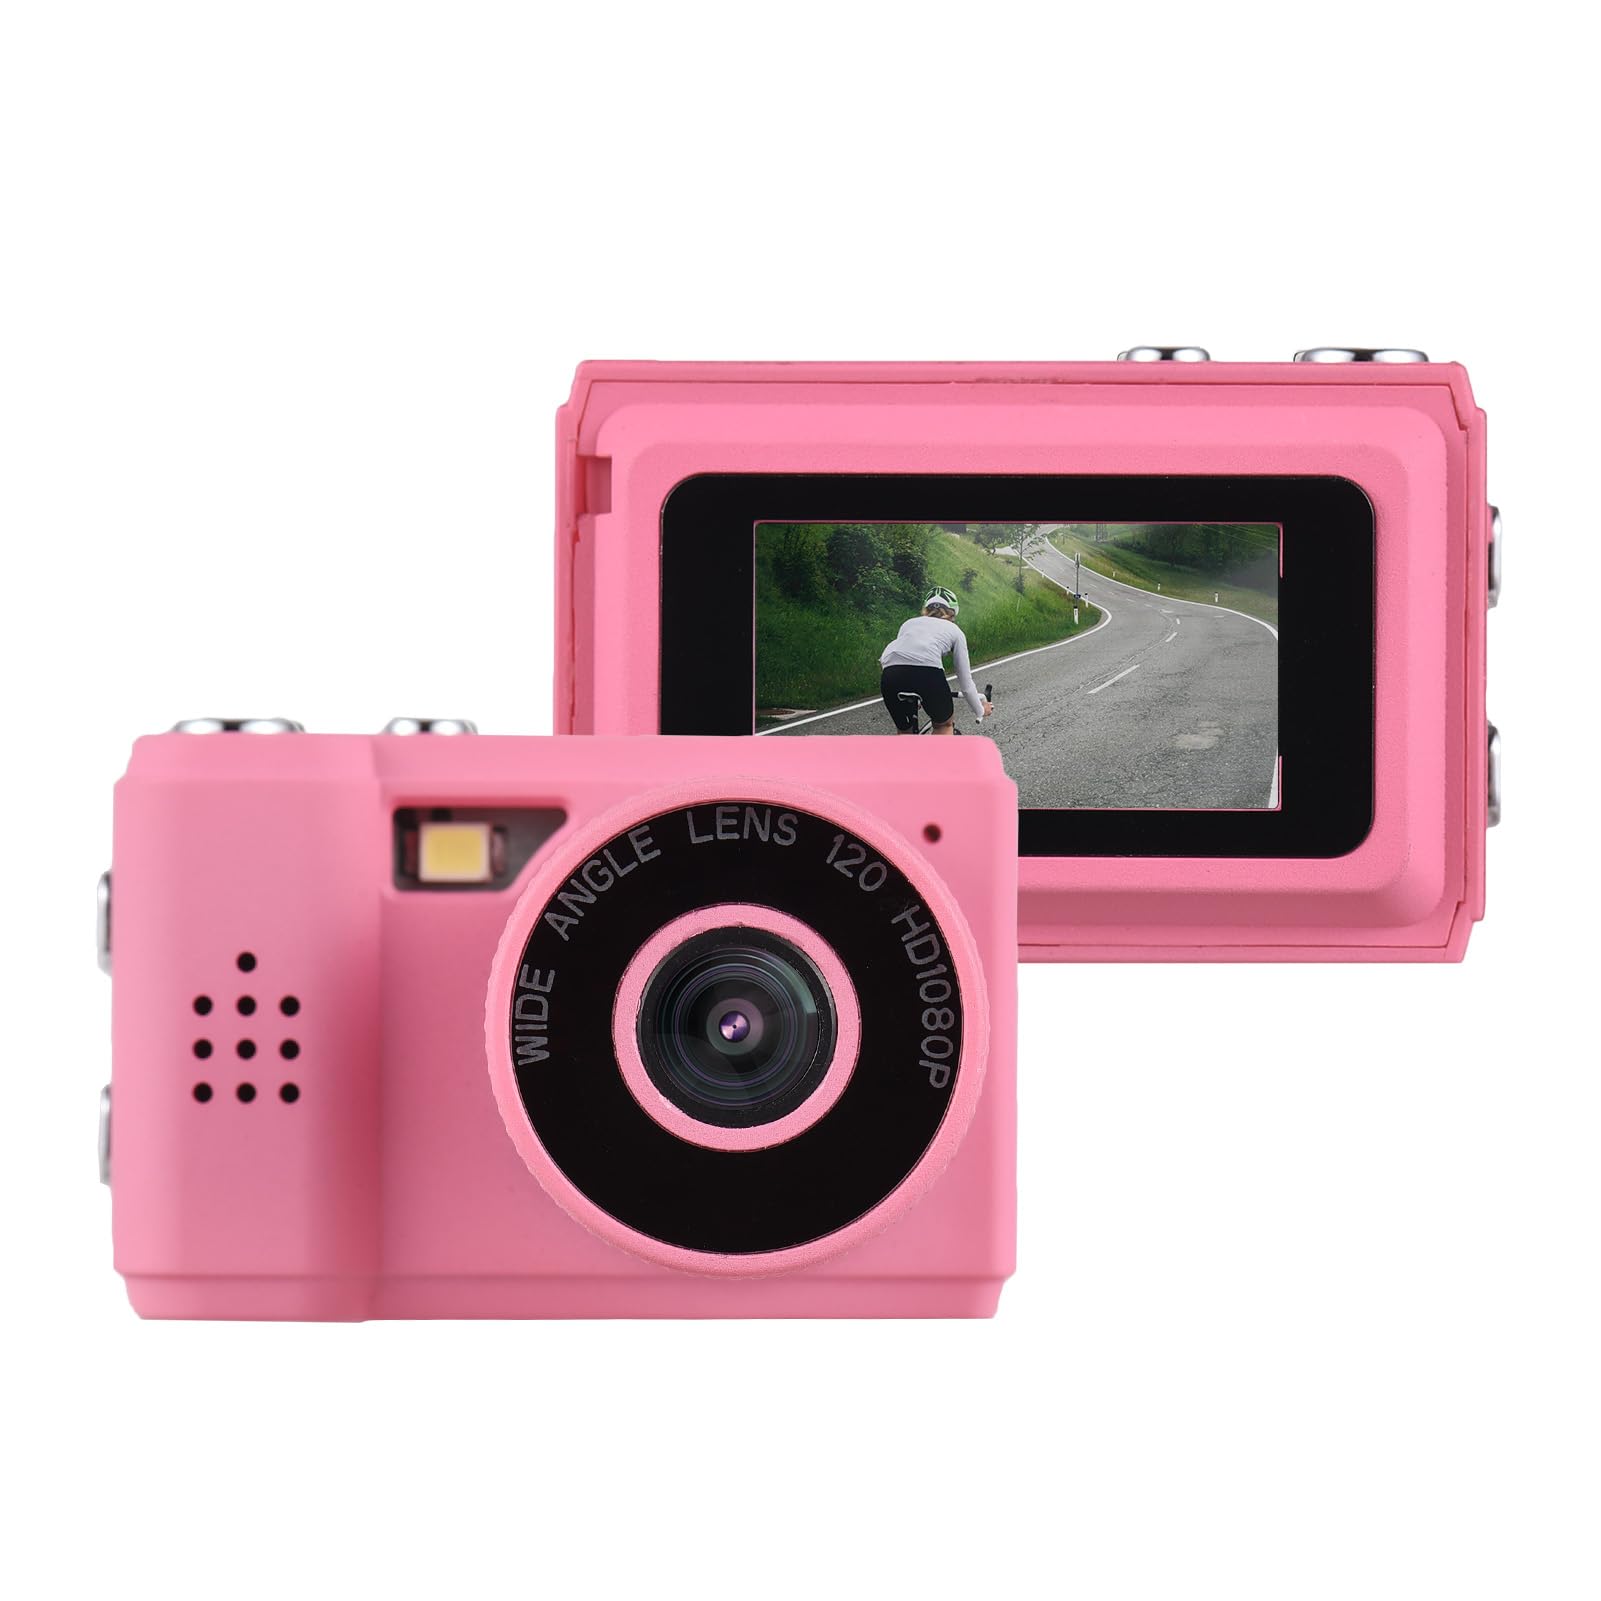
Image: The Andoer Mini Compact Digital Camera, demonstrating its compact size when held in a hand.
2. Lieferumfang
Prüfen Sie nach dem Öffnen der Verpackung, ob alle Komponenten vorhanden sind:
- Kameragehäuse
- Accessories (e.g., USB charging cable, strap)
3. Produktmerkmale
The Andoer Mini Compact Digital Camera offers the following key features:
- Super mini size, with a net weight of only 18g, ensuring portability.
- Capable of capturing both still images and 1080P videos.
- Integrated LCD screen for direct viewAufnahme von Fotos und Videos.
- Built-in flash for improved low-light photography.
- Includes 5 filter effects for creative photo enhancements.
- Built-in rechargeable battery, chargeable via the included USB cable.
4. Einrichtung
4.1 Laden des Akkus
The camera is equipped with a built-in rechargeable lithium-ion battery. Before initial use, fully charge the battery.
- Locate the USB charging port on the camera.
- Connect one end of the provided USB charging cable to the camera's port.
- Verbinden Sie das andere Ende des USB-Kabels mit einer kompatiblen USB-Stromquelle (z. B. USB-Anschluss am Computer, USB-Netzteil).
- Die Ladeanzeigeleuchte leuchtet während des Ladevorgangs und erlischt normalerweise oder ändert ihre Farbe, wenn der Akku vollständig geladen ist.
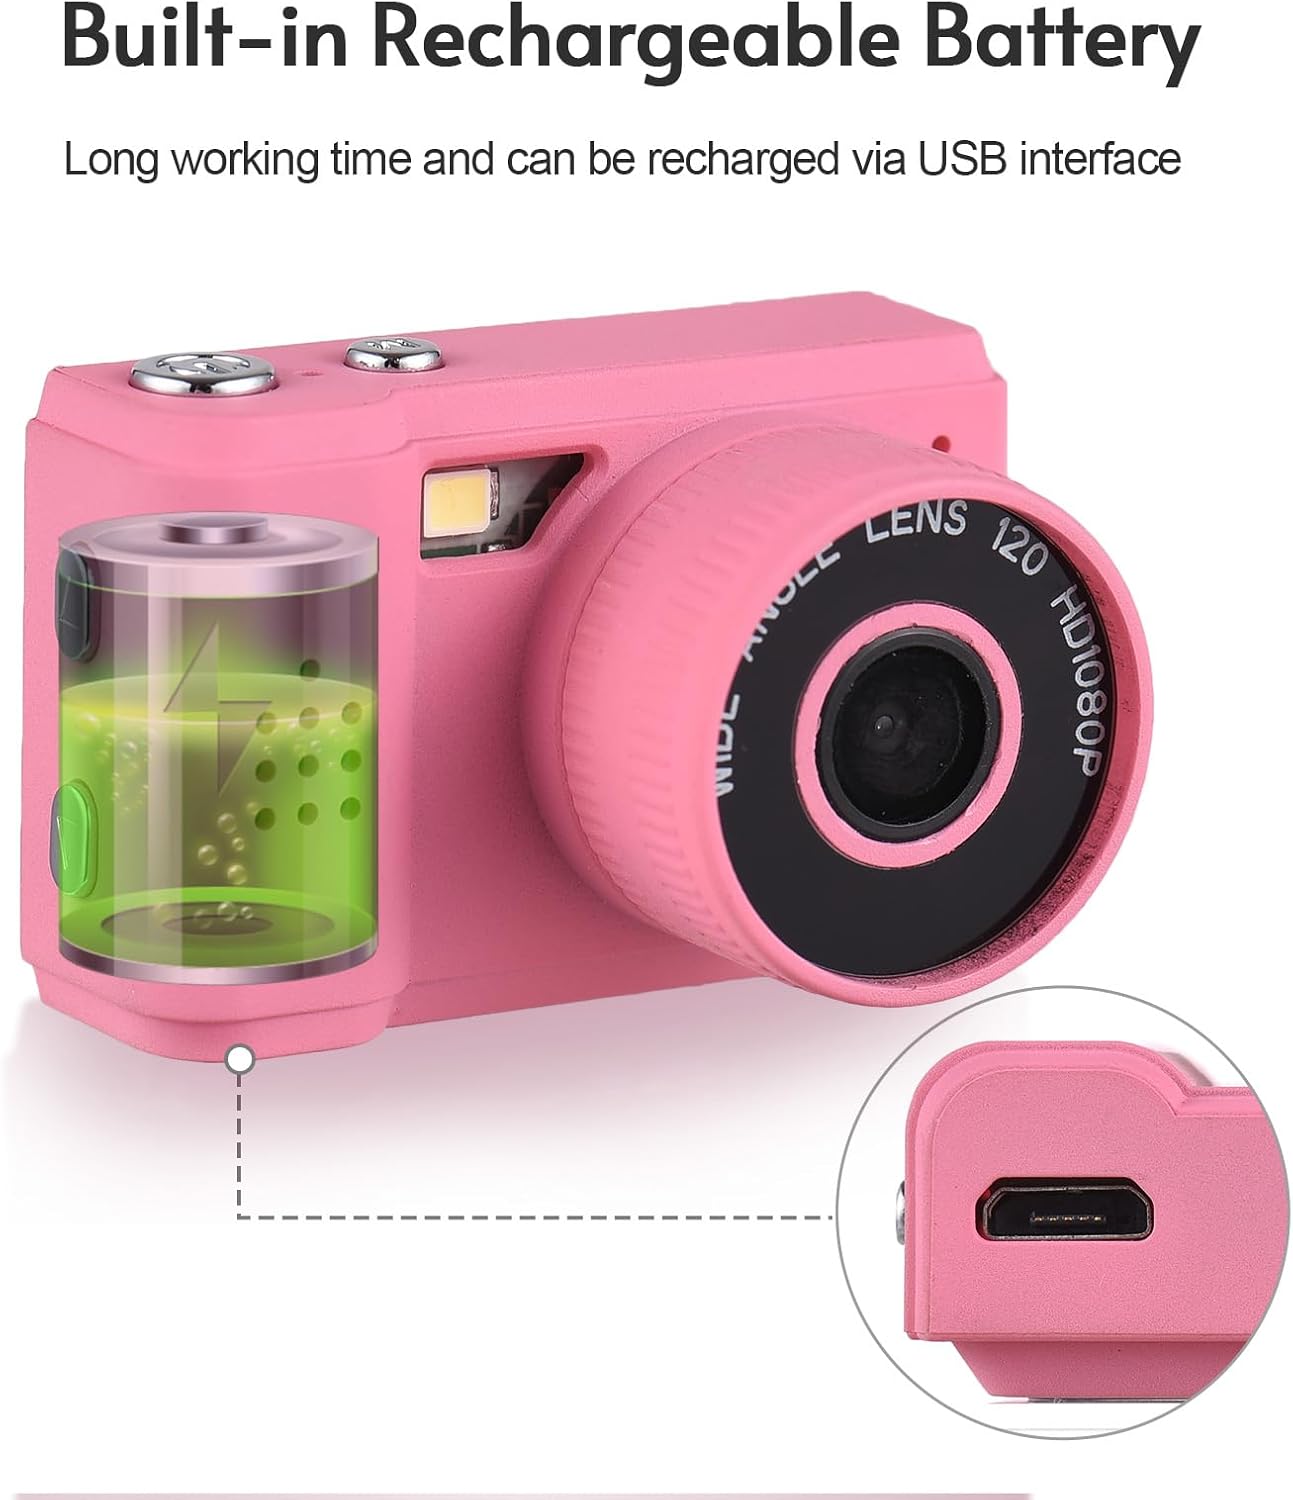
Image: Illustration of the camera's built-in rechargeable battery and the location of the USB charging port.
4.2 Einlegen einer Micro SD-Karte
A Micro SD card (not included) is required to store photos and videos. The camera supports Micro SD cards.
- Locate the Micro SD card slot on the camera, usually on the side or bottom.
- Insert the Micro SD card with the metal contacts facing downwards (or as indicated by a diagram near the slot) until it clicks into place.
- Zum Entfernen der Karte diese vorsichtig hineindrücken, bis sie herausspringt.
5. Bedienungsanleitung
5.1 Ein-/Ausschalten
Press and hold the power button (typically located on the top or side) for a few seconds to turn the camera on or off.
5.2 Fotos aufnehmen
- Ensure the camera is in photo mode. This is usually indicated by an icon on the LCD screen.
- Frame your desired shot using the LCD screen.
- Press the shutter button (usually a larger button on the top) to capture the photo.

Image: The camera's rear view, highlighting the LCD screen for framing and reviewschießt.
5.3 Videos aufnehmen
- Schalten Sie die Kamera in den Videoaufnahmemodus.
- Press the record button (often marked with a red dot or video camera icon) to begin recording.
- Press the record button again to stop recording. The camera records videos in 1080P resolution.
5.4 Verwendung des eingebauten Blitzes
The camera features a built-in flash to assist in low-light conditions.
- Access the camera's menu or dedicated flash button to cycle through flash modes (e.g., Auto Flash, Fill Flash, Flash Off).
- Select the appropriate mode based on your lighting environment.

Image: The camera with its built-in flash activated, demonstrating its use in a low-light setting.
5.5 Viewing Fotos und Videos
Um zu review Ihre aufgenommenen Medien:
- Enter playback mode (usually indicated by a play icon).
- Use the navigation buttons (up/down/left/right) to scroll through your photos and videos on the LCD screen.
- Press the 'OK' or 'Play' button to view ein Video.
5.6 Anschließen an einen Computer
Übertragen files zu einem Computer:
- Stellen Sie sicher, dass die Kamera eingeschaltet ist.
- Schließen Sie die Kamera mit dem mitgelieferten USB-Kabel an Ihren Computer an.
- Die Kamera sollte auf Ihrem Computer als Wechseldatenträger oder Massenspeichergerät angezeigt werden.
- Open the camera's folder to access and transfer your photos (JPEG) and videos (MJPEG).
6. Wartung
6.1 Reinigung
- Verwenden Sie ein weiches, trockenes, fusselfreies Tuch, um das Kameragehäuse zu reinigen.
- For the lens and LCD screen, use a specialized lens cleaning cloth and a small amount of lens cleaning solution. Avoid applying liquid directly to the screen or lens.
- Verwenden Sie keine Scheuermittel, Lösungsmittel oder aggressive Chemikalien.
6.2 Speicherung
- Store the camera in a cool, dry place, away from direct sunlight, high humidity, and extreme temperatures.
- If storing for an extended period, remove the Micro SD card.
6.3 Batteriepflege
- Charge the battery regularly, even if the camera is not in frequent use, to help maintain its lifespan.
- Avoid fully discharging the battery frequently, as this can reduce its overall capacity over time.
7. Fehlerbehebung
Die folgenden Lösungen bieten Hinweise zu häufigen Problemen:
7.1 Kamera schaltet sich nicht ein
- Ensure the battery is sufficiently charged. Connect the camera to a power source using the USB cable and try again.
- Den Ein-/Ausschalter länger gedrückt halten (5-10 Sekunden).
7.2 Cannot Take Photos or Record Videos
- Verify that a Micro SD card is inserted correctly.
- Check if the Micro SD card has sufficient free space. Delete unnecessary files or insert a new card if full.
- Stellen Sie sicher, dass die Kamera im richtigen Modus (Foto oder Video) eingestellt ist.
7.3 Schlechte Bildqualität
- Clean the camera lens with a suitable lens cleaning cloth.
- Ensure adequate lighting. Use the built-in flash in low-light conditions.
- Hold the camera steady during capture to prevent blur.
7.4 Files Not Transferring to Computer
- Stellen Sie sicher, dass das USB-Kabel sowohl mit der Kamera als auch mit dem Computer fest verbunden ist.
- Try connecting to a different USB port on your computer or using a different USB cable.
- Verify that the camera is powered on and recognized as a storage device by your computer's operating system.
8. Spezifikationen
Detailed technical specifications for the Andoer Mini Compact Digital Camera:
| Besonderheit | Spezifikation |
|---|---|
| Marke | Andoer |
| Modellname | Mini |
| Modellnummer | ded11659-e9f8-4b07-a44a-8be1159f3ded |
| Auflösung des Fotosensors | 2.1 MP (Total Still Resolution: 2 MP) |
| Videoauflösung | 1080p |
| Anzeigetyp | LCD |
| Konnektivitätstechnologie | USB |
| Akku-Typ | Lithium-Ionen-Akku (eingebaut) |
| Flash-Speichertyp | Micro SD |
| Unterstützt File Format | JPEG (Image), MJPEG (Video) |
| Bildstabilisierung | Digitales |
| Artikelabmessungen (T x B x H) | 1"T x 1.7"B x 1"H |
| Nettogewicht | 18 Gramm |
| Farbe | Rosa |
9. Gewährleistung
This product is sold without an explicit manufacturer's warranty. For information regarding returns or exchanges, please refer to the return policy of the retailer from whom you purchased this device.
10. Unterstützung
For further assistance, technical support, or any inquiries not covered in this manual, please contact Andoer customer support through their official channels. You may also visit the official Andoer Store on Amazon for additional product information and resources: