1. Einleitung
Thank you for choosing the pearlstar Solar Wall Lights Outdoor. This manual provides detailed instructions for the installation, operation, and maintenance of your new solar-powered wall lantern. Designed for outdoor use, these lights feature a dusk-to-dawn sensor, motion detection, and multiple operating modes to enhance the security and ambiance of your garden, yard, patio, or fence.

Bild 1.1: Überview of the pearlstar Solar Wall Lights, highlighting their motion sensing capability.
2. Produktmerkmale
- 3 Bewegungssensormodi: Offers versatile lighting options including human body sensor, human interaction + low light, and constant low light modes.
- Solar Powered & Auto On/Off: Energy-efficient design with automatic activation at dusk and deactivation at dawn.
- Wasserdicht und langlebig: Constructed from waterproof plastic material, suitable for various weather conditions including rain, snow, and sun.
- Einfache Installation: Simple setup process for quick deployment in desired outdoor locations.
- Breite Anwendung: Ideal for porches, mailboxes, courtyards, garages, yards, barns, corridors, balconies, and gardens.

Image 2.1: Durability features of the solar wall light, including resistance to water, wind, snow, and sun.
3. Packungsinhalt
Bitte überprüfen Sie die Verpackung, um sicherzustellen, dass alle Komponenten vorhanden sind:
- pearlstar Solar Wall Light(s)
- Mounting Screws (x4 per light)
- Expansion Tubes (x4 per light)
- Benutzerhandbuch (dieses Dokument)

Image 3.1: Included mounting hardware and key product dimensions.
4. Installation
4.1 Ersteinrichtung
- Before first use, locate the ON/OFF switch on the light unit. Ensure it is switched to the "ON" position.
- Allow the solar panel to charge in direct sunlight for 5-8 hours to ensure the battery is sufficiently charged.
4.2 Montageanleitung
Wählen Sie einen Standort, der empfängt ample direct sunlight throughout the day for optimal charging. The light should be installed where its motion sensor can effectively cover the desired area.
- Markieren Sie die gewünschte Montageposition an der Wand.
- Bohren Sie an den markierten Stellen Löcher.
- Setzen Sie die Expansionsrohre in die vorgebohrten Löcher ein.
- Align the light fixture with the holes and secure it using the provided mounting screws.
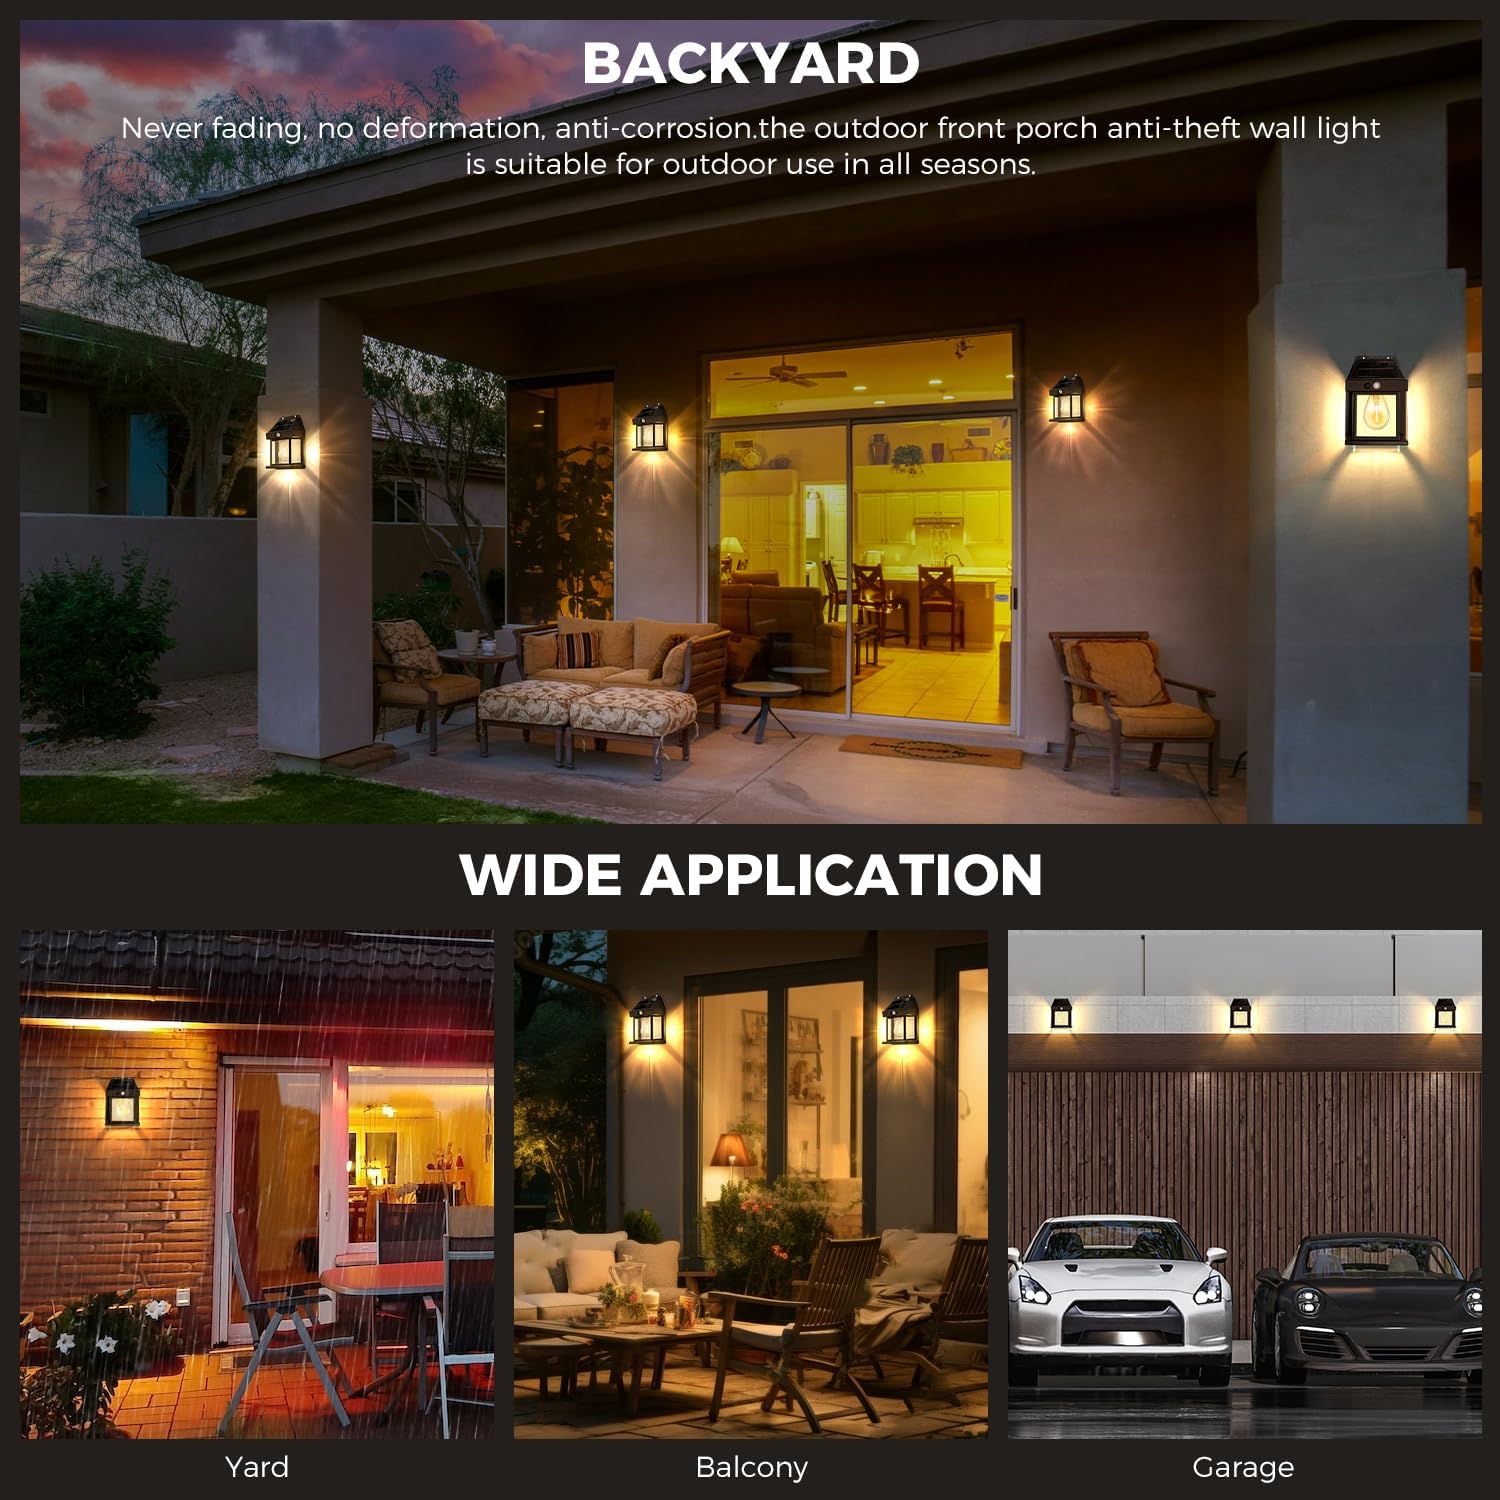
Abbildung 4.1: Beispielample of the solar wall light installed in a backyard, demonstrating its application.
5. Bedienungsanleitung
The pearlstar Solar Wall Light features three distinct operating modes, selectable via a button on the unit.
5.1 Modusauswahl
- Mode 1 (Human Body Sensor Mode): Press the button once (long press for 1 second to activate initially). The light will turn on to full brightness when motion is detected and automatically turn off after 15 seconds of no motion.
- Mode 2 (Human Interaction + Low Light Mode): Press the button twice. The light will turn on to full brightness when motion is detected. After 15 seconds of no motion, it will switch to a low light mode. It will return to full brightness upon subsequent motion detection.
- Mode 3 (Low Light Mode): Press the button three times. The light will remain in a constant low light state throughout the night, regardless of motion detection.

Image 5.1: Visual guide to switching between the three operational modes.
5.2 Automatikbetrieb
Once the desired mode is selected and the switch is ON, the light will automatically charge during the day (5-8 hours of direct sunlight) and illuminate for 6-12 hours at night, based on the selected mode and charge level.

Image 5.2: Solar charging and illumination duration.
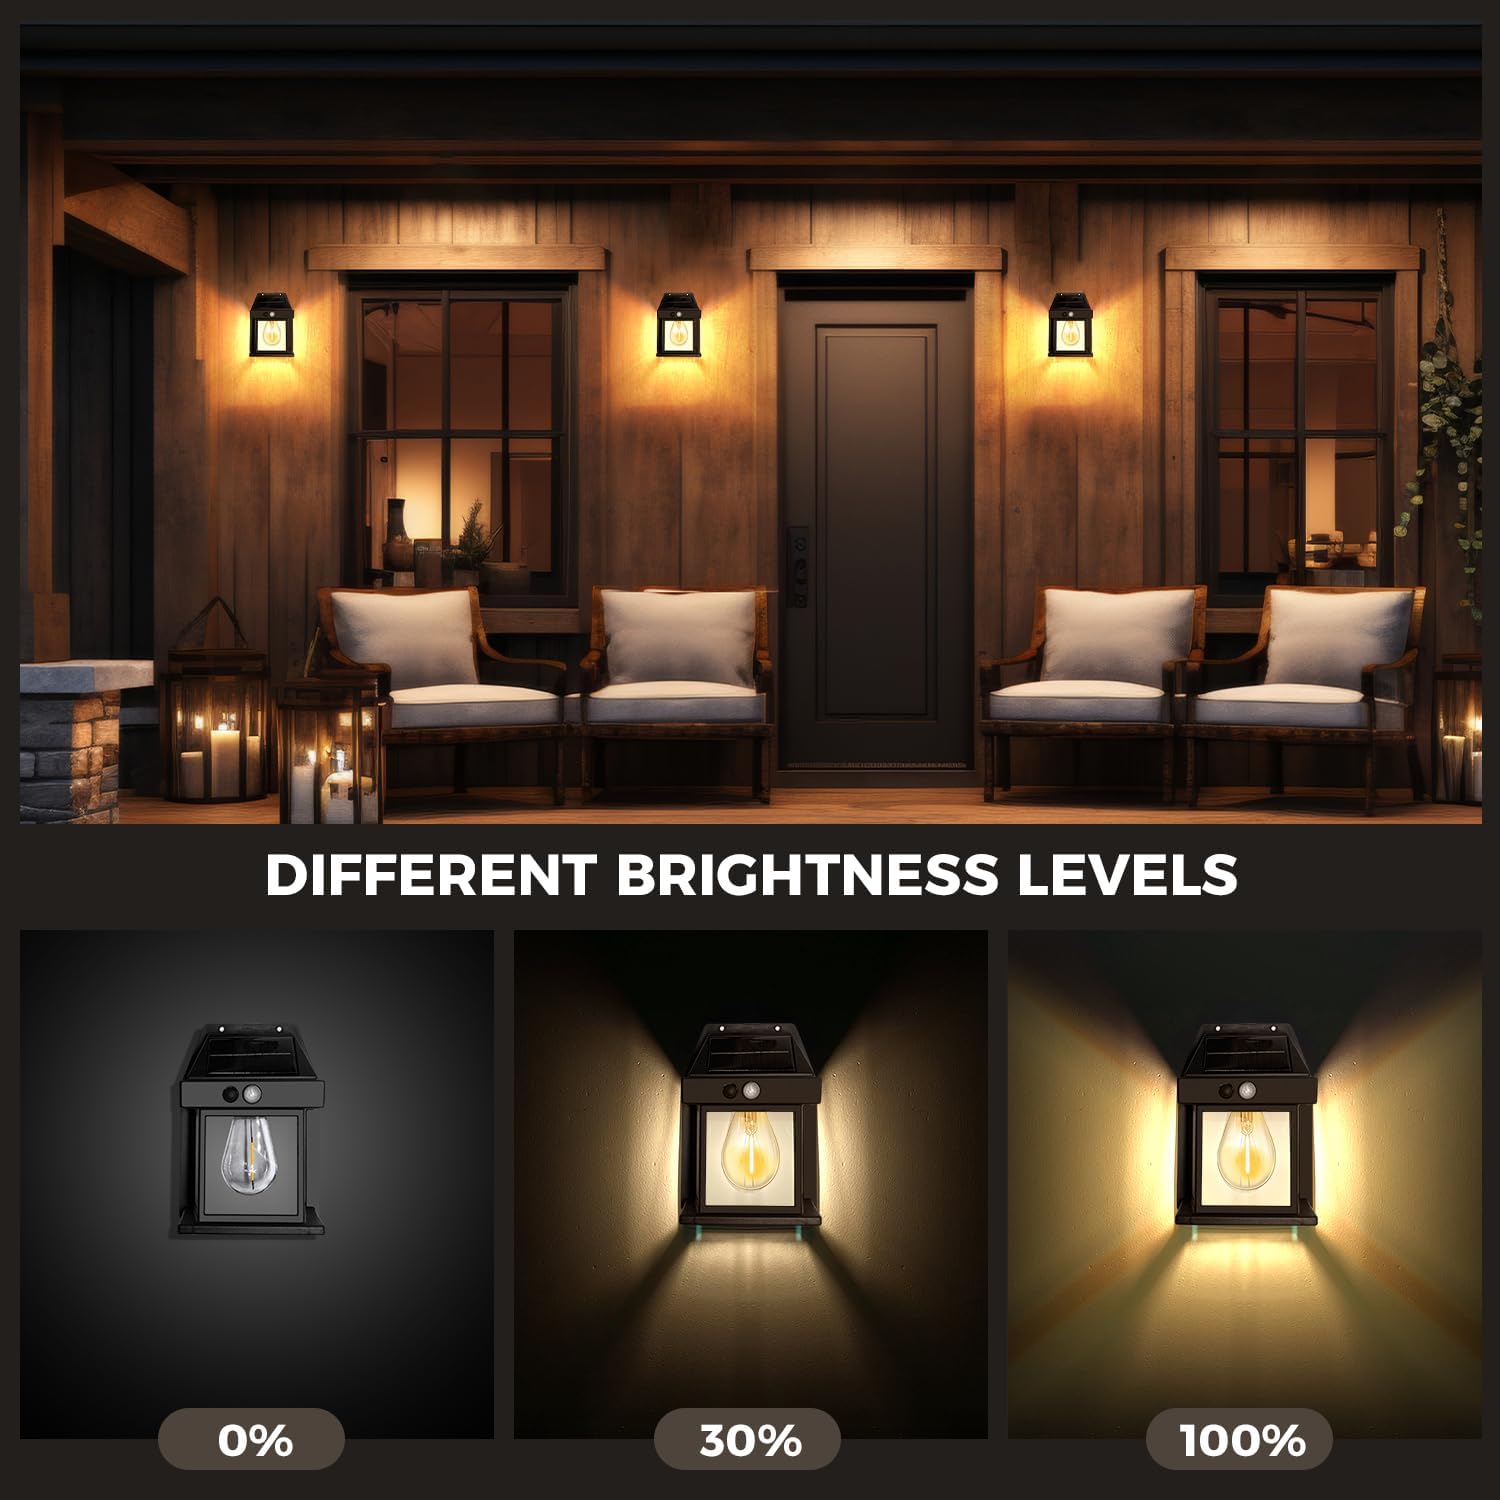
Image 5.3: Depiction of different brightness levels available.
6. Wartung
To ensure optimal performance and longevity of your solar wall lights, follow these simple maintenance guidelines:
- Solarpanel reinigen: Wischen Sie das Solarpanel regelmäßig mit einem weichen, fusselfreien Tuch ab.amp cloth to remove dust, dirt, leaves, or snow. A clean panel ensures efficient charging.
- Hindernisse beseitigen: Stellen Sie sicher, dass keine Bäume, Sträucher oder andere Gegenstände das direkte Sonnenlicht daran hindern, das Solarpanel zu erreichen.
- Auf Schäden prüfen: Periodically check the fixture for any physical damage or loose components.
7. Fehlerbehebung
| Problem | Mögliche Ursache | Lösung |
|---|---|---|
| Das Licht geht nachts nicht an. | ON/OFF switch is OFF. Insufficient solar charge. | Ensure the switch is in the "ON" position. Relocate the light to an area with more direct sunlight. Clean the solar panel. |
| Das Licht bleibt tagsüber an. | Light sensor is obstructed or in a dark area. | Ensure the solar panel/light sensor is exposed to daylight. Move the light to a brighter location. |
| Der Bewegungssensor funktioniert nicht richtig. | Incorrect mode selected. Sensor obstructed. | Verify the light is in Mode 1 or Mode 2. Ensure the sensor is not blocked and is facing the desired detection area. |
| Short illumination time. | Unzureichende Sonneneinstrahlung. Batteriealterung. | Ensure the light receives 5-8 hours of direct sunlight daily. Clean the solar panel. If the problem persists after extended use, the internal battery may be reaching the end of its lifespan (non-removable). |
8. Spezifikationen
- Lichtquellentyp: Leuchtdiode (LED)
- Marke: Perlenstern
- Energiequelle: Solarbetrieben
- Material: Plastik
- Ladezeit: 5-8 Stunden (direktes Sonnenlicht)
- Beleuchtungsdauer: 6-12 Stunden (je nach Modus und Akkuladung)
- Bewegungssensor-Bereich: Approximately 180 degrees, up to 150 sq ft (refer to Image 3.1)
9. Garantie und Support
pearlstar provides a 6 Monate Garantieservice für dieses Produkt. Zusätzlich ein 30-day quality problem replacement is offered. If you encounter any issues with your pearlstar Solar Wall Lights Outdoor, please contact our customer support team for assistance. Our team is committed to resolving any problems in a timely manner.
Please note that the light bulb is non-removable.