1. Einleitung
Thank you for choosing the DEERC Spider RC Car Transform Robot. This remote-controlled toy offers dynamic transformation between a high-speed car and an agile robot, featuring 2.4GHz control, 360-degree rotation, and one-key transformation. This manual provides essential information for safe operation, setup, and maintenance to ensure optimal performance and enjoyment.
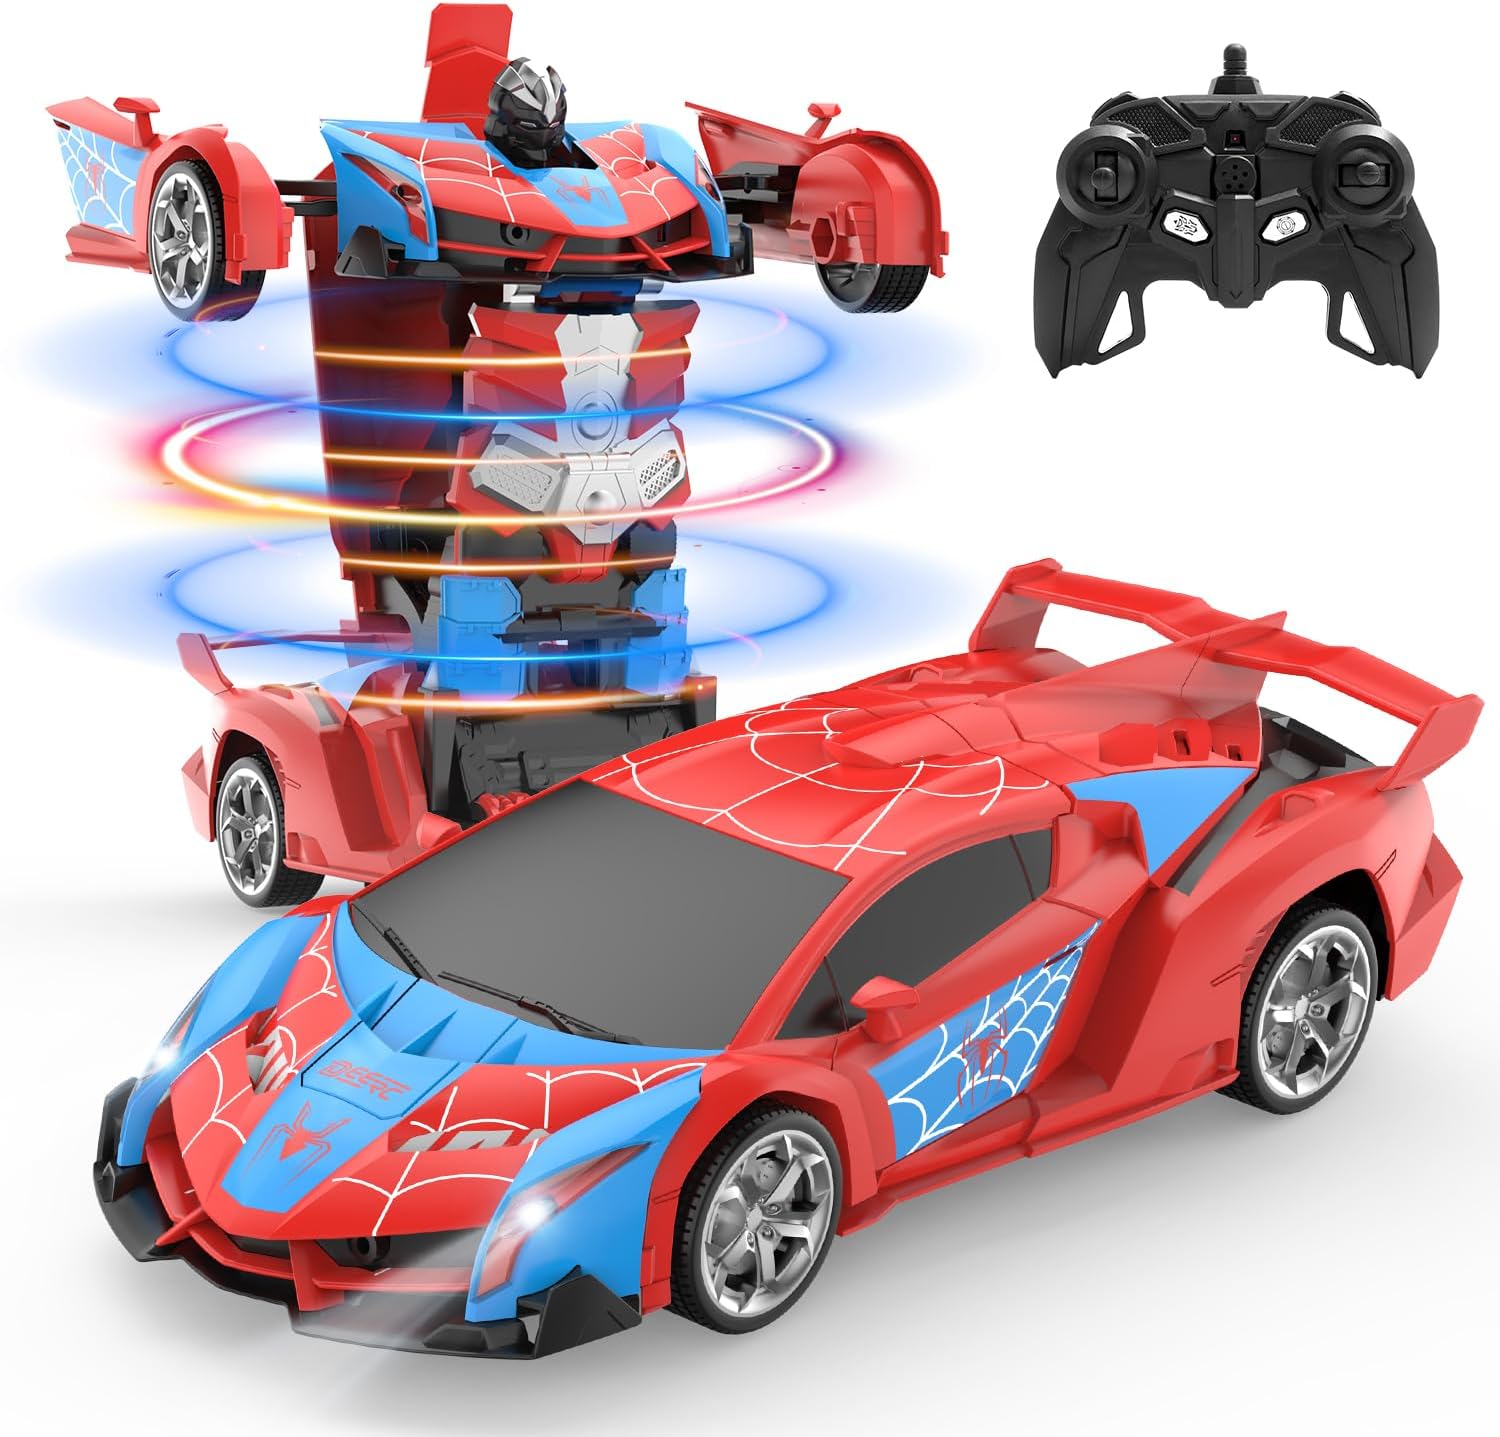
Image 1.1: The DEERC Spider RC Car Transform Robot in its car and robot configurations, alongside its remote control unit.
2. Sicherheitshinweise
Please read and understand all safety warnings before operating the product. Failure to follow these instructions may result in injury or damage to the product.
- Nur zur äußerlichen Anwendung. Do not ingest any parts of the toy or battery.
- Dieses Produkt wird für Kinder ab 8 Jahren empfohlen. Jüngere Kinder sollten nur unter Aufsicht von Erwachsenen spielen.
- Keep fingers, hair, and loose clothing away from moving parts, especially during transformation.
- Do not operate the toy near water or in wet conditions to prevent electrical damage.
- Use only the provided charging cable and battery. Do not attempt to charge non-rechargeable batteries.
- If the battery becomes hot during charging or use, discontinue use immediately.
- Avoid operating the toy in crowded areas or near obstacles that could cause collisions.
- Bewahren Sie das Produkt bei Nichtgebrauch an einem kühlen, trockenen Ort auf.
3. Packungsinhalt
Vergewissern Sie sich vor Beginn der Einrichtung, dass alle Artikel im Paket enthalten sind.
- DEERC Spider RC Car Transform Robot
- Fernbedienung
- Rechargeable Lithium Ion Battery (for the toy)
- USB-Ladekabel
- Schraubendreher
- Produkthandbuch (dieses Dokument)

Image 3.1: All components included in the DEERC Spider RC Car Transform Robot package.
4. Einrichtung
4.1. Charging the Toy Battery
- Locate the rechargeable Lithium Ion battery and the USB charging cable.
- Verbinden Sie den Akku mit dem USB-Ladekabel.
- Stecken Sie das USB-Ende des Kabels in ein Standard-USB-Netzteil (nicht im Lieferumfang enthalten) oder in einen USB-Anschluss Ihres Computers.
- Die Kontrollleuchte am USB-Kabel leuchtet während des Ladevorgangs und erlischt oder ändert die Farbe, wenn der Akku vollständig geladen ist.
- Das Aufladen dauert in der Regel etwa 60–90 Minuten. Nicht überladen.
4.2. Installing the Toy Battery
- Using the provided screwdriver, open the battery compartment on the underside of the toy.
- Setzen Sie die vollständig geladene Batterie vorsichtig in das Batteriefach ein und achten Sie dabei auf die richtige Polarität.
- Schließen Sie das Batteriefach und befestigen Sie es mit der Schraube.
4.3. Einlegen der Batterien in die Fernbedienung
- Öffnen Sie das Batteriefach auf der Rückseite der Fernbedienung.
- Insert two 1.5V 'AA' batteries (not included), observing the correct polarity (+/-).
- Verschließen Sie das Batteriefach fest.
4.4. Koppeln der Fernbedienung
- Ensure the toy's battery is installed and the toy is powered off.
- Schalten Sie die Fernbedienung ein. Die Kontrollleuchte an der Fernbedienung blinkt.
- Turn on the toy. The toy's indicator light will also flash.
- Within a few seconds, both indicator lights should become solid, indicating successful pairing. If pairing fails, turn off both devices and repeat the process.
5. Bedienungsanleitung
Familiarize yourself with the remote control functions before operating the toy.
5.1. Grundbewegung
- Nach vorne: Den linken Joystick nach vorne schieben.
- Rückwärts: Den linken Joystick nach hinten ziehen.
- Biegen Sie links ab: Den rechten Joystick nach links drücken.
- Biegen Sie rechts ab: Den rechten Joystick nach rechts drücken.
5.2. One-Key Transformation
Press the dedicated transformation button on the remote control to switch between car mode and robot mode. The toy will automatically perform the transformation sequence.

Image 5.1: Visual representation of the one-key transformation feature.
5.3. 360°-Drehung
In either car or robot mode, use specific joystick combinations (refer to remote control diagram if available) or a dedicated button to initiate a 360-degree spin. This feature allows for dynamic maneuvers.

Image 5.2: The robot performing a 360-degree rotation.
5.4. Auto-Modus
Press the 'Auto Mode' button on the remote control to activate an automatic demonstration sequence. The toy will showcase its transformation and movement capabilities independently.
5.5. LED-Leuchten
The toy features integrated LED lights that illuminate during operation and transformation, enhancing the visual experience.
6. Wartung
6.1. Reinigung
- Wipe the toy with a soft, dry cloth to remove dust and dirt.
- Verwenden Sie kein Wasser oder chemische Reinigungsmittel, da diese die elektronischen Bauteile beschädigen können.
6.2. Speicherung
- When not in use for extended periods, remove batteries from both the toy and the remote control.
- Store the toy and remote in a cool, dry place, away from direct sunlight and extreme temperatures.
6.3. Material Durability
The toy is constructed from durable ABS plastic and features robust rubber tires designed for longevity and smooth transformation.
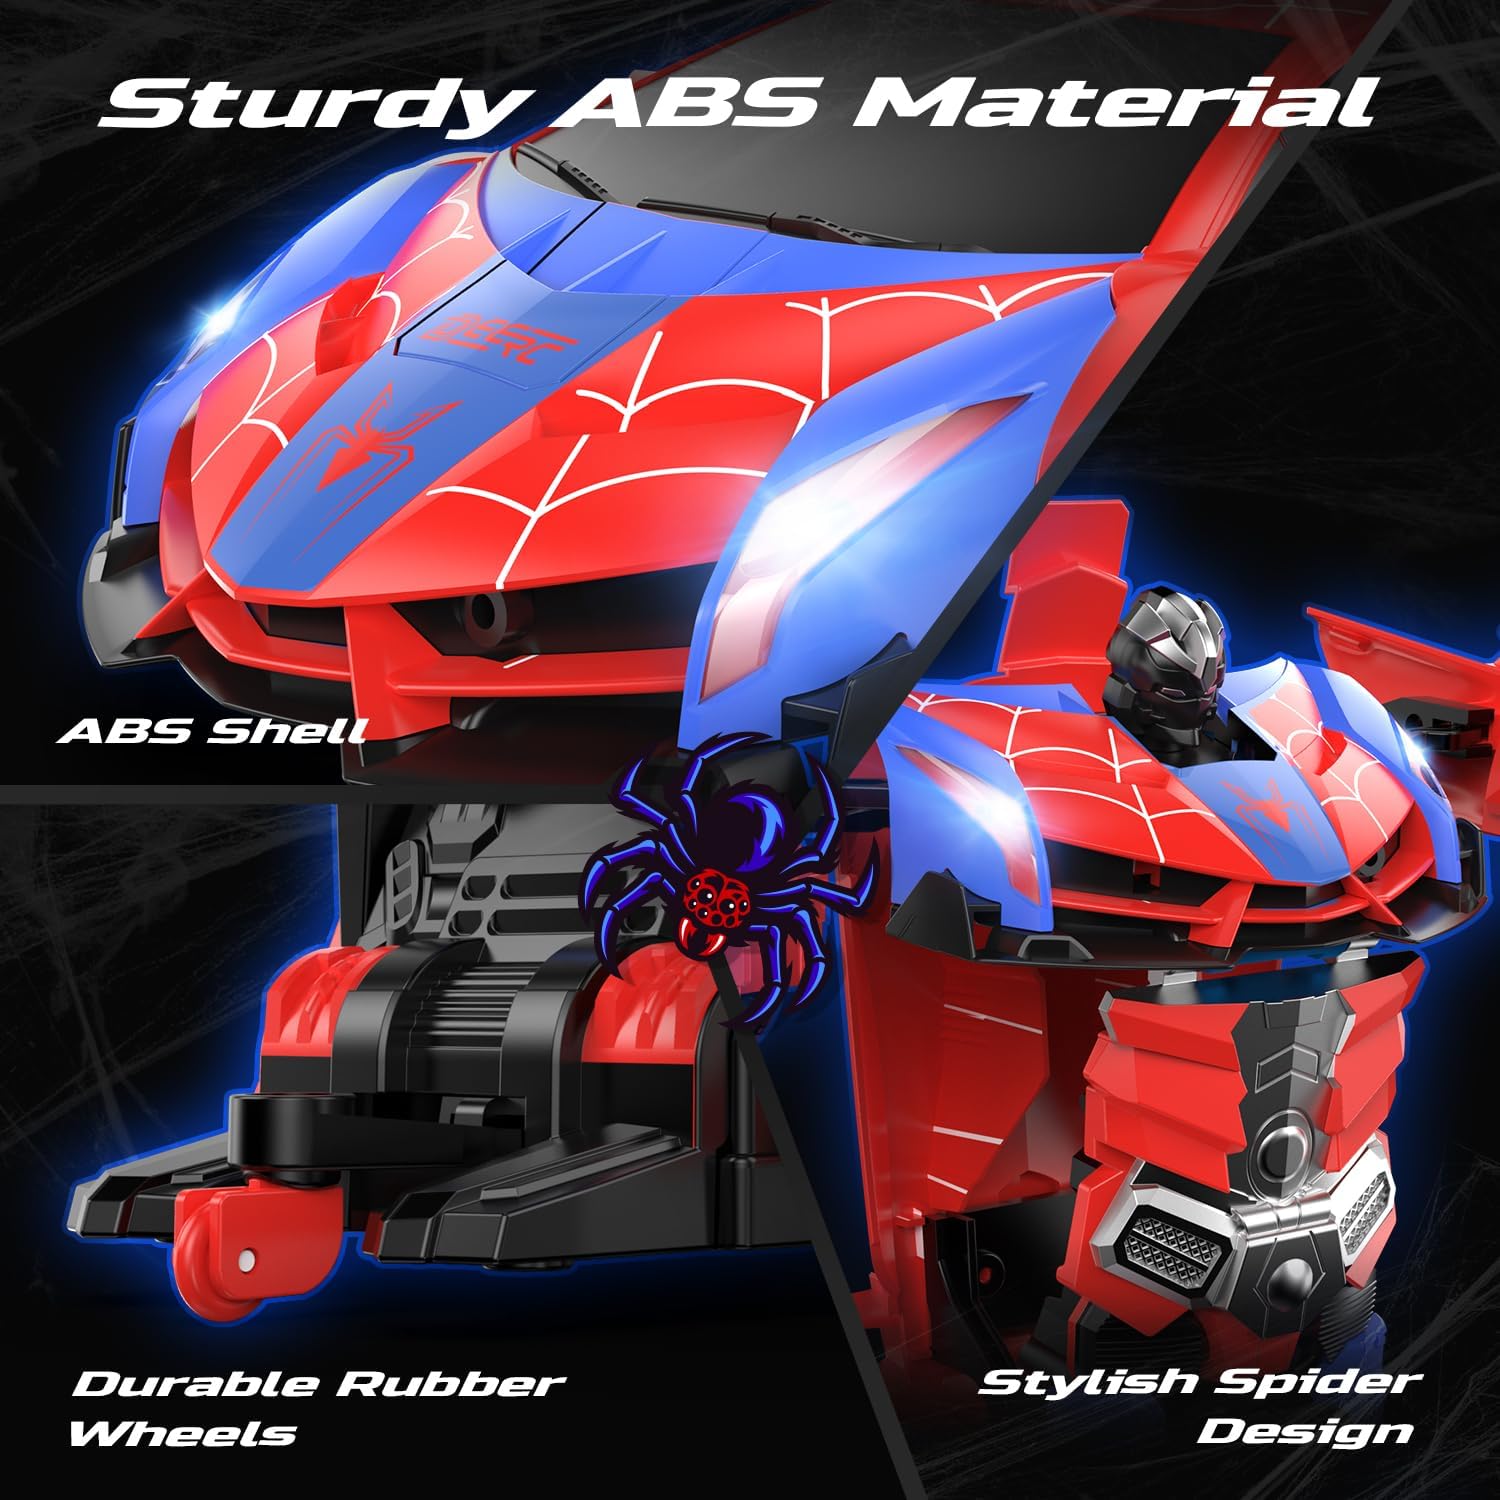
Image 6.1: Details of the toy's durable ABS material and rubber wheels.
7. Fehlerbehebung
If you encounter issues with your DEERC Spider RC Car Transform Robot, refer to the following common problems and solutions:
| Problem | Mögliche Ursache | Lösung |
|---|---|---|
| Toy does not respond to remote control. | Low battery in toy or remote; pairing failure; interference. | Charge toy battery fully. Replace remote control batteries. Re-pair the remote and toy (Section 4.4). Ensure no other 2.4GHz devices are causing interference. |
| Kurze Betriebszeit. | Akku nicht vollständig geladen; alternder Akku. | Ensure the battery is fully charged before each use. Consider purchasing a spare battery for extended playtime. |
| Die Transformation verläuft weder reibungslos noch unvollständig. | Obstruction; mechanism misalignment. | Ensure no debris is blocking the moving parts. Gently assist the transformation if minor tweaking is needed, but do not force it. |
| Toy moves slowly or erratically. | Low battery; damaged motor/gears. | Charge toy battery. If the problem persists after charging, contact customer support. |
8. Spezifikationen
- Produktabmessungen: 9.05 x 3.74 x 2.36 Zoll
- Artikelgewicht: 14.6 Unzen
- ASIN: B0D9M3W6GL
- Vom Hersteller empfohlenes Alter: Ab 8 Jahren
- Batterien: 1 Lithium Ion battery (included) for toy, 2 AA batteries (not included) for remote.
- Kontrollfrequenz: 2.4 GHz
- Hersteller: DEERC
9. Garantie und Support
DEERC products are designed for quality and performance. For any questions, technical assistance, or warranty claims, please contact DEERC customer support. Refer to the product packaging or the official DEERC webDie aktuellsten Kontaktinformationen finden Sie auf dieser Webseite.
Bitte bewahren Sie Ihren Kaufbeleg für Garantiezwecke auf.