
1. Einleitung
This manual provides detailed instructions for the safe installation, operation, and maintenance of your TWIG Farmhouse Chandelier 6-Light fixture. Designed for dining rooms and kitchen islands, this fixture combines vintage solid wood, matte black metal, and clear cylinder glass shades to create a warm and elegant lighting atmosphere. Please read this manual thoroughly before beginning installation or use.
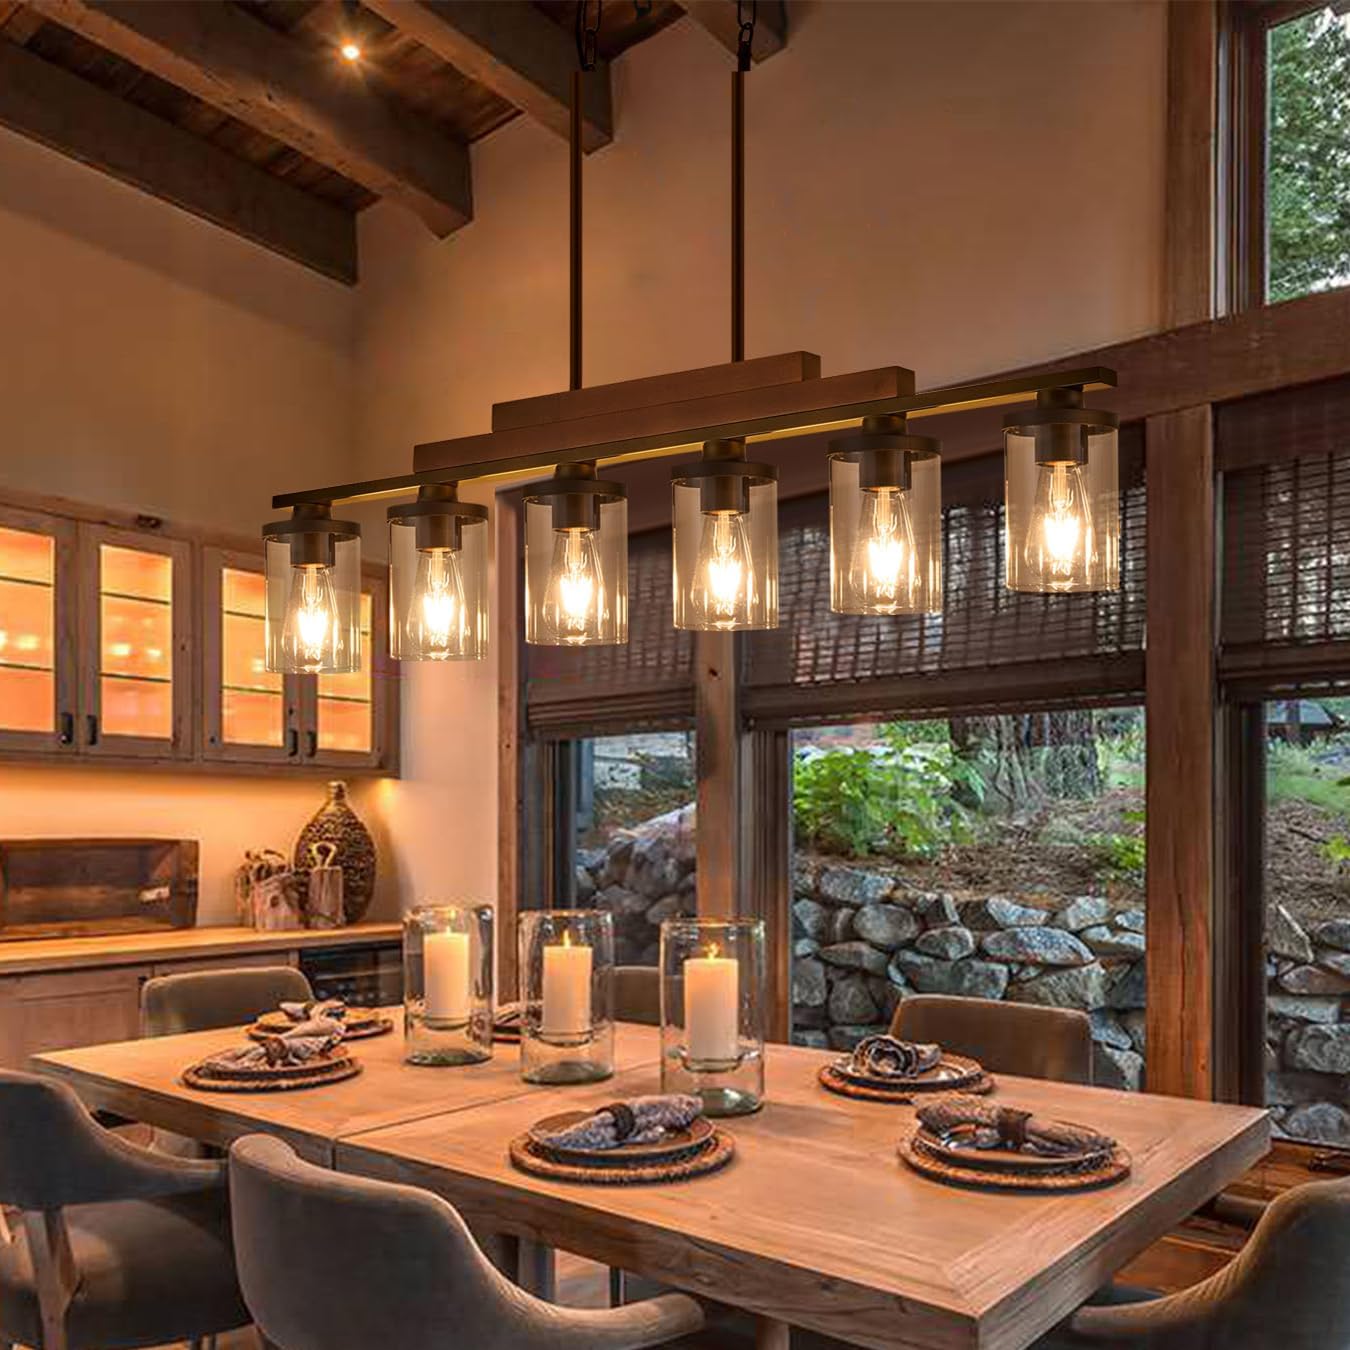
Image 1.1: The TWIG Farmhouse Chandelier 6-Light fixture installed above a dining table, showcasing its rustic design with wood accents and clear glass shades.
2. Sicherheitshinweise
- WARNUNG: Stromschlaggefahr. Vor Installation oder Wartung die Stromzufuhr am Sicherungskasten oder Leitungsschutzschalter unterbrechen.
- Alle elektrischen Anschlüsse müssen den örtlichen Vorschriften, Verordnungen oder dem National Electric Code (NEC) entsprechen. Ziehen Sie einen qualifizierten Elektriker zu Rate, wenn Sie mit fachgerechten Elektroinstallationen nicht vertraut sind.
- Überschreiten Sie nicht die empfohlene Wassermenge.tage for bulbs (E26 base, maximum 60W, 40W recommended).
- Gehen Sie vorsichtig mit Glaskomponenten um, um ein Zerbrechen zu vermeiden.
- Stellen Sie sicher, dass die Leuchte sicher an einem tragenden Element der Decke befestigt ist.
- Keep flammable materials away from light bulbs.
- The product is handmade and may have a slight odor upon unboxing due to environmental protective coatings. It is recommended to ventilate the product in an open area for a period before installation.
3. Packungsinhalt
Carefully unpack all components and inspect for any damage. Retain all packaging materials until you are satisfied with the product. The fixture is 95% pre-assembled for ease of installation.
- Chandelier main body (pre-assembled with wood beam, metal frame, and glass shades)
- Adjustable suspension rods (various lengths)
- Ceiling canopy with mounting hardware
- Kabelverbinder
- Bedienungsanleitung
- Note: Bulbs are not included.
4. Spezifikationen
| Marke | ZWEIG |
| Modellnummer | 2024072304 |
| Dimensions (L x W x Max H) | 42 Zoll L x 5 Zoll B x 46 Zoll H |
| Einstellbarer Höhenbereich | Minimum 23", Maximum 45.7" (as per diagram) |
| Material | Glas, Metall, Holz |
| Farbe | Matte Black (Metal), Clear (Glass), Wood (Antique Painted) |
| Anzahl der Lichter | 6 |
| Lampensockel | E26 |
| Maximal Watttage pro Birne | 60W (40W recommended) |
| Bandtage | 120 Volt |
| Installationstyp | Halbbündige Montage |
| Verwendung im Innen- und Außenbereich | Innenbereich |

Image 4.1: Detailed dimensions of the chandelier and its adjustable suspension rods, indicating a maximum height of 45.7 inches and a minimum of 23 inches.
5. Einrichtung und Installation
The fixture is 95% assembled. Only a simple assembly and electrical installation are required.
- Schritt 1: Bereiten Sie die Installation vor
- Schalten Sie den Strom am Leistungsschalter oder Sicherungskasten ab.
- Stellen Sie sicher, dass die Montagefläche statisch tragfähig ist, um das Gewicht der Leuchte zu tragen.
- Schritt 2: Montagehalterung anbringen
- Secure the mounting bracket to the junction box in the ceiling using the provided screws.
- Step 3: Adjust Suspension Rods
- Determine the desired hanging height. The fixture's height can be adjusted from 23 inches to 45.7 inches using the provided rods.
- Attach the appropriate length of suspension rods to the chandelier body and the ceiling canopy.
- Schritt 4: Elektrischer Anschluss
- Connect the fixture's wires to the house wiring:
- Verbinden Sie den schwarzen Draht (Phase) der Leuchte mit dem schwarzen Draht aus der Anschlussdose.
- Verbinden Sie den weißen Draht (Neutralleiter) der Leuchte mit dem weißen Draht aus der Anschlussdose.
- Connect the ground wire from the fixture to the ground wire from the junction box (or to the green ground screw on the mounting bracket).
- Secure connections with wire connectors.
- Connect the fixture's wires to the house wiring:
- Schritt 5: Montieren Sie die Vorrichtung
- Carefully lift the chandelier and attach the ceiling canopy to the mounting bracket, securing it with the decorative nuts.
- Schritt 6: Glühbirnen installieren
- Screw E26 base bulbs (not included) into each socket. Do not exceed 60W per bulb; 40W is recommended.

Image 5.1: Installation diagram for the TWIG Farmhouse Chandelier, detailing steps from preparing the electrical box to mounting the fixture.
6. Bedienungsanleitung
Once installed and bulbs are in place, restore power at the circuit breaker. The chandelier operates via a standard wall switch (toggle switch type). If connected to a dimmer switch, ensure the bulbs are compatible with dimming functionality.
- Lampentyp: Supports any E26 screw bulbs. Filament, LED, incandescent, and halogen bulbs are compatible.
- Empfohlenes Wattage: 40W per bulb for optimal performance and longevity. Maximum 60W.
7. Wartung
- Reinigung: Disconnect power before cleaning. Use a soft, dry cloth to wipe the metal and wood components. For glass shades, a slightly damp cloth can be used, followed by a dry cloth to prevent water spots. Do not use abrasive cleaners or solvents.
- Lampenwechsel: Ensure power is off before replacing bulbs. Allow bulbs to cool completely before handling. Screw in new E26 base bulbs, ensuring they do not exceed 60W.
- Austausch des Glasschirms: In case of damage, replacement glass shades (3.94" diameter, 5.51" height) can be purchased separately.
8. Fehlerbehebung
| Problem | Mögliche Ursache | Lösung |
|---|---|---|
| Licht geht nicht an. |
|
|
| Flackernde Lichter. |
|
|
| Fixture smells after installation. |
|
|
9. Kundendienst
For any questions, concerns, or assistance with your TWIG Farmhouse Chandelier, please contact our customer support team. We are committed to providing timely responses and solutions.
- Kontakt: Please refer to the contact information provided with your purchase or visit the official TWIG webWebsite.
- Ansprechzeit: Wir bemühen uns, alle Anfragen innerhalb von 24 Stunden zu beantworten.