
1. Einleitung
This manual provides detailed instructions for the installation, operation, and maintenance of your AZDOME M01 Pro 3K WiFi Dash Cam. Please read this manual thoroughly before use to ensure proper functionality and to prevent damage.
2. Packungsinhalt
Bitte überprüfen Sie, ob alle unten aufgeführten Artikel in Ihrem Paket enthalten sind:
- M01 Pro Dash Cam (Front Unit)
- Hintere Kamera
- Autoladegerät
- 3M Klebehalterung
- Saughalterung
- 64-GB-SD-Karte (vorinstalliert)
- Auto-Verkabelungswerkzeug
- Kabelclips
- Elektrostatischer Aufkleber
- Bedienungsanleitung
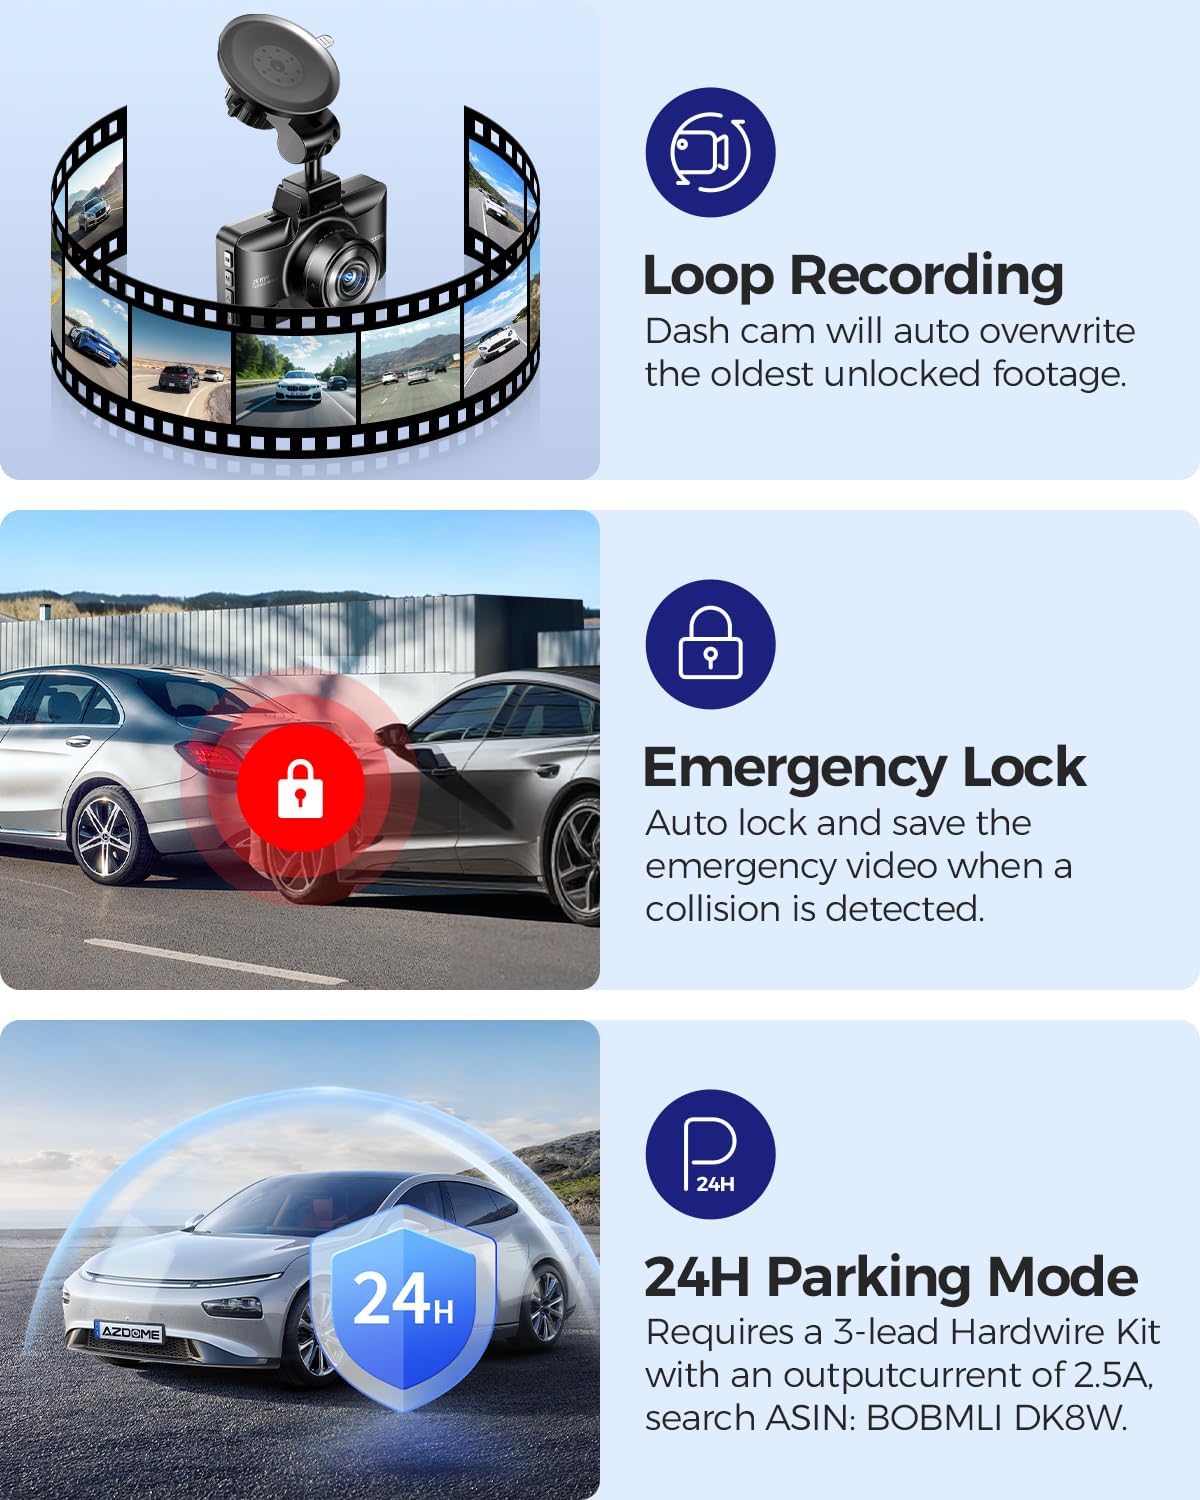
Image: All components included in the AZDOME M01 Pro dash cam package.
3. Produktüberschreitungview
3.1 Front Dash Cam Unit
The main dash cam unit features a 3-inch IPS screen for live view and menu navigation. It includes control buttons on the sides for various functions and a front-facing lens for recording.

Image: The AZDOME M01 Pro front dash cam unit with its screen and lens visible.
3.2 Rückfahrkamera
The compact rear camera records in 1080P resolution and is designed for external mounting on the rear of the vehicle. It connects to the main unit via a cable.

Bild: Eine Nahaufnahme view of the compact rear camera unit.
4. Einrichtung und Installation
4.1 Installation der Frontkamera
The front dash cam can be installed using either the suction cup mount or the 3M sticky mount. Both mounts allow for 360° rotation for optimal viewwinkeln.
- Reinigen Sie den gewünschten Bereich auf Ihrer Windschutzscheibe gründlich.
- Attach the electrostatic sticker to the cleaned area.
- Attach the chosen mount (suction cup or 3M sticky) to the electrostatic sticker.
- Slide the main dash cam unit onto the mount until it clicks securely.
- Connect the car charger to the dash cam's power port and plug it into your vehicle's cigarette lighter socket.
- Use the provided car wiring tool and cable clips to neatly tuck away the power cable along the vehicle's trim for a clean installation.
Video: Demonstrates the installation process of the suction cup mount for the AZDOME M01 Pro dash cam.

Image: Illustrates the 360° rotation capability of the dash cam mount.
4.2 Installation der Rückfahrkamera
The rear camera can be mounted externally using either the included 3M adhesive or screws. Connect the rear camera cable to the main dash cam unit and route it neatly along the vehicle's interior trim to the rear.
Video: Ein kurzer Vorberichtview demonstrating how to enable the reverse assist line function for the rear camera.
5. Bedienungsanleitung
5.1 Grundlegende Bedienung
The dash cam automatically powers on and begins recording when your vehicle starts. It powers off when the vehicle is turned off. Use the physical buttons on the unit to navigate menus and adjust settings.
5.2 App Control (Wi-Fi)
The AZDOME M01 Pro features built-in Wi-Fi for convenient app control. Download the dedicated AZDOME app on your smartphone to manage settings, view lebe footage, download, playback, and share videos.
- Download the AZDOME app from your device's app store.
- Turn on the dash cam and enable its Wi-Fi.
- Connect your smartphone to the dash cam's Wi-Fi network (SSID and password typically found in the dash cam settings).
- Open the AZDOME app to access controls and features.

Image: Screenshots illustrating the AZDOME app interface for dash cam control.
5.3 Loop-Aufnahme
The dash cam continuously records video in short segments. When the SD card is full, the oldest unprotected fileVorhandene Aufnahmen werden automatisch durch neue überschrieben. Dies gewährleistet eine kontinuierliche Aufzeichnung ohne manuelles Eingreifen.

Image: Icon representing the Loop Recording feature.
5.4 G-Sensor (Notverriegelung)
The built-in G-Sensor detects sudden impacts or collisions. When an event is detected, the current video segment is automatically locked and saved to prevent it from being overwritten by loop recording. This footage serves as crucial evidence in case of an accident.

Image: Icon representing the G-Sensor feature.
5.5 Parkmodi
The M01 Pro offers two parking modes to monitor your vehicle when parked:
- Parkmodus Kollisionserkennung: The G-Sensor detects impacts and automatically records and locks video segments.
- Zeitraffer-Parkmodus: The dash cam records continuously at a low frame rate (e.g., 1fps) for extended periods (12/24/48 hours).
Note: A hardwire kit (sold separately) is required to enable 24-hour parking modes.

Image: Icon representing the Parking Mode feature.
5.6 ADAS (Fortschrittliche Fahrerassistenzsysteme)
Built-in ADAS features provide alerts for potential hazards, enhancing driving safety. These alerts may include lane departure warnings or forward collision warnings.

Image: Icon representing the ADAS (Advanced Driver-Assistance Systems) feature.
5.7 Müdigkeitswarnung am Steuer
The dash cam can be configured to provide alerts reminding the driver to take a rest after continuous driving for a set duration (e.g., 1, 2, or 4 hours) to promote safe driving practices.

Image: Illustration of the fatigue driving alert system in action.
5.8 Parkhilfe
When the reverse gear is engaged, the dash cam automatically displays a rear view with parking guide lines, aiding in safe parking maneuvers.