
1. Einleitung
Vielen Dank für Ihren Einkauf.asing the Salange HY300Pro Mini Projector. This manual provides essential information for setting up, operating, and maintaining your projector. Please read it thoroughly before use to ensure optimal performance and longevity of your device.
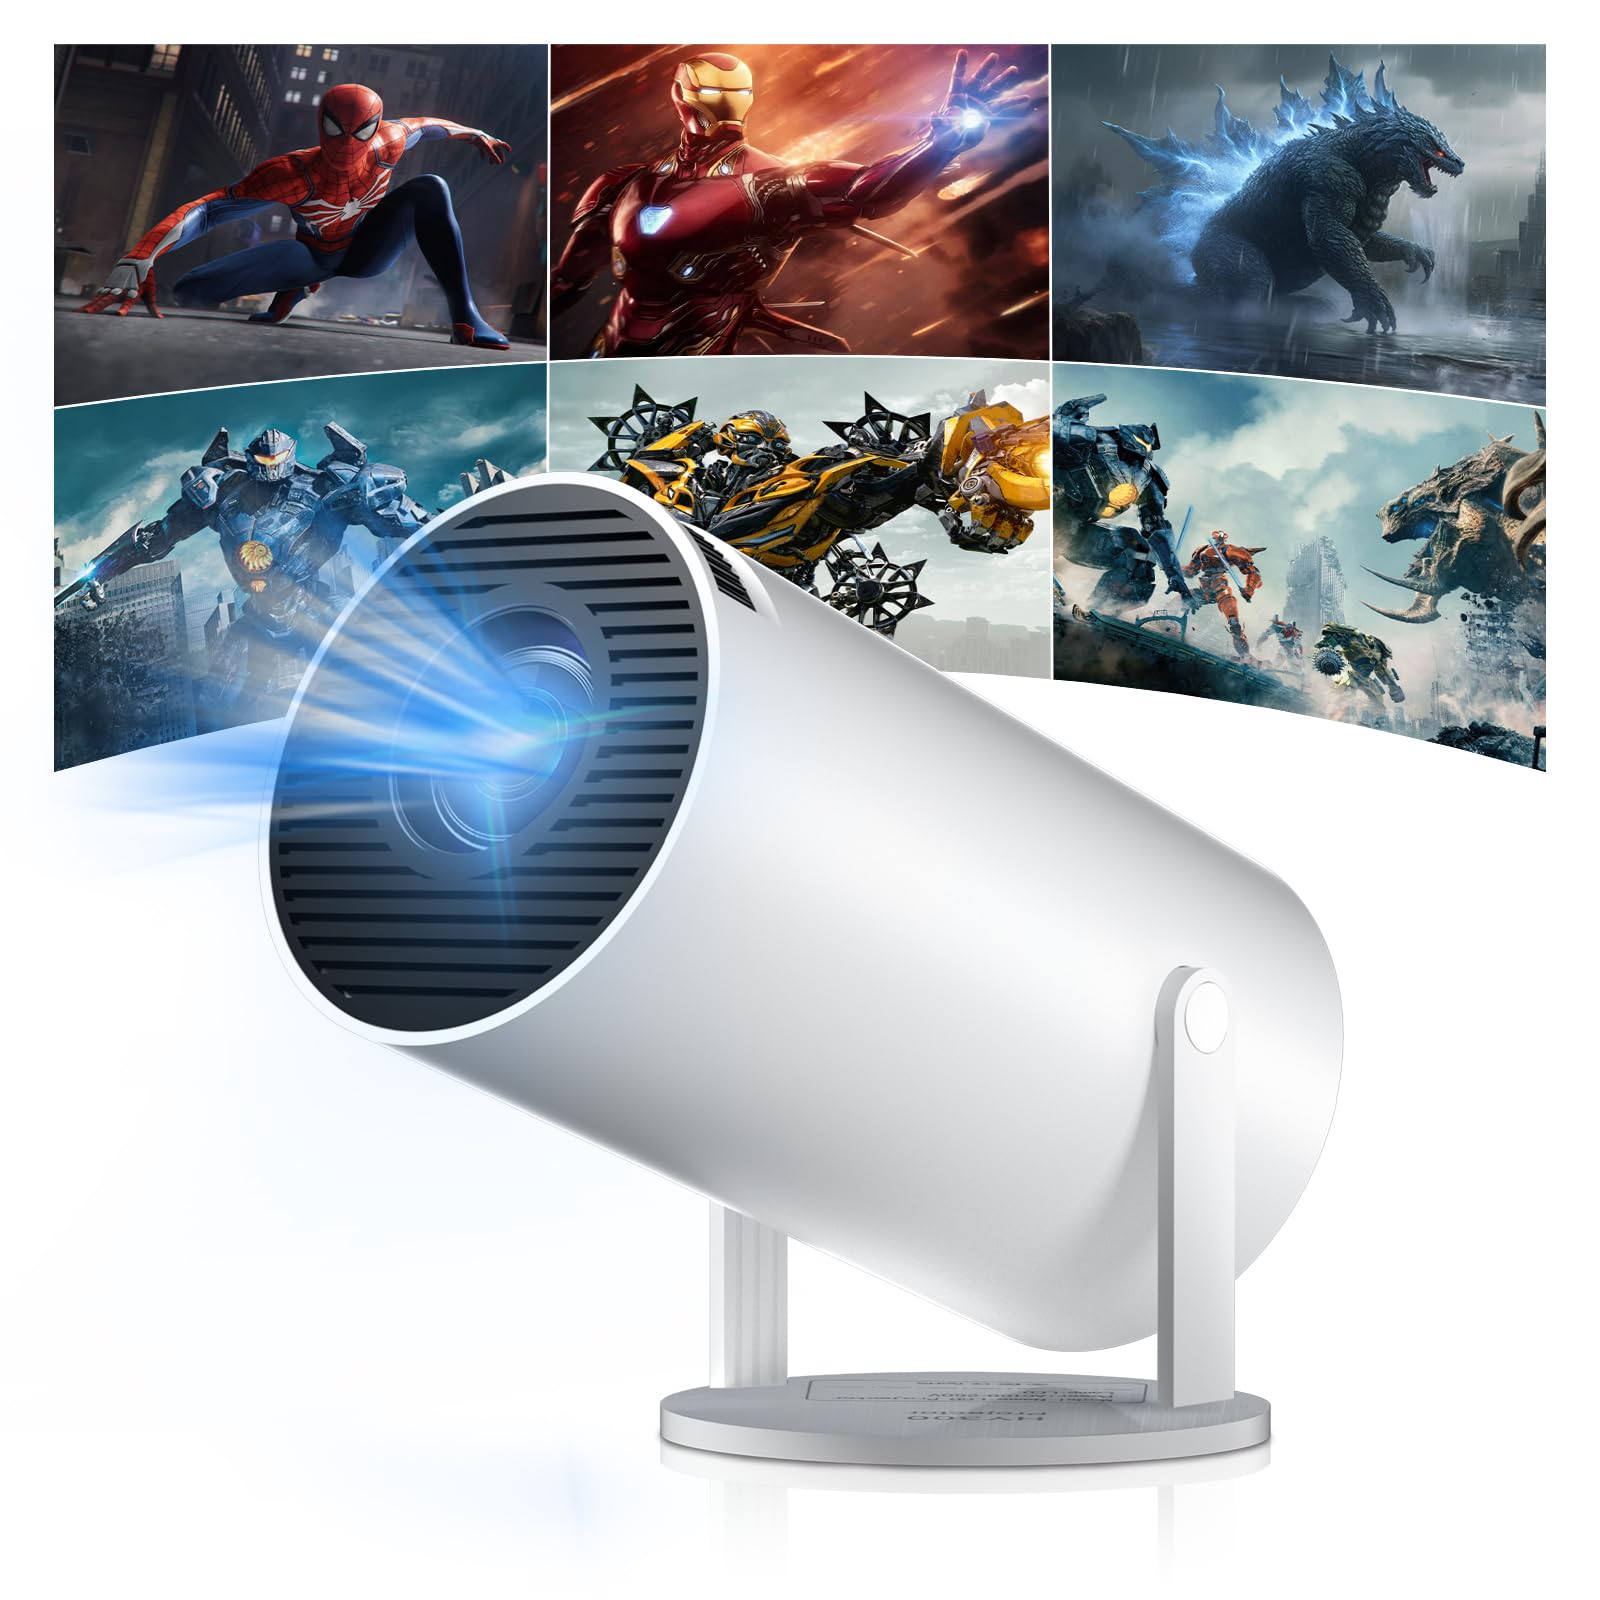
Figure 1: Salange HY300Pro Mini Projector
2. Produktüberschreitungview
Hauptmerkmale
- Dual-Band WiFi 6 & Bluetooth 5.4: Ensures fast and stable network connectivity and seamless audio pairing with external speakers or headphones.
- Betriebssystem Android 11.0: Supports installation of various applications directly on the projector for versatile entertainment and productivity.
- 4K-Unterstützung & native 720p-Auflösung: Delivers clear and vibrant images, supporting 1080P and 4K video playback.
- 180° Drehung: Flexible projection angles for various setups, including ceiling, wall, or angled surfaces.
- Automatic Keystone Correction & Manual Focus: Intelligently corrects image distortion and allows for fine-tuning clarity.
- Kompaktes und tragbares Design: Weighs only 700g, making it easy to transport for outdoor activities or different rooms.

Abbildung 2: Überview of Salange HY300Pro features including 8K support, WiFi 6, Bluetooth 5.4, 180° rotation, and auto keystone correction.
Lieferumfang
- 1 x Salange HY300Pro Projector
- 1 x Benutzerhandbuch
- 1 x Stromkabel
- 1 x Fernbedienung

Figure 3: Contents of the Salange HY300Pro package.
3. Einrichtung
3.1 Auspacken und Aufstellen
- Entnehmen Sie vorsichtig alle Komponenten aus der Verpackung.
- Stellen Sie den Projektor auf eine stabile, ebene Fläche. Sorgen Sie für ausreichende Belüftung um das Gerät herum.
- The projector's 180° rotation feature allows flexible placement. Adjust the projector's angle to project onto a wall, ceiling, or screen as desired.

Figure 4: Projector demonstrating 180-degree rotation for various projection surfaces.
3.2 Stromanschluss
Verbinden Sie das mitgelieferte Netzkabel mit dem Stromeingang des Projektors und anschließend mit einer Steckdose.
3.3 Erstes Einschalten und Fokussieren
- Drücken Sie den Netzschalter am Projektor oder auf der Fernbedienung, um das Gerät einzuschalten.
- The projector features automatic keystone correction. It will intelligently detect and correct image distortion to ensure a square image.
- For fine-tuning the image clarity, use the manual focus adjustment ring on the projector.

Figure 5: Illustration of automatic keystone correction and manual focus adjustment.
3.4 Netzwerkverbindung (WLAN)
- Navigieren Sie auf dem Startbildschirm des Projektors zum Menü „Einstellungen“.
- Select 'Network & Internet' and enable Wi-Fi.
- Choose your desired Wi-Fi network from the list and enter the password if prompted. The projector supports dual-band 2.4G + 5G WiFi 6 for fast and stable connections.

Figure 6: Visual representation of the projector's WiFi 6 capabilities for ultra-fast streaming.
3.5 Bluetooth-Kopplung
- From the 'Settings' menu, select 'Connected Devices' or 'Bluetooth'.
- Aktivieren Sie Bluetooth und suchen Sie nach verfügbaren Geräten.
- Wählen Sie Ihren Bluetooth-Lautsprecher oder Ihre Kopfhörer aus der Liste aus, um sie zu koppeln.

Figure 7: Projector connected to various Bluetooth audio devices.
3.6 Externe Geräte anschließen
The projector supports HDMI and USB connections.
- HDMI: Connect your laptop, game console, Blu-ray player, or TV stick using an HDMI cable. Select the corresponding HDMI input source from the projector's input menu.
- USB: Schließen Sie ein USB-Laufwerk an, um Medien abzuspielen. files direkt. Zugriff auf die files through the media player application on the Android OS.
4. Bedienungsanleitung
4.1 Navigation im Android-Betriebssystem
The Salange HY300Pro runs on Android 11.0, providing a smart TV experience.
- Verwenden Sie die Fernbedienung, um durch den Startbildschirm, die Anwendungen und die Einstellungen zu navigieren.
- The interface is intuitive, similar to an Android smartphone or tablet.

Figure 8: Projector displaying the Android OS home screen with various streaming apps.
4.2 App-Verwaltung
You can install and manage applications directly on the projector.
- Access the app store (e.g., Google Play Store) to download streaming services, games, and productivity tools.
- To uninstall an app, go to 'Settings' > 'Apps' and select the desired app.
4.3 Bildschirmspiegelung
Spiegeln Sie Ihren Smartphone- oder Tablet-Bildschirm drahtlos auf den Projektor.
- Stellen Sie sicher, dass sowohl Ihr Gerät als auch der Projektor mit demselben WLAN-Netzwerk verbunden sind.
- On the projector, select the screen mirroring function (e.g., 'Miracast', 'AirPlay', or 'Screen Share').
- On your smartphone/tablet, enable screen mirroring and select the projector from the list of available devices.
4.4 Bild- und Toneinstellungen
Adjust various settings to optimize your viewErfahrung.
- Bildeinstellungen: Access 'Settings' > 'Display' to adjust brightness, contrast, color, and aspect ratio.
- Toneinstellungen: Access 'Settings' > 'Sound' to adjust volume, sound mode, and output device.

Figure 9: Projector displaying a large image, illustrating its ability to create a home cinema experience.
5. Wartung
5.1 Reinigung der Linse
Verwenden Sie ein weiches, fusselfreies Tuch, das speziell für optische Linsen entwickelt wurde, um die Projektorlinse vorsichtig abzuwischen. Verwenden Sie keine Scheuermittel und üben Sie keinen übermäßigen Druck aus.
5.2 Belüftung
Ensure the projector's ventilation vents are clear of dust and obstructions. Blocked vents can lead to overheating and reduced performance. Periodically clean the vents with a soft brush or compressed air.
5.3 Speicherung
Bei längerer Nichtbenutzung sollte der Projektor an einem kühlen, trockenen Ort, geschützt vor direkter Sonneneinstrahlung und extremen Temperaturen, aufbewahrt werden. Verwenden Sie die Originalverpackung oder eine Schutzhülle, um Staubansammlungen und Beschädigungen zu vermeiden.
6. Fehlerbehebung
| Problem | Mögliche Ursache | Lösung |
|---|---|---|
| Kein Bild angezeigt | Netzkabel nicht angeschlossen; Falsche Eingangsquelle; Projektor im Standby-Modus. | Überprüfen Sie die Stromverbindung; Wählen Sie den richtigen HDMI/USB-Eingang; Drücken Sie den Netzschalter, um das Gerät aufzuwecken. |
| Bild ist verschwommen | Fokus nicht eingestellt; Projektor zu weit/nah an der Leinwand. | Adjust manual focus ring; Ensure projector is within optimal projection distance. |
| Kein Ton | Volume too low; Muted; Incorrect audio output selected; Bluetooth device not paired. | Lautstärke erhöhen; Stummschaltung aufheben; Audioeinstellungen prüfen; Bluetooth-Gerät erneut koppeln. |
| WLAN-/Bluetooth-Verbindungsprobleme | Falsches Passwort; Außerhalb der Reichweite; Störung. | Verify password; Move closer to router/device; Reduce interference from other electronics. |
| Fernbedienung funktioniert nicht | Leere Batterien; Blockierung; Nicht gekoppelt. | Batterien austauschen; Hindernisse beseitigen; Fernbedienung gegebenenfalls neu koppeln. |
7. Spezifikationen
| Besonderheit | Detail |
|---|---|
| Marke | Salange |
| Modellnummer | X-HY300PRO |
| Serie | Salange Mini Beamer |
| Farbe | Weiß |
| Anzeigetyp | LCD |
| Native Auflösung | 1280 x 720P |
| Maximale Bildschirmauflösung | 3840 x 2160 (4K-Unterstützung) |
| Konnektivitätstechnologie | Bluetooth, Wi-Fi (WiFi 6) |
| Hardware-Schnittstelle | Bluetooth, HDMI, USB |
| Kompatible Geräte | Smartphones, Laptops, Game Consoles, Blu-ray Players, Media Players |
| Artikelabmessungen (L x B x H) | 9.5 x 9.5 x 15.7 Zentimeter |
| Besondere Merkmale | Wi-Fi Compatible, Digital Keystone Correction, Lightweight, Portable, 180° Rotation |
| Empfohlene Verwendung | Wirtschaft, Heimkino, Gaming, Bildung |
| Formfaktor | Tragbar |
| Montagetyp | Tischmontage |
8. Garantie und Support
For warranty information and technical support, please refer to the documentation included with your purchase or visit the official Salange webBewahren Sie Ihren Kaufbeleg für Garantieansprüche auf.