1. Wichtige Sicherheitshinweise
Please read all instructions carefully before using the Teesa Steam Mop TSA5051. Keep this manual for future reference.
- Always ensure the appliance is unplugged before filling the water tank or performing maintenance.
- Lassen Sie den Dampfreiniger nicht unbeaufsichtigt, solange er eingeschaltet ist.
- Halten Sie Kinder und Haustiere während des Betriebs vom Gerät fern.
- Use only distilled or demineralized water in the tank to prevent mineral buildup.
- Richten Sie den Dampf nicht auf Menschen, Tiere oder elektrische Geräte.
- Avoid using the steam mop on unsealed hardwood floors or surfaces that are sensitive to heat and moisture.
- Always attach a cleaning pad before operating the steam mop.
- Wenn das Netzkabel beschädigt ist, muss es vom Hersteller, seinem Kundendienst oder einer ähnlich qualifizierten Person ersetzt werden, um Gefahren zu vermeiden.
2. Produktüberschreitungview und Komponenten
Familiarize yourself with the parts of your Teesa Steam Mop TSA5051 before assembly and operation.

Abbildung 2.1: Fully assembled Teesa Steam Mop TSA5051, front view.

Abbildung 2.2: Seite view of the steam mop, showing the handle and power cord wrap.

Abbildung 2.3: The detachable handheld steam unit.

Abbildung 2.4: Illustration of detaching the handheld unit from the main body.
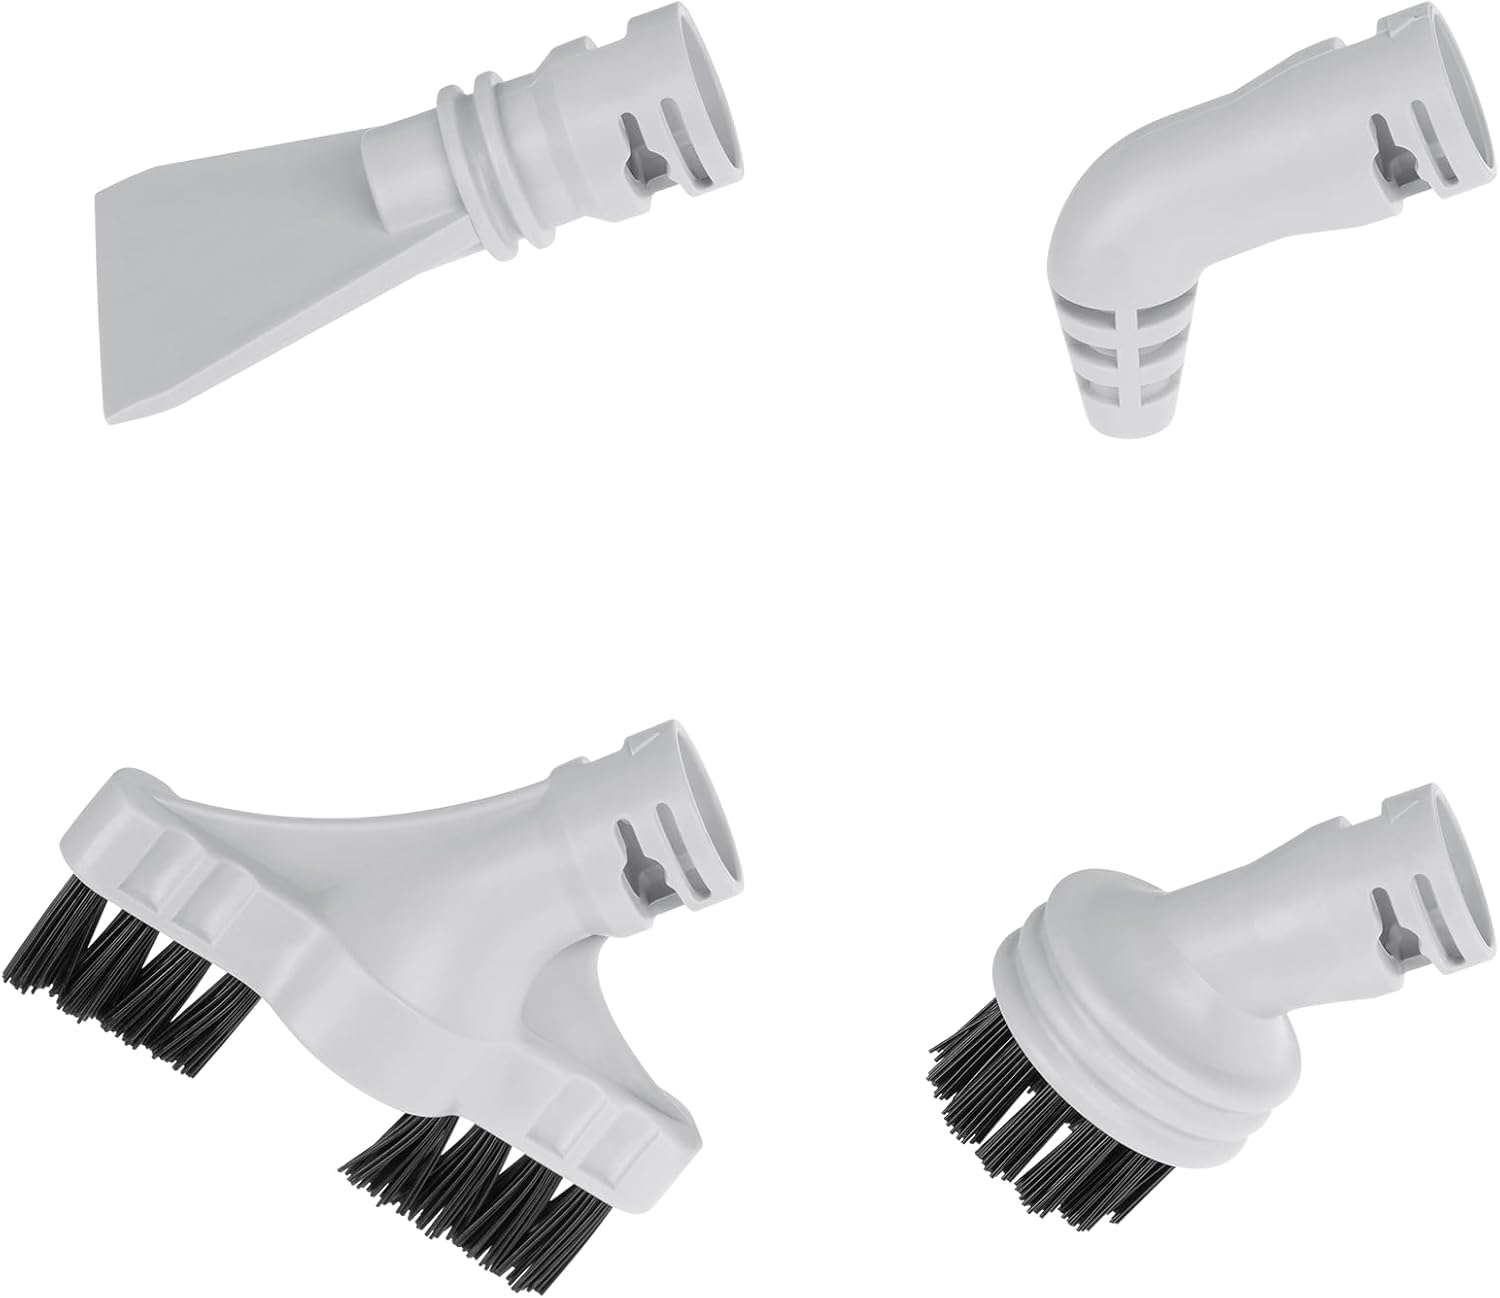
Abbildung 2.5: Included accessories: round brush, joint accessory, slot nozzle, scraper.

Abbildung 2.6: Measuring cup for water and adapter for accessories.
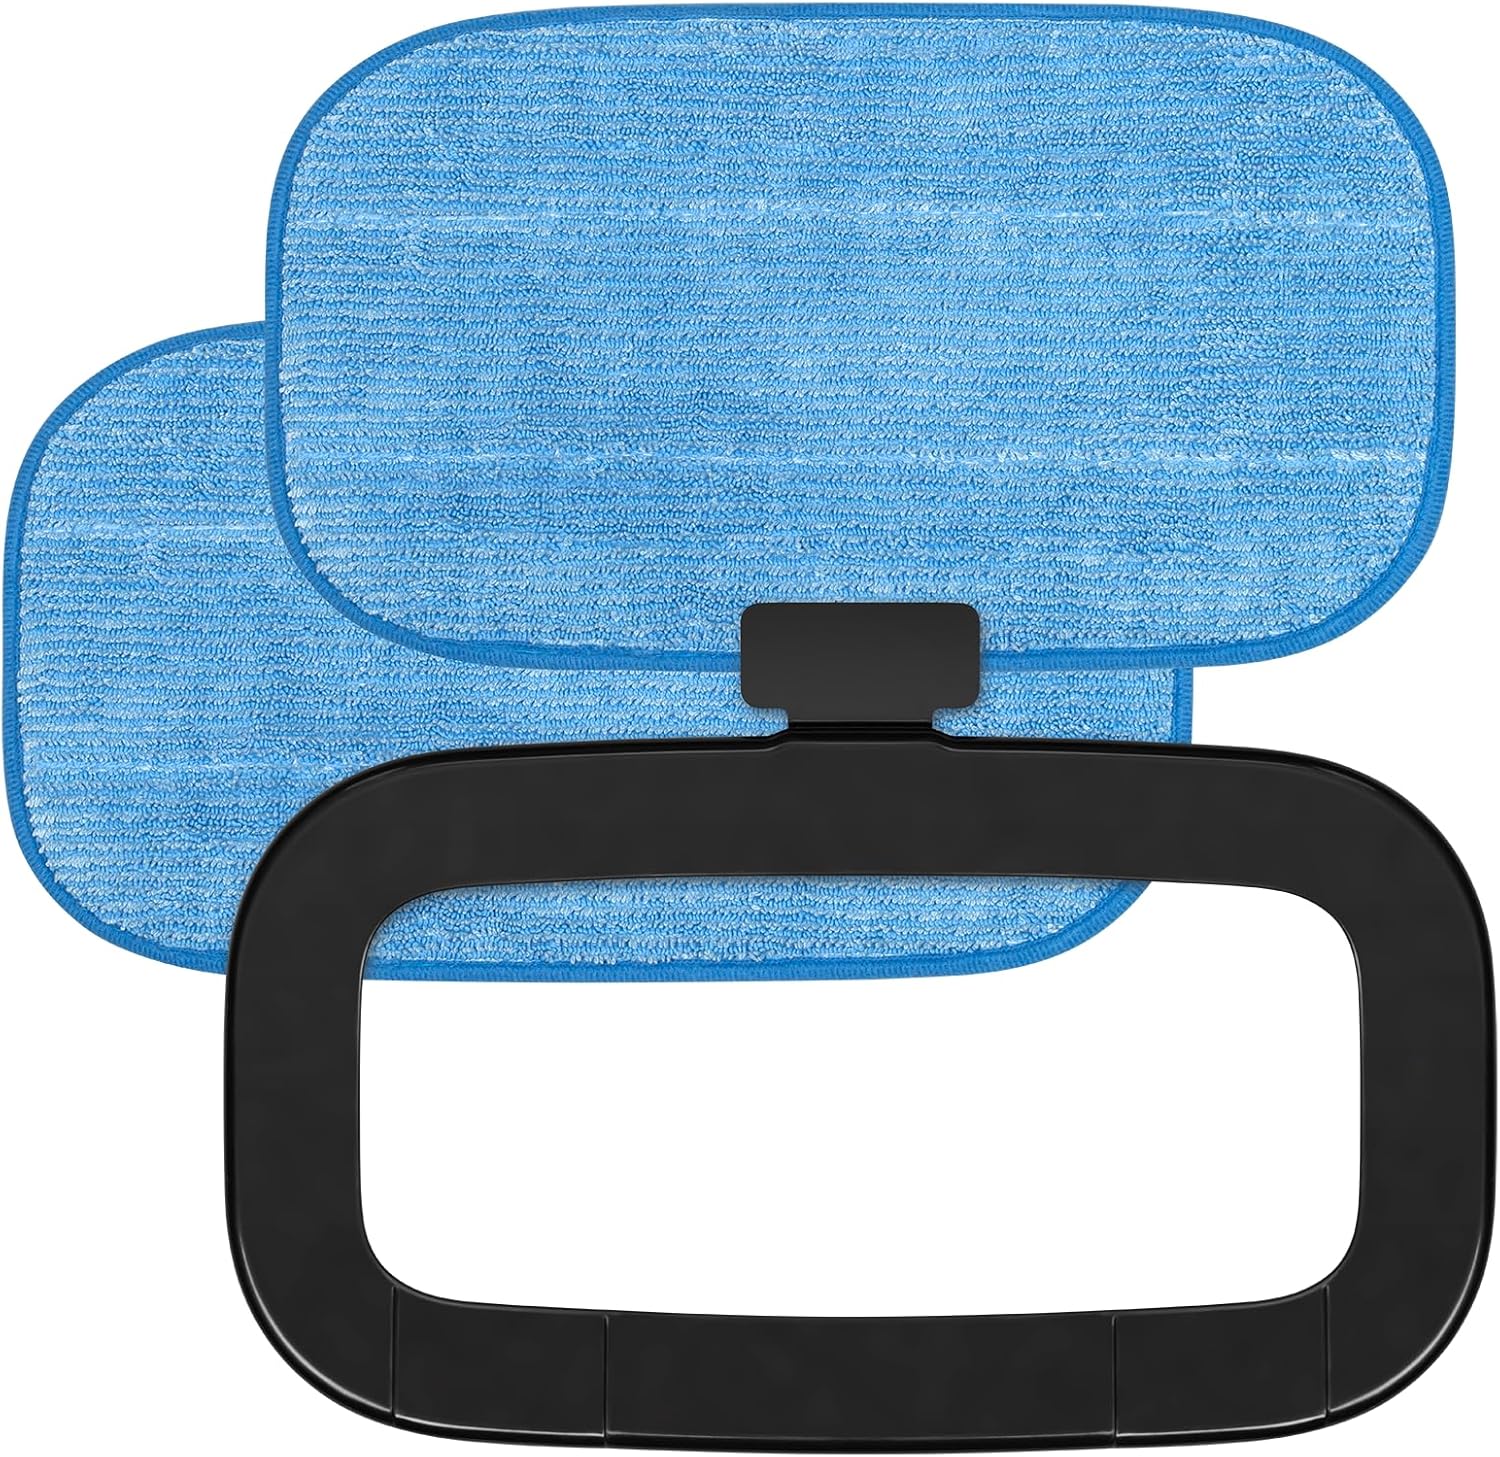
Abbildung 2.7: Two sponge cloths (mop pads) and the carpet glider frame.
Enthaltene Komponenten:
- Main Steam Mop Unit (with detachable handheld steamer)
- Griffbaugruppe
- 2 x Sponge Cloths (Mop Pads)
- Messbecher
- Zubehöradapter
- Rundbürste
- Joint Accessory
- Schlitzdüse
- Schaber
- Carpet Glider Frame
3. Aufbau und Montage
- Den Griff zusammenbauen: Insert the handle assembly into the main steam mop unit until it clicks securely into place.
- Reinigungspad anbringen: Place one of the sponge cloths onto the bottom of the mop head, ensuring it is securely attached.
- Wassertank auffüllen:
- Öffnen Sie den Deckel des Wassertanks.
- Using the provided measuring cup, fill the water tank with up to 380 ml of distilled or demineralized water. Do not overfill.
- Verschließen Sie den Wassertankdeckel fest.
- Optional: Teppichgleiter anbringen: For refreshing carpets, place the mop head with the attached cleaning pad into the carpet glider frame.
4. Bedienungsanleitung
4.1. Verwendung als Dampfmopp
- Ensure the water tank is filled and a cleaning pad is attached.
- Plug the power cord into a grounded electrical outlet (220-240 V AC, 50 Hz).
- The steam mop will begin heating. The indicator light will illuminate, signaling preparation. The device is ready in approximately 25 seconds.
- Select the desired steam level (3 levels available) using the control button.
- Begin cleaning by moving the mop head slowly and steadily over the floor surface. The swivel head allows for easy maneuverability.
- For carpet refreshing, ensure the carpet glider is attached and move the mop over the carpet.
- When finished, unplug the appliance and allow it to cool before emptying any remaining water and cleaning.
4.2. Using as a Handheld Steam Cleaner
- Ziehen Sie den Stecker des Dampfreinigers und vergewissern Sie sich, dass er abgekühlt ist.
- Press the release button to detach the handheld steam unit from the main body (refer to Figure 2.4).
- Attach the desired accessory (e.g., round brush, slot nozzle, joint accessory, scraper) to the handheld unit using the accessory adapter if needed.
- Fill the water tank if necessary (follow instructions in Section 3.3).
- Plug in the handheld unit. Wait for the indicator light to show it's ready (approx. 25 seconds).
- Direct the steam towards the surface to be cleaned. Use caution as steam is hot.
- After use, unplug the unit and allow it to cool before detaching accessories and storing.
5. Wartung
Regelmäßige Wartung gewährleistet optimale Leistung und verlängert die Lebensdauer Ihres Dampfmopps.
- Reinigungspads: The sponge cloths can be machine washed with mild detergent. Do not use bleach or fabric softeners. Air dry only. Replace pads when they become worn or lose their cleaning effectiveness.
- Wassertank entleeren: Ziehen Sie nach jedem Gebrauch den Netzstecker und lassen Sie das Gerät abkühlen. Entleeren Sie den Wassertank anschließend vollständig.
- Reinigung der Außenseite: Wischen Sie die Außenseite des Dampfmopps mit einem Tuch ab.amp Tuch. Verwenden Sie keine scharfen Chemikalien oder Scheuermittel.
- Entkalkung: If you notice a decrease in steam production or mineral residue, descaling may be necessary.
- Mix a solution of 1 part white vinegar to 2 parts water.
- Gießen Sie die Lösung in den Wassertank.
- Plug in the unit and allow it to heat up.
- Run the unit until half of the solution is used, then unplug and let it sit for 30 minutes.
- Plug it back in and run until the tank is empty.
- Rinse the tank thoroughly with fresh water and run two full tanks of fresh water through the unit to flush out any vinegar residue.
- Lagerung: Store the steam mop in a cool, dry place. Wrap the power cord around the designated cord wraps on the handle (refer to Figure 2.2).
6. Fehlerbehebung
| Problem | Mögliche Ursache | Lösung |
|---|---|---|
| No steam or low steam. |
|
|
| Water leaking from the mop head. |
|
|
| Mop not gliding smoothly. |
|
|
7. Spezifikationen
| Modellnummer | TSA5051 |
| Leistung | 1500 Watt |
| Fassungsvermögen des Wassertanks | 380 ml |
| Steam Ejection Rate | 21 / 28 ml/min (3 levels) |
| Aufheizzeit | Ca. 25 Sekunden |
| Stromversorgung | 220-240 VAC, 50 Hz |
| Länge des Netzkabels | 5 m |
| Gewicht | 3.0 kg (product), 4 kg (package) |
| Abmessungen (montiert) | 30 x 25 x 110 cm |
8. Garantie und Support
For warranty information and customer support, please refer to the warranty card included with your product or visit the official Teesa webBewahren Sie Ihren Kaufbeleg für eventuelle Garantieansprüche auf.
For further assistance, you may contact Teesa customer service through their official channels.