JMDHKK K20
JMDHKK K20 Multi-Functional Detector User Manual
Modell: K20
Einführung
The JMDHKK K20 is an advanced multi-functional detector designed to safeguard your privacy by identifying hidden cameras, listening devices (bugs), and magnetic tracking devices. Its compact and portable design makes it an ideal tool for use in various environments, including hotels, offices, homes, and vehicles. The device features an intuitive LED display and adjustable sensitivity for precise detection.

Image: The JMDHKK K20 detector with its antenna and GS probe attached, showcasing its sleek black design and display screen.

Image: The K20 detector on a table with a person using a computer in the background, illustrating its use for privacy protection.
Lieferumfang
- Main Unit (JMDHKK K20 Detector)
- Antenne
- GS Probe (Magnetic Field Detection Probe)
- USB-Ladekabel
- Bedienungsanleitung
Aufstellen
- Laden Sie das Gerät auf: Before first use, fully charge the K20 detector using the provided USB charging cable. Connect the cable to the device's charging port and a standard USB power adapter (not included). The LED indicator will show charging status.
- Antenne anschließen: Screw the RF antenna into the designated port on the top of the main unit for wireless signal detection.
- Attach GS Probe: Connect the GS probe to its dedicated port on the top of the main unit for magnetic field detection. Ensure it is securely fastened.
- Einschalten: Halten Sie den Ein-/Ausschalter gedrückt, um das Gerät einzuschalten. Das LED-Display leuchtet auf.

Image: The K20 detector with its antenna and GS probe, highlighting its LED display and internal chip components, illustrating its ease of operation and adjustable sensitivity.
Bedienungsanleitung
1. Hidden Camera Detection (IR Scan)
This mode uses infrared laser scanning to detect reflective camera lenses. It is effective for finding both wired and wireless hidden cameras.
- Activate the IR scan function (refer to the user manual for specific button press). The red LED lights on the back of the device will illuminate.
- Schau durch das Rot hindurch view-finder on the front of the device.
- Slowly scan the area, paying close attention to common hiding spots such as smoke detectors, air vents, picture frames, electrical outlets, and decorative items.
- A hidden camera lens will appear as a bright, reflective red dot when viewed through the finder.
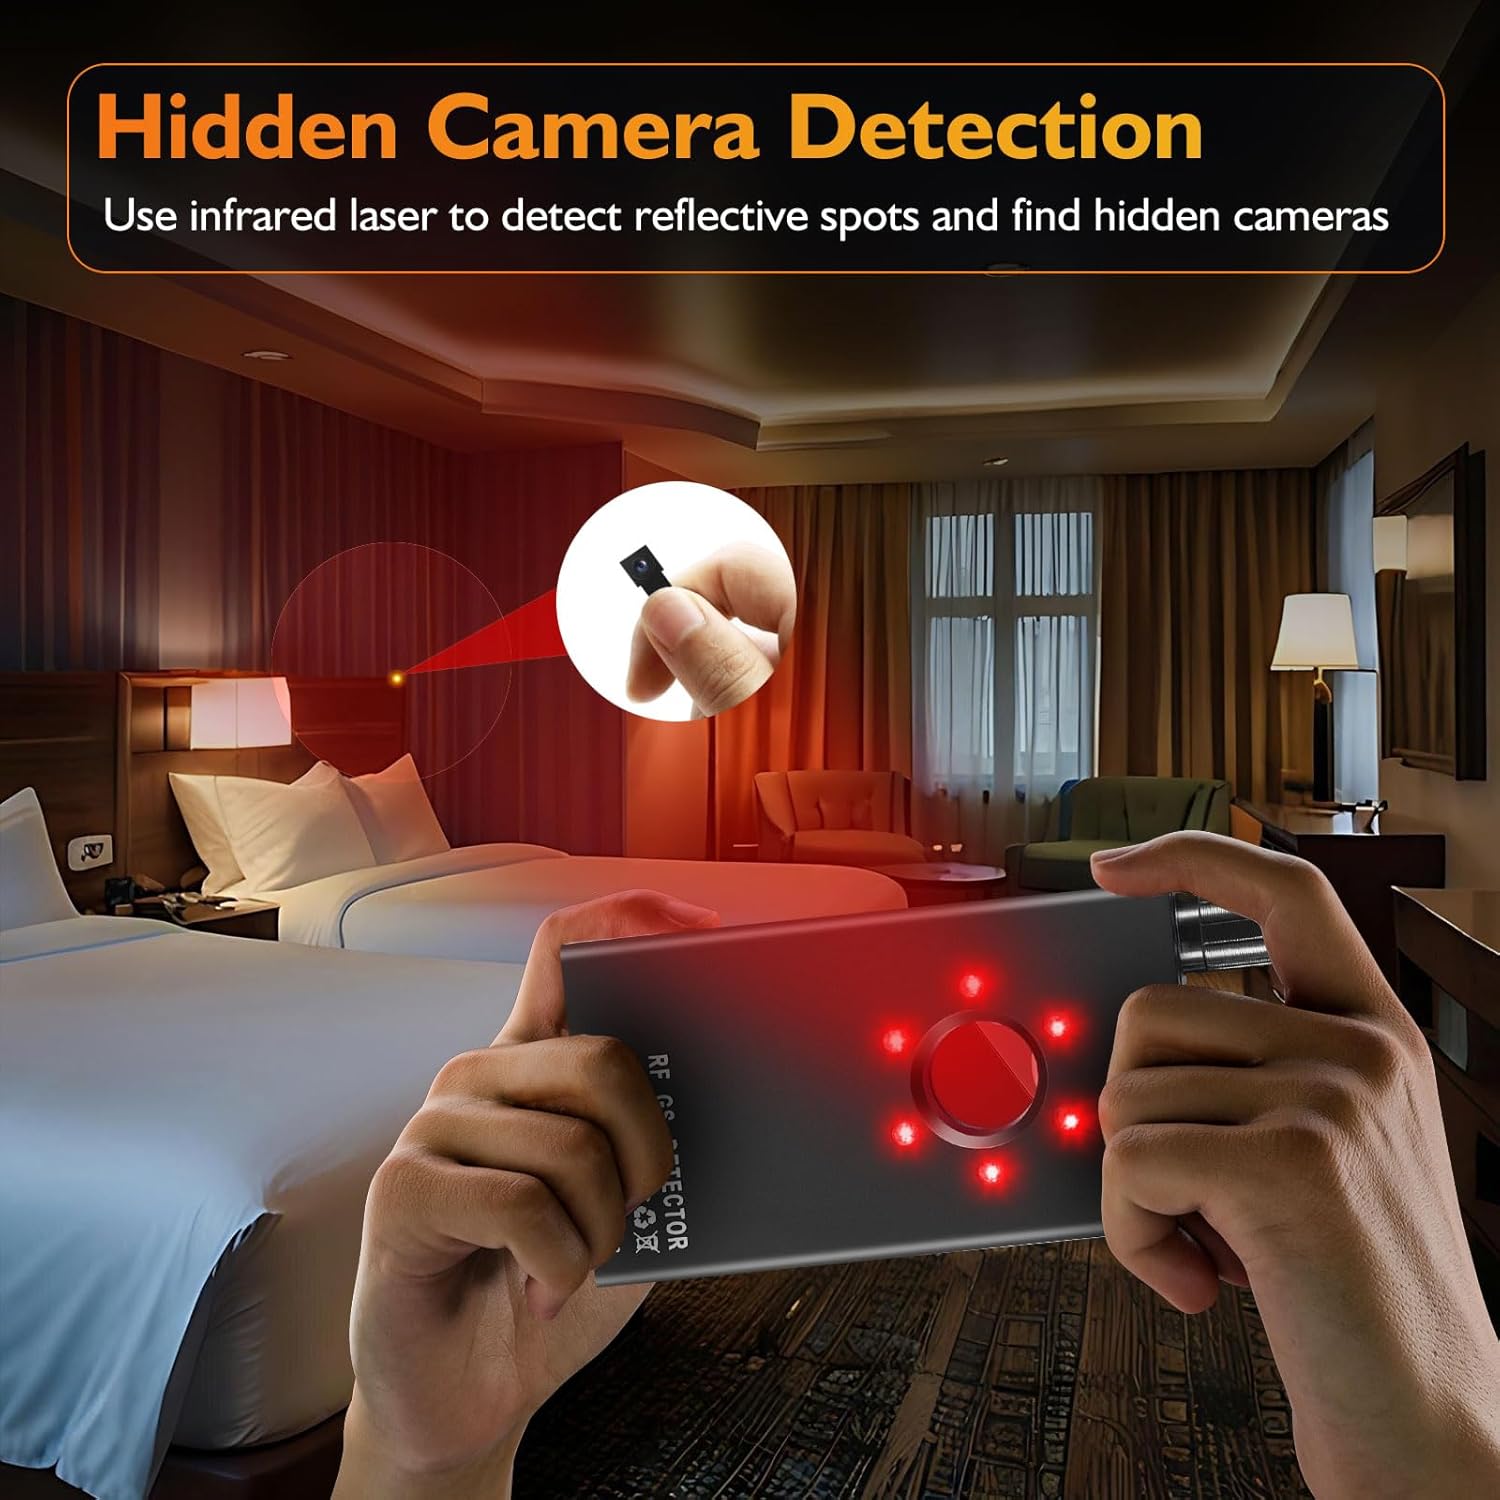
Image: A person using the K20 detector to scan a hotel room for hidden cameras, showing the red laser light being emitted.
Video: Demonstration of the K20's camera lens finder function, showing how to scan a room and identify reflective camera lenses.
2. Bug Detection (RF Signal Detection)
This mode detects wireless signals emitted by hidden listening devices, GPS trackers, and wireless cameras. The K20 passively receives signals, ensuring it does not interfere with other devices.
- Ensure the RF antenna is attached.
- Select the RF detection mode.
- Adjust the sensitivity knob to a medium level initially.
- Slowly sweep the device around the area. The signal strength indicator (LED bars) will light up, and the device will emit an audible alert or vibrate when a signal is detected.
- As you get closer to the source, the signal strength will increase. Reduce sensitivity as you approach to pinpoint the exact location.

Image: A person demonstrating the K20 detector in a meeting setting, illustrating its use for detecting hidden wireless cameras, bugs, and other wireless devices.
Video: Demonstration of the K20's RF signal detection capability, showing how it identifies wireless transmissions.
3. Magnetic Field Detection
The magnetic field detection function is specifically designed to locate magnetic objects, commonly used in hidden GPS trackers and other surveillance devices that attach magnetically to surfaces like vehicles.
- Ensure the GS probe is attached.
- Select the magnetic field detection mode.
- Slowly move the GS probe along surfaces where magnetic devices might be hidden, such as under car chassis, furniture, or metal structures.
- The device will alert you with sound or vibration, and the LED indicators will respond when a magnetic field is detected. The probe itself may also have an indicator light.

Image: The K20 detector being used inside a car to detect magnetic tracking devices, showing the GS probe in action.
Video: Demonstration of the K20's magnetic field detection, showing how it can locate hidden magnetic devices.
4. Adjustable Sensitivity
The K20 features 10 sensitivity levels, allowing you to expand or narrow the detection range as needed. Use higher sensitivity for broad area scans and lower sensitivity to pinpoint the exact location of a detected device.
5. Alert Modes
The device offers both sound and vibration alert modes. You can switch between these modes to suit your environment, ensuring discreet operation when necessary.
Wartung
- Reinigung: Wischen Sie das Gerät mit einem weichen, trockenen Tuch ab. Verwenden Sie keine flüssigen Reinigungsmittel oder Scheuermittel.
- Lagerung: Store the K20 in a cool, dry place away from direct sunlight and extreme temperatures.
- Batteriepflege: Um die Akkulaufzeit zu verlängern, vermeiden Sie häufiges vollständiges Entladen des Geräts. Laden Sie es regelmäßig auf, auch wenn es längere Zeit nicht benutzt wird.
- Vorsichtig handhaben: Vermeiden Sie es, das Gerät fallen zu lassen oder starken Stößen auszusetzen.
Fehlerbehebung
| Problem | Mögliche Ursache | Lösung |
|---|---|---|
| Gerät lässt sich nicht einschalten. | Schwacher Akku oder keine Ladung. | Laden Sie das Gerät mit dem mitgelieferten USB-Kabel vollständig auf. |
| No detection in RF mode. | Sensitivity too low; RF antenna not properly attached; no active signals. | Increase sensitivity; ensure RF antenna is securely attached; test in an area with known wireless signals (e.g., near a Wi-Fi router). |
| False alarms in RF mode. | Sensitivity too high; presence of legitimate wireless devices (phones, Wi-Fi, Bluetooth). | Decrease sensitivity; turn off personal wireless devices during scanning. |
| Hidden camera lens not visible in IR mode. | Not scanning slowly enough; camera is well-hidden; not looking directly through the view-Finder. | Scan the area more slowly and thoroughly; ensure proper viewing angle through the red view-Finder. |
| Magnetic detection not working. | GS probe not attached or damaged; no magnetic objects present. | Ensure GS probe is securely attached; test with a known magnet to confirm functionality. |
Video: A troubleshooting guide for the K18+ detector, which may offer general troubleshooting tips applicable to the K20 model.
Technische Daten
| Besonderheit | Detail |
|---|---|
| Modellname | K20 Signal Detector |
| Marke | JMDHK |
| Abmessungen (L x B x H) | 3.94 x 2.1 x 0.79 Zoll |
| Artikelgewicht | 4.8 Unzen |
| Stromquelle | Batteriebetrieben (1 Lithium-Ionen-Akku im Lieferumfang enthalten) |
| Konnektivitätstechnologie | Kabellos |
| Controllertyp | Druckknopf |
| Besonderheit | Tragbar |
| Farbe | Schwarz |

Image: Visual representation of the K20's key features including long battery life, portability, and an upgraded smart chip.
Garantie und Support
For warranty information and technical support regarding your JMDHKK K20 detector, please refer to the contact details provided in the packaging or visit the official JMDHKK website. Ensure you have your product model number (K20) and purchase details ready when contacting support.
JMDHKK is committed to providing quality and reliable security products. For further assistance, please reach out to their customer service team.
Ask a question about this manual
Ask about setup, troubleshooting, compatibility, parts, safety, or missing instructions. Manuals+ will review the question and use this page’s manual context to help answer it.