
VIRTAVO LJH10
VIRTAVO VistaFlask Wireless Outdoor Security Camera User Manual
Modell: LJH10
1. Einleitung
This manual provides instructions for the installation, operation, and maintenance of your VIRTAVO VistaFlask Wireless Outdoor Security Camera (Model: LJH10). Please read this manual thoroughly before using the product to ensure proper function and safety. Keep this manual for future reference.
2. Packungsinhalt
Bitte überprüfen Sie, ob alle unten aufgeführten Artikel in Ihrem Paket enthalten sind:
- VIRTAVO VistaFlask Wireless Outdoor Security Camera (LJH10)
- Montagehalterung
- Befestigungsschrauben und Wandanker
- USB-Ladekabel
- Benutzerhandbuch (dieses Dokument)
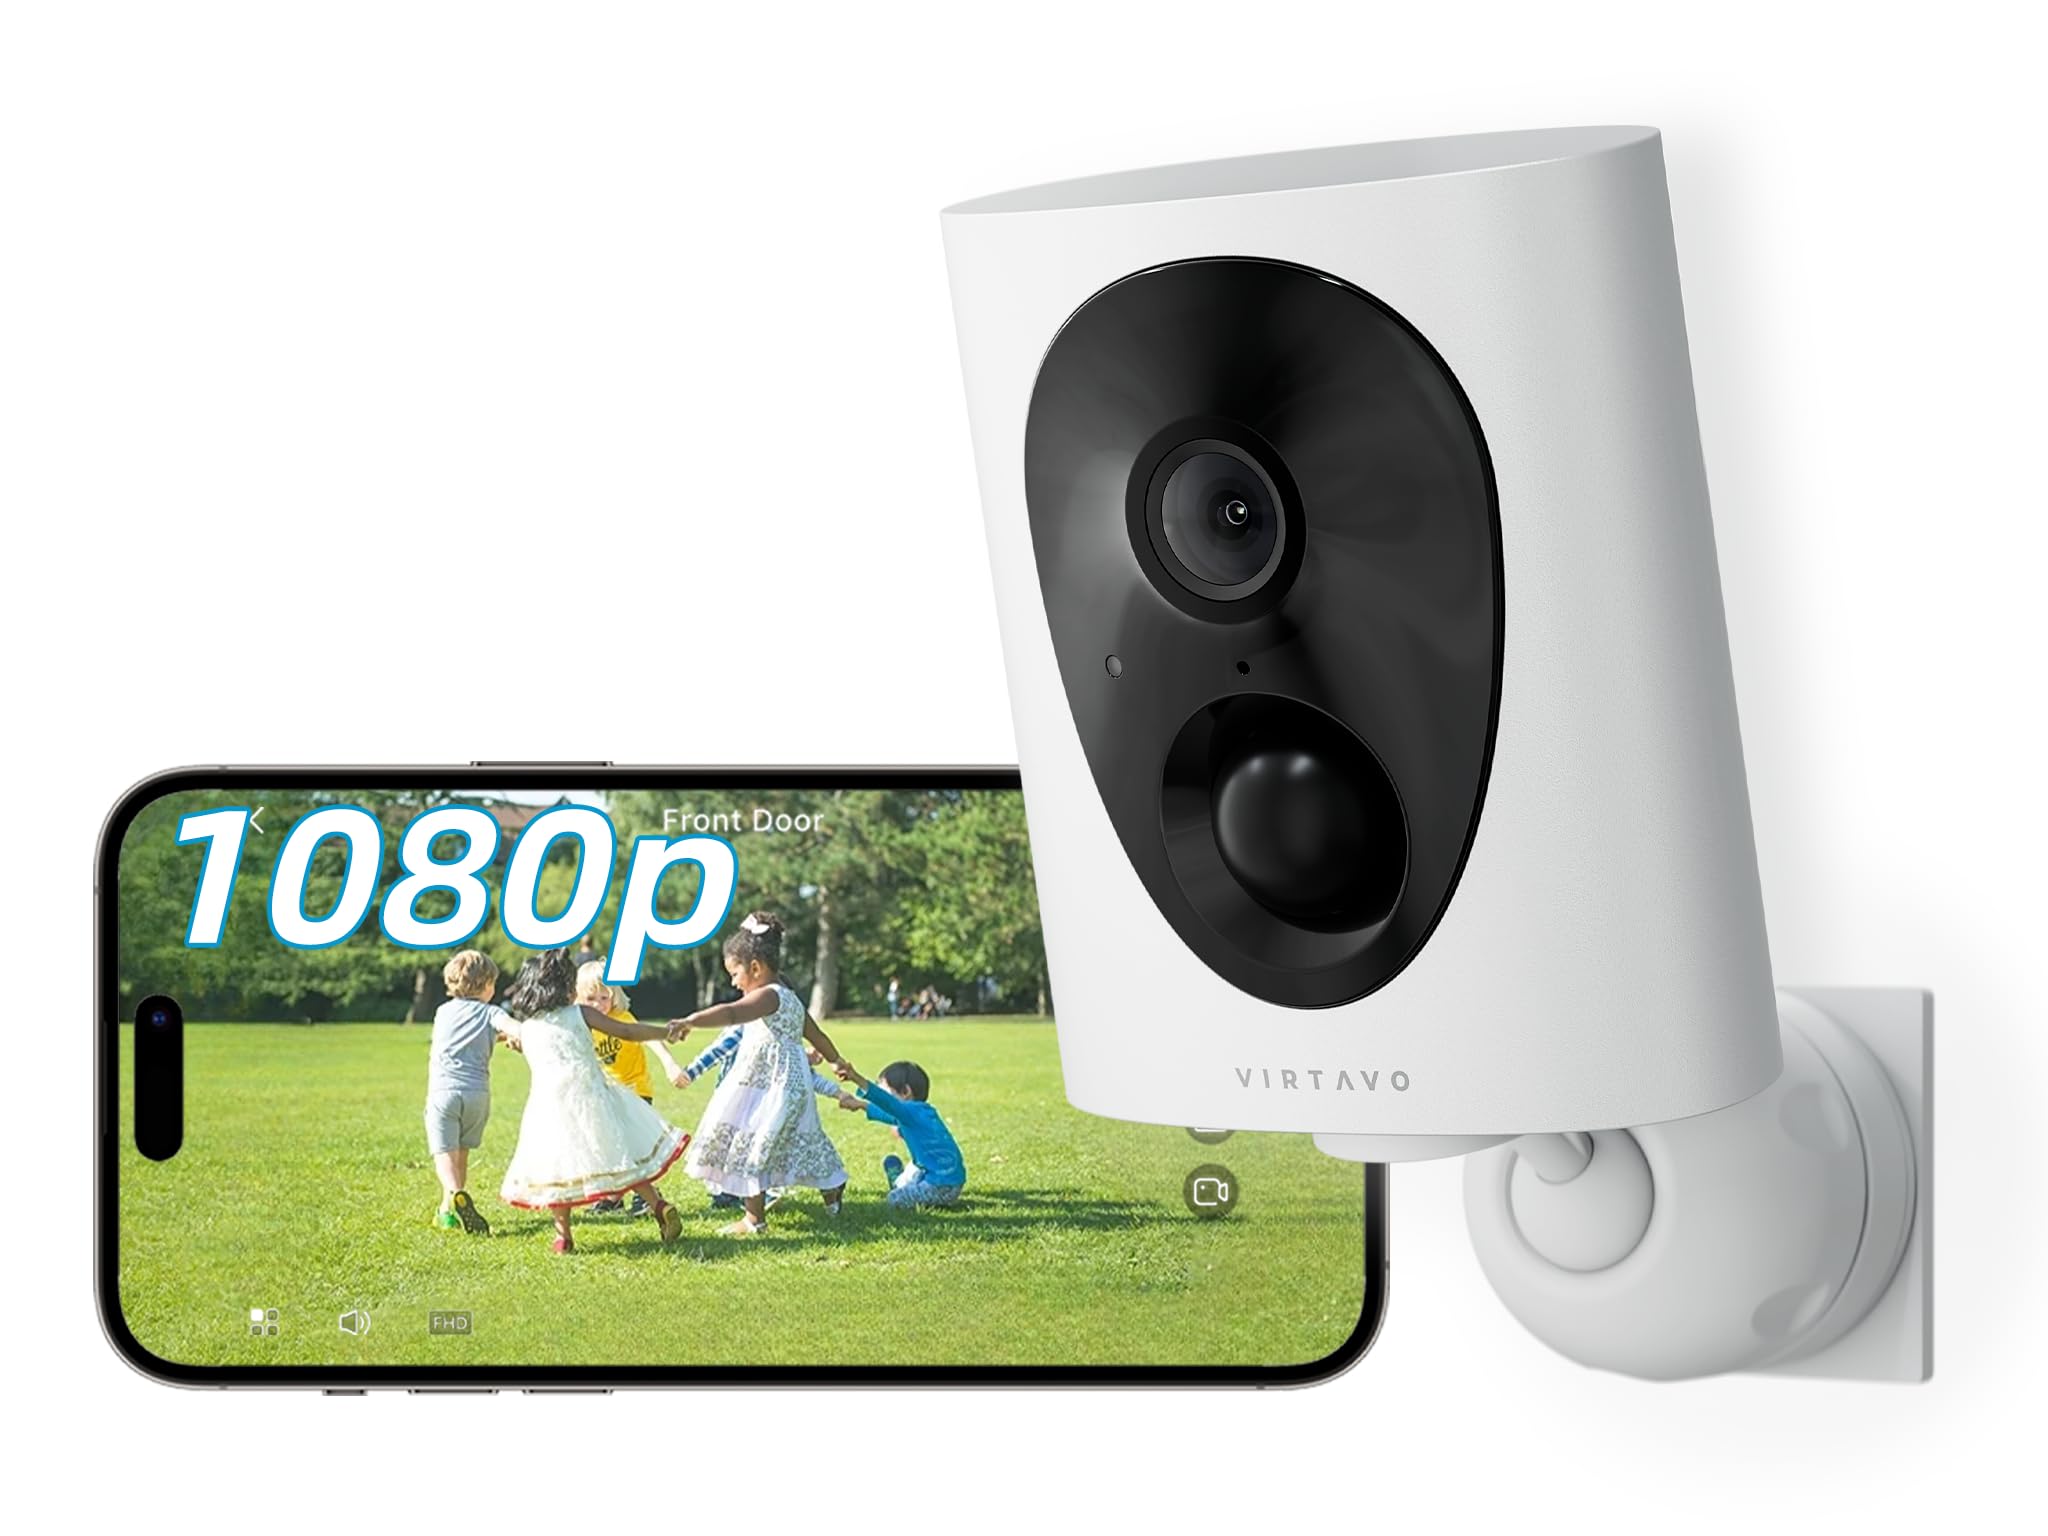
Image 1: VIRTAVO VistaFlask Camera and included accessories. The image shows the camera unit, a mounting bracket, screws, and a charging cable.
3. Produktüberschreitungview
Familiarize yourself with the components of your VIRTAVO VistaFlask camera.
Abbildung 2: Vorder- und Seitenansicht view of the VIRTAVO VistaFlask camera. Key components include the lens, IR LEDs, PIR sensor, microphone, speaker, and charging port.
- Kameraobjektiv: Nimmt Videos in 1080P FHD auf.
- Starlight Sensor: Enables color-rich night vision in low-light conditions.
- IR LEDs (x2): Provides infrared illumination for clear night vision.
- PIR Bewegungs-Sensor: Detects passive infrared changes for motion detection.
- Mikrofon: Erfasst Audio für die Zwei-Wege-Kommunikation.
- Lautsprecher: Gibt Audiosignale für die Zwei-Wege-Kommunikation und Warnmeldungen aus.
- Statusanzeigeleuchte: Displays camera status (e.g., charging, connected, recording).
- Reset-Taste: Dient dazu, die Kamera auf die Werkseinstellungen zurückzusetzen.
- Micro-SD-Kartensteckplatz: Supports local storage (32GB to 256GB, not included).
- USB Ladeanschluss: Zum Laden des internen Akkus.
4. Einrichtung
4.1 Aufladen der Kamera
Before initial use, fully charge the camera's internal 4400mAh battery. Connect the provided USB charging cable to the camera's charging port and a standard 5V/1A USB power adapter (not included). The status indicator light will show charging status and turn off when fully charged. A full charge typically takes 6-8 hours.
4.2 Installing the 'HOME V' App
The VIRTAVO VistaFlask camera operates via the 'HOME V' mobile application.
- Scan the QR code below or search for "HOME V" in your device's app store (App Store for iOS, Google Play Store for Android).
- Laden Sie die App herunter und installieren Sie sie.
- Registrieren Sie ein neues Konto oder melden Sie sich an, falls Sie bereits eines besitzen.
Image 3: Placeholder QR code for downloading the 'HOME V' application. Scan this code with your smartphone to quickly find and install the app.
4.3 Die Kamera mit WLAN verbinden
Follow these steps to connect your camera to your home Wi-Fi network:
- Stellen Sie sicher, dass Ihr Smartphone mit einem 2.4-GHz-WLAN-Netzwerk verbunden ist. Die Kamera unterstützt kein 5-GHz-WLAN.
- Open the 'HOME V' app and tap "Add Device" or the "+" icon.
- Wählen Sie „Batteriekamera“ oder den entsprechenden Kameratyp.
- Power on the camera. The status indicator light should blink blue, indicating it's ready for pairing. If not, press and hold the reset button for 5 seconds until it blinks.
- Folgen Sie den Anweisungen in der App, um Ihren WLAN-Netzwerknamen (SSID) und Ihr Passwort einzugeben.
- The app will generate a QR code. Hold your phone approximately 6-8 inches (15-20 cm) in front of the camera lens until you hear a confirmation sound.
- Once connected, the status indicator light will turn solid blue, and the camera will appear in your 'HOME V' app.
4.4 Montage der Kamera
Wählen Sie einen geeigneten Montageort, der eine gute WLAN-Signalstärke und freie Sicht gewährleistet. view. The camera is weatherproof for outdoor use.
- Mark the desired drilling spots using the mounting bracket as a template.
- Bohren Sie Vorbohrungen und setzen Sie Dübel ein, wenn Sie die Montage auf Mauerwerk oder Gipskartonwänden vornehmen.
- Befestigen Sie die Montagehalterung mit den mitgelieferten Schrauben an der Wand oder Decke.
- Befestigen Sie die Kamera an der Halterung und stellen Sie den Winkel für eine optimale Abdeckung ein.
Image 4: Illustrative diagram of the camera mounting process. It depicts marking drill points, securing the bracket, and attaching the camera.
5. Bedienungsanleitung
5.1 Live View und Wiedergabe
Greifen Sie auf die App „HOME V“ zu, um view lebe footage oder review aufgezeichnete Ereignisse.
- Open the 'HOME V' app and select your camera from the device list.
- Tap on the camera feed to enter live view.
- Zu view aufgenommenes footage, tap the "Playback" or "History" icon within the live view Schnittstelle.
5.2 Zwei-Wege-Audio
Die Kamera unterstützt bidirektionale Audiokommunikation.
- Im Live viewTippen Sie auf das Mikrofonsymbol, um über den Lautsprecher der Kamera zu sprechen.
- Tippen Sie auf das Lautsprechersymbol, um den Ton vom Mikrofon der Kamera zu hören.
5.3 Bewegungserkennung und Benachrichtigungen
The camera uses PIR motion detection to trigger recordings and send alerts.
- Enable or disable motion detection in the camera settings within the 'HOME V' app.
- Passen Sie die Empfindlichkeitseinstellungen an, um Fehlalarme zu minimieren.
- Erhalten Sie sofortige Push-Benachrichtigungen auf Ihr Smartphone, sobald eine Bewegung erkannt wird.
5.4 Nachtsicht
The camera automatically switches to night vision mode in low-light conditions, utilizing its Starlight lens and IR LEDs for clear imaging up to 30 feet.
- The camera will automatically activate IR LEDs for black and white night vision.
- The Starlight lens provides color-rich images in very low ambient light before IR activation.
5.5 Speichermöglichkeiten
The camera supports both local Micro SD card storage and optional cloud storage.
- Micro SD Karte: Insert a Micro SD card (32GB-256GB, Class 10 or higher) into the designated slot. The camera will automatically begin recording motion-triggered events to the card.
- Cloud-Speicher: Subscribe to the optional cloud storage service via the 'HOME V' app for additional features and secure off-site storage.
6. Wartung
6.1 Reinigung der Kamera
Um eine optimale Leistung zu gewährleisten, reinigen Sie das Kameraobjektiv und das Gehäuse regelmäßig.
- Verwenden Sie ein weiches, trockenes Tuch, um das Kameragehäuse abzuwischen.
- For the lens, use a lens cleaning cloth and a specialized lens cleaning solution if necessary. Avoid abrasive materials.
6.2 Batteriemanagement
The camera's 4400mAh rechargeable battery provides 1-3 months of operation depending on usage and motion detection frequency.
- Recharge the battery when the app indicates a low battery level.
- Use the provided USB cable and a 5V/1A power adapter for charging.
- Avoid exposing the camera to extreme temperatures during charging or operation, as this can affect battery life.
6.3 Firmware-Updates
Periodically check the 'HOME V' app for available firmware updates. Updates can improve performance, add new features, and enhance security.
- Follow the in-app instructions to download and install firmware updates.
- Stellen Sie sicher, dass die Kamera über ausreichend Akkuladung verfügt, bevor Sie ein Update starten.
7. Fehlerbehebung
| Problem | Mögliche Ursache | Lösung |
|---|---|---|
| Die Kamera kann keine Verbindung zum WLAN herstellen. | Incorrect Wi-Fi password; 5GHz Wi-Fi network; weak Wi-Fi signal; camera too far from router. |
|
| Keine Bewegungserkennungsalarme. | Motion detection disabled; low sensitivity; app notifications blocked; camera offline. |
|
| Schlechte Nachtsichtqualität. | Dirty lens; obstructions near IR LEDs; insufficient ambient light for Starlight vision. |
|
| Der Akku entlädt sich schnell. | Frequent motion detection; live view accessed often; extreme temperatures. |
|
8. Spezifikationen
| Besonderheit | Detail |
|---|---|
| Modell | LJH10 |
| Auflösung | 1080P FHD |
| Fachgebiet View | 130 Grad |
| Nachtsicht | Starlight Color Night Vision, 2x IR LEDs (up to 30 feet) |
| Audio | Zwei-Wege-Audio |
| Bewegungserkennung | PIR (Passive Infrared), 30-foot range |
| Konnektivität | 2.4-GHz-WLAN (IEEE 802.11b/g/n) |
| Stromquelle | Wiederaufladbarer 4400-mAh-Akku |
| Lagerung | Micro SD Card (32GB-256GB), Cloud Storage (optional) |
| Wetterbeständigkeit | Wetterfest |
| App-Kompatibilität | 'HOME V' (iOS, Android) |
| Maße | 2.7 x 1.3 x 3.2 Zoll |
| Gewicht | 11.2 Unzen |
9. Garantie und Support
VIRTAVO products come with a limited warranty. For detailed warranty information, please refer to the warranty card included in your package or visit the official VIRTAVO webWebsite.
For technical support, troubleshooting assistance, or customer service inquiries, please contact VIRTAVO support through the 'HOME V' app or visit our webWebsite.
- Online-Hilfe: VIRTAVO Official Store
- E-Mail-Support: Refer to the 'HOME V' app or product packaging for contact details.
Ask a question about this manual
Ask about setup, troubleshooting, compatibility, parts, safety, or missing instructions. Manuals+ will review the question and use this page’s manual context to help answer it.