
1. Produktüberschreitungview
The IINE Wireless Pro Controller with Charging Dock is a versatile gamepad designed for multi-platform compatibility, including Nintendo Switch, PC, Steam, and mobile devices (Phone/Tablet). It features advanced functions such as macro programming, turbo, rumble, NFC, and motion sensing to enhance your gaming experience. The included charging dock provides convenient power management.
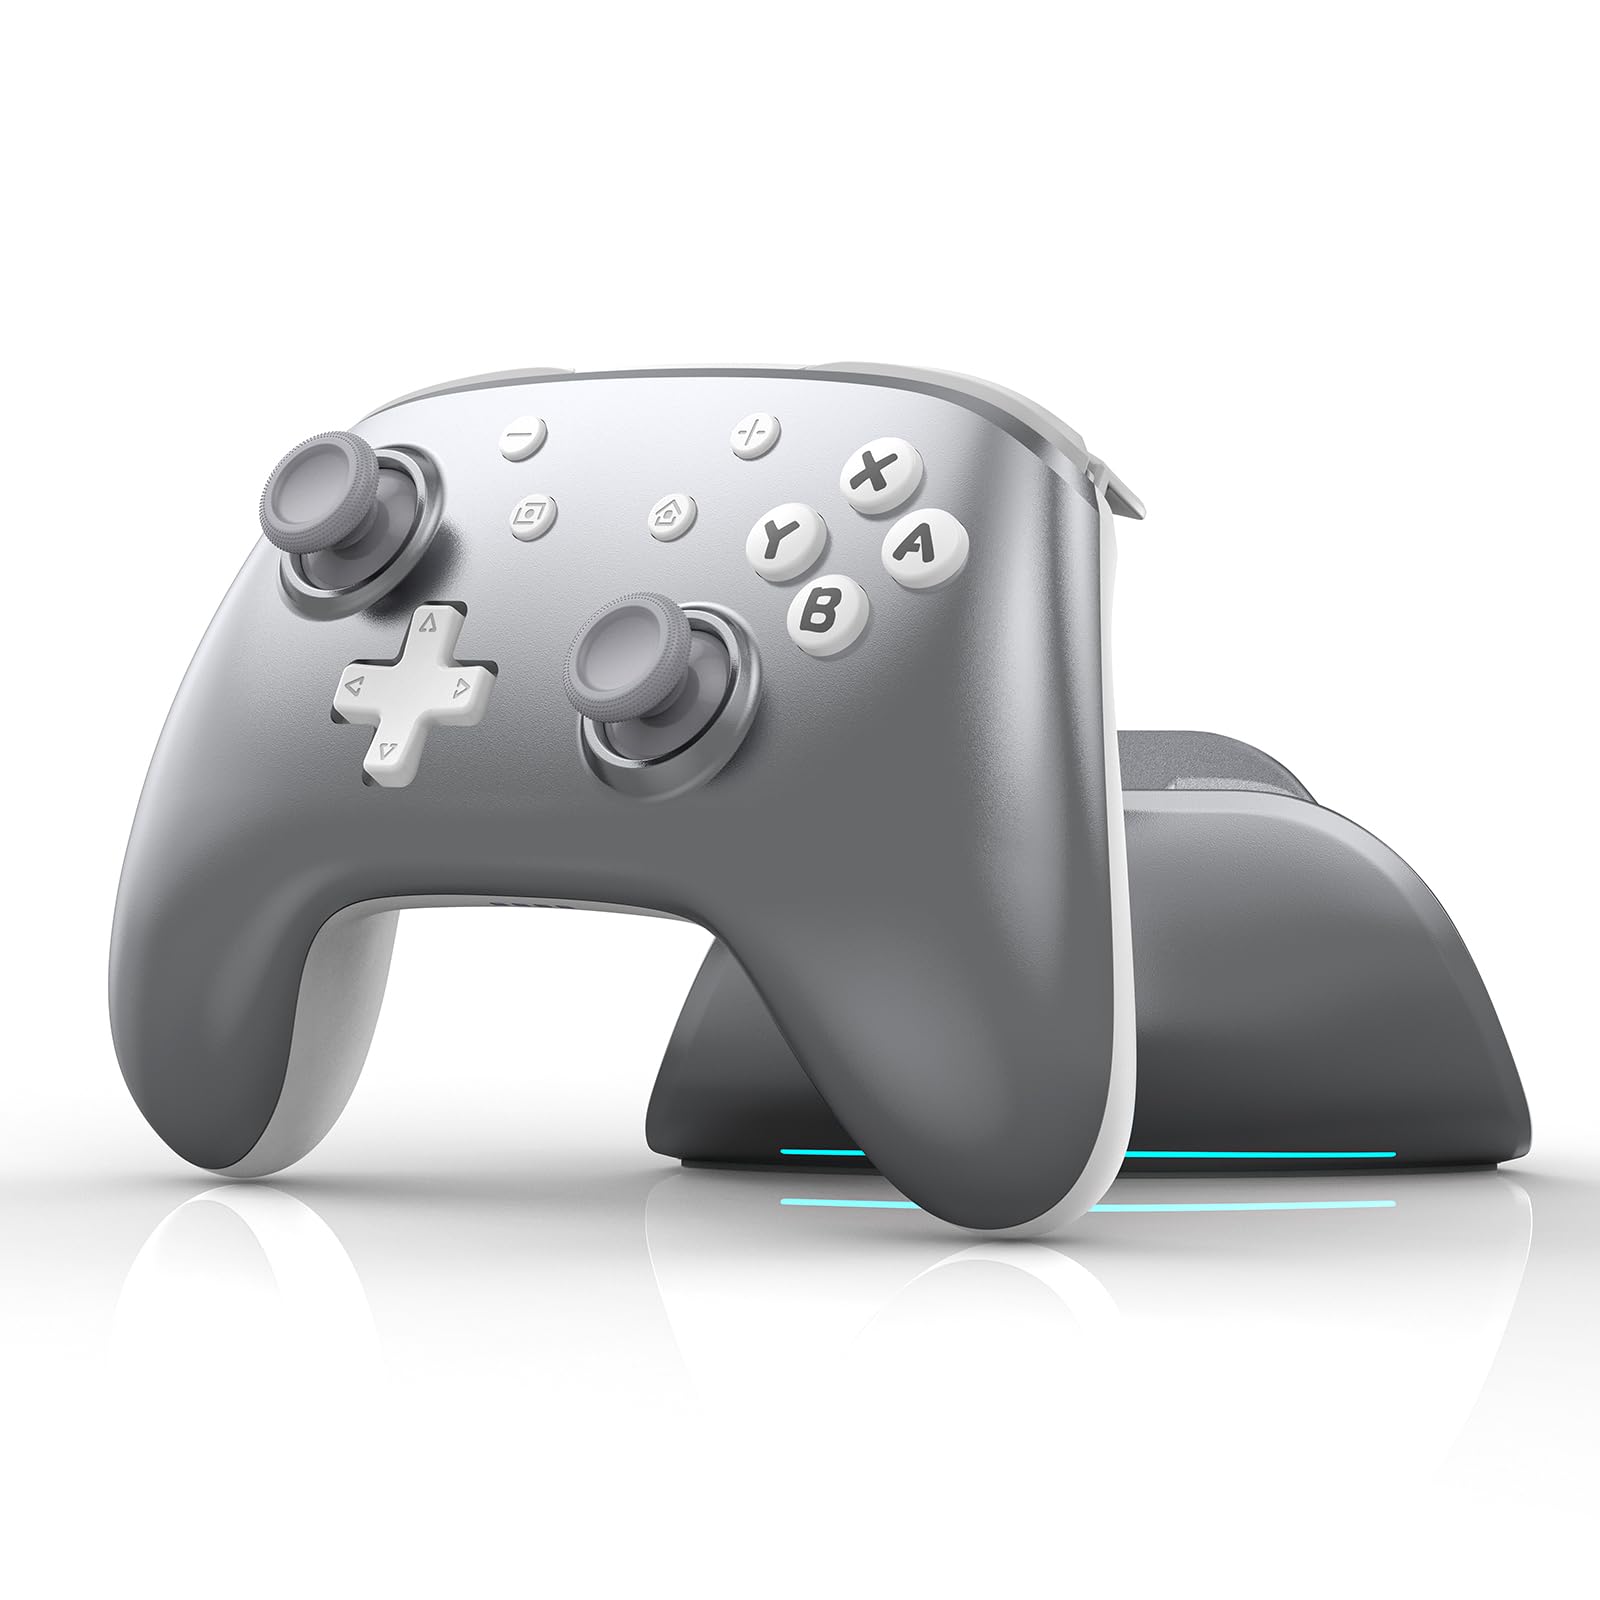
Image 1.1: The IINE Wireless Pro Controller with Charging Dock, highlighting its motion sensor, NFC, smart charging dock, macro & turbo functions, 1000 mAh battery, and multi-platform compatibility.
2. Packungsinhalt
Bitte überprüfen Sie, ob alle Artikel im Paket vorhanden sind:
- 1x IINE Wireless Pro Controller
- 1x Ladestation
- 1x USB-Ladekabel
- 1x Benutzerhandbuch

Image 2.1: Visual representation of the package contents, including the controller, charging station, charging cable, and user manual.
3. Einrichtungsanweisungen
3.1 Laden des Controllers
Before initial use, fully charge the controller. Connect the USB charging cable to the charging dock and a power source. Place the controller onto the charging dock. The dock will illuminate to indicate charging status. The controller charges when placed down and wakes/reconnects when lifted up.

Image 3.1: The controller placed on its smart charging dock, illustrating how it charges when docked and reconnects when removed.
3.2 Koppeln mit Geräten
The controller supports wireless connection to various platforms. Use the sliding switch on the backside of the controller to select the desired mode (Phone, Switch, or PC).
- Nintendo Switch-Modus: Set the switch to 'Switch'. On your Nintendo Switch, navigate to 'Controllers' > 'Change Grip/Order'. Press and hold the pairing button on the controller until the indicator lights flash rapidly. The controller will pair automatically. The controller can also wake up the Switch from sleep mode.
- PC-Modus: Set the switch to 'PC'. Activate Bluetooth on your PC and search for new devices. Press and hold the pairing button on the controller. Select the controller from the list of available devices to pair.
- Phone/Tablet Mode (Android/iOS): Set the switch to 'Phone'. Activate Bluetooth on your mobile device and search for new devices. Press and hold the pairing button on the controller. Select the controller from the list of available devices to pair.
4. Bedienungsanleitung
4.1 Grundlegende Bedienelemente
The controller features standard gamepad buttons, joysticks, and triggers. Refer to the specific game or application for button assignments.
4.2 Macro Programmable Function
The controller includes two macro buttons (M1 and M2) on the back, allowing you to record and assign sequences of button presses for more efficient gameplay. The macro function can record button presses for approximately 3 seconds.
- So zeichnen Sie ein Makro auf: Press and hold the desired macro button (M1 or M2) along with the buttons you wish to record. Release the macro button to save the sequence.
- So verwenden Sie ein Makro: Press the assigned macro button (M1 or M2) during gameplay to execute the recorded sequence.

Image 4.1: The back of the controller showing the M1 and M2 macro buttons, which can be assigned functions to optimize gameplay.
4.3 Turbo-Funktion
The turbo function allows a button to be pressed repeatedly as long as it is held down. This can be enabled or disabled for individual buttons. Consult the full instruction manual for detailed steps on activating and customizing turbo mode.
4.4 Rumble/Vibration
The controller features adjustable vibration feedback. The intensity of the rumble can be customized to suit user preference. Refer to the detailed manual or the IINE App for adjustment options.
4.5 NFC-Funktion
The built-in high-performance NFC chip supports Amiibo scanning for compatible games on the Nintendo Switch.
- To Scan Amiibo: Ensure the controller is connected to your Nintendo Switch. During gameplay, when prompted to scan an Amiibo, place the Amiibo figure over the NFC detection area on the controller (typically near the center).

Image 4.2: The controller highlighting its NFC functionality for fast Amiibo scanning.
4.6 Bewegungssensorfunktion
The controller includes a motion sensor for games that utilize tilt and motion controls, providing an immersive gaming experience on compatible platforms.
4.7 Controller Battery Status Check
You can instantly check the current battery level of your controller.
- To Check Battery: Press the dedicated battery button (usually located on the top edge of the controller, near the charging side). The indicator lights will display the remaining battery life.

Image 4.3: Illustration of how to check the controller's battery level using the dedicated button and the corresponding LED indicators.
5. IINE-App-Unterstützung
The IINE App allows for customization of your controller's functionality, including macro settings, turbo speed, light effects, and vibration adjustments. It also provides firmware upgrade options and connection guides.
- Herunterladen: Suchen nach "IINE App" on your device's app store.
- Verbindung: Follow the in-app instructions to connect your controller.
- Anpassung: Use the app interface to personalize your controller settings.

Image 5.1: Various screens of the IINE App, demonstrating options for custom controller settings, button testing, firmware upgrades, and connection guides.
6. Wartung
To ensure the longevity and optimal performance of your IINE Wireless Pro Controller:
- Reinigung: Verwenden Sie ein weiches, trockenes Tuch, um den Controller und die Ladestation zu reinigen. Vermeiden Sie die Verwendung von scharfen Chemikalien oder scheuernden Materialien.
- Lagerung: Store the controller and dock in a cool, dry place away from direct sunlight and extreme temperatures.
- Batteriepflege: Avoid fully discharging the battery frequently. If storing for an extended period, charge the controller to approximately 50% to preserve battery health.
7. Fehlerbehebung
Sollten Sie Probleme mit Ihrem Controller haben, beachten Sie bitte die folgenden gängigen Lösungsansätze:
- Controller stellt keine Verbindung her:
- Stellen Sie sicher, dass der Controller vollständig aufgeladen ist.
- Verify the mode switch (Phone/Switch/PC) is set correctly for your device.
- Wiederholen Sie den in Abschnitt 3.2 beschriebenen Kopplungsprozess.
- Prüfen Sie, ob es zu Störungen durch andere drahtlose Geräte kommt.
- Eingabeverzögerung oder Verbindungsabbrüche:
- Ensure the controller is within range of your device.
- Minimize obstacles between the controller and the device.
- Update the controller's firmware via the IINE App.
- Buttons or Joysticks Not Responding Correctly (e.g., Stick Drift):
- Perform a controller calibration through your device's settings (e.g., Nintendo Switch system settings).
- Reinigen Sie die Bereiche um die Knöpfe und Joysticks, um eventuelle Verunreinigungen zu entfernen.
- Wenn das Problem weiterhin besteht, wenden Sie sich an den Kundendienst.
- Ladeprobleme:
- Stellen Sie sicher, dass das USB-Kabel sowohl mit der Dockingstation als auch mit der Stromquelle fest verbunden ist.
- Versuchen Sie es mit einem anderen USB-Anschluss oder Netzteil.
- Confirm the controller is correctly seated on the charging dock.
8. Spezifikationen
| Produktname | IINE Aether Radiant Silver Wireless Controller Set |
| Kompatible Geräte | Android, iOS, Nintendo Switch, PC |
| Controllertyp | Gamepad |
| Zusätzliche Merkmale | Motion Sensing, Macro Function, Turbo Function, Rumble, NFC |
| Material | ABS, Kupfer |
| Gewicht | 623.5g |
| Abmessungen (Controller) | 157 mm x 105 mm x 54 mm |
| Batteriekapazität | 1000 mAh (as per product image) |
9. Garantie und Support
IINE products are designed for quality and reliability. For warranty information, please refer to the documentation included with your purchase or visit the official IINE website. For technical support, troubleshooting assistance, or inquiries, please contact IINE customer service through their official channels or utilize the IINE App for support resources and firmware updates.