1. Einleitung
This manual provides essential information for the proper installation, operation, and maintenance of your SITERWELL GS886-H04 Smoke Detector. This device is designed to provide early warning of smoke and fire, enhancing the safety of your home. Please read this manual thoroughly before installation and retain it for future reference.
2. Produktüberschreitungview
The SITERWELL GS886-H04 is a photoelectric smoke detector featuring a 10-year sealed battery and bilingual voice alerts. It is designed to meet UL217-9th edition standards for enhanced fire detection and reduced nuisance alarms.
Hauptmerkmale:
- 10 Jahre versiegelte Batterie: Provides long-lasting power without frequent battery changes.
- UL217-9th Certified: Complies with the latest safety standards for reliable detection.
- Zweisprachige Sprachalarme: Delivers clear warnings in English and French.
- Fotoelektrischer Sensor: Advanced technology for swift smoke detection and reduced false alarms.
- LED-Anzeige: Visual status for power, fault, and alarm conditions.
- Test-/Stummschalttaste: Easy operation for testing and silencing alarms.
Komponenten:
- Smoke Detector Unit
- Montagehalterung
- Schrauben und Dübel
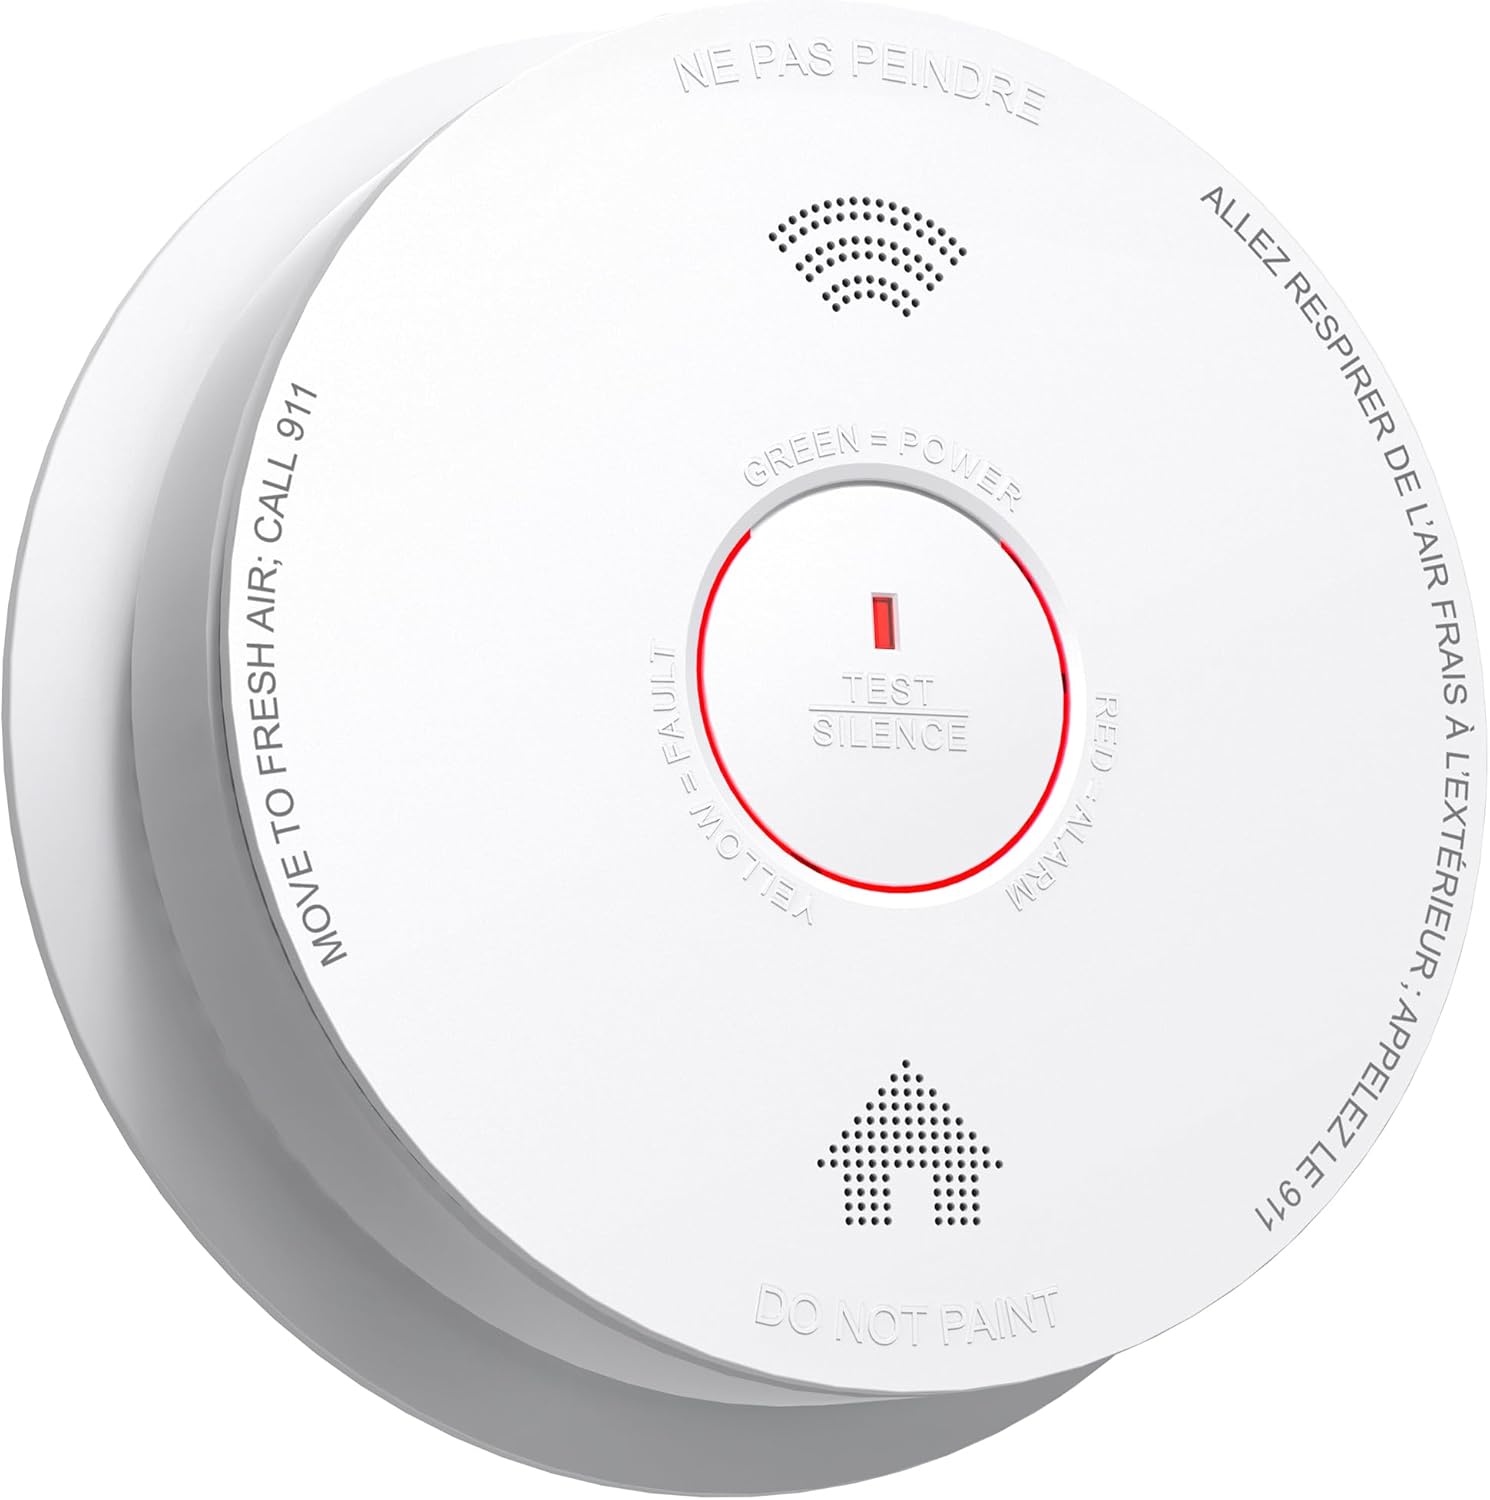
Abbildung 2.1: Vorderseite view of the SITERWELL GS886-H04 Smoke Detector, showing the central test/silence button, LED indicator, and printed instructions for fresh air and emergency calls.

Abbildung 2.2: Rückseite view of the smoke detector, illustrating the sealed battery compartment and the 'ACTIVATE' switch for initial setup.
3. Einrichtung und Installation
Empfohlene Platzierung:
- Installieren Sie Rauchmelder auf jeder Etage Ihres Hauses, einschließlich des Kellers.
- Platzieren Sie die Detektoren innerhalb und außerhalb der Schlafbereiche.
- An der Decke oder hoch oben an einer Wand (mindestens 4 cm von der Decke entfernt) montieren.
- Avoid placing near windows, doors, or air vents where drafts might interfere with detection.
- Keep away from cooking appliances to minimize nuisance alarms.
Installationsschritte:
- Ort wählen: Select a suitable location following the placement guidelines.
- Halterung: Use the provided screws and anchors to securely attach the mounting bracket to the ceiling or wall.
- Batterie aktivieren: Twist the detector onto the mounting bracket. This action will activate the sealed 10-year battery. You should hear a chirp or voice prompt indicating activation.
- Testeinheit: Press and hold the Test/Silence button for a few seconds until the alarm sounds. This confirms proper operation.
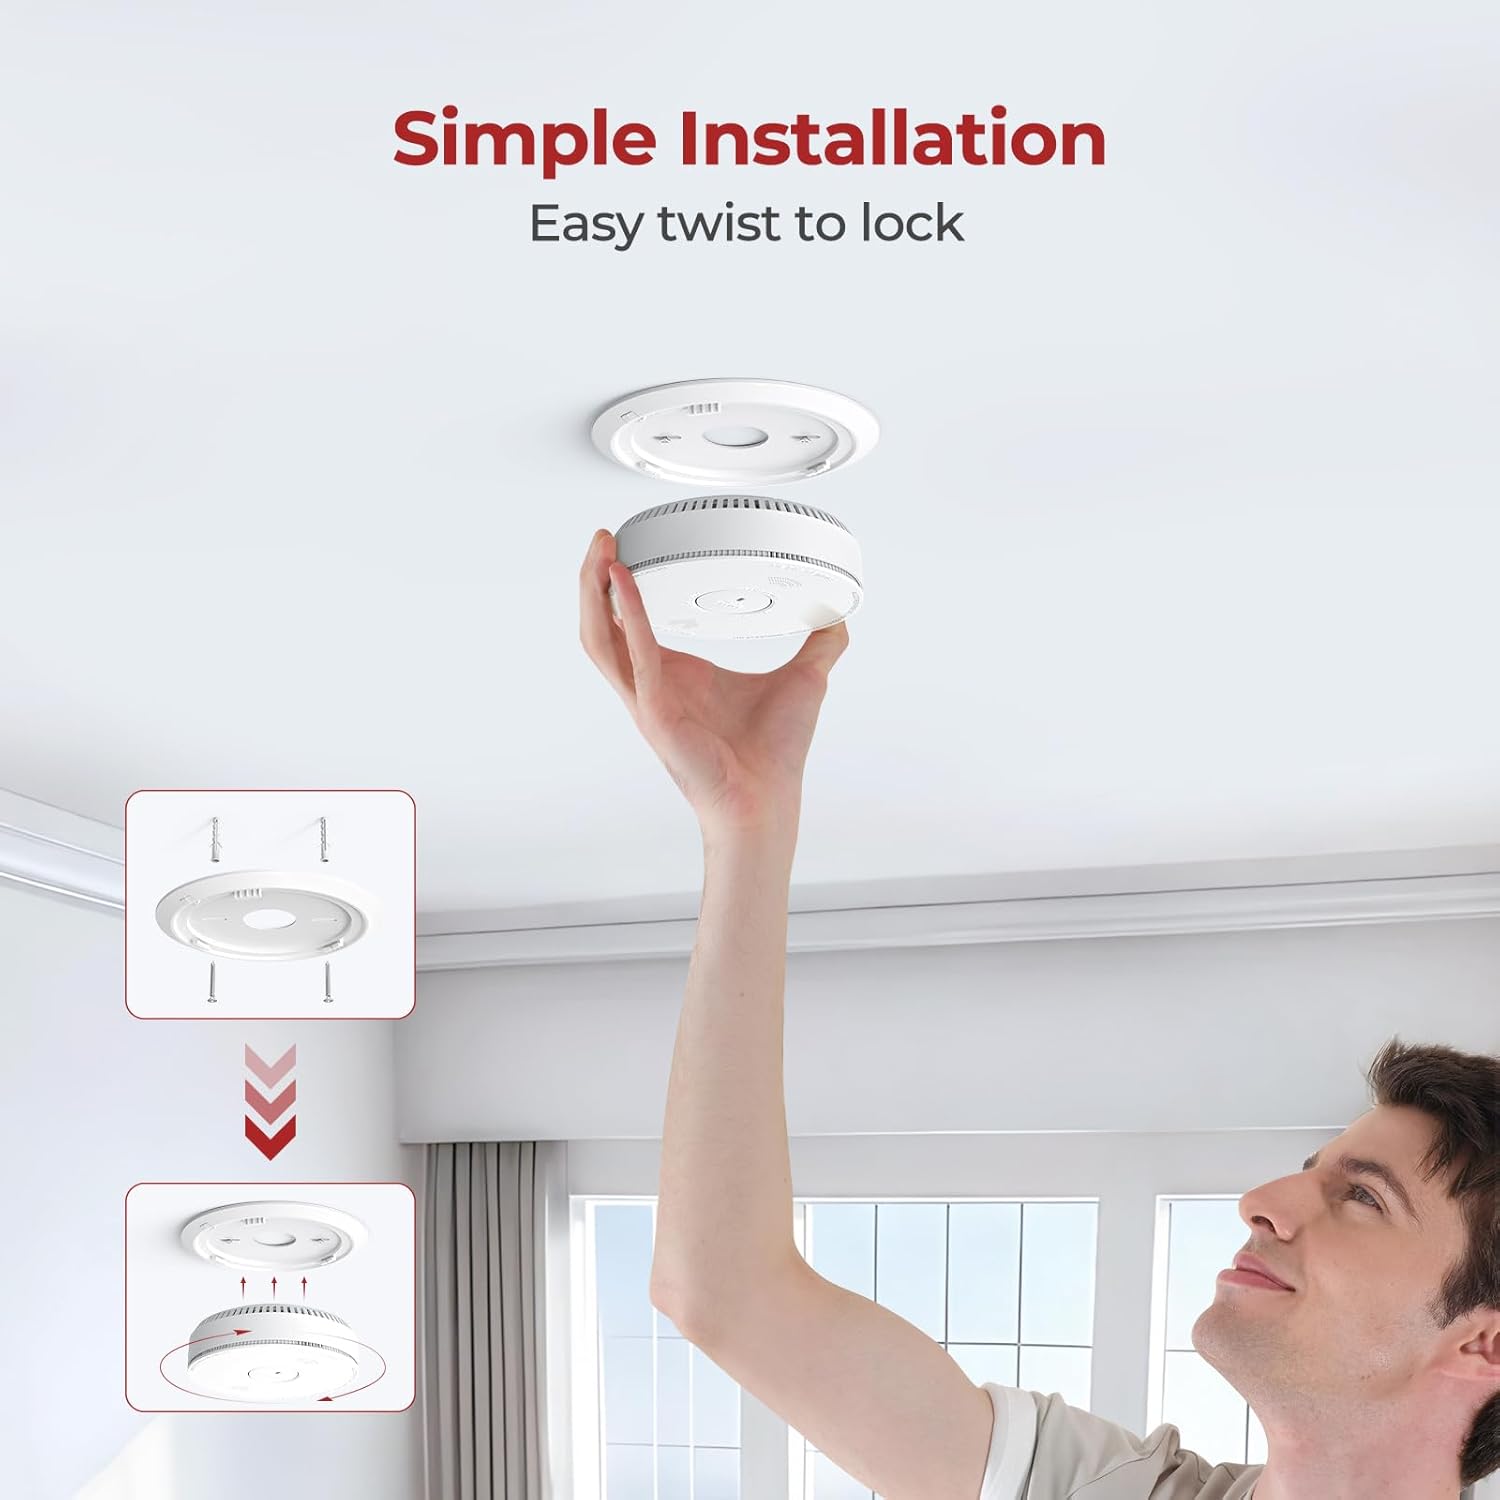
Figure 3.1: Illustration of the simple installation process, demonstrating how to attach the detector to its mounting bracket with a twist.
4. Bedienungsanleitung
LED-Anzeigestatus:
- Grüne LED: Zeigt normalen Betrieb und Stromversorgung an.
- Gelbe LED: Weist auf einen Fehler oder einen niedrigen Batteriestand hin.
- Rote LED: Indicates an alarm condition (smoke detected).
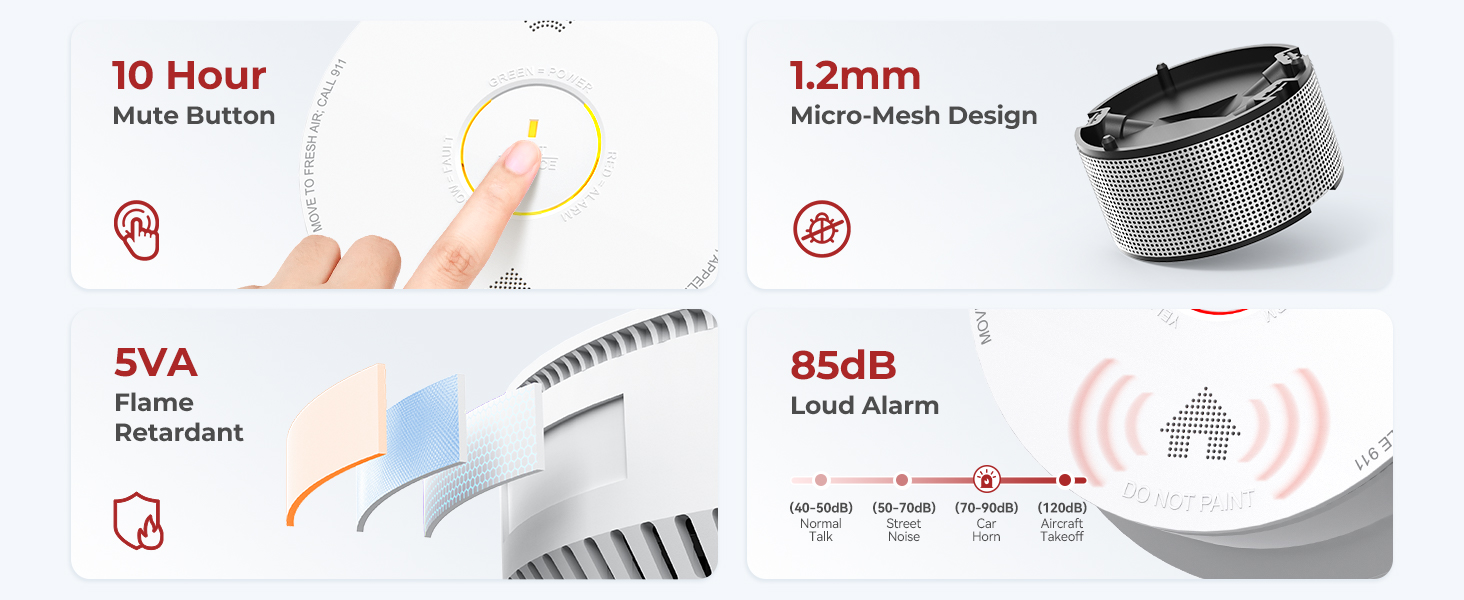
Figure 4.1: Visual guide to the LED indicator lights and their corresponding statuses.
Testen des Detektors:
It is recommended to test your smoke detector weekly. Press and hold the Test/Silence button until the alarm sounds. The voice alert will announce "Fire!" in English and "Incendie!" in French, followed by a loud siren. Release the button to stop the alarm.
Abschalten eines Fehlalarms:
If a non-emergency event (e.g., cooking smoke) triggers the alarm, press the Test/Silence button to temporarily silence it for approximately 10 minutes. The detector will automatically reset after the silence period if the smoke has cleared. If smoke is still present, the alarm will reactivate.

Figure 4.2: The detector provides clear voice alerts in both English and French for effective communication during emergencies.
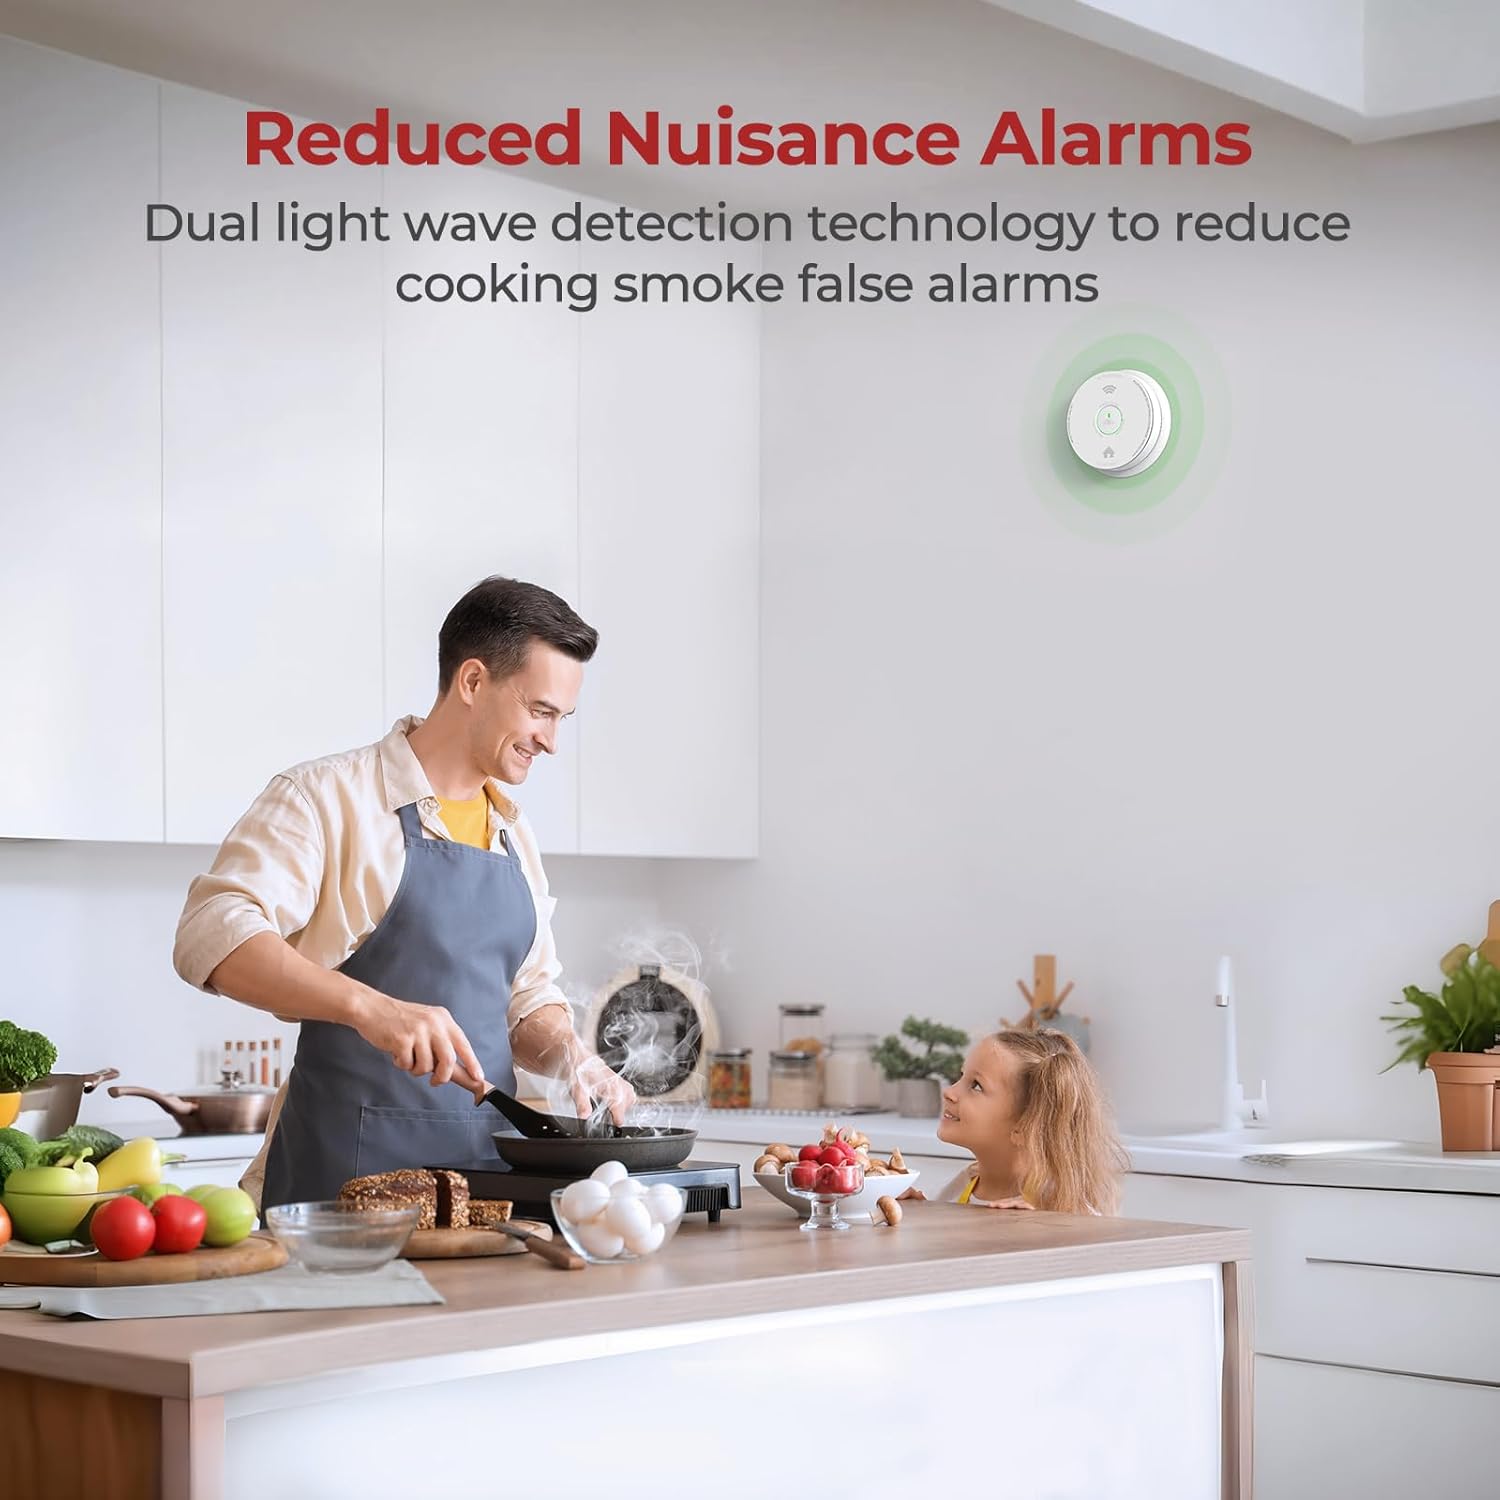
Figure 4.3: The advanced photoelectric sensor and intelligent chipset help distinguish between actual smoke and harmless particles like cooking fumes, reducing false alarms.
5. Wartung
Reinigung Ihres Detektors:
Staub und Schmutz können sich auf dem Rauchmelder ansammeln und seine Funktion beeinträchtigen. Reinigen Sie Ihren Rauchmelder mindestens einmal im Monat.
- Saugen Sie die Außenseite des Detektors vorsichtig mit einem Staubsauger und einem weichen Bürstenaufsatz ab.
- Wipe the cover with a clean, damp cloth. Do not use cleaning solvents or sprays.
Indikation für das Lebensende:
The SITERWELL GS886-H04 is equipped with a 10-year sealed battery. After approximately 10 years of operation, the detector will emit an end-of-life signal (typically a series of chirps) to indicate that it needs to be replaced. Replace the entire unit promptly when this occurs.
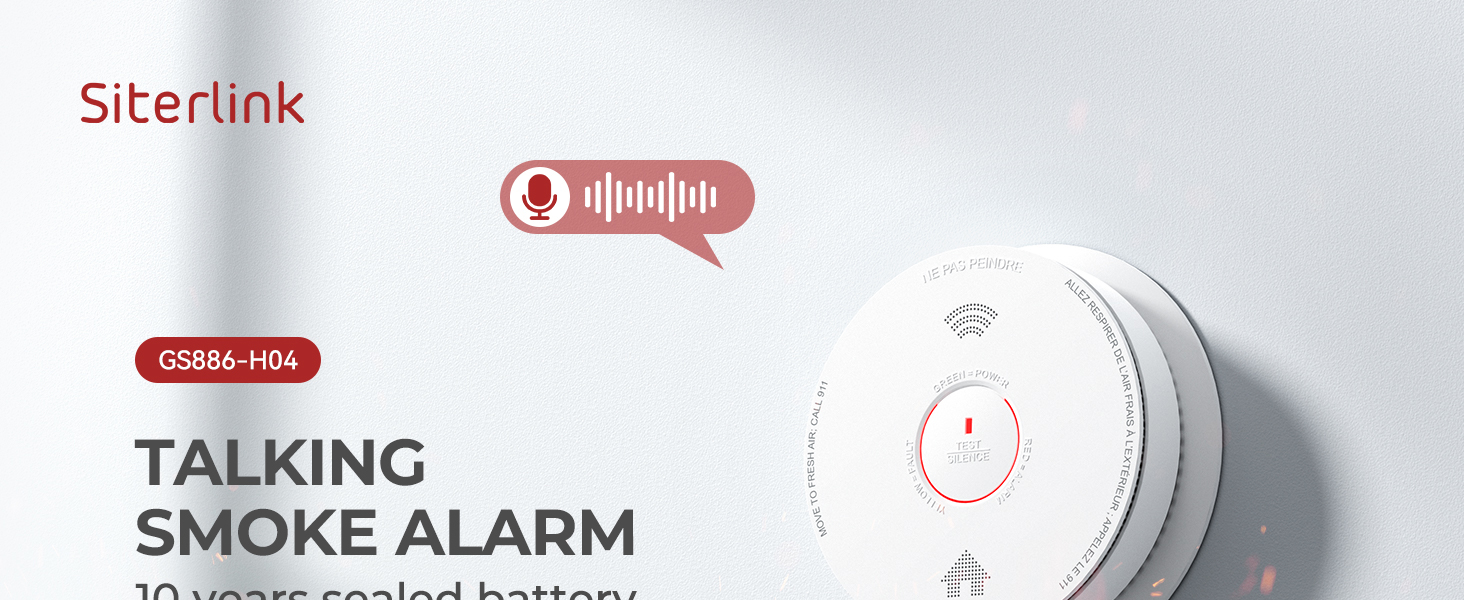
Figure 5.1: The detector features a 10-year sealed battery, eliminating the need for frequent battery replacements.
6. Fehlerbehebung
| Problem | Mögliche Ursache | Lösung |
|---|---|---|
| Detector chirps periodically | Low battery or end-of-life signal. | Tauschen Sie die gesamte Rauchmeldereinheit aus. |
| Nuisance alarms (false alarms) | Cooking fumes, steam, dust, or high humidity. | Press the Test/Silence button. Relocate the detector if nuisance alarms persist in a specific area. Ensure proper ventilation during cooking. |
| Detector does not sound during test | Battery not activated or unit is faulty. | Ensure the detector is properly twisted onto the mounting bracket to activate the battery. If still unresponsive, replace the unit. |
| Red LED flashes but no alarm sound | Faulty speaker or internal issue. | Replace the smoke detector unit. |
7. Spezifikationen
- Modell: GS886-H04
- Sensortyp: Fotoelektrisch
- Batterie: 10 Jahre versiegelte Lithiumbatterie
- Alarmlautstärke: 85dB at 3 meters (10 feet)
- Sprachwarnungen: Englisch und Französisch
- Zertifizierungen: UL217-9th, ETL Listed, Intertek 5019856, California State Fire Marshal
- Betriebstemperatur: 40°F (4.4°C) bis 100°F (37.8°C)
- Betriebsfeuchtigkeit: 10 % bis 95 % relative Luftfeuchtigkeit (nicht kondensierend)
- Abmessungen: Ungefähr 6.1 x 6.1 x 1.6 Zoll
- Gewicht: Ungefähr 12 Unzen
- UPC: 725576461108
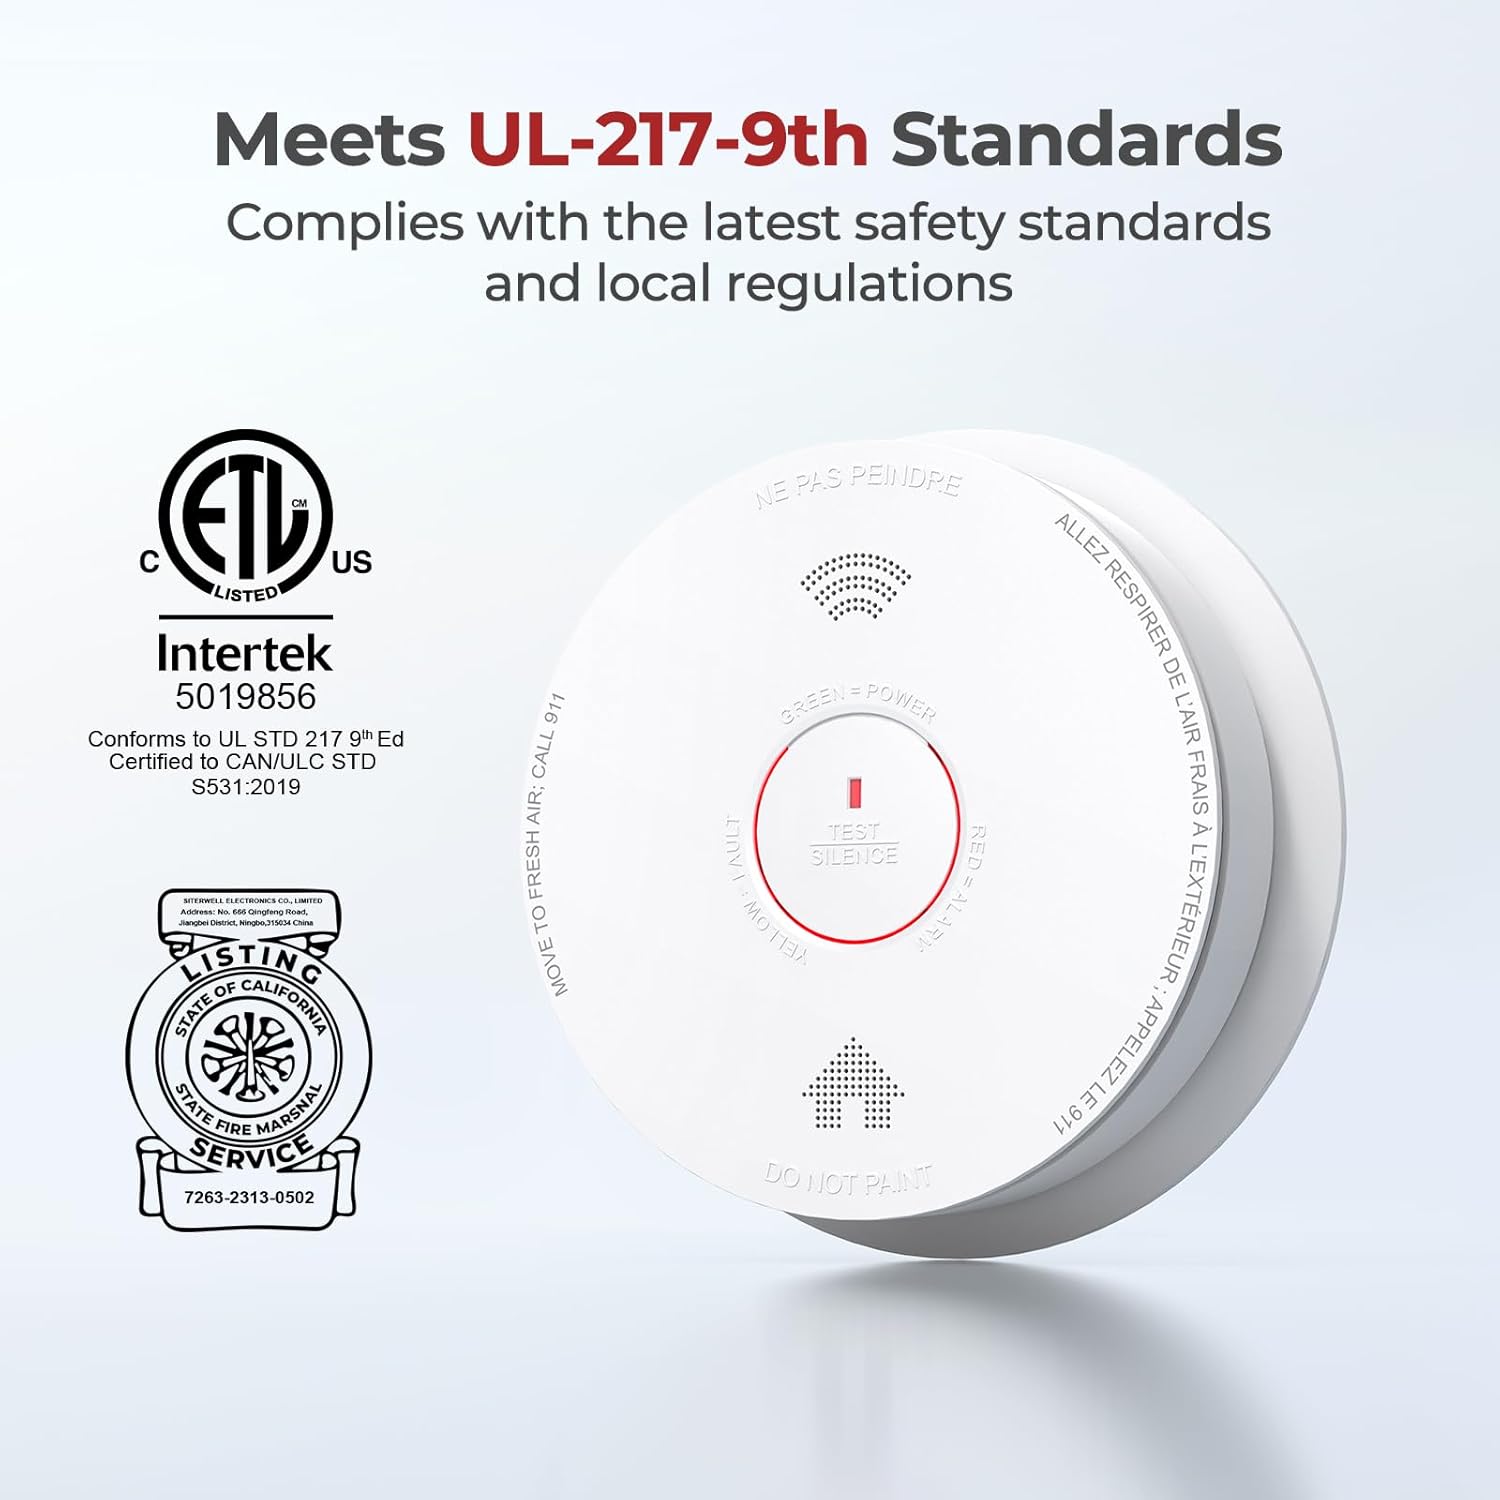
Figure 7.1: The detector is certified by trusted authorities, ensuring compliance with safety standards.
8. Sicherheitshinweise
- Notfallprotokoll: In case of a fire alarm, immediately evacuate all occupants to a safe location outside the building. Once safe, call emergency services (911 in the US).
- Nicht malen: Never paint the smoke detector. Paint can clog the sensing chambers and prevent the unit from operating correctly.
- Regelmäßige Tests: Test your smoke detector weekly to ensure it is functioning properly.
- Ersatz: Replace the entire smoke detector unit every 10 years, or immediately if it malfunctions.
- Kinder: Teach children what the smoke alarm sounds like and what to do when they hear it.
9. Garantie und Support
Specific warranty details are not provided in this manual. For warranty information, technical support, or any questions regarding your SITERWELL GS886-H04 Smoke Detector, please contact SITERWELL customer service through their official channels or the retailer where the product was purchased.