1. Einleitung
This manual provides essential information for the safe and efficient operation of your PowMr Pure Sine Wave Solar Inverter, Model LVM3K-24V. This device is designed to convert 24V DC power from batteries or solar panels into 110/120V AC power, suitable for various household and office loads. It features a built-in 80A MPPT charge controller and supports multiple charging and output modes.
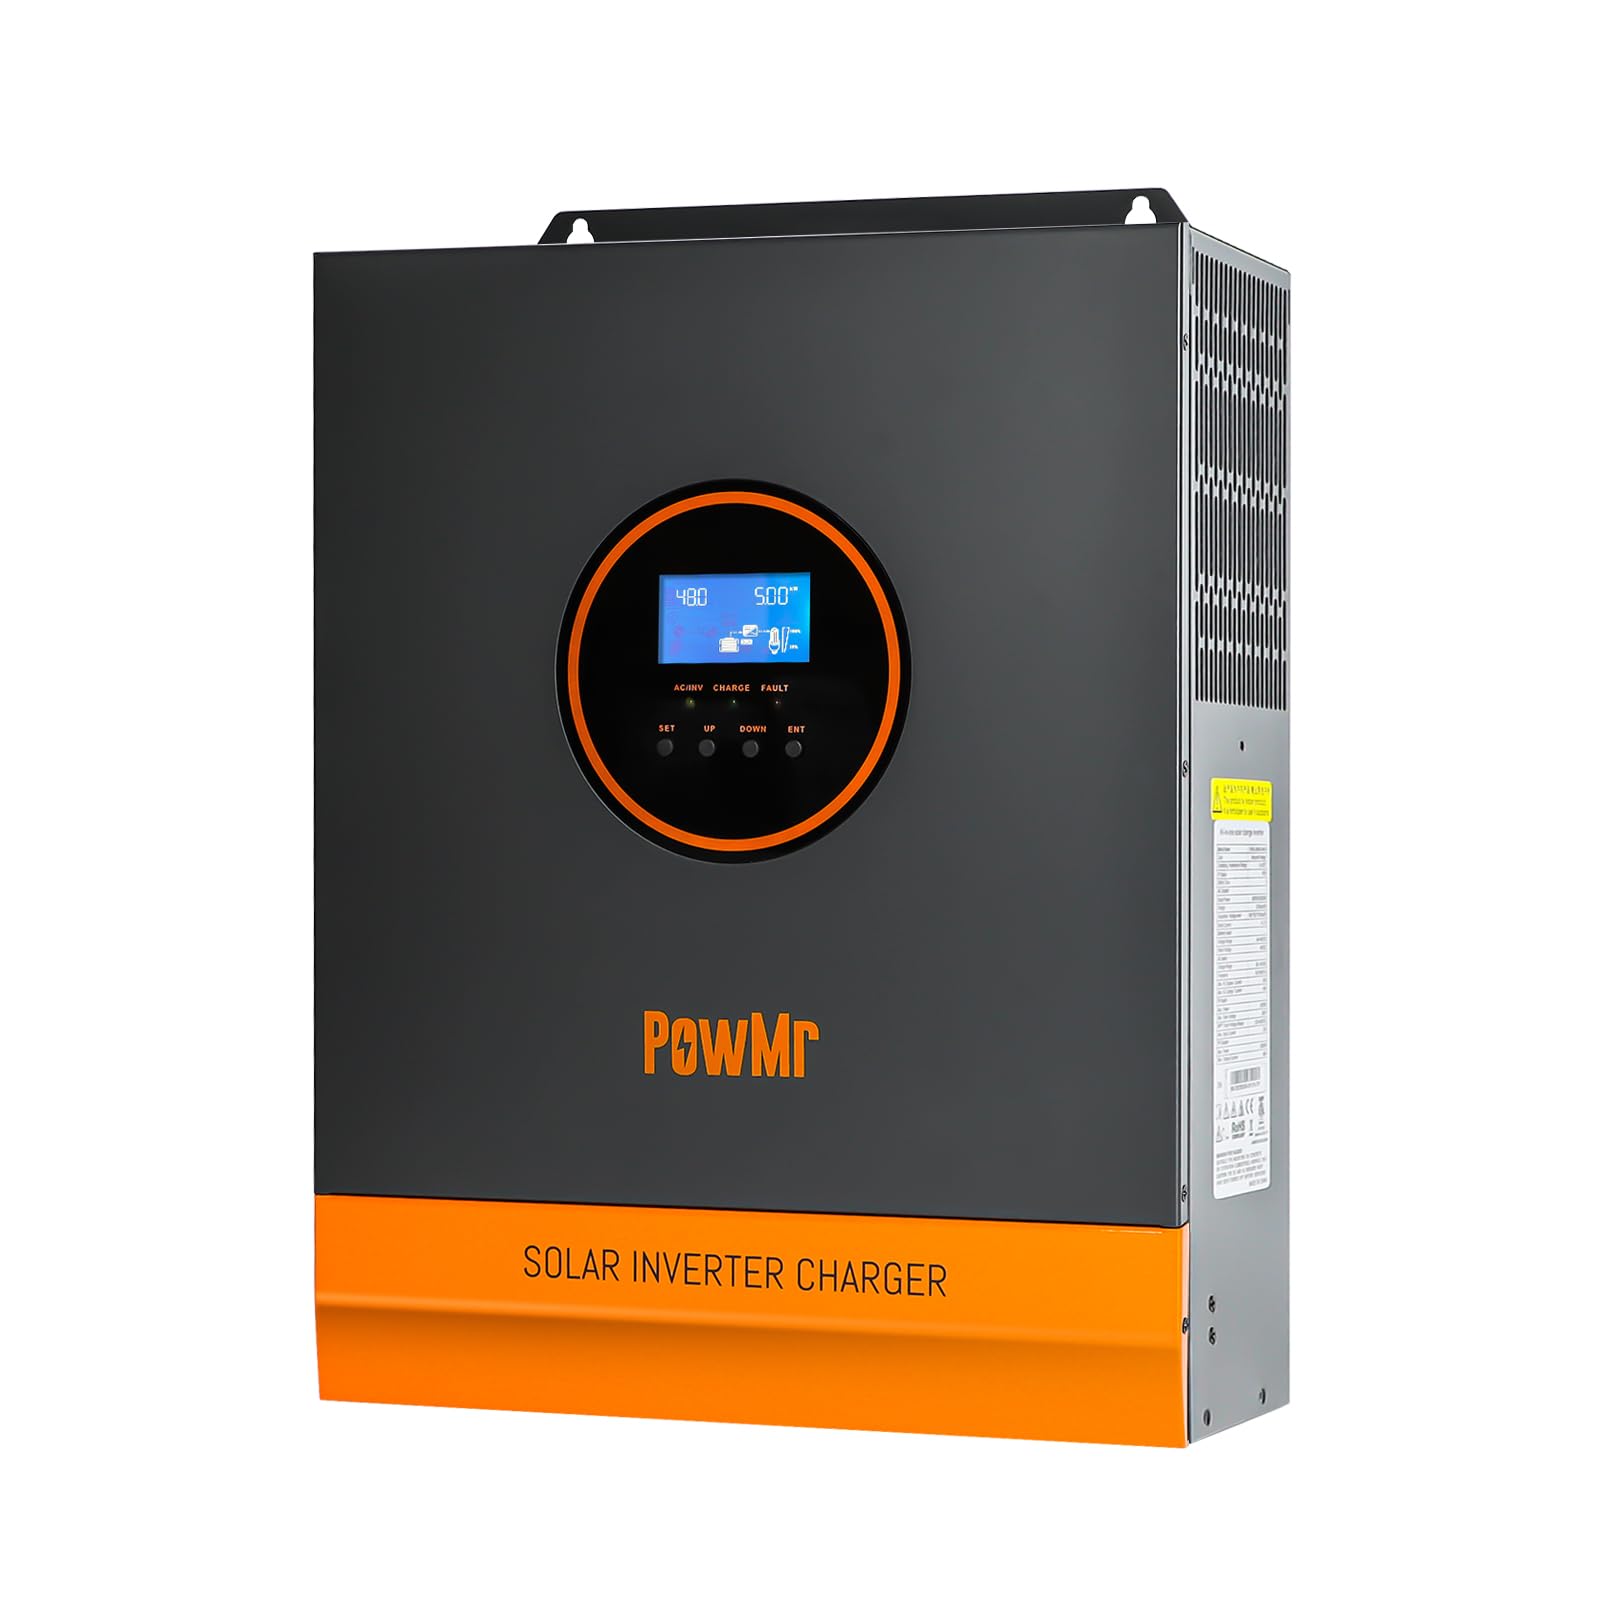
Bild: Vorderseite view of the PowMr 3KW Solar Inverter, highlighting its key features and design.
2. Sicherheitshinweise
Please read and follow all safety instructions carefully before installation and operation. Failure to do so may result in electric shock, fire, or serious injury.
- Die Installation muss durch qualifiziertes Personal durchgeführt werden.
- Sorgen Sie für eine ordnungsgemäße Erdung des Wechselrichters.
- Der Wechselrichter darf nicht zerlegt werden. Er enthält keine vom Benutzer wartbaren Teile.
- Halten Sie den Wechselrichter von brennbaren Materialien, Feuchtigkeit und direkter Sonneneinstrahlung fern.
- Sorgen Sie für ausreichende Belüftung rund um den Wechselrichter, um eine Überhitzung zu vermeiden.
- Vor dem Einschalten der Stromversorgung prüfen Sie, ob alle Verbindungen sicher und korrekt sind.
- Vor jeglichen Wartungs- oder Verkabelungsarbeiten muss die Stromzufuhr unterbrochen werden.
3. Produktüberschreitungview
Familiarize yourself with the various ports and indicators on your inverter.
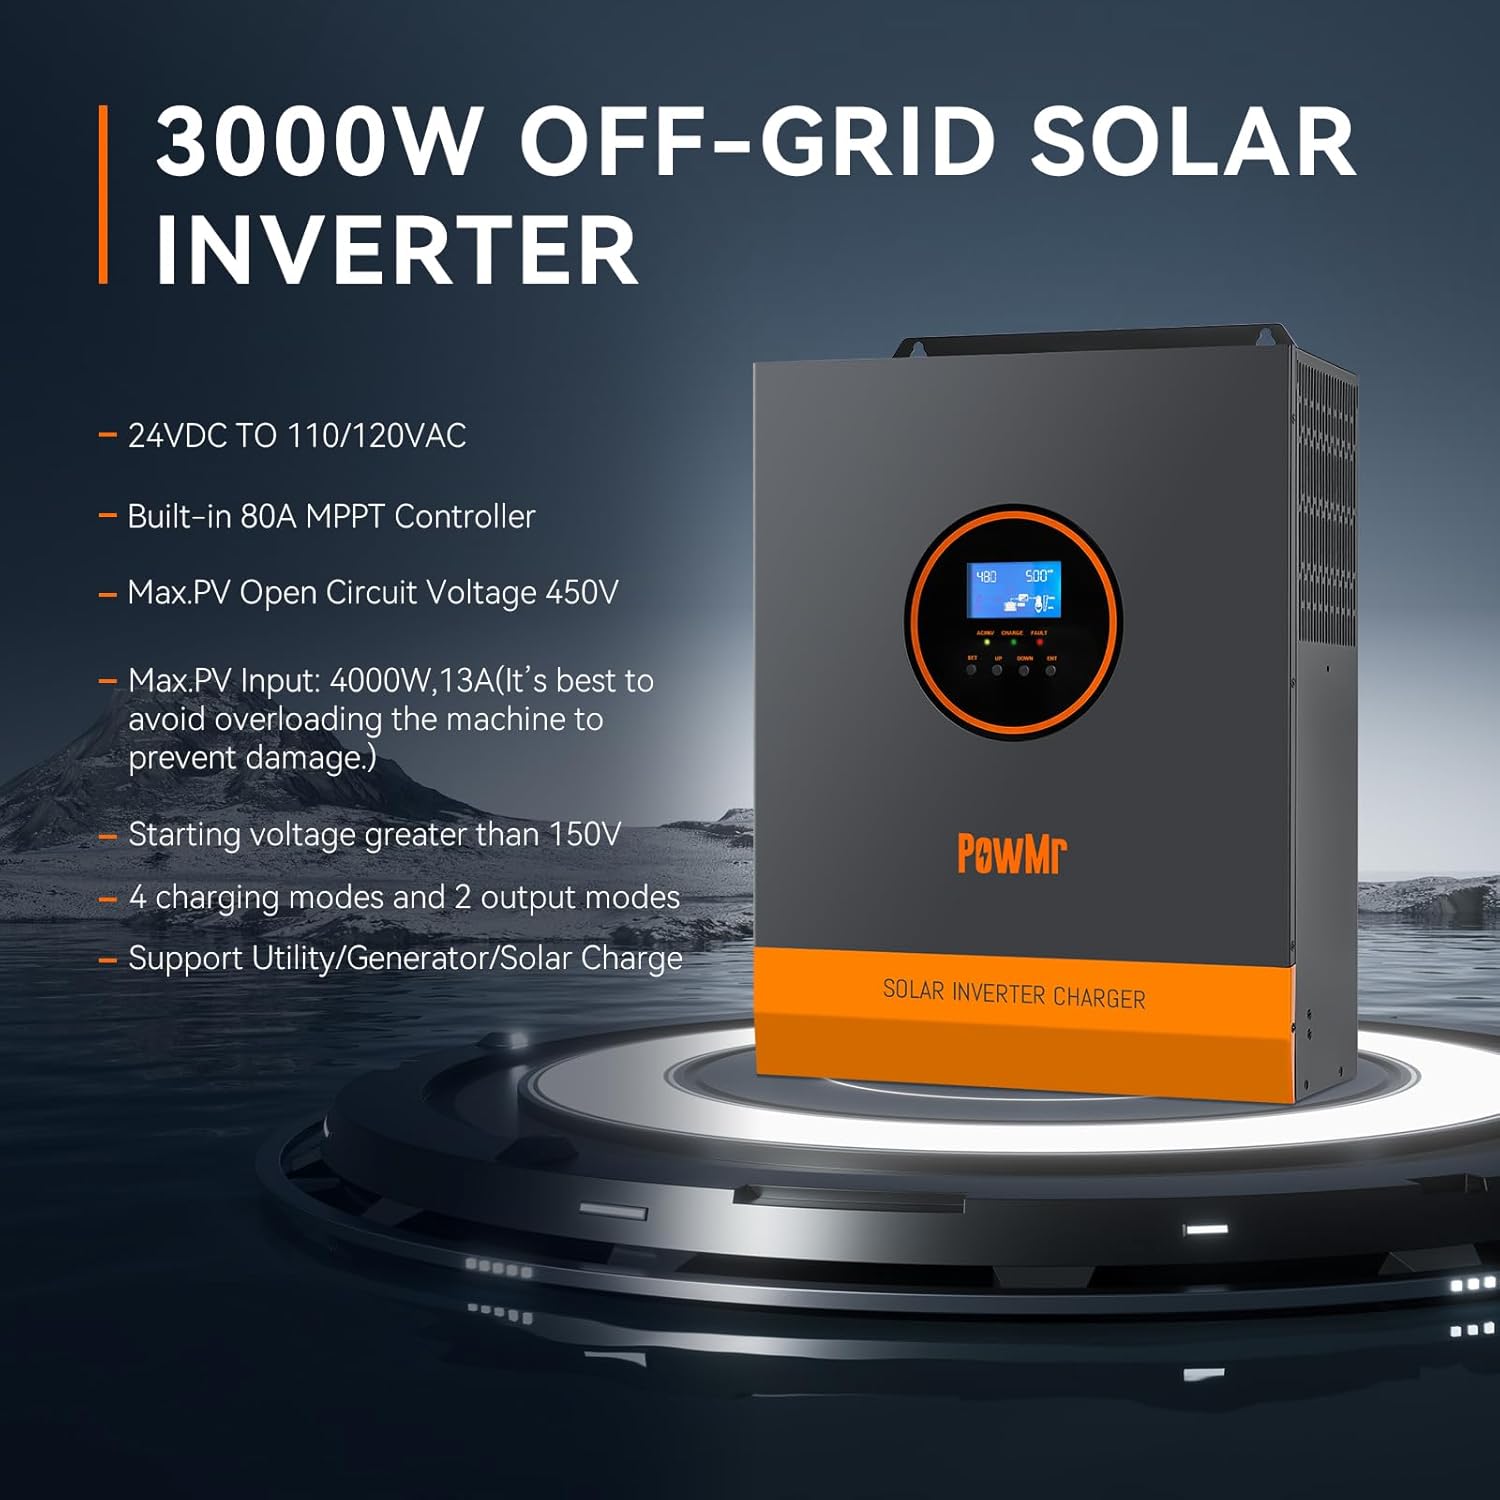
Abbildung: Rück- und Seitenansicht view of the PowMr 3KW Solar Inverter with numbered labels for each port and indicator.
- AC-Eingangsanschluss: Connects to grid utility or generator AC power.
- AC-Ausgangsport: Connects to AC loads (e.g., appliances).
- CAN communication port: For advanced communication.
- USB-Kommunikationsanschluss: For data monitoring and configuration.
- RS485-Kommunikationsport: For data monitoring and configuration.
- Trockener Kontaktanschluss: Zur externen Steuerung oder Signalisierung.
- Grounding screw hole: For connecting the system ground.
- Überlastungsschutz: Circuit breaker for overload protection.
- Batterieanschluss: Connects to the battery bank (24V DC).
- Lüfter: Leitet Wärme während des Betriebs ab.
- ON/OFF rocker switch: Hauptschalter für den Wechselrichter.
- PV-Anschluss: Verbindet sich mit der Solarzellenanlage.
- Touch-Taste: For navigating the LCD display.
- LED-Anzeige: Zeigt den Betriebsstatus an.
- LCD Bildschirm: Displays system data and settings.
4. Einrichtung und Installation
4.1 Schaltplan
Refer to the following diagram for proper wiring connections. Ensure all connections are secure and follow local electrical codes.

Image: Detailed wiring diagram showing connections for solar panels, battery, AC input (utility/generator), and AC output (loads).
- Anschluss des Solarmoduls: Max PV Input Power 4000W, Max PV Input Current 13A. Total Open Circuit Voltage (Voc) ≤ 450V. Start-up voltage needs to be greater than 150V. Use 12AWG PV wire. At least 4-6 solar panels are typically needed to meet the starting voltage, depending on individual panel specifications.
- Batterieanschluss: Compatible with 24V Lithium/Lead-acid batteries. Recommended battery capacity: 200AH. Use 2AWG battery wire. The battery must be connected for the system to operate.
- AC-Eingangsanschluss: Connect to 120Vac±5% utility or generator. Frequency: 50Hz/60Hz. Max AC Bypass Current: 40A. Max AC Charge Current: 40A. Use 10 AWG AC wire. Be sure to connect the PE protective conductor (ground) first.
- AC-Ausgangsanschluss: Max Output Power ≤ 3000W. Rate Voltage: 120 V AC ± 5 %. Nennstrom: 27.5 A.
4.2 Batteriekompatibilität
The inverter is compatible with a wide range of 24V battery types.

Image: Graphic illustrating compatibility with various battery types including AGM, GEL, FLD (Flooded), LI (Lithium), and SLD (Sealed Lead-Acid).
- Lead-Acid Batteries (Sealed, AGM, Gel, Flooded)
- Lithiumbatterien
Ensure the correct battery type is selected in the inverter settings for optimal charging and discharge performance.
5. Betriebsarten
The inverter offers flexible operating modes to suit different application requirements.
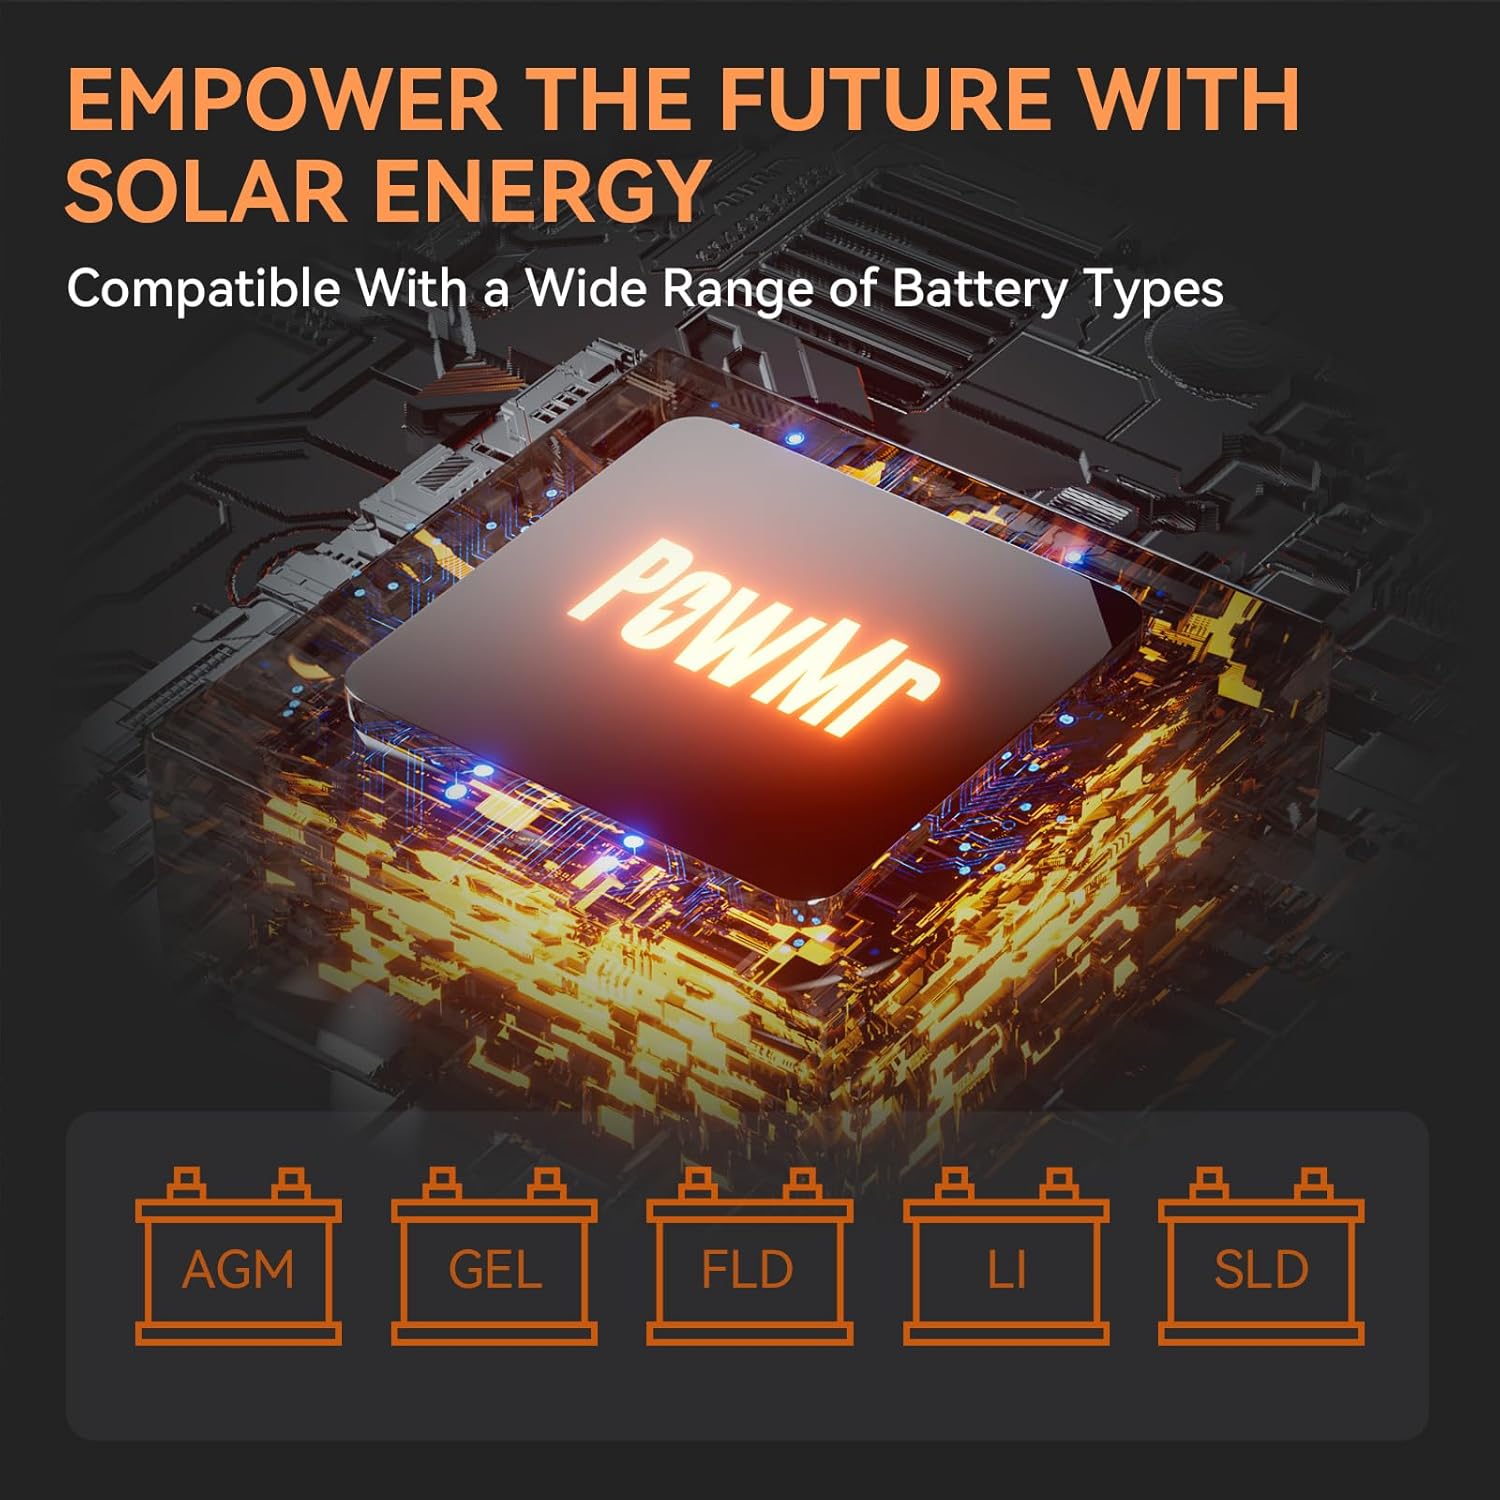
Image: Diagram showing the four charging modes and three load output working modes of the inverter.
5.1 Lademodi
- PV Priority (Solar Charging): Für das Laden der Batterie wird vorrangig Solarenergie genutzt.
- Utility Priority (Electricity Utility Priority): Grid power is prioritized for charging the battery.
- Hybridladung: A combination of solar and utility power is used for charging.
- Nur Solarladung: Zum Laden der Batterie wird ausschließlich Solarenergie verwendet.
5.2 Betriebsarten der Lastausgabe
- PV-Priorität: Solar power is prioritized to supply the loads.
- Priorität der Versorgungsunternehmen: Grid power is prioritized to supply the loads.
- Wechselrichtermodus: Battery power is used to supply the loads via the inverter.
These modes can be configured via the LCD display to optimize energy usage based on your specific needs.
6. LCD-Anzeige und Indikatoren
The inverter features an LCD display and three LED indicators for real-time monitoring of system data and operational status.
- LCD Anzeige: Provides detailed information such as input/output voltage, current, power, battery status, and selected operating modes. Use the touch keys to navigate through the menus.
- LED-Anzeigen: Provide quick visual status updates (e.g., power on, fault, charging status). Refer to the user manual for specific LED patterns and their meanings.
An intelligent variable speed fan is integrated to efficiently dissipate heat, extending the system's lifespan.
7. Schutzfunktionen
The PowMr Solar Inverter is equipped with comprehensive protection mechanisms to ensure safe and reliable operation:
- Kurzschlussschutz: Verhindert Schäden durch Kurzschlüsse.
- Über Voltage Schutz: Schutzmaßnahmen gegen übermäßige Volatilitättage Eingabe.
- Unter Voltage Schutz: Schützt Batterien vor Tiefentladung.
- Überlastschutz: Verhindert Schäden, wenn die angeschlossenen Lasten die Kapazität des Wechselrichters überschreiten.
- Rückfahrschutz: Protects against incorrect battery polarity connection.
8. Wartung
Regelmäßige Wartung gewährleistet die Langlebigkeit und optimale Leistung Ihres Wechselrichters.
- Reinigung: Periodically clean the inverter's exterior and ventilation openings to prevent dust buildup. Ensure the inverter is off and disconnected from all power sources before cleaning.
- Verbindungen: Annually check all electrical connections (PV, battery, AC input/output) for tightness and corrosion.
- Umfeld: Stellen Sie sicher, dass die Installationsumgebung innerhalb der vorgegebenen Temperatur- und Feuchtigkeitsbereiche bleibt.
- Batteriezustand: Monitor battery health and perform maintenance as recommended by the battery manufacturer.
9. Fehlerbehebung
If the inverter is not operating as expected, refer to the following basic troubleshooting steps. For complex issues, contact customer support.
- Kein Strom: Check the ON/OFF switch, battery connections, and battery voltage. Ensure the overload protector has not tripped.
- Kein Wechselstromausgang: Verify AC output connections and ensure no overload condition exists. Check if the inverter is in a fault state indicated by LEDs or LCD.
- Keine Solarladung: PV-Modulanschlüsse prüfen, PV-Spannung sicherstellentage is above the starting voltage (150V), and verify sufficient sunlight.
- Überlastwarnung: Reduce the connected load. The inverter may automatically restart after a cool-down period.
- Fehlercodes: Consult the full user manual for specific error codes displayed on the LCD and their corresponding solutions.
10. Spezifikationen
| Besonderheit |
Spezifikation |
| Marke |
PowMr |
| Modellname |
LVM3K-24V |
| Wastage |
3000 Watt |
| Spitzenleistung |
4000 Watt |
| Eingangslautstärketage |
24 Volt (DC) |
| Ausgangsvolumentage |
110/120 VAC |
| Electrical Output Waveform |
Rein Sinus |
| Maximale PV-Eingangsleistung |
4000 W |
| Max. PV-Eingangsvolumentage (offener Stromkreis) |
450 V |
| PV Startvolumentage |
>150 V |
| Built-in Charge Controller |
80 A MPPT |
| Artikelabmessungen (L x B x H) |
11.02 Zoll L x 4 Zoll B x 14.88 Zoll H |
| Artikelgewicht |
8 Kilogramm |
| Empfohlene Verwendung |
Home, Recreational Vehicle, Travel |
11. Garantie und Support
11.1 Garantieinformationen
This PowMr Solar Inverter comes with a 1 Jahr Garantie Die Garantie gilt ab Kaufdatum. Sie deckt Material- und Verarbeitungsfehler bei normalem Gebrauch ab. Schäden durch unsachgemäße Installation, Missbrauch, Unfälle oder unbefugte Änderungen sind nicht abgedeckt.
11.2 Kundendienst
For technical assistance, troubleshooting beyond this manual, or warranty claims, please contact PowMr customer support. Have your model number (LVM3K-24V) and purchase information ready when contacting support.
You can find contact information on the official PowMr webWebsite oder über Ihren Händler.
