
NBD PZJ-D100-US-2411
NBD 4K 48MP Vlogging Camcorder D100 Pro Bedienungsanleitung
Model: PZJ-D100-US-2411
1. Einleitung
This manual provides detailed instructions for the NBD 4K 48MP Vlogging Camcorder D100 Pro. Please read this manual thoroughly before using the camera to ensure proper operation and to maximize its features. Keep this manual for future reference.
2. Sicherheitshinweise
- Setzen Sie die Kamera weder Wasser noch Feuchtigkeit aus.
- Vermeiden Sie es, die Kamera fallen zu lassen oder starken Stößen auszusetzen.
- Halten Sie die Kamera von starken Magnetfeldern fern.
- Verwenden Sie ausschließlich die angegebenen Batterien und Zubehörteile.
- Versuchen Sie nicht, die Kamera zu zerlegen oder zu verändern.
- Reinigen Sie die Linse mit einem weichen, trockenen Tuch.
3. Packungsinhalt
Bitte überprüfen Sie, ob alle unten aufgeführten Artikel in Ihrem Paket enthalten sind:
- NBD 4K Video Camera Camcorder (D100 Pro)
- Mikrofon
- LED Fülllicht
- 43-mm-Gegenlichtblende
- Kartenleser
- 32 GB SD-Karte
- USB-Kabel
- Batterien (x2)
- Camera Cleaning Kit (Blower, Brush)
- Objektiv-Reinigungstuch
- Bedienungsanleitung

Image: The NBD 4K Camcorder D100 Pro shown with all its included accessories, such as the microphone, LED fill light, batteries, SD card, and cleaning tools.
4. Produktüberschreitungview
4.1 Kamerakomponenten
Familiarize yourself with the various parts of your NBD D100 Pro camcorder.

Bild: A view of the NBD 4K Camcorder D100 Pro, highlighting its 270-degree flip IPS screen and the attached external microphone.
- Linse: Nimmt Videos und Fotos auf.
- LED-Fülllicht: Sorgt für zusätzliche Beleuchtung bei schwachen Lichtverhältnissen.
- Mikrofoneingang: Zum Anschluss des externen Mikrofons.
- 3.0" IPS 270° Flip Screen: Für viewing and navigating menus.
- Zoom Lever (T/W): Steuert den digitalen Zoom.
- Modus-Wahlrad: Selects shooting modes (Photo, Video, Slow Motion, Time-lapse).
- Aufnahme-/Auslösertaste: Starts/stops recording or takes a photo.
- Batteriefach: Enthält den wiederaufladbaren Akku.
- SD-Kartensteckplatz: Zum Einlegen der Speicherkarte.
- USB-Anschluss: Zum Aufladen und zur Datenübertragung.
- HDMI-Anschluss: Zum Anschluss an ein externes Display.
5. Einrichtung
5.1 Laden und Einlegen von Batterien
- Öffnen Sie die Abdeckung des Batteriefachs.
- Legen Sie eine vollständig geladene Batterie ein und achten Sie dabei auf die richtige Polarität.
- Schließen Sie den Batteriefachdeckel.
- To charge, connect the camera to a power source using the provided USB cable. The charging indicator will illuminate.
5.2 Einlegen der SD-Karte
- Suchen Sie den SD-Kartensteckplatz.
- Setzen Sie die 32-GB-SD-Karte so ein, dass die Metallkontakte zur Vorderseite der Kamera zeigen, bis sie hörbar einrastet.
- Zum Herausnehmen die Karte vorsichtig drücken, bis sie herausspringt.
5.3 Attaching the Microphone and Fill Light
- Slide the external microphone into the hot shoe mount on top of the camera.
- Connect the microphone cable to the microphone input port on the camera.
- Attach the LED fill light to an available mount or accessory shoe if desired.
5.4 Anbringen der Gegenlichtblende
- Align the 43mm lens hood with the front of the camera lens.
- Gently twist the lens hood clockwise until it is securely attached.
6. Bedienungsanleitung
6.1 Ein-/Ausschalten
- Einschalten: Open the 270° flip IPS screen. The camera will automatically power on.
- Ausschalten: Close the 270° flip IPS screen. The camera will automatically power off.
6.2 Grundlegende Videoaufzeichnung
- Drehen Sie das Moduswahlrad auf das Videokamerasymbol.
- Nutzen Sie den Klappbildschirm, um Ihren Bildausschnitt festzulegen.
- Press the Record/Shutter button to start recording. A red indicator will typically appear on the screen.
- Press the Record/Shutter button again to stop recording.
6.3 Fotos aufnehmen
- Turn the mode dial to the camera icon.
- Setzen Sie den richtigen Bildausschnitt.
- Press the Record/Shutter button halfway to focus (if applicable), then press fully to take the photo.
6.4 Using the Digital Zoom
Die Kamera verfügt über einen 16-fachen digitalen Zoom.

Image: The NBD 4K Camcorder D100 Pro demonstrating its 16X digital zoom feature, with an inset showing the T/W zoom lever for adjustment.
- Drücken Sie den Zoomhebel in Richtung T (Teleobjektiv) zum Vergrößern.
- Drücken Sie den Zoomhebel in Richtung W (Weit) zum Herauszoomen.
6.5 WLAN-Verbindung und App-Steuerung
Connect your camcorder to a smartphone via Wi-Fi for remote control and file Übertragung.

Image: The NBD 4K Camcorder D100 Pro displaying a live view on its screen, while a smartphone shows the camera's app interface for remote control and social sharing options.
- Download the dedicated app (refer to the camera's on-screen instructions or included documentation for app name).
- On the camera, navigate to the Wi-Fi settings and enable Wi-Fi.
- Stellen Sie mit Ihrem Smartphone eine Verbindung zum WLAN-Netzwerk der Kamera her (SSID und Passwort werden auf dem Kamerabildschirm angezeigt).
- Open the app to control the camera, preview footage und Transfer files.
6.6 Spezielle Aufnahmemodi
The D100 Pro offers various modes for creative shooting.
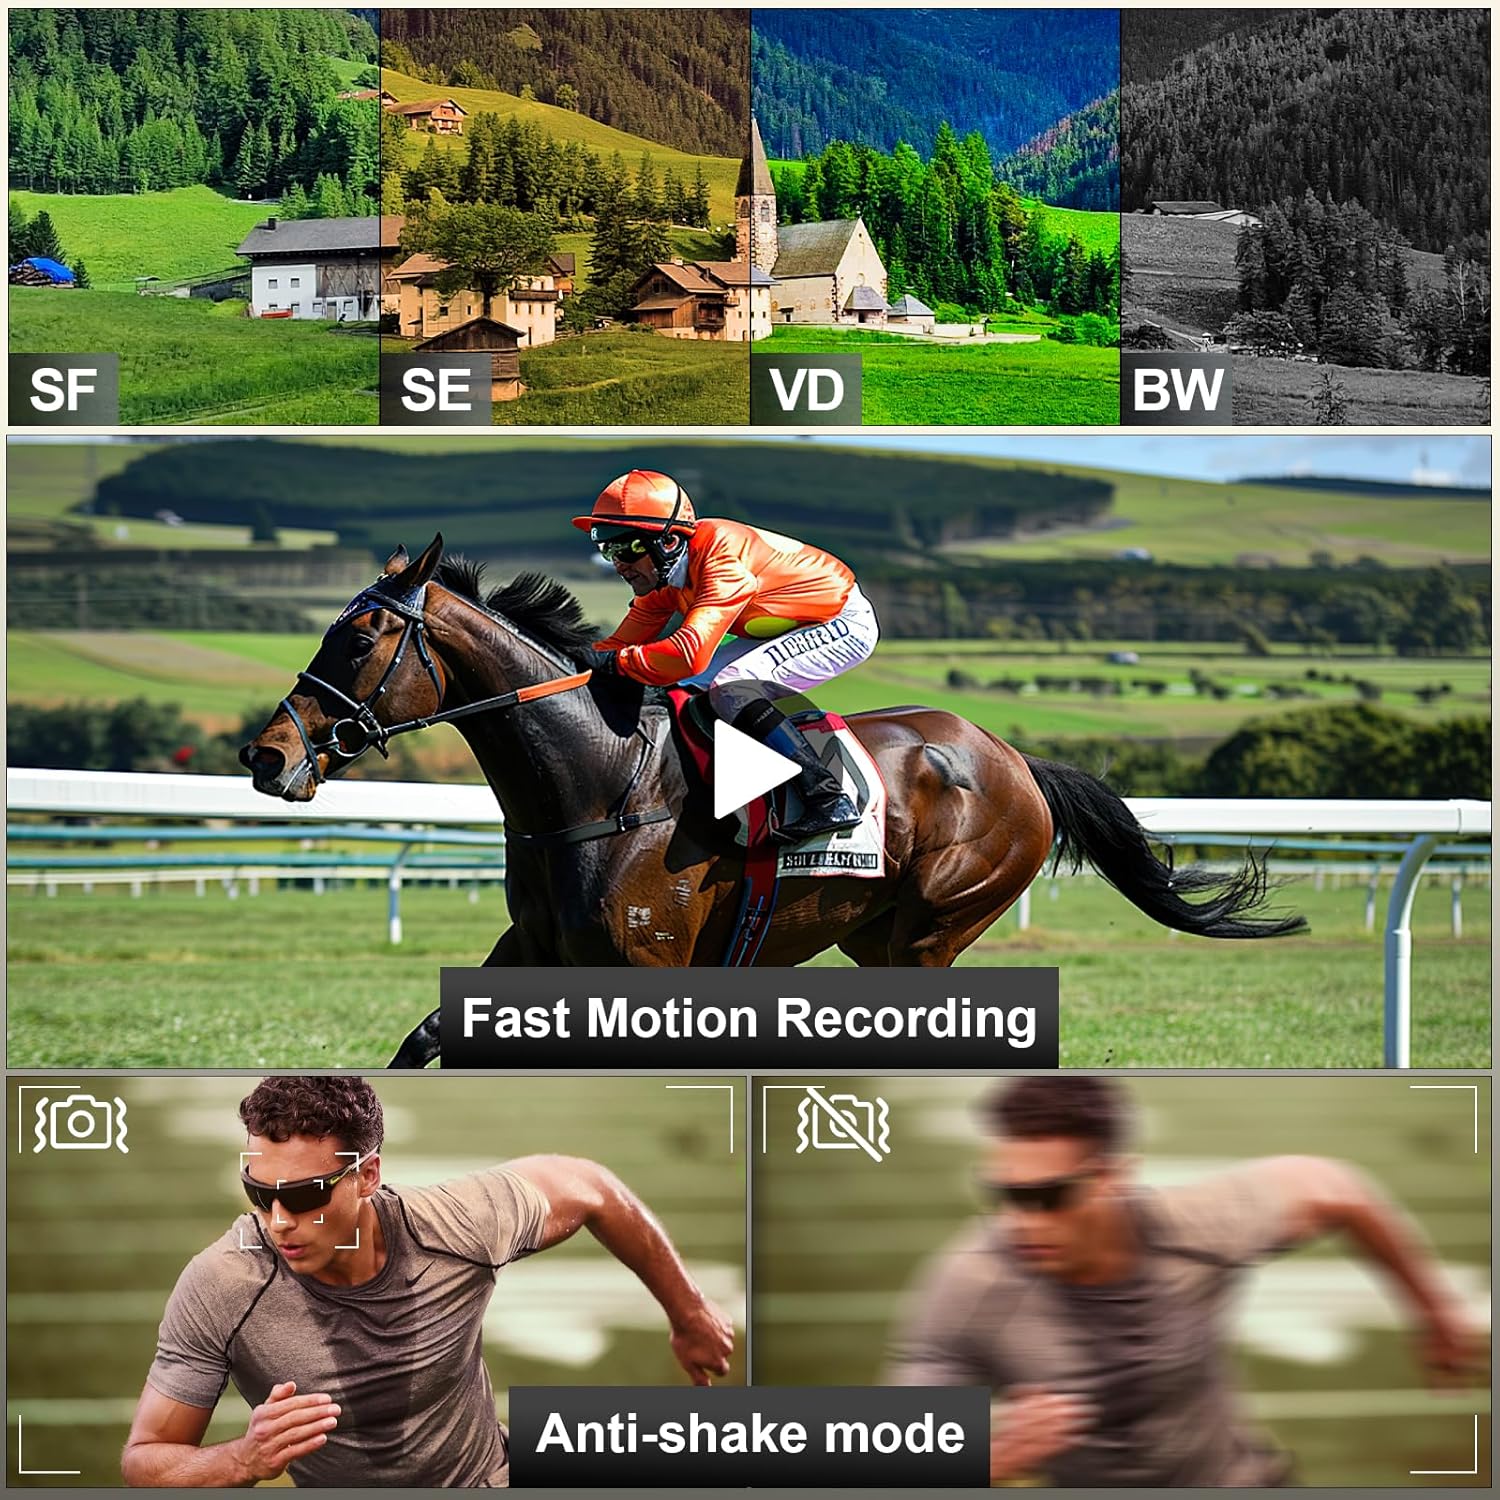
Image: A visual representation of the NBD 4K Camcorder D100 Pro's capabilities, including different color filters (SF, SE, VD, BW), fast motion recording, and anti-shake mode for stable footage.
- Zeitlupe: Captures video at a higher frame rate for slow-motion playback. Select this mode via the mode dial.
- Zeitraffer: Records images at set intervals to create a time-lapse video. Select this mode via the mode dial and configure settings in the menu.
- Anti-shake Mode: Enhances video stability. Enable this feature in the camera's settings menu.
7. Wartung
7.1 Reinigung der Kamera
- Verwenden Sie das mitgelieferte Linsenreinigungstuch, um Linse und Bildschirm vorsichtig abzuwischen.
- For dust on the lens, use the air blower to remove particles before wiping.
- Reinigen Sie das Kameragehäuse mit einem weichen, trockenen Tuch. Vermeiden Sie die Verwendung aggressiver Chemikalien.
7.2 Speicherung
- Bewahren Sie die Kamera an einem kühlen, trockenen Ort ohne direkte Sonneneinstrahlung auf.
- Entfernen Sie die Batterien, wenn die Kamera längere Zeit nicht benutzt wird.
8. Fehlerbehebung
| Problem | Mögliche Ursache | Lösung |
|---|---|---|
| Die Kamera lässt sich nicht einschalten. | Die Batterie ist leer oder falsch eingesetzt. | Laden Sie den Akku auf oder setzen Sie ihn wieder richtig ein. |
| Videoaufnahmen/Fotos können nicht aufgenommen werden. | Die SD-Karte ist voll, gesperrt oder nicht eingelegt. | Insert an SD card, unlock it, or delete files to free space. |
| Schlechte Bild-/Videoqualität. | Die Linse ist verschmutzt; unzureichende Beleuchtung; falsche Einstellungen. | Clean the lens; use the fill light; adjust exposure settings. |
| Probleme mit der WLAN-Verbindung. | Falsches Passwort; Kamera-WLAN nicht aktiviert; App-Probleme. | Verify password; ensure camera Wi-Fi is on; restart app/camera. |
9. Spezifikationen
- Modell: PZJ-D100-US-2411
- Videoauflösung: 4K (3840x2160) at 30fps, 1080p
- Fotoauflösung: 48 Megapixel
- Digitalzoom: 16X
- Bildschirm: 3.0" IPS 270° Flip Screen
- Konnektivität: WLAN, USB, HDMI
- Lagerung: Micro-SD-Karte (bis zu 128 GB, 32 GB enthalten)
- Batterie: 12V (x2 included)
- Gewicht: Approximately 2.33 pounds (with accessories)
- Abmessungen: 8.5 x 6.46 x 4.41 Zoll (Verpackung)
- Fotosensor-Technologie: CMOS
- Maximale Brennweite: 85 Millimeter
10. Garantie und Support
NBD products are designed for reliability and performance. For warranty information, technical support, or service inquiries, please refer to the warranty card included in your package or visit the official NBD webBitte bewahren Sie Ihren Kaufbeleg für Garantieansprüche auf.
Kontaktinformationen: Please refer to the contact details provided on the NBD official website or your product packaging for customer support.
Ask a question about this manual
Ask about setup, troubleshooting, compatibility, parts, safety, or missing instructions. Manuals+ will review the question and use this page’s manual context to help answer it.