Einführung
Vielen Dank für Ihren Einkauf.asing the Andoer Digital Camera H12. This manual provides detailed instructions for the proper use and maintenance of your camera. Please read this manual thoroughly before using the camera to ensure optimal performance and longevity.
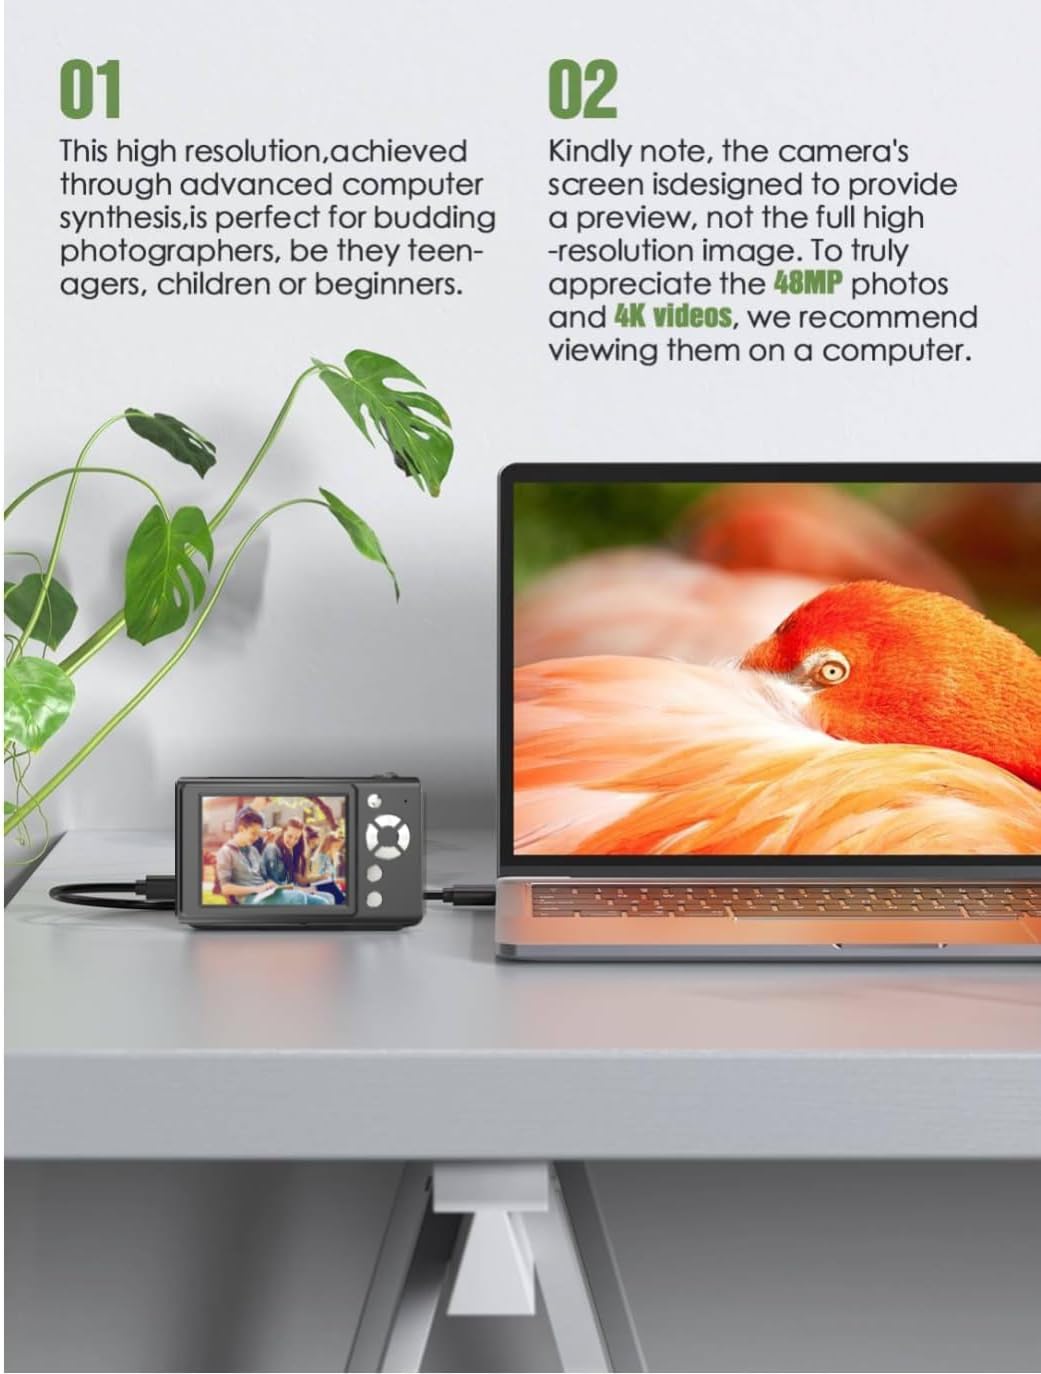
The Andoer H12 is a compact digital point-and-shoot camera featuring 1080P video recording, 48MP photo resolution, 16x digital zoom, autofocus, and an anti-shake function. It is designed for ease of use, making it suitable for various users.
Packungsinhalt
Bitte überprüfen Sie nach dem Auspacken den Packungsinhalt, um sicherzustellen, dass alle Artikel vorhanden sind:
- 1 x Andoer Digital Camera H12
- 1 x USB-Kabel (Typ-C)
- 1 x Handschlaufe
- 1 x 32GB Speicherkarte
- 1 x-Kartenleser
- 1 x Benutzerhandbuch
Aufstellen
1. Laden des Akkus
The camera is equipped with a built-in 3.7V 700mAh lithium battery. Before first use, fully charge the battery.
- Connect the included Type-C USB cable to the camera's USB port.
- Verbinden Sie das andere Ende des USB-Kabels mit einem USB-Netzteil (nicht im Lieferumfang enthalten) oder einem USB-Anschluss Ihres Computers.
- The charging indicator light will illuminate. Once charging is complete, the indicator light will change or turn off.
Notiz: A full charge typically takes approximately 2-3 hours. Do not use the camera while it is charging.
2. Einlegen der Speicherkarte
The camera supports TF (MicroSD) cards up to 128GB. A 32GB memory card is included in the package.
- Suchen Sie den Speicherkartensteckplatz an der Seite der Kamera.
- Gently insert the TF card into the slot with the metal contacts facing the front of the camera until it clicks into place.
- To remove the card, gently push it in again until it springs out.

3. Anbringen der Handschlaufe
Attach the included wrist strap to the camera for added security and to prevent accidental drops.
- Thread the thin loop of the wrist strap through the strap eyelet on the camera body.
- Pass the larger end of the strap through the thin loop and pull tight to secure it.
Bedienungsanleitung
1. Ein-/Ausschalten
- Zum Einschalten den Netzschalter gedrückt halten, bis der Bildschirm aufleuchtet.
- Zum Ausschalten den Netzschalter erneut gedrückt halten, bis sich der Bildschirm ausschaltet.
- The camera features an auto power-off function (off/3 mins/5 mins) which can be configured in the settings.
2. Fotos machen
- Turn on the camera. The camera will typically start in photo mode.
- Frame your shot using the 2.8-inch IPS display.
- Press the shutter button halfway down to activate autofocus. The camera will recognize and track subjects.
- Once focus is achieved (indicated by a green frame), press the shutter button fully to take the picture.

3. Videos aufnehmen
- Switch to video mode (refer to the camera's on-screen interface for the mode switch button).
- Press the shutter button to start recording. A red indicator or timer will appear on the screen.
- Drücken Sie den Auslöser erneut, um die Aufnahme zu stoppen.
The camera supports 1080P and 720P video resolutions in AVI format. Loop recording can be set for 3, 5, or 10 minutes.
4. Zoomfunktion
Use the zoom buttons (usually marked 'W' for Wide and 'T' for Telephoto) to adjust the 16x digital zoom. This allows you to magnify distant subjects.

5. LED-Fülllicht
The camera features a built-in ring LED fill light with three lighting modes to assist in low-light conditions.
- Weißes Licht: Bright, even, and soft illumination.
- Warmweißes Licht: Pure natural light, soft and comfortable.
- Gelbes Licht: Warm color adjustment for a warm atmosphere.
Access and cycle through these modes via the camera's menu or a dedicated button (refer to the on-screen interface).

6. Weitere Funktionen
- Selfie-Timer: Options for off, 2s, 5s, or 10s delay before taking a photo.
- Dauerfeuer: Machen Sie schnell eine Reihe von Fotos.
- Anti-Shake: Helps reduce blur caused by camera movement.
- Filtereffekte: Various built-in filters to enhance your photos.
- Spiele: Includes 4 simple games for entertainment.
- MP3-Wiedergabe: Download MP3 music to the memory card and play it through the camera.

Wartung
- Reinigung des Kameragehäuses: Verwenden Sie ein weiches, trockenes Tuch, um das Kameragehäuse abzuwischen. Bei hartnäckigem Schmutz leicht andrücken.ampen the cloth with water and then wipe dry. Avoid using chemical cleaners.
- Reinigung von Linse und Bildschirm: Use a specialized lens cleaning cloth or brush to gently remove dust and smudges. Do not use abrasive materials or excessive force.
- Lagerung: When not in use for extended periods, store the camera in a cool, dry place away from direct sunlight and extreme temperatures. Remove the memory card if not in use.
- Batteriepflege: Vermeiden Sie häufiges vollständiges Entladen des Akkus. Laden Sie den Akku regelmäßig auf, auch wenn die Kamera nicht benutzt wird, um seine Lebensdauer zu erhalten.
- Wasserbeständigkeit: Diese Kamera ist nicht wasserbeständigVermeiden Sie den Kontakt mit Wasser, Regen oder hoher Luftfeuchtigkeit.
Fehlerbehebung
| Problem | Mögliche Ursache | Lösung |
|---|---|---|
| Die Kamera lässt sich nicht einschalten. | Der Akku ist leer oder nicht geladen. | Charge the camera battery fully using the provided USB cable. |
| Es ist nicht erlaubt, Fotos zu machen/Videos aufzunehmen. | Memory card is full, not inserted correctly, or corrupted. | Check if the memory card is inserted correctly. Delete unnecessary files or replace the memory card. Format the card if necessary (this will erase all data). |
| Bilder sind verschwommen. | Autofokusfehler, Verwacklungen oder verschmutzte Linse. | Ensure autofocus is engaged. Hold the camera steady or use the anti-shake function. Clean the lens with a soft cloth. |
| Der Bildschirm ist leer oder eingefroren. | Systemfehler oder vorübergehende Störung. | Press and hold the power button for 10 seconds to force a shutdown, then restart the camera. If the issue persists, contact customer support. |
| Übertragung nicht möglich files zum Computer. | Incorrect cable connection or driver issue. | Ensure the USB cable is securely connected. Try a different USB port or computer. Use the included card reader to transfer files direkt von der Speicherkarte. |
Technische Daten
| Besonderheit | Detail |
|---|---|
| Modellname | H12 |
| Anzeige | 2.8-Zoll-IPS-LCD |
| Fotoauflösung | Up to 48MP (48M, 40M, 24M, 20M, 18M, 16M, 12M, 10M, 8M, 5M, 3M, 2M, 1M) |
| Fotoformat | JPG |
| Videoauflösung | 1080P, 720P |
| Videoformat | AVI |
| Digital Zoom | 16X |
| Autofokus | Yes (Contrast Detection, 9 points) |
| Bildstabilisierung | Optisch |
| Sensortyp | CMOS (1/4 Zoll) |
| Lagerung | TF card, max. 128GB (32GB included) |
| Batterie | Built-in Lithium Battery (3.7V 700mAh) |
| Ladeschnittstelle | USB Typ C |
| Selfie-Timer | Off/ 2s/ 5s/ 10s |
| Automatische Abschaltung | Off/ 3 mins/ 5 mins |
| Loop-Aufnahme | 3 mins/ 5 mins/ 10 mins |
| Integrierte Funktionen | LED Fill Light (3 modes), Filter Effects, 4 Games, MP3 Playback |
| Produktgröße | 103 x 31 x 65 mm |
| Produktgewicht | 149g (camera body) / 260g (item weight including packaging/accessories) |
| Wasserbeständigkeit | Nicht wasserfest |
Garantieinformationen
The Andoer Digital Camera H12 comes with a 1 Jahr Garantie Diese Garantie gilt ab Kaufdatum und deckt Herstellungsfehler und Funktionsstörungen bei normalem Gebrauch ab. Sie deckt keine Schäden ab, die durch Missbrauch, Unfälle, nicht autorisierte Reparaturen oder Naturkatastrophen verursacht wurden.
Bitte bewahren Sie Ihren Kaufbeleg für Garantieansprüche auf.
Kundenservice
If you encounter any issues or have questions not covered in this manual, please contact Andoer customer support. You can typically find support contact information on the official Andoer webWebsite oder über Ihren Händler.
Weitere Hilfe finden Sie unter Andoer Store auf Amazon.