KWANWA KW319
KWANWA KW319 Digital Alarm Clock User Manual
Modell: KW319
Einführung
Thank you for choosing the KWANWA KW319 Digital Alarm Clock. This clock is designed for ease of use and clear visibility, featuring a large LED display, multiple brightness settings, and a battery backup for convenience. Please read this manual carefully to ensure proper setup and operation.
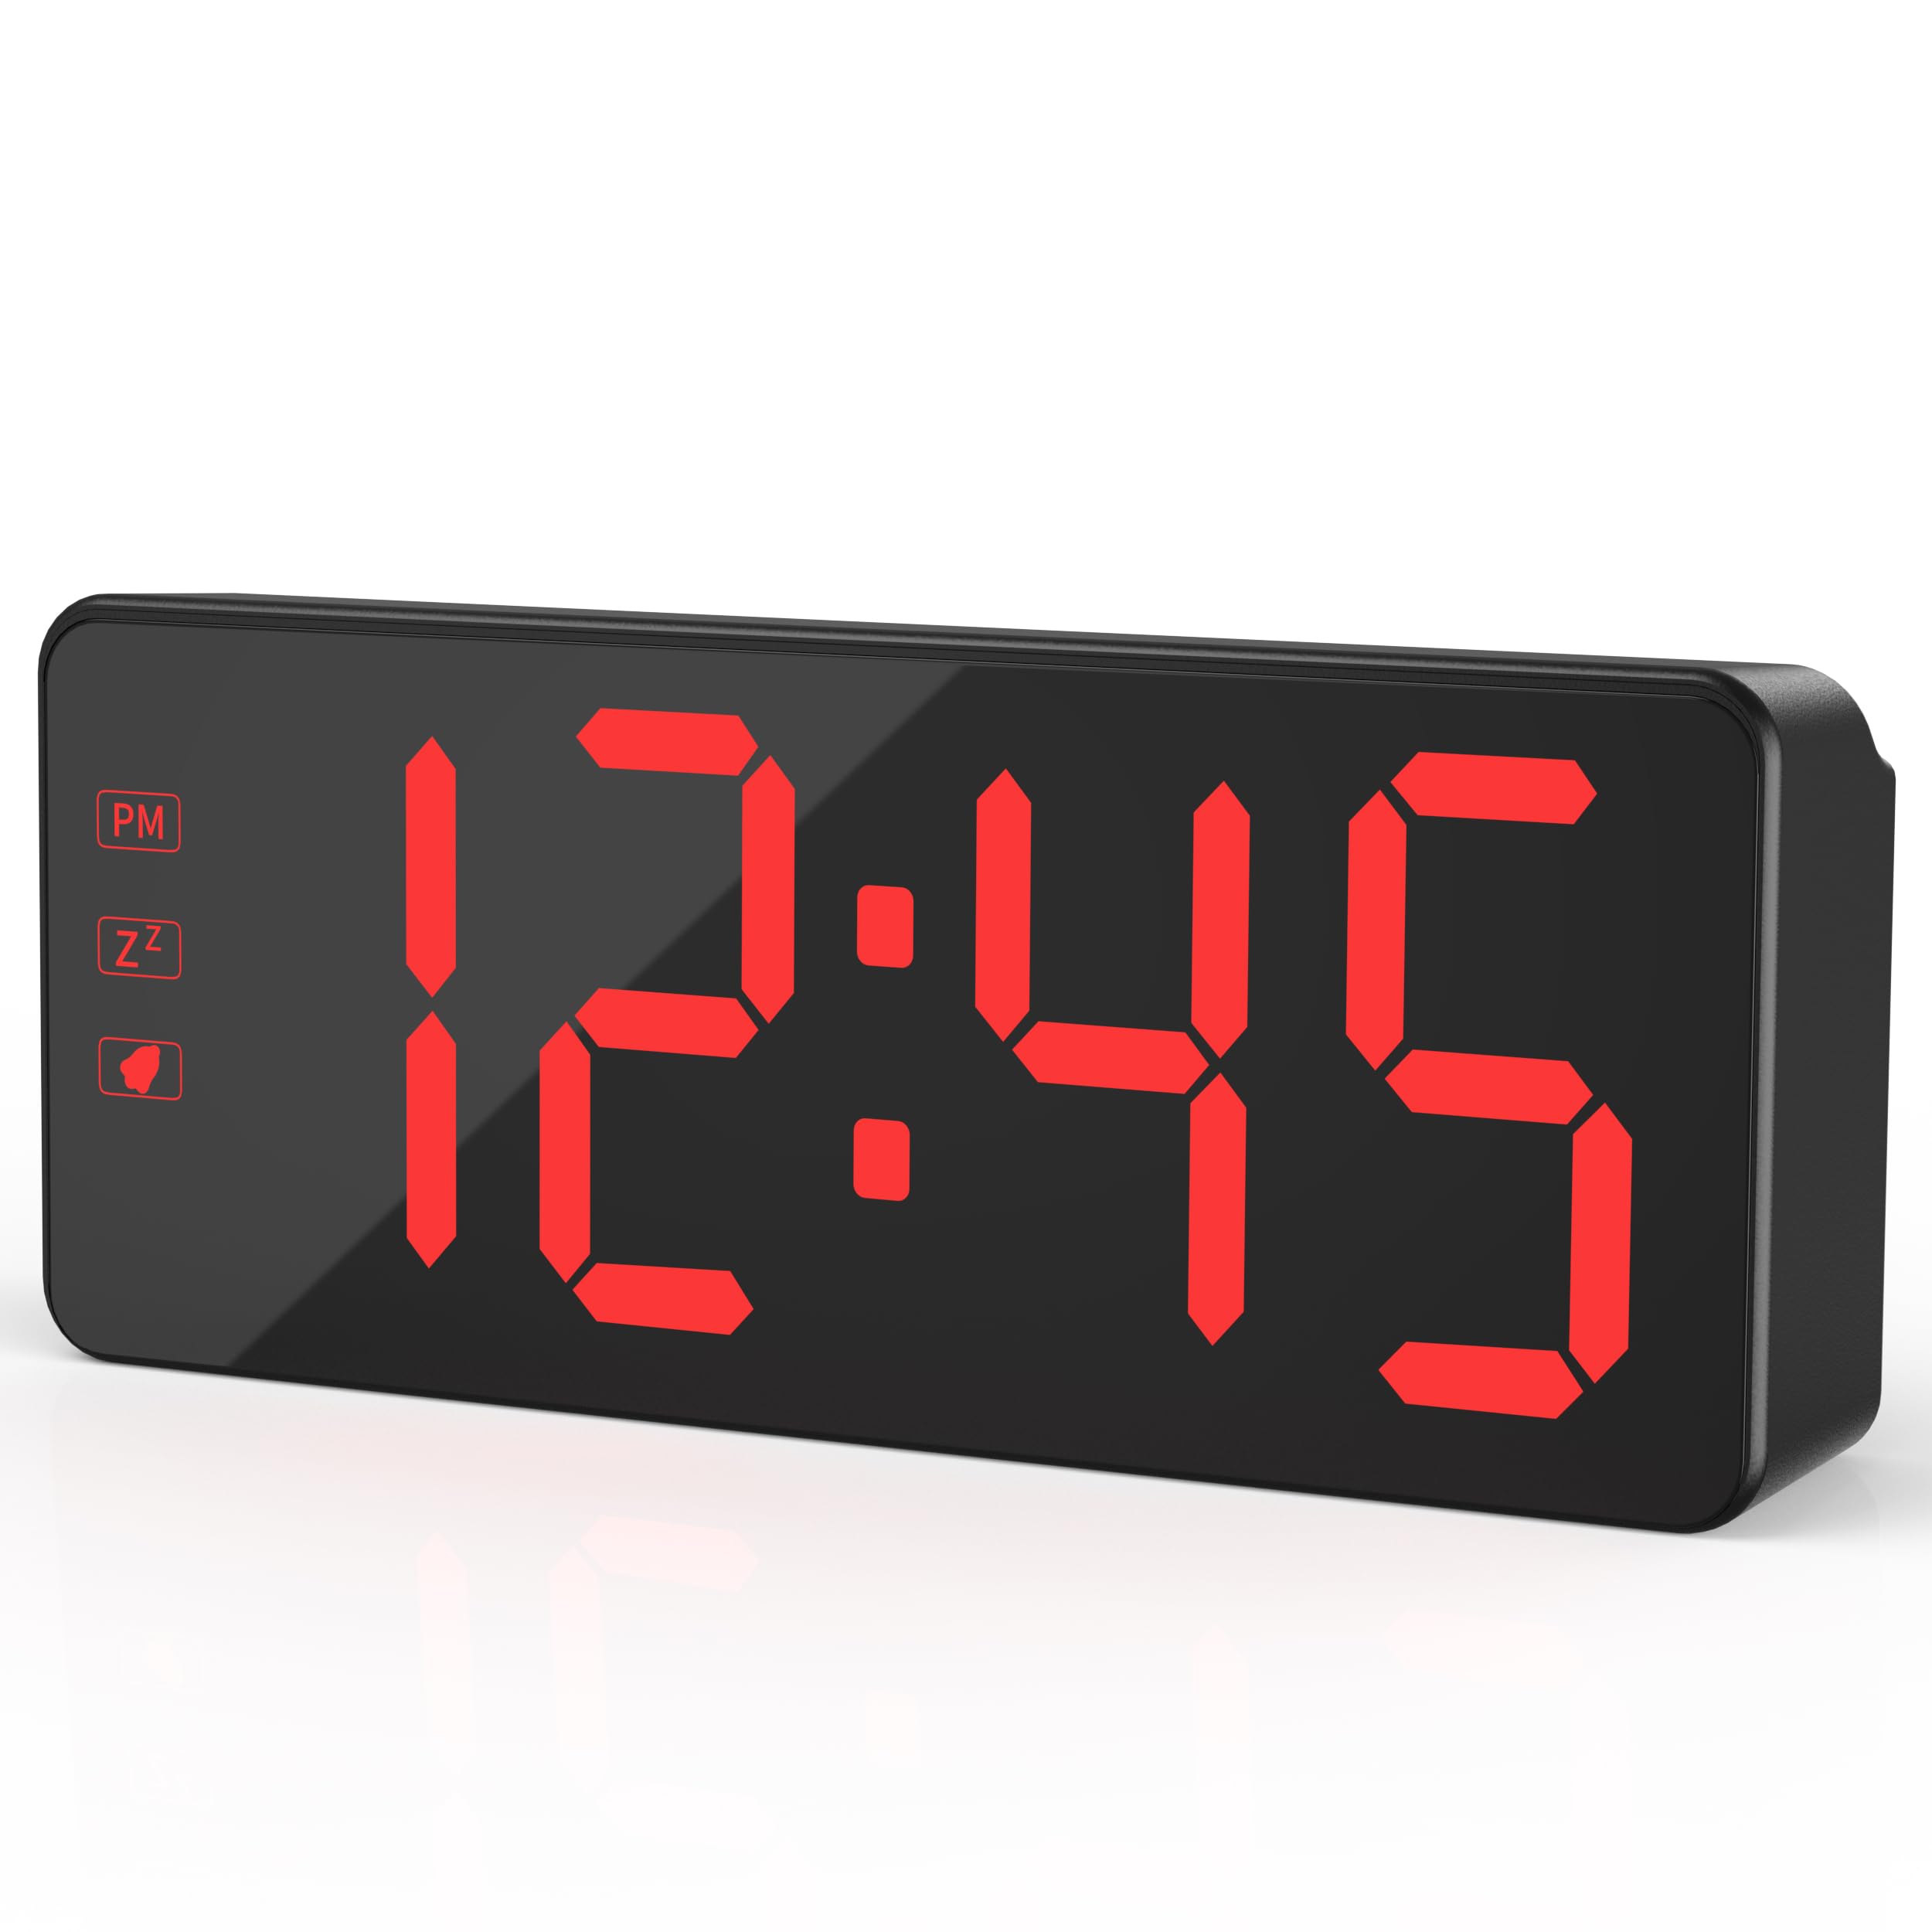
The KWANWA KW319 Digital Alarm Clock, showcasing its clear red LED display.
Hauptmerkmale:
- 2.4" Bold LED Display: Ultra-clear, glare-free digits for instant readability.
- 3-Level Dimmer & Auto Night Mode: Adjustable brightness (Low/Medium/High) with an automatic dimming feature from 8 PM to 6 AM.
- Backup-Batterie: Requires 3xAA batteries (not included) to save time and alarm settings during power outages. LED digits hide in battery mode to conserve energy, lighting up for 10 seconds when the top is tapped.
- Gradual Wake-Up Alarm: Alarm volume increases gradually over 120 seconds.
- Smart Snooze Function: Allows up to 3 snooze intervals of 7 minutes each.
- Oversized Tactile Buttons: Easy-to-use buttons for setting time and alarms.
- 12/24-Hour Switching: Intuitive setup for preferred time format.
Aufstellen
1. Die Uhr mit Strom versorgen
The KWANWA KW319 Digital Alarm Clock operates primarily via its UL-certified power adapter. It also supports battery backup.
- Netzteil anschließen: Plug the provided 59-inch UL-certified adapter into the DC IN port on the back of the clock and then into a standard wall outlet. The LED time digits will display constantly.
- Einbau von Backup-Batterien (optional, aber empfohlen): Open the battery compartment on the back of the clock and insert 3xAA batteries (not included). These batteries will preserve your time and alarm settings during a power interruption. In battery-only mode, the LED display will turn off to save power; tap the top of the clock to temporarily display the time for 10 seconds.

The KWANWA Digital Alarm Clock powered by its UL-certified adapter, showing the time display.
2. Initial Setup and Button Overview
Before first use, gently remove any protective film from the display. The clock features oversized tactile buttons on the back for easy adjustment.

Hinteren view of the clock, highlighting the large setting buttons for time and alarm adjustments.
3. Uhrzeit einstellen
- Halten Sie die ZEITEINSTELLUNG Drücken Sie den Knopf auf der Rückseite der Uhr, bis die Stundenziffern zu blinken beginnen.
- Verwenden Sie die UP or RUNTER Tasten zur Stundeneinstellung. Beachten Sie die PM-Anzeige, wenn Sie das 12-Stunden-Format verwenden.
- Drücken ZEITEINSTELLUNG again to move to the minute digits. Use the UP or RUNTER Tasten zum Einstellen der Minuten.
- Drücken ZEITEINSTELLUNG Zur Bestätigung und zum Verlassen des Zeiteinstellungsmodus noch einmal erneut vorgehen.
4. Einstellen des Alarms
- Halten Sie die AL-SATZ Drücken Sie den Knopf auf der Rückseite der Uhr, bis die Ziffern der Weckzeit zu blinken beginnen.
- Verwenden Sie die UP or RUNTER Tasten, um die Weckstunde einzustellen.
- Drücken AL-SATZ again to move to the alarm minute digits. Use the UP or RUNTER Tasten zum Einstellen der Alarmminuten.
- Drücken AL-SATZ Zur Bestätigung und zum Verlassen des Alarmeinstellungsmodus noch einmal erneut.
- Zum Aktivieren oder Deaktivieren des Alarms drücken Sie die Taste AL EIN/AUS Taste. Beim Aktivieren erscheint ein Alarmsymbol auf dem Display.
5. Adjusting Display Brightness and Night Mode
The clock offers three levels of brightness and an automatic night mode.
- Manuelle Helligkeit: Drücken Sie die LICHT/SNOOZE button on the top of the clock to cycle through Low, Medium, and High brightness settings.
- Automatischer Nachtmodus: The clock automatically dims the display between 8 PM and 6 AM for comfortable viewing in a dark room. This feature is enabled by default.

Visual representation of the three brightness levels: High, Medium, and Dim.
6. 12/24-Stunden-Format
Um zwischen dem 12-Stunden- und dem 24-Stunden-Zeitformat zu wechseln, drücken Sie die 12/24 Knopf auf der Rückseite der Uhr.
The clock displaying time in both 12-hour (left) and 24-hour (right) formats.
Bedienung des Alarms
1. Gradual Wake-Up Alarm
The alarm features a gradual wake-up technology. When the alarm sounds, its volume will slowly increase over 120 seconds to provide a gentle awakening.

Illustration of the alarm's auto-ascending volume feature, showing increasing sound waves.
2. Schlummerfunktion
Wenn der Alarm ertönt, drücken Sie die große Taste. LICHT/SNOOZE button on the top of the clock to activate the snooze function. The alarm will pause for 7 minutes and then sound again. You can use the snooze function up to 3 times.
3. Turning Off the Alarm
To turn off the alarm completely after it sounds (without snoozing), press any button on the back of the clock (e.g., AL-SATZ, UP, RUNTER, oder AL EIN/AUS).
Wartung
Reinigung
Reinigen Sie die Uhr, indem Sie die Oberfläche vorsichtig mit einem weichen, trockenen Tuch abwischen. Verwenden Sie keine Scheuermittel oder Lösungsmittel, da diese das Display oder die Uhr beschädigen können.asing.
Batteriewechsel
If the clock is primarily used with the power adapter, the backup batteries will last for an extended period. Replace the 3xAA batteries when the clock fails to retain time or alarm settings during a power outage.
Fehlerbehebung
- Display is blank or not lighting up:
- Ensure the power adapter is securely plugged into both the clock and a working wall outlet.
- If running on battery backup, the display will be off to save power. Tap the top of the clock to temporarily illuminate the display.
- Prüfen Sie, ob die Batterien richtig eingelegt und nicht leer sind. Tauschen Sie sie gegebenenfalls aus.
- Time or alarm settings are lost after a power outage:
- This indicates the backup batteries are either not installed or are depleted. Install or replace the 3xAA batteries.
- Der Alarm ertönt nicht:
- Ensure the alarm is activated. Check for the alarm icon on the display. If not present, press the AL EIN/AUS Taste.
- Überprüfen Sie, ob die Alarmzeit korrekt eingestellt ist.
- Buttons are unresponsive or difficult to press:
- Stellen Sie sicher, dass keine Fremdkörper die Tasten blockieren.
- If the issue persists, try unplugging the clock and removing the batteries for a few minutes, then reconnecting power to reset the device.
Technische Daten
| Marke | KWANWA |
| Modellnummer | KW319 |
| Anzeigetyp | LED Digits |
| Farbe | Black Case-red Led |
| Technische Daten | 5.1 Zoll B x 2.5 Zoll H |
| Artikelgewicht | 0.27 Kilogramm |
| Stromquelle | Corded Powered |
| Pufferbatterie | 3 AA-Batterien erforderlich (nicht im Lieferumfang enthalten) |
| Material | Plastik |
| Besonderheit | 3-Level Dimmer, Auto Night Mode, Backup Battery, Snooze |
Garantie und Support
For warranty information or technical support, please refer to the product packaging or contact KWANWA customer service directly. Keep your purchase receipt for warranty claims.
Ask a question about this manual
Ask about setup, troubleshooting, compatibility, parts, safety, or missing instructions. Manuals+ will review the question and use this page’s manual context to help answer it.