
Einführung
This manual provides detailed instructions for the setup, operation, maintenance, and troubleshooting of your KOORUI S2721XO 27-inch QD-OLED Gaming Monitor. Please read this manual thoroughly before using the product to ensure proper functionality and to prevent damage.

Image: KOORUI S2721XO 27-inch QD-OLED Gaming Monitor showcasing its main features like 240Hz refresh rate, 0.03ms response time, QHD resolution, QD-OLED panel, VESA compatibility, 99% DCI-P3 color gamut, Eye Care, and Adaptive Sync.
Packungsinhalt
Überprüfen Sie, ob alle Komponenten im Paket vorhanden sind:
- KOORUI S2721XO 27-inch QD-OLED Gaming Monitor
- Monitorständer (Fuß und Hals)
- Stromkabel
- HDMI-Kabel
- DisplayPort-Kabel
- Benutzerhandbuch (dieses Dokument)
- Garantiekarte (falls zutreffend)
Installationsanweisungen
1. Zusammenbau des Ständers
- Nehmen Sie die Monitor- und Standfußkomponenten vorsichtig aus der Verpackung.
- Befestigen Sie den Stativhals am Monitorpanel. Achten Sie darauf, dass er sicher einrastet oder, wie in der Kurzanleitung beschrieben, mit Schrauben befestigt ist.
- Befestigen Sie den Standfuß am Standhals und sichern Sie ihn mit der mitgelieferten Schraube.
- Stellen Sie den zusammengebauten Monitor auf eine stabile, ebene Fläche.
Alternatively, the monitor supports VESA 75mm x 75mm mounting for wall mounts or monitor arms. Ensure the VESA mount is rated for the monitor's weight (3 kg).

Image: Illustrations showing the monitor's ergonomic adjustments including height adjustment (110mm), tilt (-20° to 20°), 90° pivot for vertical viewing, and swivel (-5° to 20°).
2. Verbindungskabel
Identify the ports on the back of your monitor and connect the necessary cables.

Bild: Rückseite view of the KOORUI S2721XO monitor showing the connectivity ports: 1. Power cable input, 2. HDMI 2.1, 3. HDMI 2.1, 4. DisplayPort 1.4, 5. Audio output interface. Also shows VESA 100x100mm mounting points.
- Stromkabel: Verbinden Sie ein Ende des Netzkabels mit dem Stromeingang des Monitors und das andere Ende mit einer Steckdose.
- Video-Eingang:
- For HDMI connection, use the provided HDMI cable to connect your computer's HDMI output to one of the monitor's HDMI 2.1 ports.
- For DisplayPort connection, use the provided DisplayPort cable to connect your computer's DisplayPort output to the monitor's DisplayPort 1.4 port.
- Audioausgang: If desired, connect external speakers or headphones to the audio output jack.
3. Erstes Einschalten
- Drücken Sie den Netzschalter am Monitor.
- Schalten Sie Ihren Computer ein. Der Monitor sollte das Eingangssignal automatisch erkennen. Falls nicht, müssen Sie die Eingangsquelle möglicherweise manuell über das OSD-Menü auswählen.
Bedienungsanleitung
Bildschirmmenü (OSD)
The OSD menu allows you to adjust various monitor settings. Typically, a joystick or a set of buttons located on the back or bottom of the monitor is used to navigate the OSD.
- Press the OSD button/joystick to open the menu.
- Use the navigation controls to move through options.
- Drücken Sie die Auswahltaste, um die Auswahl zu bestätigen.
- Drücken Sie die Exit-Taste, um das OSD-Menü zu schließen.
Bildeinstellungen
- Helligkeit Kontrast: Passen Sie diese Einstellungen Ihren Bedürfnissen an. viewing-Umgebung.
- Farbtemperatur: Wählen Sie aus voreingestellten Modi (z. B. Warm, Kalt, Benutzerdefiniert) oder passen Sie die RGB-Werte individuell an.
- HDR (High Dynamic Range): The monitor supports HDR 400. Enable HDR in your operating system and monitor settings for enhanced contrast and color detail.
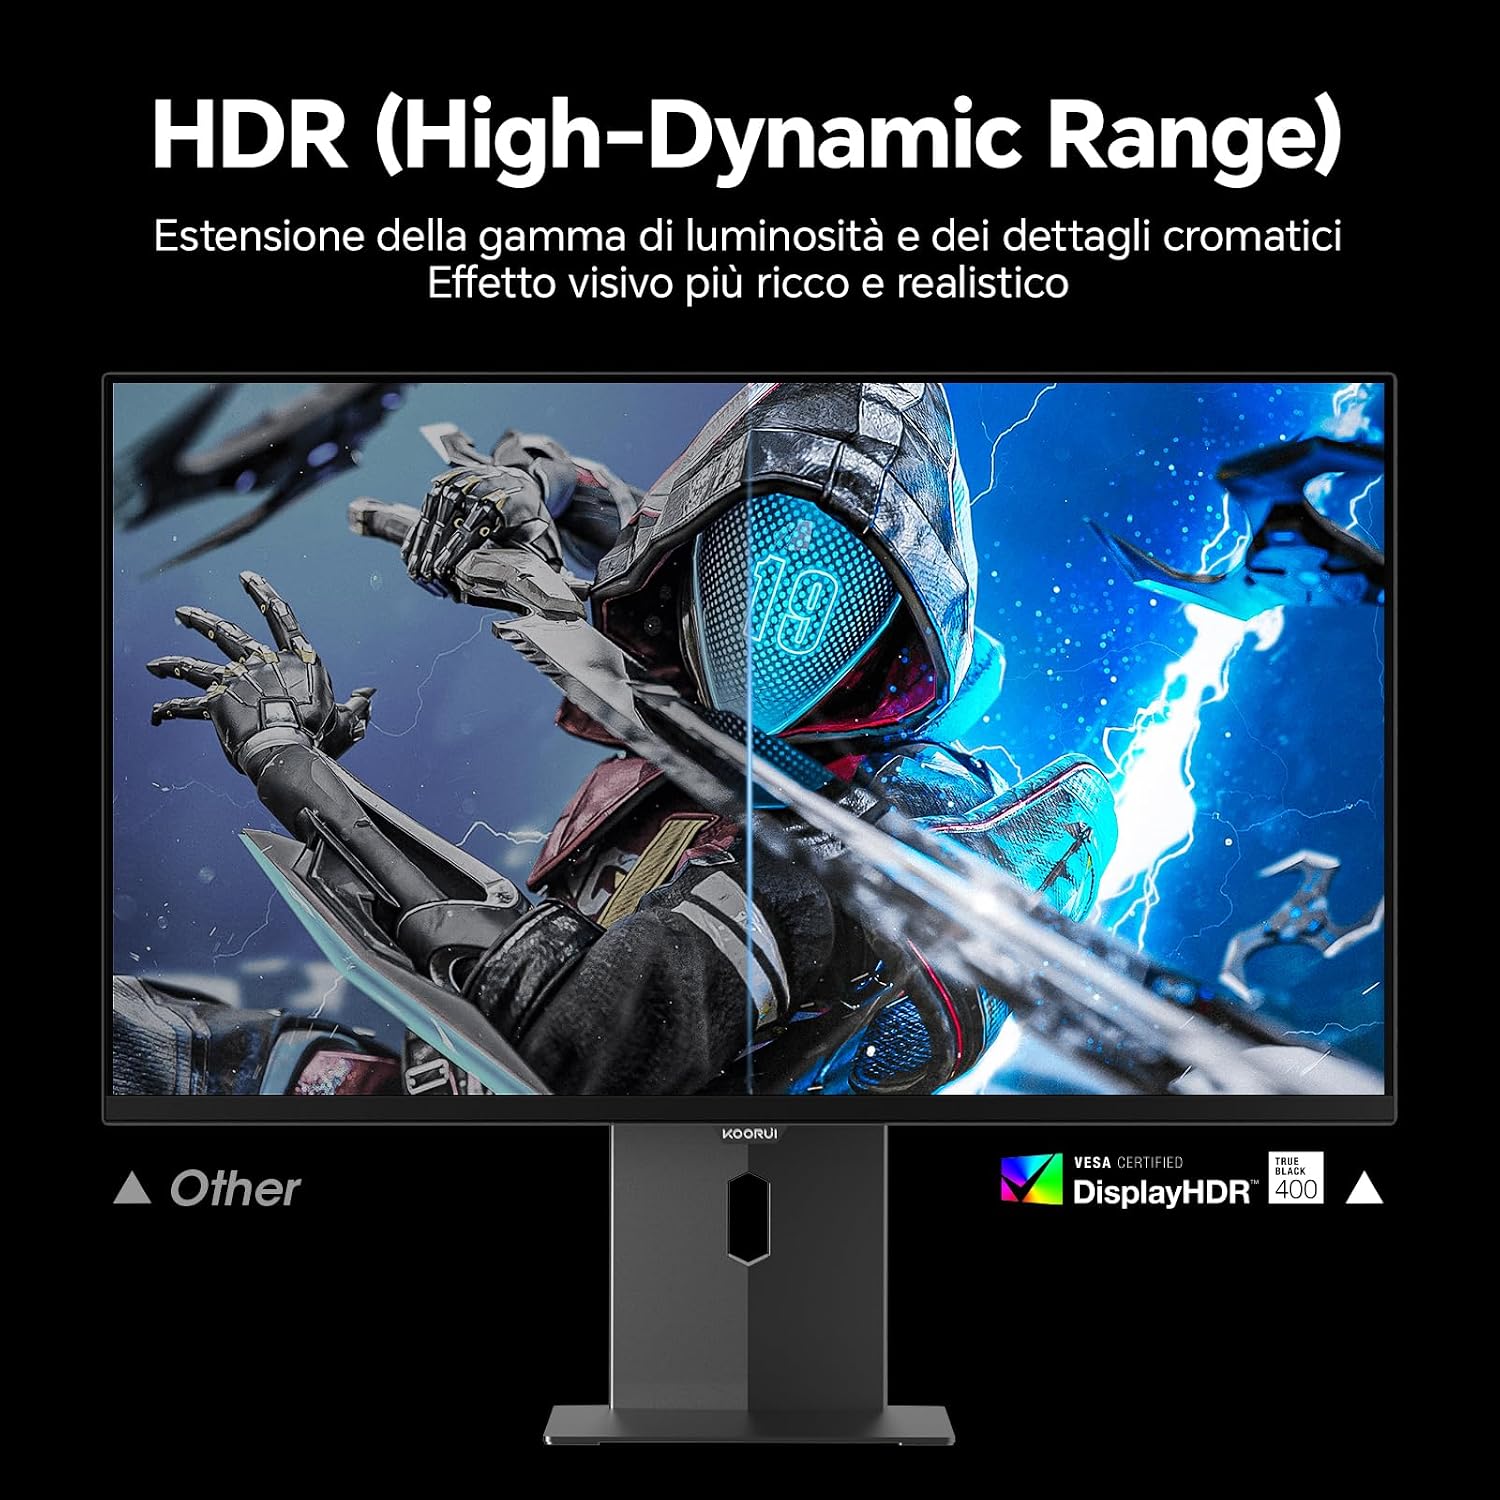
Image: Comparison of a standard display versus the KOORUI S2721XO monitor with HDR (High-Dynamic Range) enabled, showing richer visual effects and realistic details.
Gaming-Funktionen
- Aktualisierungsrate: The monitor supports up to 240Hz. Ensure your graphics card and system settings are configured to utilize this refresh rate for smooth gameplay.
- Ansprechzeit: With a 0.03ms response time, motion blur is significantly reduced.
- Adaptive Synchronisierung: This technology synchronizes the monitor's refresh rate with your GPU's frame rate, eliminating screen tearing and stuttering. Enable Adaptive Sync in the OSD menu and your graphics card control panel.
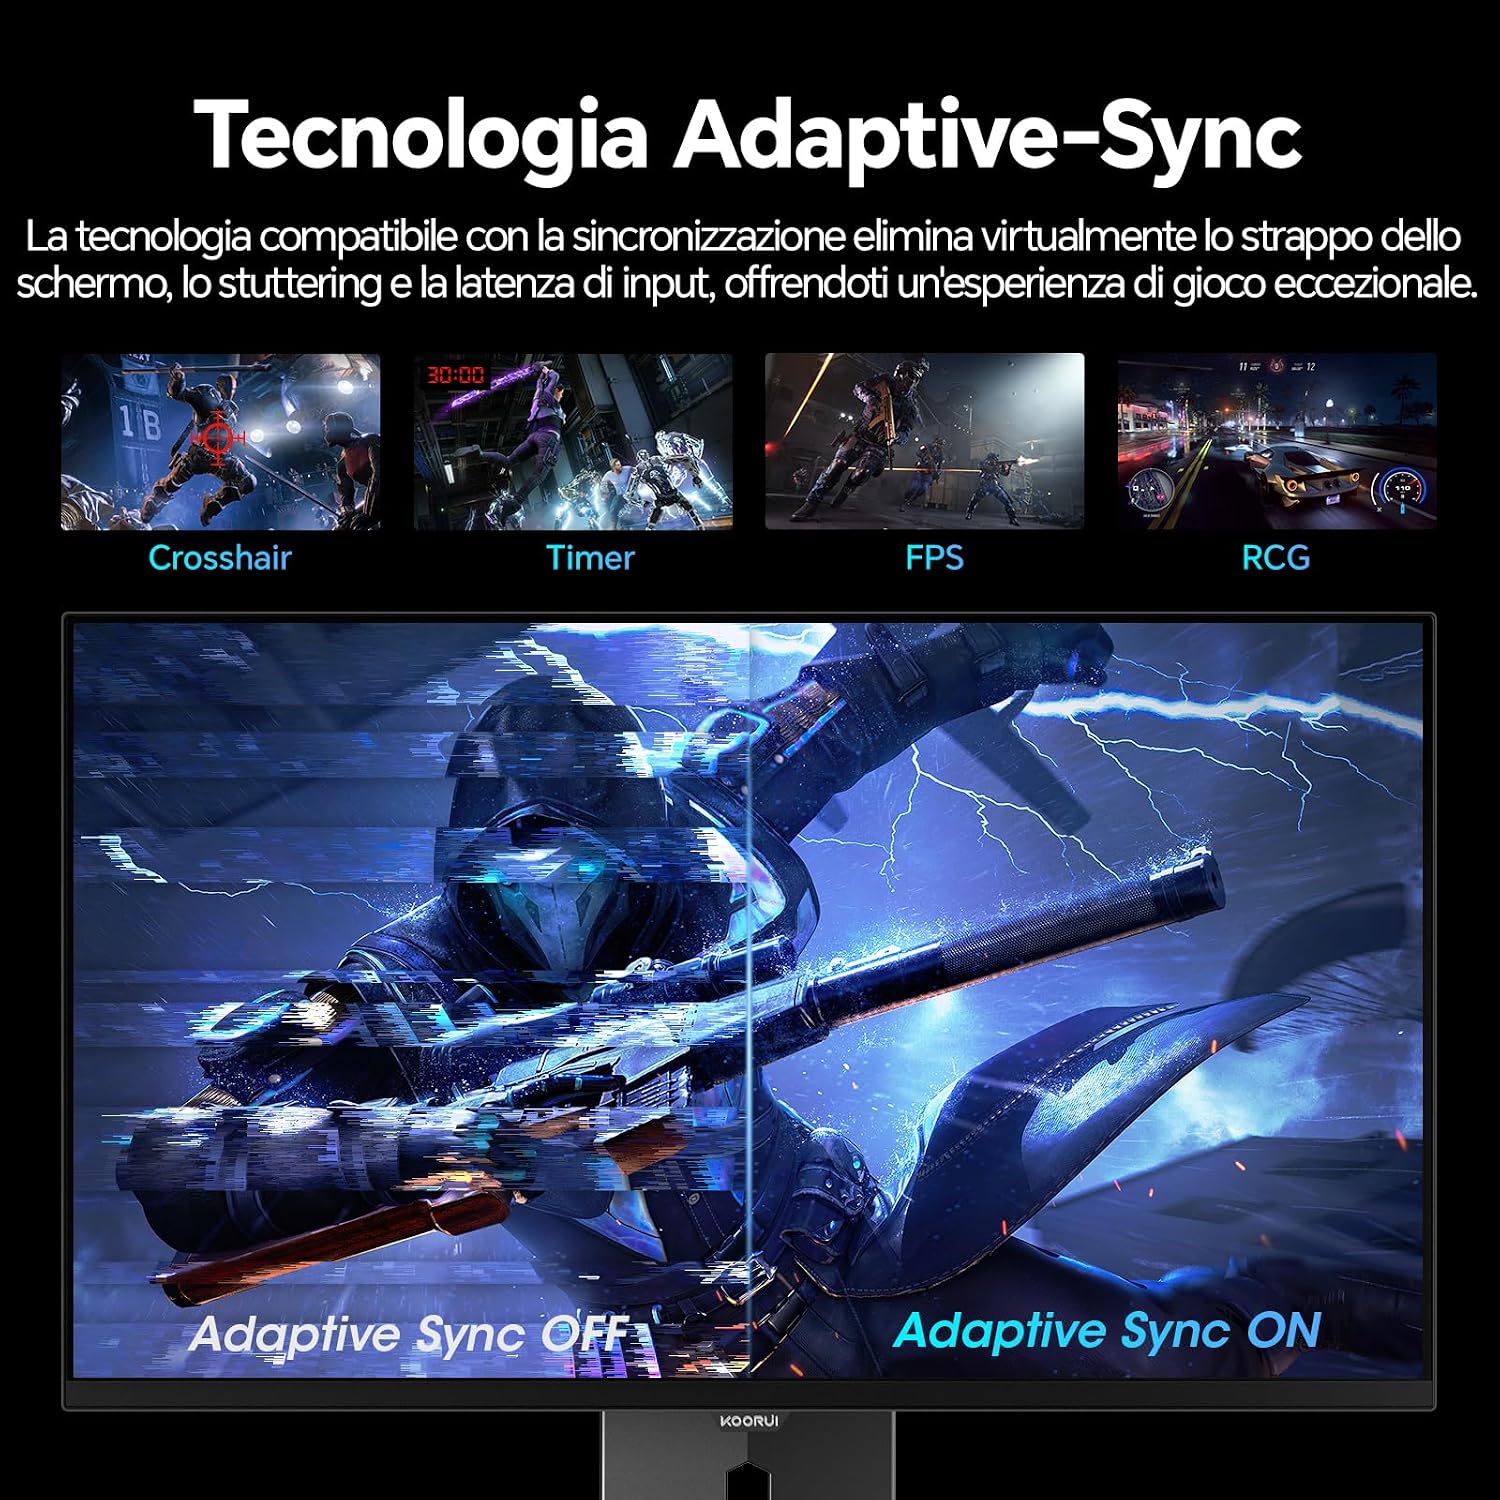
Image: A visual demonstration of Adaptive Sync technology, showing the difference between Adaptive Sync OFF (with screen tearing and stuttering) and Adaptive Sync ON (with smooth, tear-free visuals).

Image: A visual comparison illustrating the ultra-high refresh rate of 240Hz and 0.03ms response time, contrasting it with a 100Hz 5ms display to show the improved fluidity and reduced ghosting.
Augenpflegemodus
The monitor includes features designed to reduce eye strain during extended use. Access the Eye Care settings in the OSD menu to enable modes that reduce blue light emission or adjust flicker-free settings.
Wartung
Reinigen des Monitors
- Vor der Reinigung den Monitor immer ausschalten und das Netzkabel abziehen.
- Mit einem weichen, fusselfreien Tuch leichtampmit Wasser oder einem speziellen Bildschirmreiniger abspülen.
- Sprühen Sie den Reiniger nicht direkt auf den Bildschirm.
- Vermeiden Sie die Verwendung von Scheuermitteln, Wachsen oder Lösungsmitteln, da diese die Bildschirmoberfläche beschädigen können.
- Wischen Sie den Monitor ab.asinmit einem weichen, trockenen Tuch abwischen.
Lagerung
When storing the monitor for an extended period, ensure it is powered off, unplugged, and stored in a cool, dry place away from direct sunlight and extreme temperatures. Use original packaging if available for best protection.
Fehlerbehebung
| Problem | Mögliche Ursache | Lösung |
|---|---|---|
| Kein Strom | Netzkabel nicht angeschlossen; Steckdose defekt; Monitor-Ein-/Ausschalter ausgeschaltet. | Stellen Sie sicher, dass das Netzkabel fest angeschlossen ist. Testen Sie die Steckdose mit einem anderen Gerät. Drücken Sie den Netzschalter des Monitors. |
| Kein Signal | Videokabel nicht angeschlossen; Falsche Eingangsquelle ausgewählt; Computer nicht eingeschaltet. | Check video cable connections (HDMI/DisplayPort). Select the correct input source via the OSD menu. Ensure your computer is powered on and outputting a signal. |
| Flackernder Bildschirm | Incorrect refresh rate; Faulty cable; Graphics card driver issues. | Adjust refresh rate in display settings. Try a different video cable. Update graphics card drivers. |
| Schlechte Bildqualität | Incorrect resolution; Picture settings misconfigured; Dirty screen. | Set display resolution to 2560x1440. Adjust brightness, contrast, and color settings in the OSD. Clean the screen as per maintenance instructions. |
Technische Daten
| Marke | KOORUI |
| Modellnummer | S2721XO |
| Bildschirmgröße | 27 Zoll |
| Panel-Typ | OLED-Displays |
| Auflösung | QHD Wide 1440p (2560 x 1440) |
| Seitenverhältnis | 16:9 |
| Bildwiederholrate | 240 Hz |
| Ansprechzeit | 0.03 ms |
| Kontrastverhältnis | 1,500,000:1 |
| Helligkeit | 280 cd/m² |
| Viewing-Winkel | 178 Grad |
| Farbskala-Wert | 99% DCI-P3 (100% sRGB) |
| Konnektivität | 2x HDMI 2.1, 1x DisplayPort 1.4, Audioausgang |
| Adaptive Synchronisierung | FreeSync compatible |
| Besondere Merkmale | HDR 400, Eye Care, Height Adjustment, Tilt Adjustment, Swivel Adjustment, Pivot Adjustment |
| VESA-Kompatibilität | 75mm x 75mm |
| Abmessungen (B x H x T) | 610.11 mm x 521.84 mm x 215.82 mm (24.02 Zoll x 20.54 Zoll x 8.50 Zoll) |
| Gewicht | 3 Kilogramm |
Garantieinformationen
The KOORUI S2721XO monitor comes with a 2 Jahr Garantie from the date of purchase. This warranty covers manufacturing defects and malfunctions under normal use. Please retain your proof of purchase for warranty claims. For detailed terms and conditions, refer to the warranty card included in your package or visit the official KOORUI webWebsite.
Support und Kontakt
For further assistance, technical support, or customer service inquiries, please visit the official KOORUI website or contact their customer support team. You can also refer to the official PDF instructions for use: