
1. Produktüberschreitungview
The KOORUI G2722P is a 27-inch QHD (2560x1440) gaming monitor designed for an immersive visual experience. It features a Fast IPS panel with a 200Hz refresh rate and a 1ms response time, ensuring smooth and responsive gameplay. The monitor supports HDR 400 for enhanced contrast and color depth, and Adaptive Sync technology to minimize screen tearing and stuttering. Its ergonomic stand allows for height, tilt, and pivot adjustments, and it is VESA 75x75mm compatible for flexible mounting options.

The KOORUI G2722P monitor integrated into a typical gaming environment.
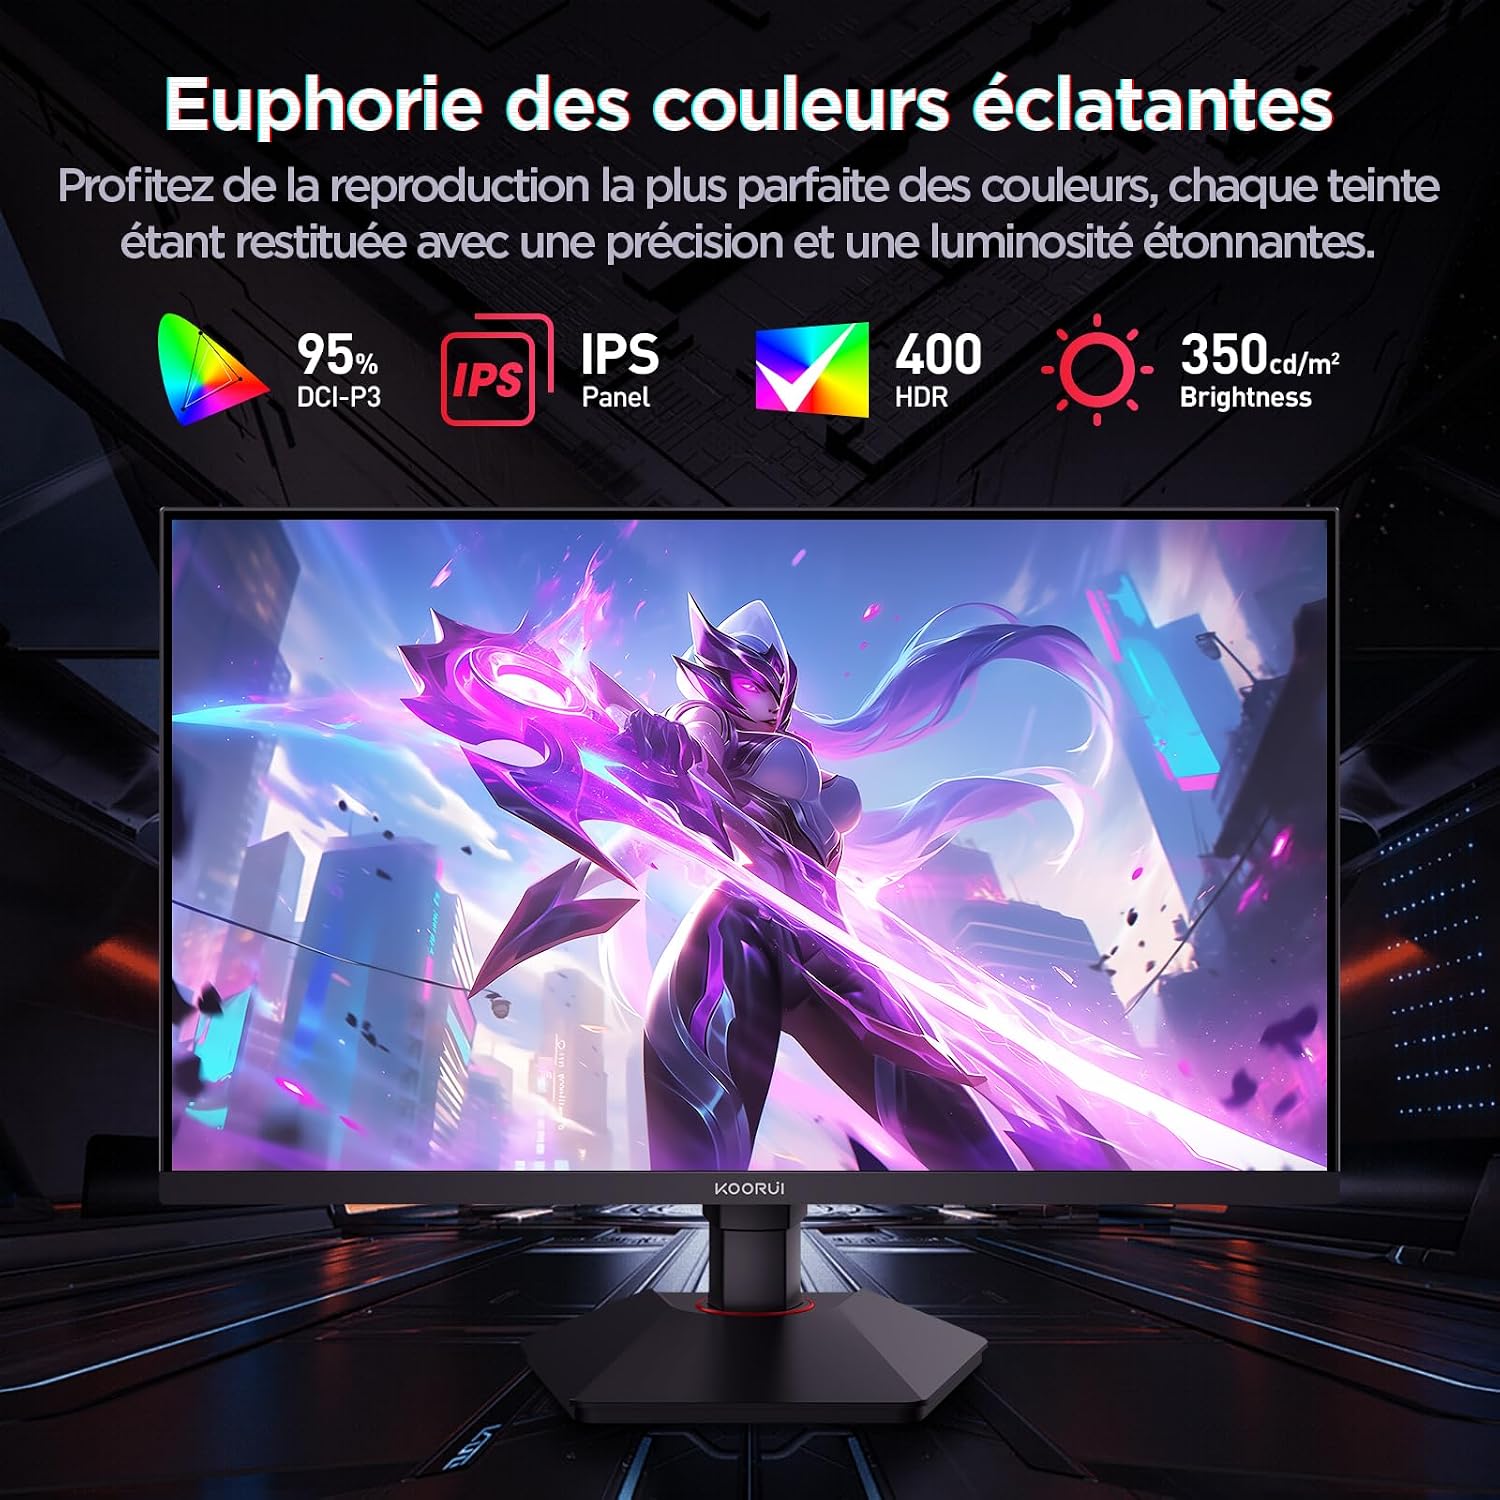
This image highlights the monitor's color capabilities, including 95% DCI-P3 color gamut, IPS panel technology, HDR 400 support, and 350 cd/m² brightness.
2. Sicherheitshinweise
- Lesen Sie vor der Benutzung des Monitors alle Anweisungen sorgfältig durch.
- Um Brand- oder Stromschlaggefahren zu vermeiden, setzen Sie den Monitor weder Regen noch Feuchtigkeit aus.
- Öffnen Sie den Monitor nicht.asing. Im Inneren befinden sich keine vom Benutzer wartbaren Teile. Alle Wartungsarbeiten dürfen nur von qualifiziertem Fachpersonal durchgeführt werden.
- Stellen Sie den Monitor auf eine stabile, ebene Fläche, um zu verhindern, dass er herunterfällt.
- Setzen Sie den Monitor keiner direkten Sonneneinstrahlung, Wärmequellen und extremen Temperaturen aus.
- Sorgen Sie für ausreichende Belüftung um den Monitor herum. Blockieren Sie keine Lüftungsöffnungen.
- Verwenden Sie ausschließlich das mitgelieferte oder vom Hersteller empfohlene Netzteil und die Kabel.
- Trennen Sie den Monitor bei Gewittern oder wenn er längere Zeit nicht benutzt wird vom Stromnetz.
3. Packungsinhalt
Überprüfen Sie, ob alle Artikel im Paket vorhanden sind:
- KOORUI G2722P Monitor
- Monitorständer (Fuß und Hals)
- Netzteil und Netzkabel
- DisplayPort (DP)-Kabel
- Benutzerhandbuch (dieses Dokument)
- Schrauben zur Ständermontage
4. Monitorbaugruppe
4.1 Anbringen des Ständers
- Legen Sie den Monitor vorsichtig mit der Vorderseite nach unten auf ein weiches, sauberes Tuch, um Kratzer zu vermeiden.
- Attach the stand neck to the back of the monitor until it clicks into place or is secured with screws (refer to specific instructions in the included quick start guide).
- Befestigen Sie den Standfuß am Standhals und sichern Sie ihn mit der mitgelieferten Schraube.
- Heben Sie den Monitor vorsichtig an und stellen Sie ihn auf einen stabilen Schreibtisch.
4.2 VESA-Montage
The monitor supports VESA 75x75mm mounting. To use a VESA mount:
- Entfernen Sie den Ständer, falls er bereits angebracht ist.
- Attach your VESA-compatible mount (sold separately) to the 75x75mm screw holes on the back of the monitor using appropriate screws.
- Stellen Sie sicher, dass die Halterung fest befestigt ist, bevor Sie sie freigeben.asing den Monitor.

This image demonstrates the monitor's ergonomic adjustments (height, tilt, pivot) and provides a visual reference for stand attachment points.
5. Monitor anschließen
Schließen Sie den Monitor über die verfügbaren Anschlüsse an Ihren Computer oder andere Geräte an.
- Stromanschluss: Connect the power cable to the power adapter, then connect the adapter to the monitor's power input and a wall outlet.
- Videoverbindung:
- For optimal performance (QHD @ 200Hz), use the provided DisplayPort (DP 1.4) cable to connect the monitor to your graphics card.
- Alternatively, use an HDMI 2.0 cable to connect to an HDMI port on your device.
- Audioausgang: Connect external speakers or headphones to the 3.5mm audio output jack on the monitor if you wish to use the monitor's audio passthrough.

This image displays the rear of the monitor, highlighting the available connectivity options: two HDMI 2.0 ports, one DisplayPort 1.4, an audio output jack, and the VESA 75x75mm mounting pattern.
6. Bedienung des Monitors
6.1 Ein-/Ausschalten
- Drücken Sie den Netzschalter am Monitor, um ihn ein- oder auszuschalten.
- Die Betriebsanzeigeleuchte leuchtet auf, wenn der Monitor eingeschaltet ist.
6.2 Bildschirmmenü (OSD)
The OSD menu allows you to adjust various monitor settings. Typically, buttons are located on the back or bottom right of the monitor.
- Drücken Sie eine der OSD-Tasten, um das Menü zu aktivieren.
- Use the navigation buttons (usually directional or a joystick) to browse through menu options.
- Drücken Sie die Auswahltaste, um ein Untermenü aufzurufen oder eine Einstellung zu bestätigen.
- Drücken Sie die Exit-Taste, um das OSD-Menü zu schließen.
7. Anzeigeeinstellungen
7.1 Auflösung und Bildwiederholfrequenz
The monitor supports a native resolution of 2560x1440 (QHD) and a maximum refresh rate of 200Hz. Ensure your graphics card and operating system are configured to use these settings for the best experience.

This image illustrates the difference in motion clarity between a 75Hz and a 200Hz refresh rate, emphasizing the 1ms response time for reduced blur and ghosting.
7.2 Adaptive Sync (FreeSync)
This monitor supports Adaptive Sync technology (compatible with AMD FreeSync) to synchronize the monitor's refresh rate with your graphics card's frame rate, eliminating screen tearing and reducing stuttering.
- Enable Adaptive Sync in the monitor's OSD menu.
- Ensure Adaptive Sync (or FreeSync) is enabled in your graphics card control panel.

This image visually compares the display with Adaptive Sync enabled versus disabled, demonstrating how Adaptive Sync eliminates screen tearing for a smoother visual experience.
7.3 HDR 400
The monitor supports HDR 400, providing a wider dynamic range for brighter whites and deeper blacks, resulting in more vibrant and realistic images.
- Enable HDR in your operating system's display settings and in the monitor's OSD menu if available.
7.4 Farbeinstellungen
The Fast IPS panel offers excellent color reproduction and wide viewwinkeln.
- Adjust color temperature, gamma, and saturation through the OSD menu to suit your preferences.
- The monitor features a 178-degree wide viewing angle, ensuring consistent color and image quality from various perspectives.
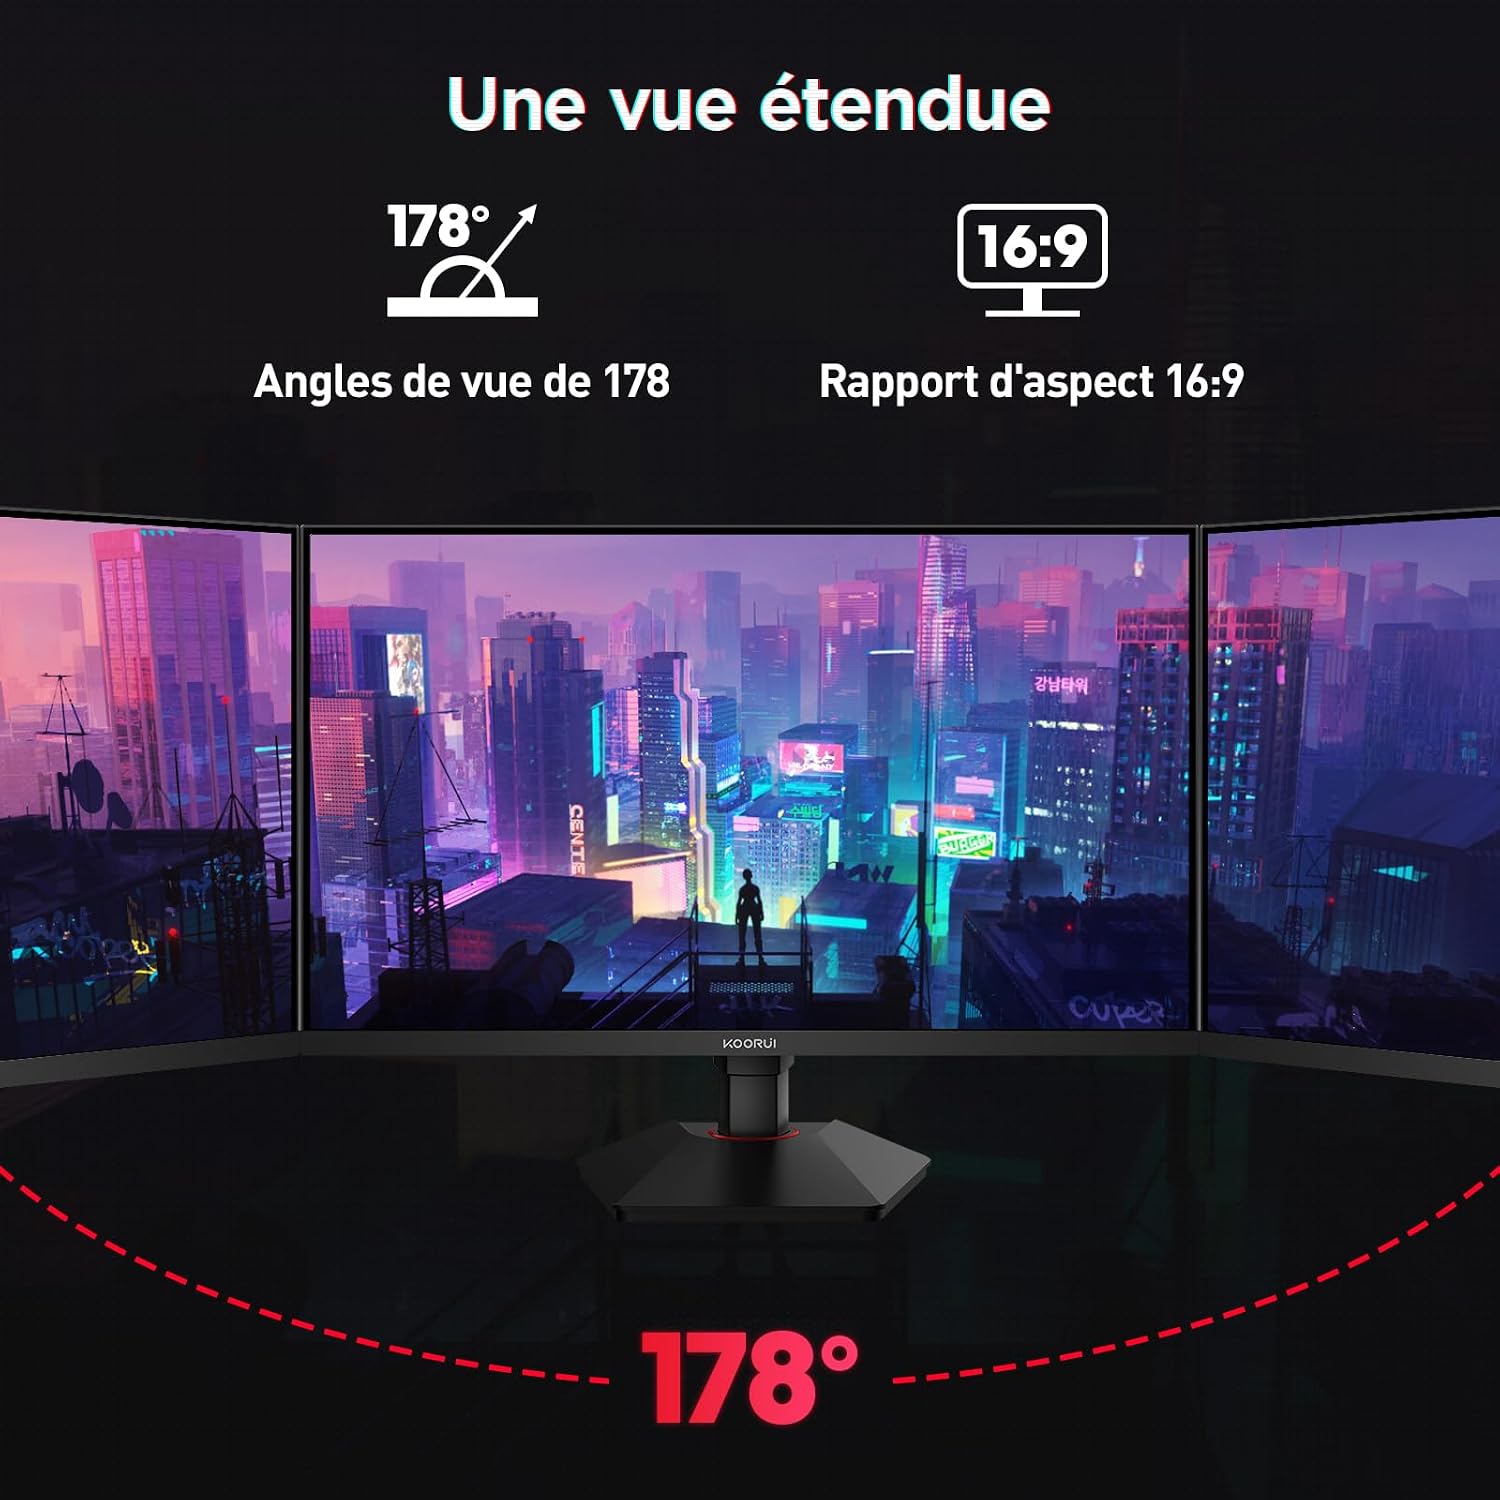
This image demonstrates the monitor's wide 178-degree viewing angle, illustrating how the display maintains clarity and color consistency even when viewed from extreme angles, ideal for multi-monitor setups.
8. Ergonomische Anpassungen
Der Monitorständer ermöglicht verschiedene Einstellmöglichkeiten zur Optimierung Ihres Arbeitsplatzes. viewKomfort:
- Höhenverstellung: Adjust the monitor height by up to 100mm by gently pushing or pulling the monitor up or down.
- Neigungseinstellung: Tilt the screen from -5° (forward) to +20° (backward) to find your preferred viewing-Winkel.
- Pivot (Rotation): Rotate the screen 90° to switch between landscape and portrait orientations.
This image illustrates the full range of ergonomic adjustments available: 100mm height adjustment, -5° to +20° tilt, and 90° pivot rotation for optimal viewKomfort.
9. Funktionen für die Augenpflege
The KOORUI G2722P monitor incorporates features designed to reduce eye strain during prolonged use:
- Flimmerfreie Technologie: Verringert das Bildschirmflimmern, das zu Augenermüdung führen kann.
- Low-Blue-Light-Filter: Minimizes harmful blue light emissions to protect your eyes. This feature can usually be adjusted or enabled/disabled in the OSD menu.
10. Wartung
Durch sachgemäße Wartung wird die Langlebigkeit und optimale Leistung Ihres Monitors sichergestellt.
- Reinigen des Bildschirms: Wischen Sie den Bildschirm vorsichtig mit einem weichen, fusselfreien Tuch ab. Bei hartnäckigen Flecken verwenden Sie ein für Monitore geeignetes Reinigungsmittel, das Sie auf das Tuch und nicht direkt auf den Bildschirm auftragen.
- Reinigung des Casing: Verwenden Sie ein weiches, trockenes Tuch, um den Monitor zu reinigen.asing. Vermeiden Sie die Verwendung von scheuernden Reinigungs- oder Lösungsmitteln.
- Handhabung: Avoid touching the screen directly with your fingers or sharp objects. Do not place heavy objects on the monitor.
11. Fehlerbehebung
Sollten Sie Probleme mit Ihrem Monitor haben, beachten Sie bitte die folgenden häufig auftretenden Probleme und Lösungen:
| Problem | Mögliche Lösung |
|---|---|
| Kein Bild auf dem Bildschirm |
|
| Bildflackern oder -risse |
|
| Kein Ton aus dem Audioausgang |
|
| Der Monitor erreicht keine 200 Hz. |
|
12. Spezifikationen
Key technical specifications for the KOORUI G2722P monitor:
| Besonderheit | Spezifikation |
|---|---|
| Bildschirmgröße | 27 Zoll |
| Panel-Typ | Schnelles IPS |
| Auflösung | QHD (2560 x 1440) |
| Bildwiederholrate | 200 Hz |
| Ansprechzeit | 1 ms |
| HDR-Unterstützung | HDR 400 |
| Adaptive Synchronisierung | FreeSync |
| Kontrastverhältnis | 1000:1 (statisch) |
| Helligkeit | 350 cd/m² |
| Viewing-Winkel | 178° (H/V) |
| Farbumfang | 95 % DCI-P3 |
| Videoeingänge | 2x HDMI 2.0, 1x DisplayPort 1.4 |
| Audioausgang | 1x 3.5-mm-Audioausgang |
| VESA-Kompatibilität | 75 x 75 mm |
| Energieaufnahme | 19 Watt (typisch) |
| Ergonomie | Height, Tilt, Pivot Adjustment |

This diagram provides the physical dimensions of the monitor, including width, height, and depth.
Detaillierte Energieinformationen finden Sie in der EPREL-Datenbank: https://eprel.ec.europa.eu/qr/2216313
13. Garantie und Support
The KOORUI G2722P monitor comes with a 2 Jahr Herstellergarantie. Diese Garantie deckt Material- und Verarbeitungsfehler bei normalem Gebrauch ab.
For technical support, warranty claims, or further assistance, please contact KOORUI customer service through their official webWebsite oder den Händler, bei dem das Produkt gekauft wurde.