1. Einleitung
Thank you for choosing the HAUSHOF StainZapper Pro Portable Carpet and Upholstery Cleaner. This device is designed for effective spot cleaning of fabric sofas, carpets, car interiors, and other upholstered surfaces. Its powerful suction and dual-tank system ensure thorough cleaning without secondary contamination. Please read this manual carefully before use to ensure safe and optimal operation.
2. Sicherheitshinweise
WARNUNG: Um das Risiko von Bränden, Stromschlägen oder Verletzungen zu verringern, lesen und befolgen Sie alle Anweisungen sorgfältig.
- Trennen Sie das Gerät immer von der Steckdose, bevor Sie es reinigen oder warten.
- Tauchen Sie das Gerät nicht in Wasser oder andere Flüssigkeiten.
- Use only HAUSHOF recommended cleaning solutions or low-foaming detergents. Excessive foaming can cause leaks and overflow from the dirty water tank.
- Halten Sie Haare, lose Kleidung, Finger und alle Körperteile von Öffnungen und beweglichen Teilen fern.
- Do not use the appliance on wet surfaces or outdoors.
- Heben Sie keine brennenden oder rauchenden Gegenstände auf, z. B. Zigaretten, Streichhölzer oder heiße Asche.
- Nicht ohne Tanks verwenden.
- Beaufsichtigen Sie Kinder und achten Sie darauf, dass sie nicht mit dem Gerät spielen.
3. Produktüberschreitungview
Komponenten
The HAUSHOF StainZapper Pro includes the following main components:
- Haupteinheit mit Griff
- Clean Water Tank (1500ml capacity)
- Dirty Water Tank (800ml capacity)
- Flexible Hose (160cm)
- Large Brush Attachment (18cm)
- Joint Brush Attachment
- Waschmittelflasche
- Messbecher
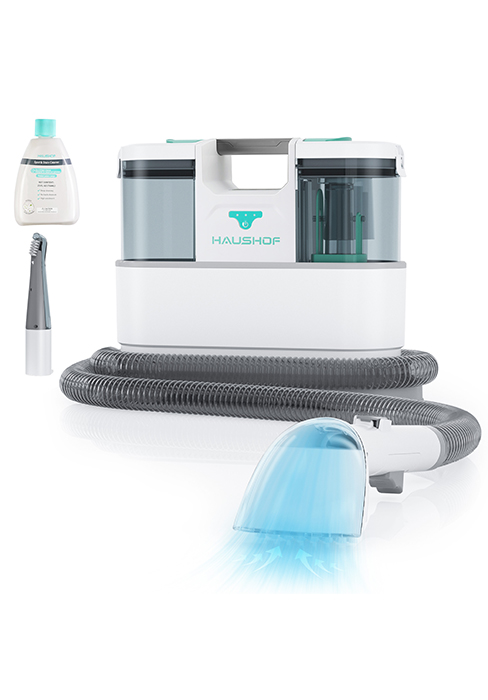
Figure 3.1: HAUSHOF StainZapper Pro Components

Figure 3.2: Dual Tank System for Clean and Dirty Water
Technische Daten
| Besonderheit | Spezifikation |
|---|---|
| Modellname | StainZapper Pro |
| Leistung | 450 W |
| Saugleistung | 11.5 kPa |
| Fassungsvermögen des Frischwassertanks | 1.5 Liter (1500 ml) |
| Fassungsvermögen des Schmutzwassertanks | 0.8 Liter (800 ml) |
| Technische Daten | 19.6 x 38.5 x 30 cm |
| Artikelgewicht | 3.85 kg |
| Schlauchlänge | 160 cm |
| Länge des Netzkabels | 300 cm |
| Geräuschpegel | 85 Dezibel |

Figure 3.3: Lightweight and Compact Design for Easy Storage
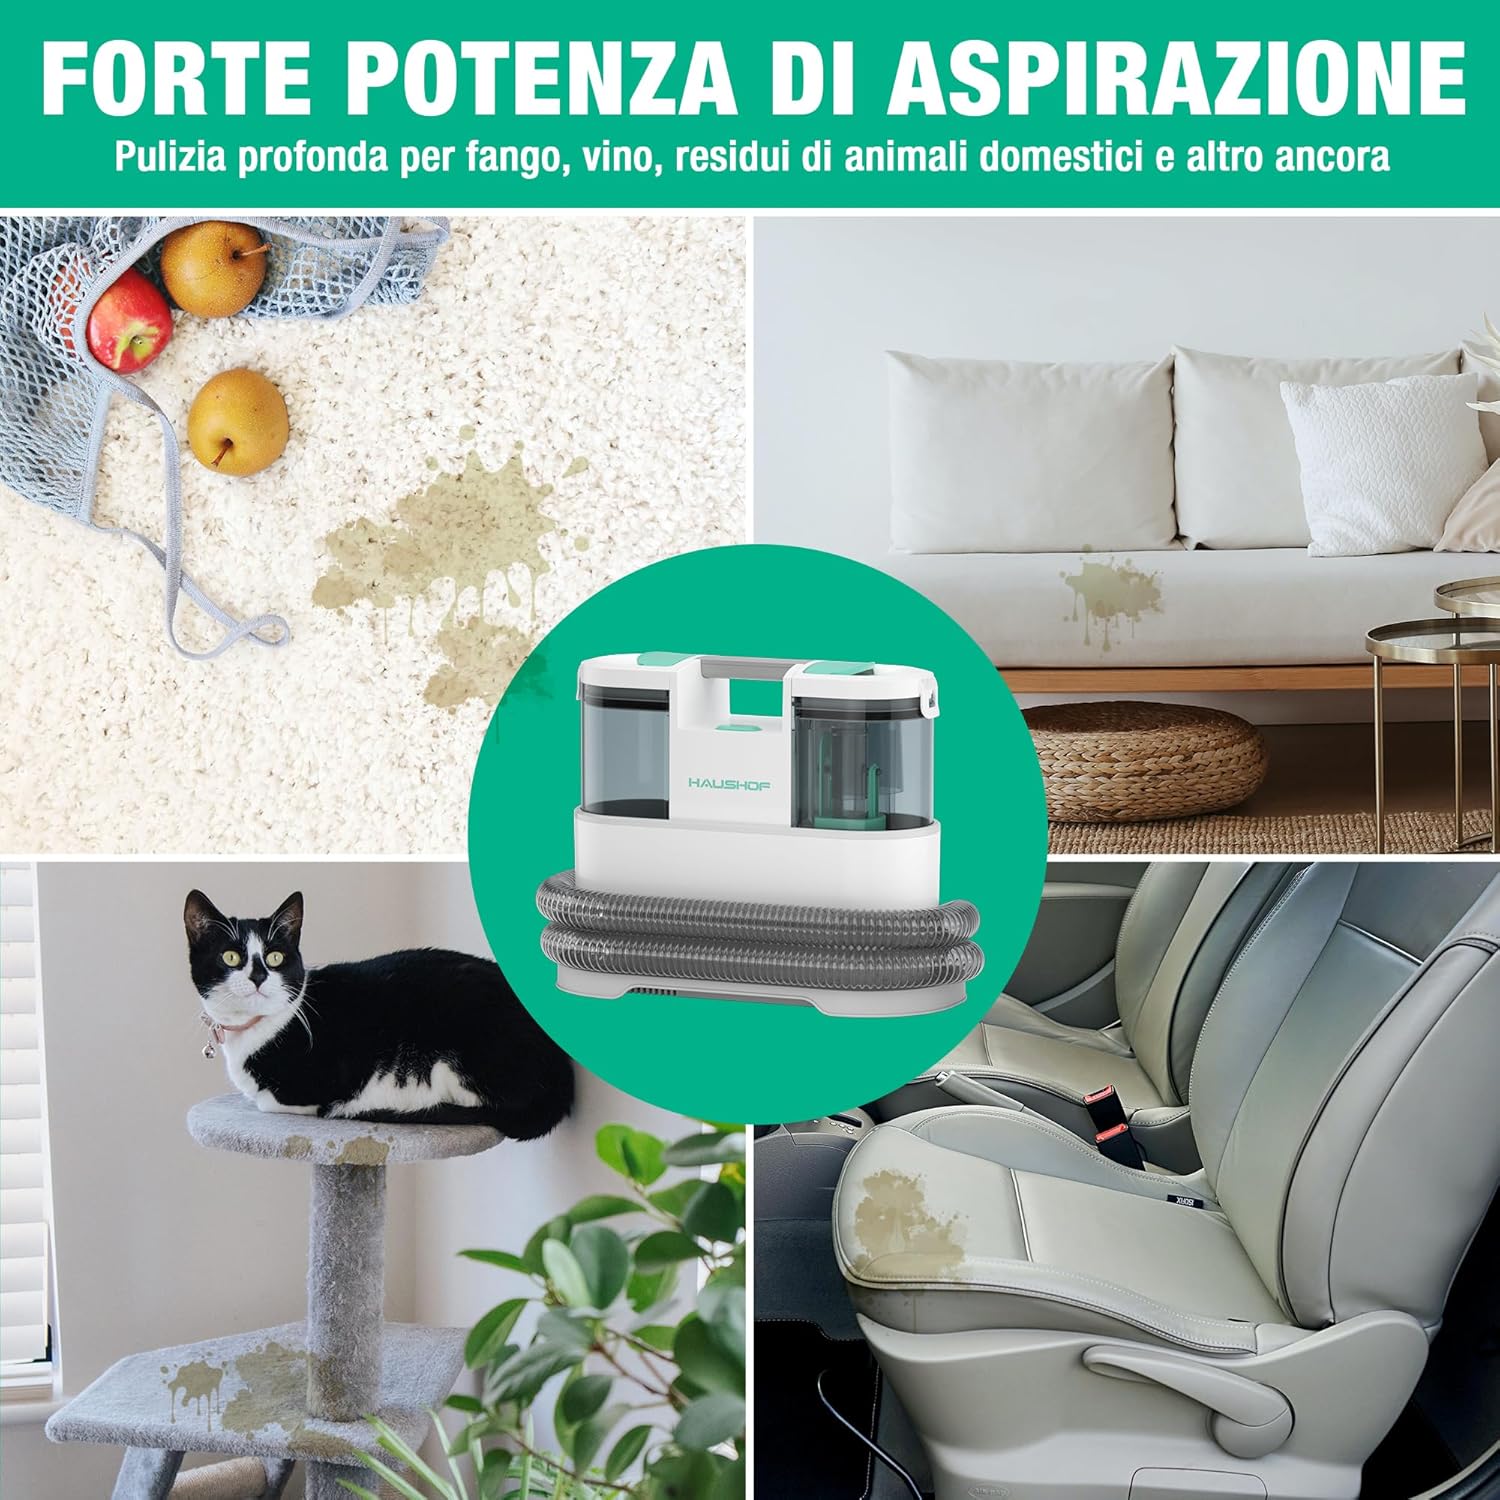
Figure 3.4: Hose and Power Cord Length for Extended Reach
4. Einrichtung
- Gerät auspacken: Entnehmen Sie vorsichtig alle Komponenten aus der Verpackung.
- Panzer zusammenbauen: Ensure the clean water tank and dirty water tank are correctly seated in the main unit. Press down firmly until you hear a click, indicating they are securely installed.
- Frischwassertank füllen: Remove the clean water tank. Fill it with clean water up to the MAX line. Add a small amount of low-foaming cleaning solution using the provided measuring cup. Do not overfill.
- Attach Cleaning Nozzle: Connect the desired cleaning nozzle (large brush or joint brush) to the end of the flexible hose.
- Strom anschließen: Stecken Sie das Netzkabel in eine geeignete Steckdose.
Video 4.1: Demonstrates the setup process, including filling the clean water tank and attaching components.
5. Bedienungsanleitung
The StainZapper Pro utilizes a three-step cleaning process: spray, brush, and vacuum.

Figure 5.1: All-in-One Cleaning Function: Spray, Brush, Vacuum
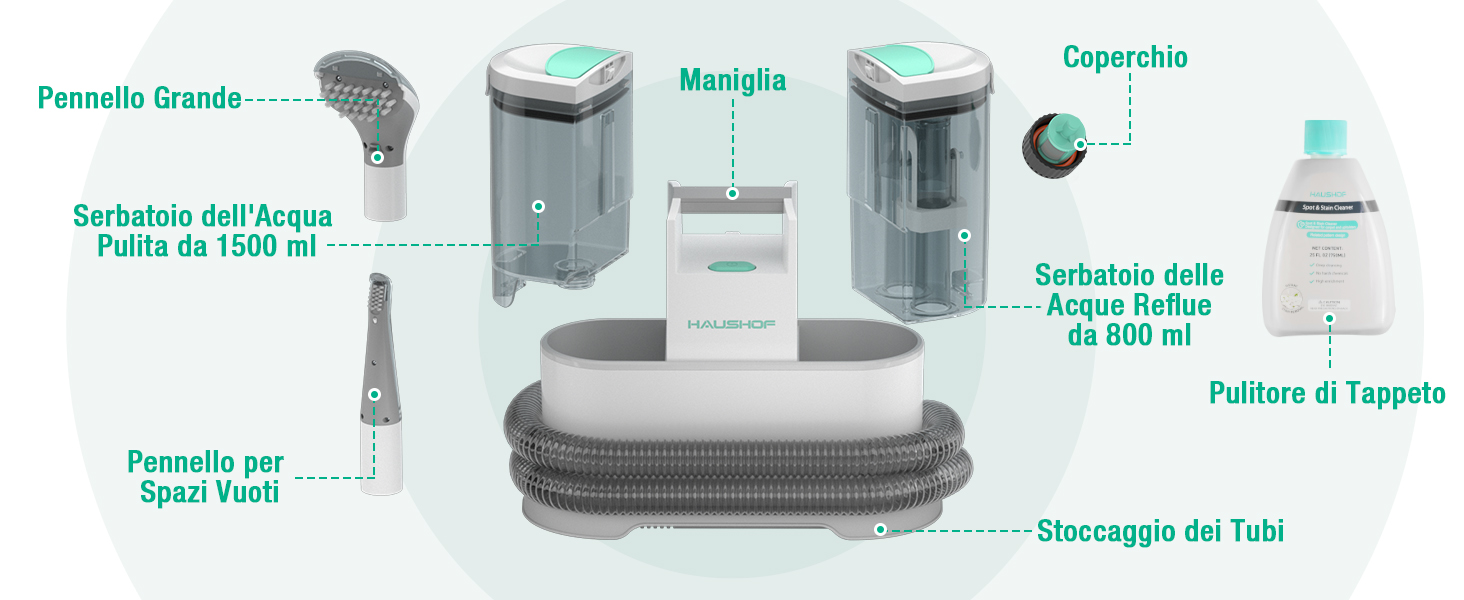
Figure 5.2: Three-Step Cleaning Process
- Einschalten: Drücken Sie den Netzschalter, um das Gerät einzuschalten.
- Spray: Hold the cleaning nozzle over the stained area. Press the spray trigger to release the cleaning solution onto the stain.
- Bürste: Gently scrub the stained area with the brush attachment to loosen dirt and stains.
- Vakuum: Release the spray trigger and slowly move the nozzle over the treated area to vacuum up the dirty solution. Repeat steps 2-4 as needed until the stain is removed.
- Intelligent Stop Feature: The appliance is equipped with an intelligent stop feature. When the dirty water in the wastewater tank reaches approximately 800ml (above the maximum fill line), the suction will automatically stop to prevent overflow. The motor will continue to run. At this point, turn off the machine, empty the dirty water tank, and then resume cleaning.
Verschiedene Anhänge verwenden

Figure 5.3: Large Brush and Joint Brush Attachments
- Large Brush Attachment: Ideal for general deep cleaning of larger surfaces like carpets, rugs, and wide sofa areas.
- Joint Brush Attachment: Designed for cleaning narrow gaps, crevices, and hard-to-reach areas such as sofa seams, car seat edges, and corners.
Anwendung Examples

Figure 5.4: Cleaning a Carpet Stain
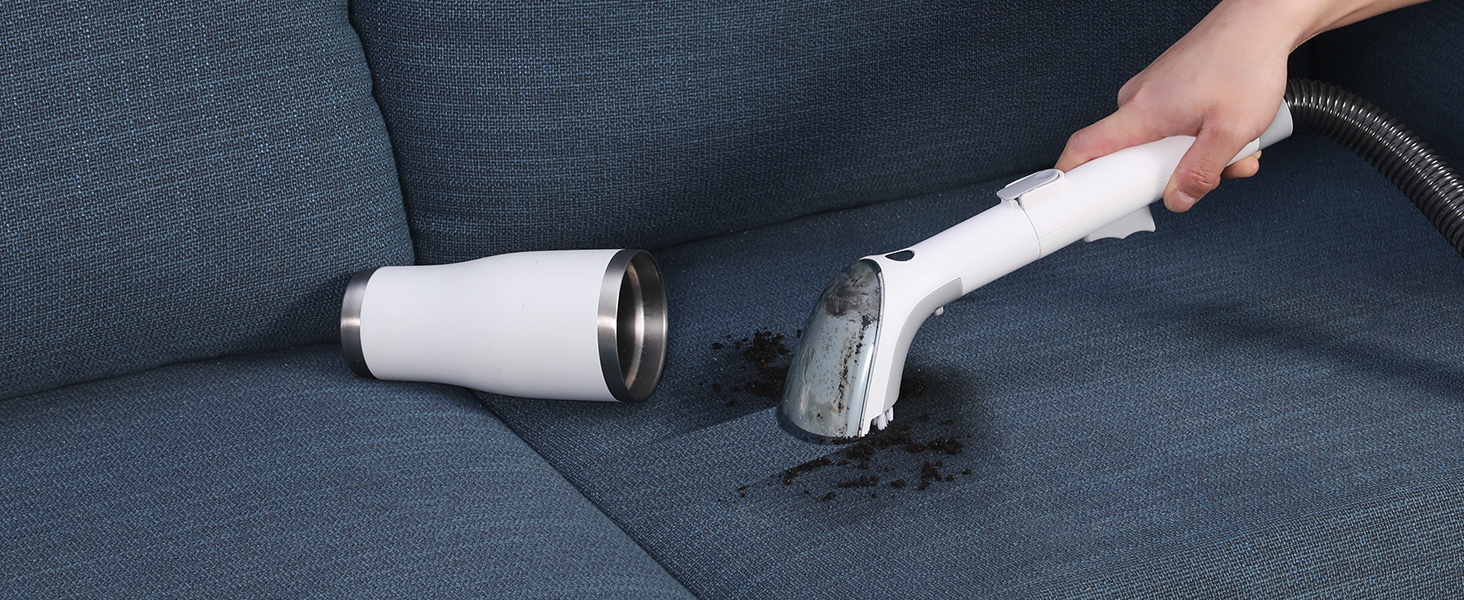
Figure 5.5: Cleaning a Sofa
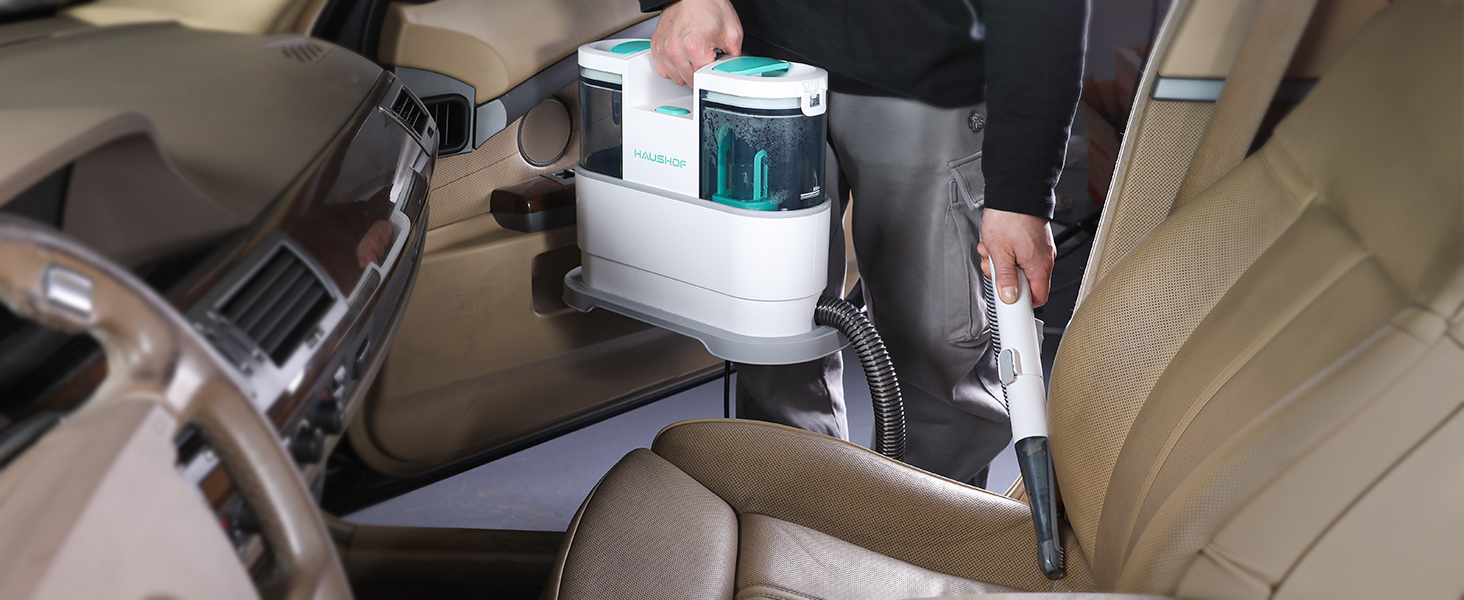
Figure 5.6: Cleaning Car Seats
6. Wartung
- Leeren Schmutzwassertank: After each use, or when the intelligent stop feature activates, remove the dirty water tank and empty its contents into a drain. Rinse the tank thoroughly with clean water.
- Düse und Schlauch reinigen: Disconnect the cleaning nozzle and rinse it under running water. Flush the hose with clean water to prevent blockages.
- Hauptgerät reinigen: Wischen Sie die Außenseite des Hauptgeräts mit einem Tuch ab.amp Tuch. Keine Scheuermittel verwenden.
- Lagerung: Wrap the hose around the designated storage area on the main unit. Store the appliance and its attachments in a cool, dry place, away from direct sunlight and out of reach of children. The compact design allows for easy storage in cabinets.
Video 6.1: Demonstrates emptying the dirty water tank and cleaning the nozzle.
7. Fehlerbehebung
If you encounter issues with your HAUSHOF StainZapper Pro, please refer to the following common problems and solutions:
No Water Spraying
- Check Clean Water Tank: Ensure the clean water tank is correctly installed and contains sufficient water and detergent. Press the tank firmly to ensure it clicks into place.
- Auf Verstopfungen prüfen: Inspect the spray nozzle for any blockages. Clean if necessary.
Wasserleck
Water leakage can occur due to several reasons:

Figure 7.1: Troubleshooting Water Leakage
- Loose Tank: Ensure the clean and dirty water tanks are securely fastened and not loose.
- Missing/Damaged Sealing Ring: Check if the sealing ring on the dirty water tank's lid is present and undamaged. A missing or damaged ring can cause leaks.
- Clogged with Stains: If the dirty water tank's valve or components are clogged with debris or dried stains, it can prevent proper sealing. Clean these parts thoroughly.
- Blocked Valve Cable: Ensure the valve cable (if applicable) is not blocked or obstructed, allowing the valve to close properly.
Sollte das Problem nach Überprüfung dieser Punkte weiterhin bestehen, wenden Sie sich bitte an den Kundendienst.
8. Garantie und Support
HAUSHOF products are manufactured to high-quality standards. For warranty information, technical support, or service inquiries, please refer to the warranty card included with your purchase or visit the official HAUSHOF webBitte bewahren Sie Ihren Kaufbeleg für eventuelle Garantieansprüche auf.