1. Einleitung
The Xigmatek Aqua V AIR is a high-performance mid-tower PC case designed for gaming enthusiasts. It features a spacious interior, optimized airflow, and tempered glass panels on the front and side to showcase your components. Equipped with seven 120mm ARGB fans, it supports graphics cards up to 410mm in length and is compatible with motherboards featuring hidden connectors for a clean build.
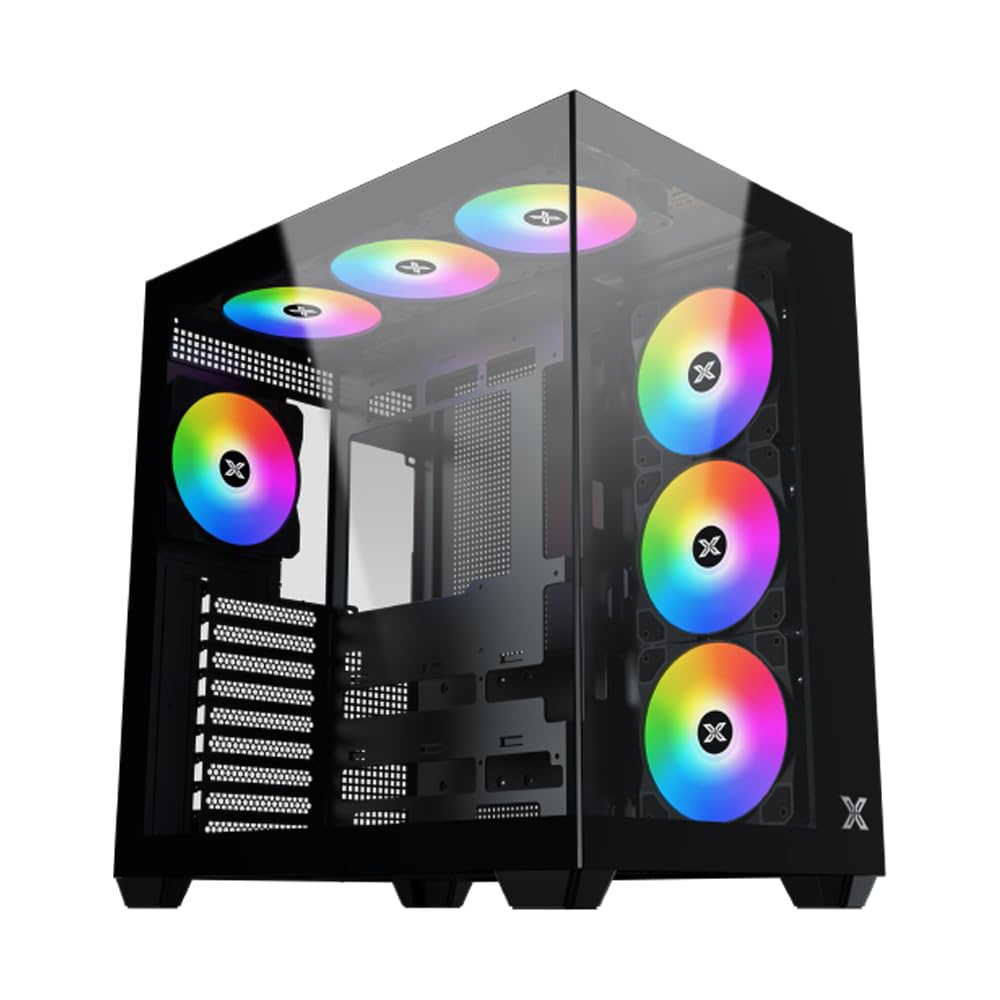
Abbildung 1: Insgesamt view of the Xigmatek Aqua V AIR PC Case.
2. Hauptmerkmale
- Material: Constructed from high-quality steel for durability and reliability.
- Abmessungen: 427 x 285 x 455 mm (L x W x H), offering a spacious interior.
- Kühlsystem: Supports up to three 120mm or two 140mm fans for optimal cooling performance.
- Kühlerhalterung: Compatible with 240/280/360mm radiators on the top, bottom, and rear for versatile cooling options.
- E/A-Panel: Features 2x USB 3.0 ports, 1x USB-C port, and HD audio for convenient connectivity.
- Motherboard-Kompatibilität: Supports ATX, Micro ATX, and Mini ITX motherboards, including those with hidden connectors.
- GPU-Länge: Geeignet für Grafikkarten mit einer Länge von bis zu 410 mm.
- Speicherunterstützung: Bietet ample space for multiple storage drives.
3. Spezifikationen
| Besonderheit | Detail |
|---|---|
| Marke | Xigmatek |
| Modellnummer | EN 45820-Norm |
| Serie | Aqua V AIR BLACK |
| Farbe | Schwarz |
| Abmessungen (L x B x H) | 42.7 x 28.5 x 45.5 cm |
| Produktgewicht | 8.8 Kilogramm |
| Material | Legierter Stahl, gehärtetes Glas |
| Motherboard-Kompatibilität | ATX, Micro-ATX, Mini-ITX |
| Gehäusetyp | Mittelturm |
| Empfohlene Verwendung | Gaming, High-Performance Computing |
| USB 3.0-Anschlüsse | 2 |
| USB-C-Anschlüsse | 1 |
| Kühlmethode | Water (Liquid Cooling Support) |
| Lüftergröße | 120 Millimeters (Pre-installed ARGB fans) |
| Netzteil-Montagetyp | Untere Montage |
4. Einrichtung und Installation
This section provides general guidance for installing components into your Xigmatek Aqua V AIR PC case. Always refer to the specific manuals for your motherboard, power supply, and other components for detailed instructions.
4.1 Vorbereitung des Falls
- Packen Sie das PC-Gehäuse aus und entfernen Sie sämtliches Verpackungsmaterial.
- Carefully remove the tempered glass side panel(s) and front panel (if applicable) to access the interior. Store them safely to prevent damage.
- Identify the accessory box, which typically contains screws, cable ties, and other small parts.
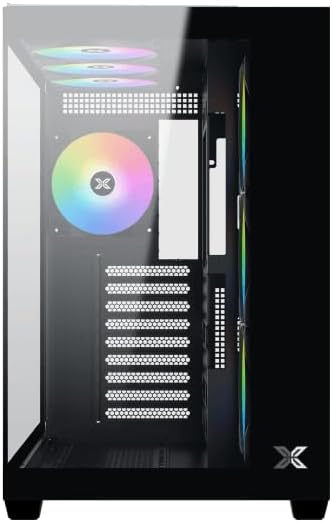
Abbildung 2: Innenraum view bei abgenommener Seitenwand.
4.2 Motherboard-Installation
- Installieren Sie die I/O-Blende (falls diese nicht bereits auf Ihrem Motherboard vorinstalliert ist) in die hintere Öffnung des Gehäuses.
- Align your ATX, Micro ATX, or Mini ITX motherboard with the standoffs inside the case. Ensure all standoffs match the screw holes on your motherboard.
- Secure the motherboard with the appropriate screws provided in the accessory kit.

Figure 3: Motherboard tray and cable management area.
4.3 Installation des Netzteils (PSU)
- Suchen Sie den Montagebereich für das Netzteil unten hinten am Gehäuse.
- Slide your PSU into position, ensuring the fan faces downwards (if the case has a bottom vent) or upwards.
- Befestigen Sie das Netzteil mit Schrauben von der Rückseite des Gehäuses.
4.4 Installation des Speicherlaufwerks
The case supports various storage configurations. Refer to the case diagram for specific drive bay locations.
- Install 2.5" SSDs or 3.5" HDDs into the designated drive bays or mounting brackets.
- Befestigen Sie die Laufwerke mit Schrauben.
4.5 Installation der Grafikkarte (GPU)
- Entfernen Sie die erforderlichen PCIe-Steckplatzabdeckungen von der Rückseite des Gehäuses.
- Stecken Sie Ihre Grafikkarte in den entsprechenden PCIe-Steckplatz auf dem Motherboard.
- Befestigen Sie die Grafikkarte mit Schrauben.
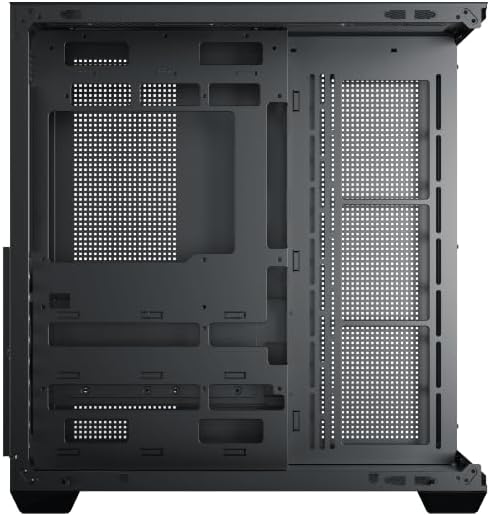
Figure 4: Components installed inside the case.
4.6 Kabelmanagement
Nutzen Sie die Kabeldurchführungen und Befestigungspunkte hinter dem Motherboard-Tray, um die Kabel so zu verlegen, dass die Luftzirkulation verbessert und die Optik optimiert wird.
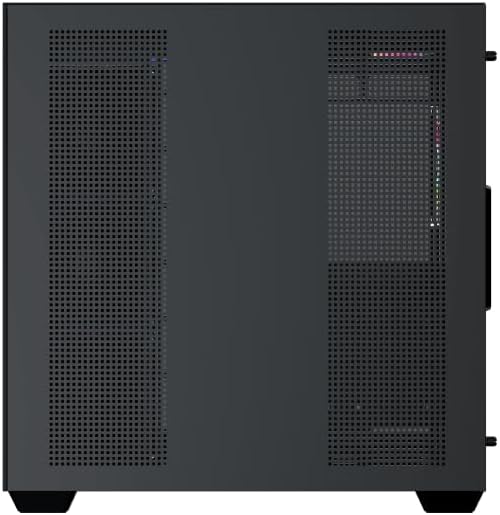
Figure 5: Top panel and I/O ports.
5. Bedienungsanleitung
5.1 Einschalten
Once all components are securely installed and connected, close the side panels. Connect your power cable to the PSU and press the power button on the case's front I/O panel.
5.2 ARGB-Lüftersteuerung
The Xigmatek Aqua V AIR comes with pre-installed ARGB fans. These fans can typically be controlled via:
- Motherboard-Software: If your motherboard supports ARGB synchronization, connect the fan's ARGB cables to the motherboard's 3-pin 5V ARGB header and use the motherboard's software (e.g., ASUS Aura Sync, MSI Mystic Light, Gigabyte RGB Fusion) to customize lighting effects.
- Integrierter Controller: If your case includes a built-in ARGB controller, use the dedicated button on the I/O panel to cycle through various lighting modes and colors.
6. Wartung
Regelmäßige Wartung trägt dazu bei, die optimale Leistung und Langlebigkeit Ihrer PC-Komponenten zu gewährleisten.
6.1 Reinigung des Staubfilters
The Xigmatek Aqua V AIR case is equipped with dust filters to prevent dust buildup. Locate and gently remove the dust filters (typically on the top, front, and bottom). Clean them with compressed air or by rinsing with water. Ensure they are completely dry before reattaching.

Figure 6: Bottom dust filter.
6.2 Allgemeine Reinigung
Use a soft, dry cloth to wipe down the exterior of the case. For tempered glass panels, use a glass cleaner and a microfiber cloth to avoid streaks. Avoid using abrasive cleaners or solvents.
7. Fehlerbehebung
Sollten Probleme auftreten, beachten Sie die folgenden gängigen Schritte zur Fehlerbehebung:
- Kein Strom:
- Ensure the PSU is switched on and properly connected to the wall outlet and motherboard.
- Check all power connections to components (motherboard, CPU, GPU, drives).
- Prüfen Sie, ob das Netzkabel an der Vorderseite korrekt mit dem Motherboard verbunden ist.
- Lüfter drehen sich nicht / RGB-Beleuchtung funktioniert nicht:
- Check if fan power cables are securely connected to the motherboard or fan controller.
- Ensure ARGB cables are connected to the correct 3-pin 5V ARGB header (not 4-pin 12V RGB).
- If using a controller, ensure it has power and is functioning correctly.
- Überhitzung:
- Ensure all fans are spinning and oriented correctly for optimal airflow (intake/exhaust).
- Reinigen Sie Staubfilter und interne Bauteile.
- Prüfen Sie, ob der CPU-Kühler und der GPU-Kühler ordnungsgemäß eingesetzt sind und funktionieren.
8. Garantie und Support
The Xigmatek Aqua V AIR PC Case comes with a 2 Jahr Herstellergarantie. For technical support, warranty claims, or further assistance, please contact Xigmatek customer service or visit their official webWebsite.
Bitte bewahren Sie Ihren Kaufbeleg für Garantiezwecke auf.