
1. Einleitung
This manual provides detailed instructions for the Coolpie CR510 3-in-1 SSD Cloner and M.2 Reader. This versatile device supports M.2 NVMe, M.2 SATA, mSATA, and 2.5''/3.5'' HDD/SSD drives, offering both offline cloning and high-speed data transfer capabilities via USB 3.2 Gen 2x2. Please read this manual carefully to ensure proper use and optimal performance.
2. Produktüberschreitungview
The Coolpie CR510 is designed for efficient data management, including cloning, reading, and writing various storage devices. It features a compact design with multiple slots and indicators for ease of use.

Image: Coolpie CR510 3-in-1 SSD Cloner with M.2 NVMe drives in source and target slots, showing cloning progress indicators.

Image: Labeled diagram of the Coolpie CR510 3-in-1 SSD Cloner showing all ports, buttons, and slots including Power button, mSATA target slot, Target status light, M.2 SATA 2/NVMe 2 target slot, Clone button, Progress lights, M.2 SATA 1/NVMe 1 source slot, Source status light, mSATA 1 source slot, SATA 1 source interface, DC IN Power light, USB-C interface.
Video: Ein überview of the Coolpie NVME/SATA 3-in-1 SSD Cloner, highlighting its features and design.
3. Lieferumfang
- 1*4-Bay NVME SSD Docking Station

Image: Contents of the Coolpie CR510 package including the docking station, power adapter, and cables.
4. Einrichtung
Follow these steps to set up your Coolpie CR510:
- Strom anschließen: Plug the provided power adapter into the DC IN port on the device and then into a power outlet.
- Laufwerke einlegen: Carefully insert your M.2 NVMe, M.2 SATA, mSATA, or 2.5''/3.5'' HDD/SSD drives into the appropriate slots. Ensure they are securely seated.
- Einschalten: Flip the power switch to the 'ON' position. The power indicator light will illuminate.
Video: A demonstration of how to set up and use the Coolpie SSD Cloner, including inserting drives and initiating cloning.
Video: Visual guide on installing M.2 PCIe NVMe, M.2 SATA, and 2.5/3.5 inch SSD/HDD drives into the cloner.
5. Bedienungsanleitung
5.1. Offline-Klonen
The Coolpie CR510 allows for one-click offline cloning without needing a computer. Wichtig: Ensure the target drive's capacity is equal to or greater than the source drive's capacity. Cloning is only possible between drives of the same protocol (e.g., NVMe to NVMe, SATA to SATA). Mixing NVMe and SATA protocols for cloning is not supported.
- Laufwerke einlegen: Insert the source drive into the 'Source' slot and the target drive into the 'Target' slot. Ensure both drives use the same protocol.
- Strom anschließen: Connect the power adapter and turn on the power switch.
- Klonen initiieren: Press and hold the 'Clone' button for 5 seconds. The progress indicator lights (25%, 50%, 75%, 100%) will begin to flash, indicating the cloning process has started.
- Fortschritt überwachen: The progress lights will illuminate sequentially as the cloning progresses. All four lights will remain solid when cloning is complete.

Image: Coolpie CR510 showing one-key offline cloning with progress indicators.

Image: Diagram illustrating that only drives of the same protocol (NVMe to NVMe, SATA to SATA) can be cloned.
Video: A short demonstration of the M.2 NVMe / SATA SSD Duplicator Cloner in action, showing the cloning process.
Video: A brief clip demonstrating the M.2 NVMe & SATA Hard Drive Docking Station's cloning function.
5.2. Using as a Docking Station (Read/Write)
To use the device as a docking station for reading and writing data:
- Mit Computer verbinden: Connect the device to your computer using a USB-C to USB-C cable (or appropriate adapter).
- Laufwerke einlegen: Insert your desired M.2 NVMe, M.2 SATA, mSATA, or 2.5''/3.5'' HDD/SSD drives into the appropriate slots.
- Zugriff auf Laufwerke: Your computer should recognize the drives as external storage devices, allowing you to read and write data at speeds up to 20Gbps (USB 3.2 Gen 2x2).

Image: Coolpie CR510 connected to a computer, demonstrating USB 3.2 Gen 2x2 speeds.
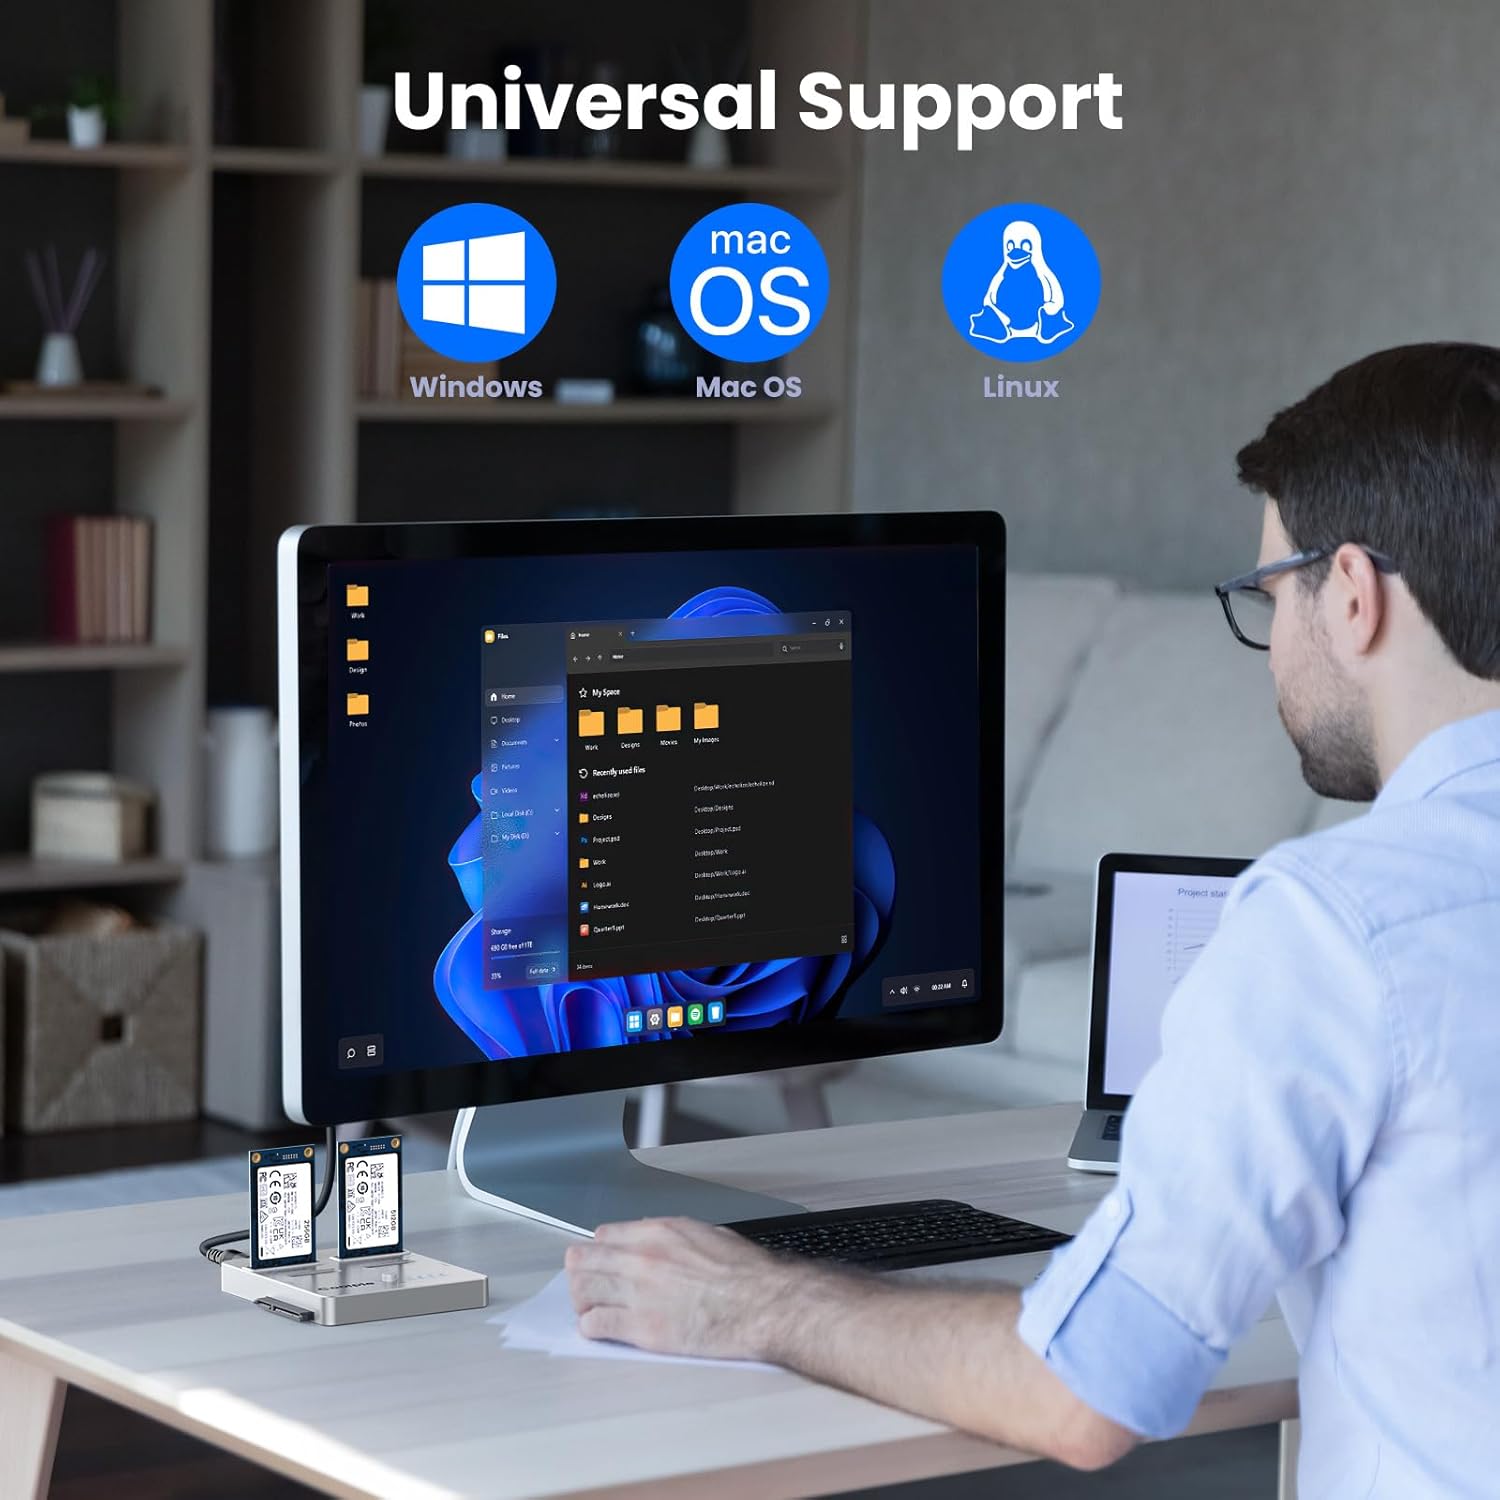
Image: Coolpie CR510 showing universal support for Windows, macOS, and Linux operating systems.
6. Kompatibilität
The Coolpie CR510 offers wide compatibility with various storage devices and operating systems:
- Unterstützte Protokolle: M.2 NVMe, M.2 SATA, mSATA, and SATA.
- Unterstützte Laufwerkstypen: M.2 SSDs (sizes 2230 to 22110), 2.5''/3.5'' HDDs and SSDs.
- Betriebssysteme: Kompatibel mit Windows, macOS und Linux.

Image: Diagram illustrating multi-size compatibility for NVMe and SATA M.2 SSDs, mSATA, and 2.5''/3.5'' HDD/SSD.
7. Wartung
To ensure the longevity and optimal performance of your Coolpie CR510, follow these maintenance guidelines:
- Halten Sie das Gerät sauber und staubfrei. Verwenden Sie zum Reinigen ein weiches, trockenes Tuch.
- Setzen Sie das Gerät keinen extremen Temperaturen oder Feuchtigkeit aus.
- Handle drives carefully when inserting or removing them to prevent damage to the connectors.
- Ensure proper ventilation around the device during operation, especially during long cloning tasks.
8. Fehlerbehebung
If you encounter issues with your Coolpie CR510, consider the following:
- Klonfehler: Ensure the target drive's capacity is equal to or greater than the source drive's capacity. Cloning requires the source and target drives to use the same protocol (e.g., NVMe to NVMe, SATA to SATA). Cross-protocol cloning (e.g., NVMe to SATA) is not supported for offline cloning.
- Laufwerk nicht erkannt: Verify that the drives are correctly inserted into their respective slots and that the device is powered on and properly connected to your computer (if using as a docking station). Check drive health using your operating system's disk management tools.
- Langsame Übertragungsgeschwindigkeiten: Ensure your computer's USB port supports USB 3.2 Gen 2x2 for optimal 20Gbps speeds. Older USB ports will result in lower transfer rates.
- Überhitzung: The open design of the device helps with heat dissipation. If drives feel excessively hot, ensure adequate airflow around the unit.
9. Spezifikationen
| Besonderheit | Detail |
|---|---|
| Modellnummer | CR510 |
| Verpackungsabmessungen | 5.04 x 4.45 x 3.31 Zoll |
| Artikelgewicht | 13.1 Unzen (0.37 Kilogramm) |
| Steckertyp | USB Typ C |
| Kompatible Geräte | 2.5'' HDD/SSD, 3.5'' HDD/SSD, M.2 NVMe, M.2 SATA, M.2 SSD (2230 to 22110), SATA, mSATA |
| Hersteller | Coolpie |
| Farbe | Blau |
10. Garantie und Support
Coolpie provides expert after-sales support. If you require technical assistance or have any questions regarding your CR510 SSD Cloner, please contact our professional customer support team for efficient and smooth cloning experiences.