
Airzeen G20 Pro
Airzeen G20 Pro Robot Vacuum Cleaner Accessory Set Instruction Manual
Modell: G20 Pro
Brand: Airzeen
Einführung
This instruction manual provides essential information for the proper installation, maintenance, and replacement of the Airzeen G20 Pro Robot Vacuum Cleaner Accessory Set. Regular replacement and cleaning of these accessories ensure optimal performance and extend the lifespan of your Airzeen G20 Pro robot vacuum.
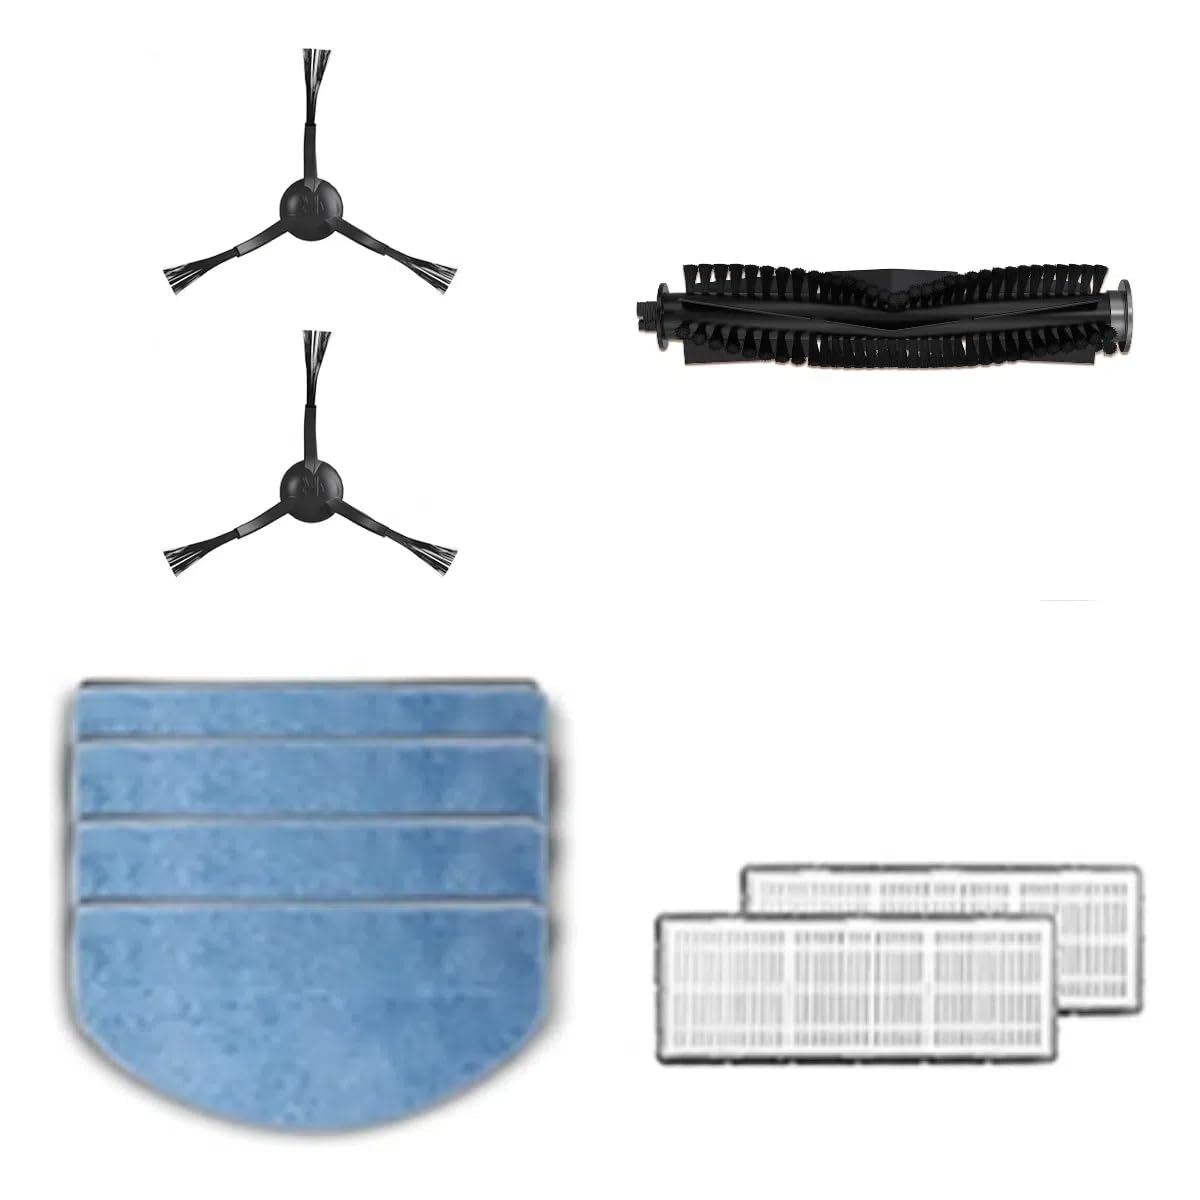
Image: The complete Airzeen G20 Pro Robot Vacuum Cleaner Accessory Set, including roller brush, filters, side brushes, and mop pads.
Im Leistungsumfang enthalten
Your Airzeen G20 Pro Robot Vacuum Cleaner Accessory Set includes the following components:
- 1 x Roller Brush
- 2 x Filter
- 2 x Side Brush Pairs (4 individual brushes)
- 4 x Washable Mop Pads
Setup und Installation
Before installing any accessories, ensure your Airzeen G20 Pro robot vacuum is powered off and disconnected from its charging base. Refer to your main robot vacuum manual for initial device setup.
Einbau der Walzenbürste
- Drehen Sie den Roboterstaubsauger um, um auf die Unterseite zuzugreifen.
- Locate the roller brush cover and press the release tabs to open it.
- Remove the old roller brush.
- Align the ends of the new roller brush with the slots and gently press it into place.
- Close the roller brush cover until it clicks securely.
Installieren der Seitenbürsten
- Drehen Sie den Saugroboter um.
- Locate the side brush posts.
- Press the new side brushes onto the posts until they click into place. Ensure they are securely fastened.

Image: A single side brush, designed for easy attachment to the robot vacuum.
Installieren der Filter
- Öffnen Sie den Staubbehälterdeckel Ihres Saugroboters.
- Remove the old filter assembly.
- Insert the new filter into the designated slot within the dustbin. Ensure it fits snugly.
- Close the dustbin cover.

Image: A replacement filter for the robot vacuum, essential for maintaining air quality.
Attaching the Washable Mop Pads
- Ensure the mop pad is clean and slightly damp for optimal mopping performance.
- Align the mop pad with the mop bracket on the underside of the robot vacuum.
- Secure the mop pad to the bracket using the Velcro strips.
- Attach the mop bracket with the pad to the robot vacuum until it clicks into place.

Image: A washable mop pad, designed to attach to the robot vacuum's mop bracket.
Video: Instructions on how to remove the mop holder, which is similar for attachment. Note: This video references the Q10 Pro model, but the process is generally applicable to Airzeen robot vacuums.
Bedienungsanleitung
Once the accessories are correctly installed, your Airzeen G20 Pro robot vacuum is ready for enhanced cleaning. For detailed operating instructions of the robot vacuum itself, including scheduling, cleaning modes, and app control, please refer to the main Airzeen G20 Pro Robot Vacuum Cleaner user manual.
The installed accessories will automatically function with the robot's cleaning cycles:
- Der Bürstenwalze Und Seitenbürsten work together to sweep and gather debris into the vacuum's suction inlet.
- Der Filter capture dust and allergens, ensuring cleaner air output.
- Der washable mop pads, when attached to the water tank, will dampen the floor for mopping during designated cleaning tasks.
Wartung
Regular maintenance of your accessory set is crucial for maintaining the cleaning efficiency and longevity of your Airzeen G20 Pro robot vacuum.
Reinigen der Bürstenwalze
- Remove the roller brush as described in the installation section.
- Use the cleaning tool (often included with the robot vacuum) to cut and remove any hair or debris tangled around the brush.
- Wipe the brush with a dry cloth.
- Empfohlener Ersatz: Every 6-12 months, or when visibly worn.
Seitenbürsten reinigen
- Ziehen Sie die Seitenbürsten vorsichtig von ihren Halterungen ab.
- Entfernen Sie verhedderte Haare oder sonstige Verunreinigungen.
- If bent or damaged, soak in warm water for a few minutes to reshape.
- Empfohlener Ersatz: Every 3-6 months, or when visibly worn/damaged.
Reinigen der Filter
- Nehmen Sie den Filter aus dem Abfalleimer.
- Klopfen Sie den Filter leicht über einem Mülleimer ab, um Staub und Schmutz zu entfernen.
- Do nicht wash the HEPA filter with water, as this can damage it.
- Empfohlener Ersatz: Every 2-3 months, or when suction power noticeably decreases.
Cleaning the Washable Mop Pads
- Remove the mop pad from the mop bracket.
- Hand wash or machine wash the mop pads with mild detergent.
- Air dry completely before reattaching to prevent mildew.
- Empfohlener Ersatz: Every 3-6 months, or when cleaning effectiveness diminishes.
Fehlerbehebung
If you encounter issues related to your accessory set, consider the following:
- Reduzierte Saugleistung: Check if the filter is clogged and needs cleaning or replacement. Ensure the roller brush is free of debris.
- Mangelhafte Wischleistung: Ensure the mop pad is clean and properly dampened. Verify the water tank is filled (if applicable to your robot model).
- Brushes Not Spinning: Remove and clean the roller and side brushes. Check for any hair or foreign objects obstructing their movement.
- Ungewöhnliche Geräusche: Inspect all brushes and the filter for any foreign objects or damage. Replace any damaged parts.
Technische Daten
| Komponente | Menge | Material |
|---|---|---|
| Bürstenwalze | 1 | Kunststoff, Borsten |
| Filter | 2 | Sponge (HEPA-style) |
| Seitenbürste | 2 Pairs (4 brushes) | Plastic, Nylon Bristles |
| Waschbares Wischpad | 4 | Mikrofaser |
Note: These specifications are for the accessory set. For robot vacuum specifications, please refer to the main product manual.
Garantie und Support
For warranty information, technical support, or to purchase additional replacement parts, please visit the official Airzeen website or contact Airzeen customer service. Keep your purchase receipt for warranty claims.
Airzeen Official WebWebsite: Airzeen Store on Amazon
Ask a question about this manual
Ask about setup, troubleshooting, compatibility, parts, safety, or missing instructions. Manuals+ will review the question and use this page’s manual context to help answer it.