
Wellspeed DC1154-8B/72
Wellspeed 72 Inch Ceiling Fan with Lights and Remote
Model: DC1154-8B/72 - Instruction Manual
Wichtige Sicherheitsinformationen
Read all instructions carefully before beginning installation. Failure to follow these instructions could result in electric shock, fire, or serious personal injury. Ensure all wiring is in accordance with national and local electrical codes.
- Vor der Installation oder Wartung die Stromzufuhr am Leitungsschutzschalter unterbrechen.
- Alle elektrischen Anschlüsse müssen von einem qualifizierten Elektriker vorgenommen werden.
- Die Montagekonstruktion muss in der Lage sein, das Gewicht des Ventilators (ca. 27.7 Pfund) zu tragen.
- Betreiben Sie den Ventilator nicht, wenn die Flügel beschädigt sind.
- Ensure proper clearance between fan blades and any obstacles.
Packungsinhalt
Verify that all components are present before beginning assembly. If any parts are missing or damaged, contact Wellspped customer service.

Bild: Überview of all included components, including fan motor, blades, downrods, remote control, and hardware.
- Montage des Lüftermotors
- Lüfterflügel (8x)
- Blade Brackets (8x)
- Verlängerungsstangen (6-Zoll-, 12-Zoll- und 24-Zoll-Optionen)
- Baldachin und Montagehalterung
- LED-Licht-Kit
- Fernbedienung mit Wandhalterung
- Hardware-Set (Schrauben, Unterlegscheiben, Drahtverbinder)
- Bedienungsanleitung
Setup und Installation
Follow these steps for proper assembly and installation of your Wellspped ceiling fan. A detailed installation video is available for visual guidance.
1. Klingenmontage
- Attach each fan blade to a blade bracket using the provided screws and washers. Ensure screws are tightened securely.
- Attach the assembled blade and bracket to the fan motor housing. Repeat for all 8 blades.

Image: Assembly of fan blade to its mounting bracket.

Image: Securing a fan blade assembly to the motor unit.
2. Installation des LED-Lichtsets
- Connect the LED light panel wires to the corresponding wires from the fan motor.
- Secure the LED light panel to the bottom of the fan motor housing with screws.
- Attach the light diffuser cover by twisting it into place.
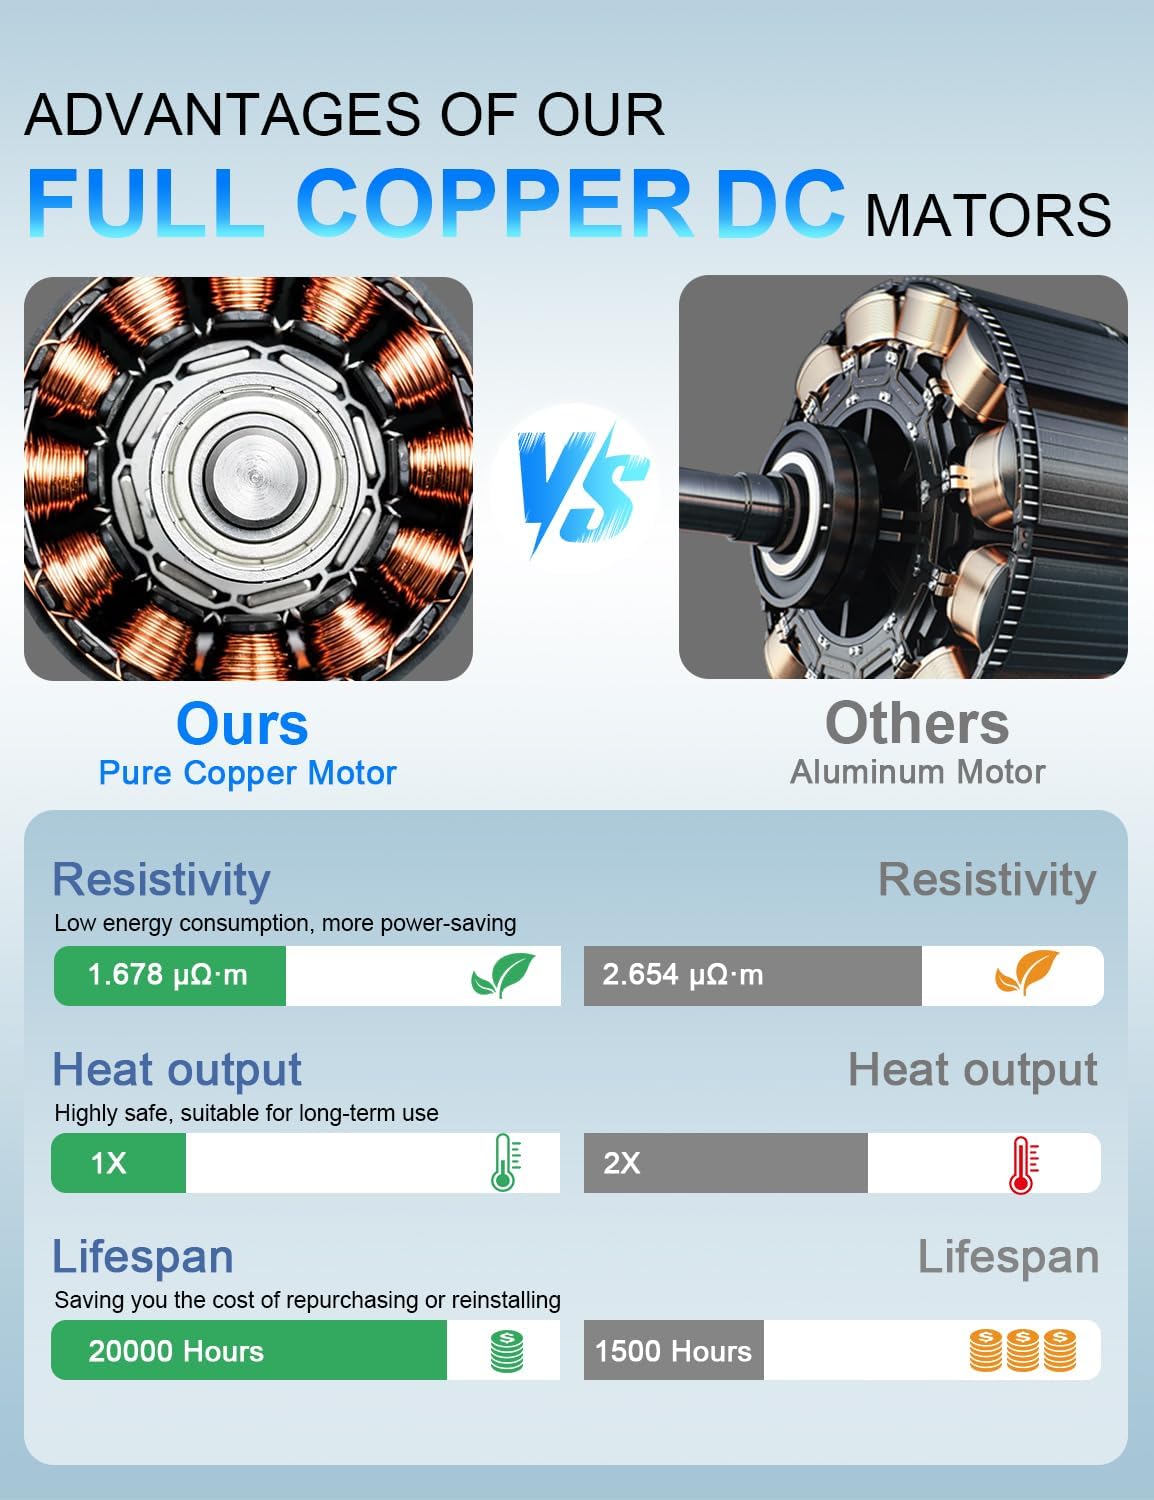
Image: Installation of the LED light panel and diffuser.
3. Downrod and Canopy Assembly
- Wählen Sie die passende Länge der Deckenstange (6, 12 oder 24 Zoll) entsprechend Ihrer Deckenhöhe.
- Thread the fan wires and safety cable through the chosen downrod.
- Secure the downrod to the fan motor assembly using the provided pin and screws.
- Schieben Sie das Verdeck über die Verlängerungsstange.

Image: Downrod options and ceiling mounting types.
4. Montage und Verkabelung
- Install the mounting bracket to your ceiling junction box. Ensure it is securely fastened to a structural beam.
- Hängen Sie die Lüftereinheit an die Montagehalterung.
- Connect the electrical wires (Live, Neutral, Ground) from the fan to your household wiring using wire nuts. Connect the safety cable to the mounting bracket.
- Tuck all wires neatly into the junction box and slide the canopy up to cover the wiring and mounting bracket. Secure the canopy with screws.

Image: Electrical wiring connections for the ceiling fan.
Video: Detailed installation guide for the Wellspped large ceiling fan. This video demonstrates the unboxing, blade assembly, light kit installation, downrod attachment, and final wiring and mounting steps.
Bedienungsanleitung
Your Wellspped ceiling fan is controlled by the included remote. Ensure the remote has 2 AAA batteries installed (included).
Fernbedienungsfunktionen:

Image: Remote control layout and function guide.
- Lüfter EIN/AUS: Drücken Sie die Einschalttaste, um den Ventilator ein- oder auszuschalten.
- Lüftergeschwindigkeit (1-6): Use buttons 1-6 to select desired fan speed. 1 is the lowest, 6 is the highest.
- Licht EIN/AUS: Press the light bulb button to turn the LED light on or off.
- Farbtemperatur (WW/NW/DW): Cycle through Warm White (3000K), Natural White (4000K), and Daylight White (6500K) settings.
- Helligkeit (+/-): Adjust the light brightness from 20% to 100%.
- Vorwärts, rückwärts: Change the direction of fan rotation for summer (downward airflow) or winter (upward airflow) modes.
- Timer (1H/3H/6H): Stellen Sie den Ventilator so ein, dass er sich nach 1, 3 oder 6 Stunden automatisch ausschaltet.
Luftstrommodi:

Image: Summer and Winter airflow modes explained.
- Sommermodus (Luftstrom nach unten): Blades rotate counter-clockwise, pushing cool air down. Ideal for cooling.
- Wintermodus (Luftstrom nach oben): Blades rotate clockwise, drawing cool air up and circulating warm air down the walls. Ideal for distributing heat.
Wartung
Regelmäßige Wartung gewährleistet optimale Leistung und Langlebigkeit Ihres Deckenventilators.
- Reinigung: Verwenden Sie ein weiches,amp Verwenden Sie ein Tuch, um die Lüfterflügel und das Motorgehäuse zu reinigen. Verwenden Sie keine Scheuermittel oder Lösungsmittel.
- Klingenspannung: Überprüfen Sie regelmäßig alle Schrauben der Klinge auf festen Sitz. Lose Schrauben können Geräusche und Wackeln verursachen.
- Lichtquelle: The integrated LED light source is designed for long life. If replacement is needed, contact Wellspped customer service for compatible parts.
Fehlerbehebung
| Problem | Mögliche Ursache | Lösung |
|---|---|---|
| Lüfter startet nicht | Kein Strom für den Ventilator; lose Verkabelung; Problem mit der Fernbedienung. | Check circuit breaker. Ensure all wire connections are secure. Replace remote batteries. |
| Lüfter wackelt | Lose Klingenschrauben; unausgewogene Klingen; lose Montagehalterung. | Tighten all blade screws. Ensure blades are installed correctly. Check mounting bracket for secure installation. |
| Licht funktioniert nicht | Loose wire connection; LED panel failure; remote control issue. | Check light kit wiring connections. Replace remote batteries. Contact customer service if LED panel is faulty. |
| Lauter Betrieb | Lose Schrauben; Motorproblem; Klingen stoßen auf ein Hindernis. | Check and tighten all screws. Ensure no obstructions are near the blades. If noise persists, contact customer service. |
Technische Daten
- Modellname: DC1154-8B/72
- Größe: 72 Zoll
- Motortyp: Gleichstrommotor aus reinem Kupfer
- Luftstromkapazität: 6900 Kubikfuß pro Minute (CFM)
- Geschwindigkeiten: 6 (Remote Controlled)
- Lichtquelle: 18W LED, Dimmable (20%-100%)
- Farbtemperaturen: 3000 K (Warmweiß), 4000 K (Naturweiß), 6500 K (Tageslichtweiß)
- Kontrollmethode: Fernbedienung
- Verwendung im Innen- und Außenbereich: Indoor (Suitable for covered outdoor patios, avoid direct rain exposure)
- Artikelgewicht: 27.7 Pfund
- Produktabmessungen: 62"D x 62"W x 18.9"H (Note: 72-inch fan diameter, dimensions might refer to a specific configuration or packaging)
- Batterien: 2 AAA batteries required for remote (included)
Garantie und Support
Wellspeed offers a comprehensive warranty for its products. If you experience a malfunction of accessories during use, such as lampshades, LED panels, or remote controls, Wellspped will replace your parts in brand new condition without any cost.
For further assistance, troubleshooting, or warranty claims, please contact Wellspped customer service. You can find contact information on the official Wellspped webWebsite oder über Ihre Einkaufsplattform.
Visit the official Wellspped Store for more information: Wellspeed Store
Ask a question about this manual
Ask about setup, troubleshooting, compatibility, parts, safety, or missing instructions. Manuals+ will review the question and use this page’s manual context to help answer it.