1. Wichtige Sicherheitshinweise
Bitte lesen und verstehen Sie alle Anweisungen, bevor Sie mit der Installation beginnen. Die Nichtbeachtung dieser Anweisungen kann zu Stromschlag, Brand oder Verletzungen führen.
- Vor Installation oder Wartungsarbeiten muss die Stromzufuhr am Sicherungsautomaten abgeschaltet werden.
- Die gesamte Verkabelung muss den nationalen und lokalen Elektrovorschriften entsprechen.
- Der Deckenventilator muss an einer Konstruktion befestigt werden, die ein Mindestgewicht von 35 lbs (15.9 kg) tragen kann.
- Betreiben Sie den Ventilator nicht, wenn die Flügel oder das Gehäuse beschädigt sind.
- Halten Sie Hände, Kleidung und andere Gegenstände von den Ventilatorflügeln fern, wenn der Ventilator in Betrieb ist.
- Dieser Ventilator ist nur für die Verwendung in Innenräumen konzipiert.
2. Packungsinhalt
Verify that all components listed below are included in your package. If any parts are missing or damaged, contact LEDLUX customer support before proceeding with installation.
- Montage des Motorgehäuses
- Ventilatorflügel (8 Stück)
- Verlängerungsstangen (4.5", 12", 24" Optionen)
- Montagehalterung
- Fernbedienung und Empfänger
- Hardware-Set (Schrauben, Unterlegscheiben, Drahtverbinder)
- Bedienungsanleitung
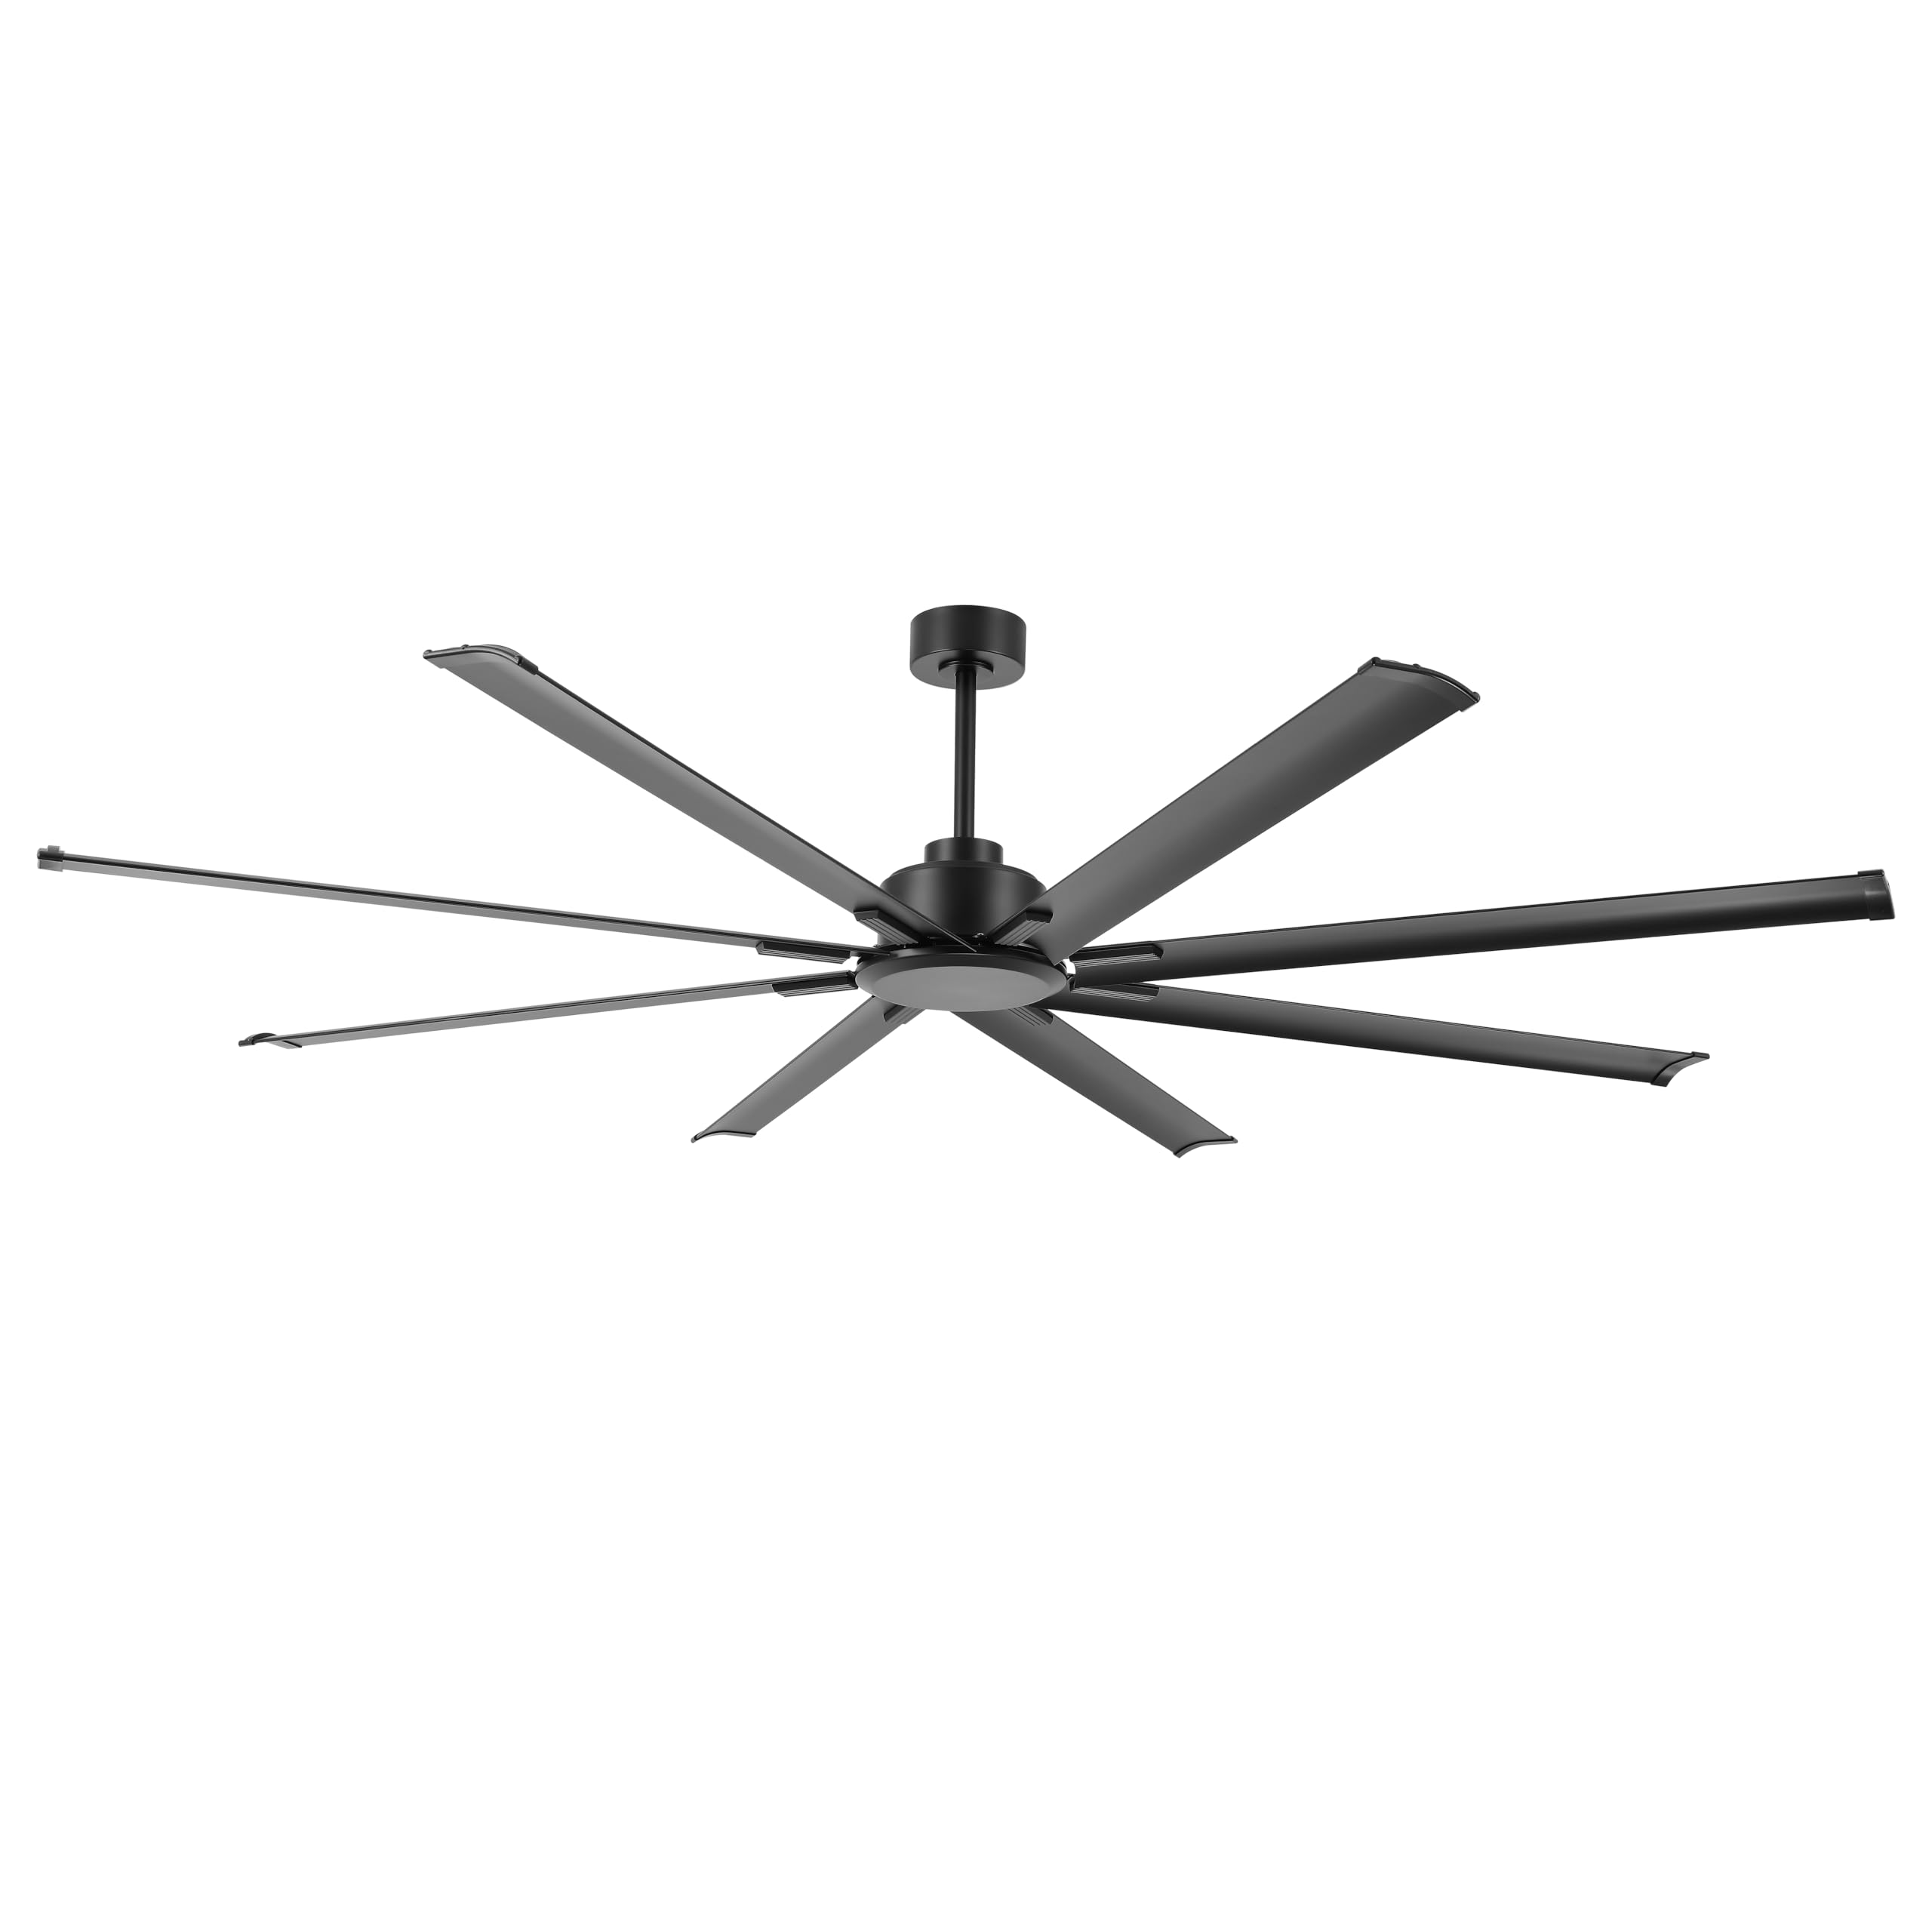
Image: The LEDLUX 96-inch ceiling fan, showcasing its eight black aluminum blades, central motor housing, and the included remote control. This image provides an overview der wichtigsten Produktkomponenten.
3. Einrichtung und Installation
Follow these steps carefully for proper installation of your LEDLUX ceiling fan.
3.1 Checkliste vor der Installation
- Schalten Sie den Strom am Hauptschalter aus.
- Stellen Sie sicher, dass der Montageort das Gewicht des Lüfters tragen kann.
- Besorgen Sie sich die notwendigen Werkzeuge (Schraubendreher, Abisolierzange, Leiter usw.).
3.2 Montage des Lüfters
- Attach the mounting bracket to the ceiling junction box. Ensure it is securely fastened to a structural beam.
- Select the appropriate downrod (4.5", 12", or 24") for your ceiling height.
- Führe die Lüfterdrähte durch die gewählte Verlängerungsstange.
- Secure the downrod to the motor housing.
- Heben Sie die Lüftereinheit vorsichtig an und hängen Sie sie in die Montagehalterung ein.

Image: A diagram illustrating the overall dimensions of the 96-inch ceiling fan, including its width and height with different downrod lengths (12.7", 20.3", 32.5"). It also shows how the fan can be mounted on both flat and sloped ceilings, along with the three included downrod sizes (4.5", 12", 24").

Image: This image displays the LEDLUX ceiling fan installed in three different room settings: a high ceiling, a low ceiling, and a slanted ceiling, demonstrating its versatility for various architectural styles.
3.3 Kabelverbindungen
- Connect the fan's wires to the household wiring according to the wiring diagram provided in the full manual. Use wire nuts to secure connections.
- Install the remote receiver into the mounting bracket canopy.
- Connect the receiver wires to the fan and household wires as instructed.
3.4 Anbringen der Klingen
- Attach each of the 8 fan blades to the motor housing using the provided screws and washers. Ensure all screws are tightened securely.
4. Bedienungsanleitung
Your LEDLUX ceiling fan is controlled by the included remote control. Ensure batteries are installed correctly in the remote.
4.1 Fernbedienungsfunktionen

Bild: Eine detaillierte view of the remote control for the LEDLUX ceiling fan, highlighting buttons for speed adjustment (1-6), fan on/off, forward/reverse function, natural wind mode, and timer settings (1H/2H/4H/8H).
- Ein-/Aus-Taste: Schaltet den Ventilator ein oder aus.
- Geschwindigkeitstasten (1-6): Regelt die Lüftergeschwindigkeit von niedrig (1) bis hoch (6).
- Vorwärts-/Rückwärts-Taste: Ändert die Drehrichtung des Rotorblatts.
- Timer Buttons (1H/2H/4H/8H): Legt fest, dass sich der Ventilator nach der ausgewählten Zeit automatisch ausschaltet.
- Natural Wind Button: Simulates a natural breeze by cycling through various speeds.
4.2 Umkehrfunktion (Sommer-/Wintermodus)
Der Ventilator verfügt über einen reversiblen Gleichstrommotor, der einen ganzjährigen Einsatz zur Optimierung der Luftzirkulation ermöglicht.
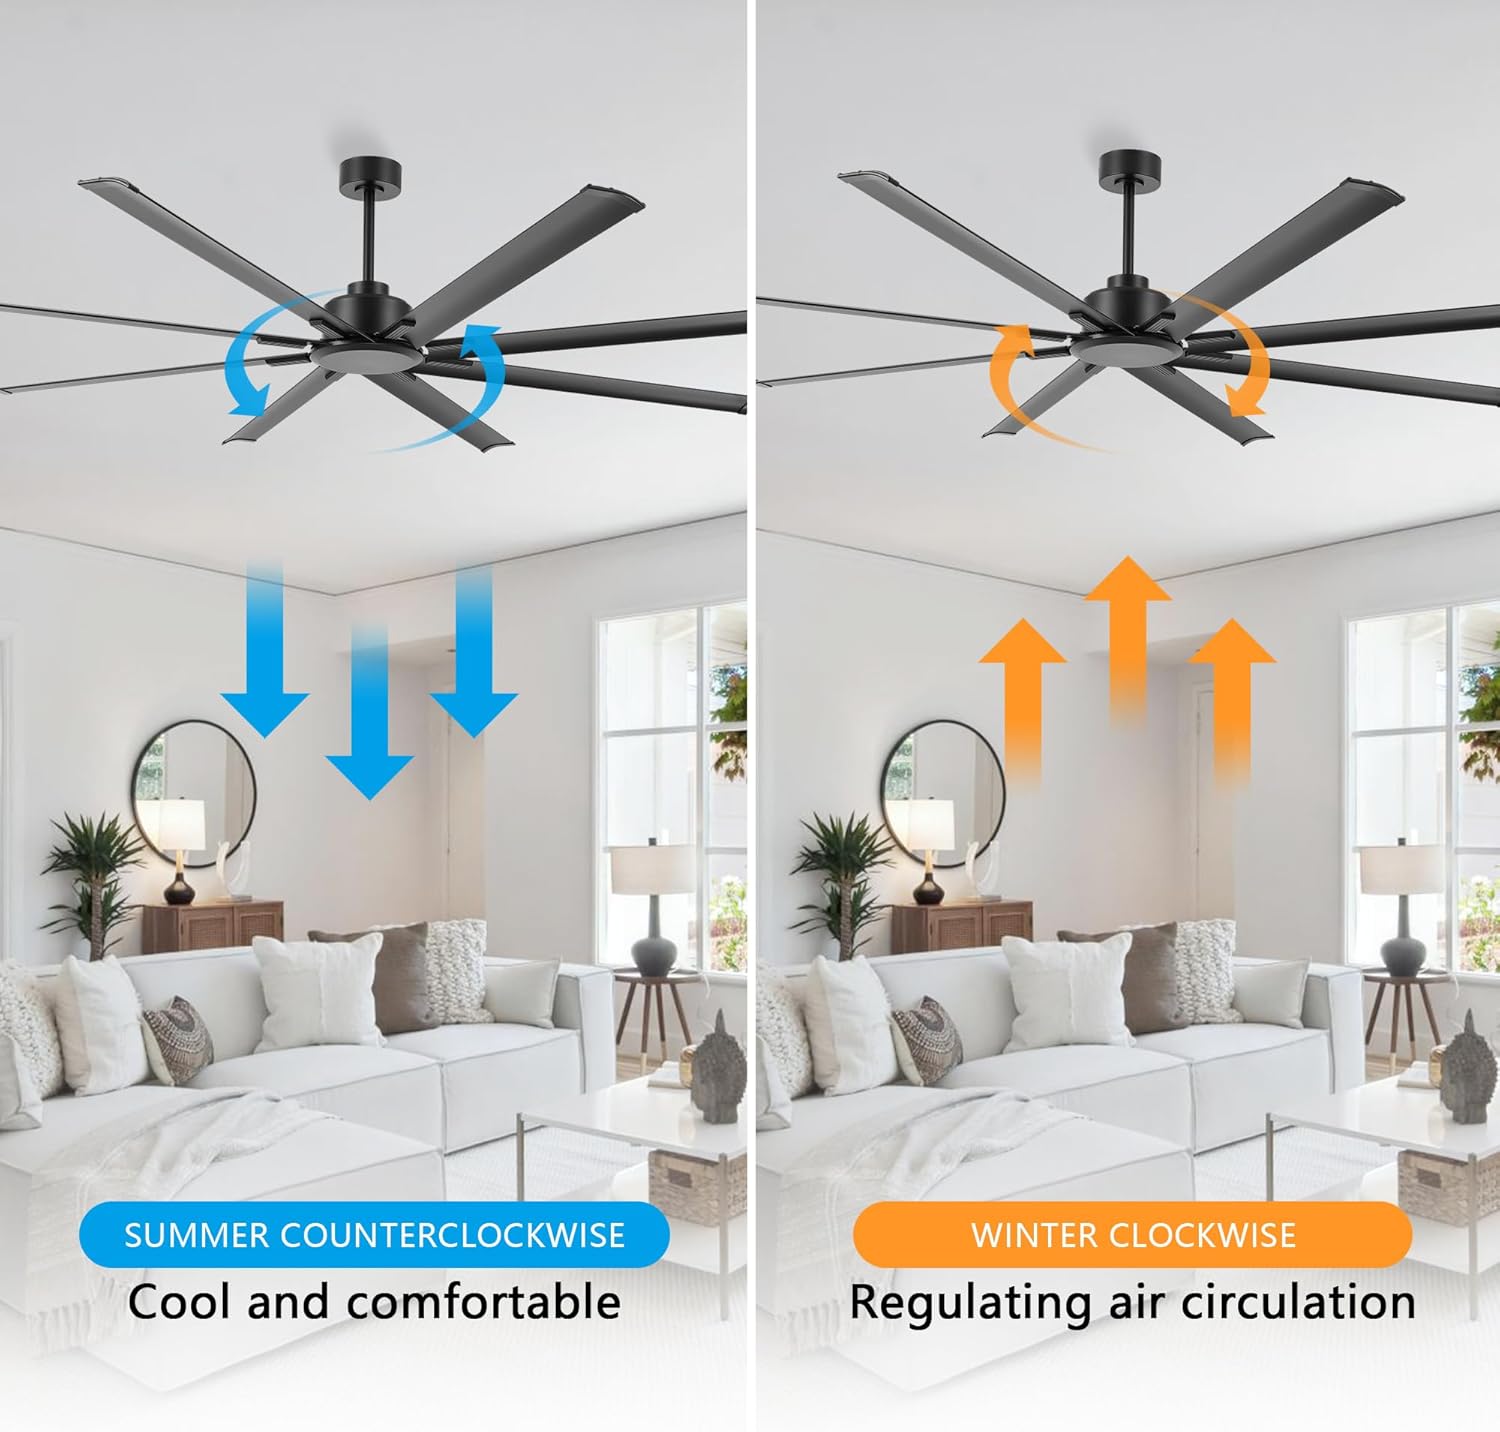
Image: This image illustrates the reversible function of the ceiling fan. On the left, blue arrows indicate counter-clockwise rotation for a cooling downdraft in summer. On the right, orange arrows show clockwise rotation for an updraft to circulate warm air in winter.
- Sommermodus (gegen den Uhrzeigersinn): Press the reverse button to make the blades rotate counter-clockwise, creating a downward airflow that produces a cooling effect.
- Wintermodus (im Uhrzeigersinn): Press the reverse button again to make the blades rotate clockwise, creating an upward airflow that helps circulate warm air trapped near the ceiling.
4.3 Timer-Funktion
Use the timer buttons on the remote control to set the fan to operate for a specific duration before automatically turning off.

Image: This graphic highlights the silent operation of the fan, stating sound is less than 35dB, and illustrates the available timer settings: 1 hour, 2 hours, 4 hours, and 8 hours.
- Press the 1H, 2H, 4H, or 8H button to activate the timer. The fan will run for the selected time and then shut off.
- To cancel the timer, press the fan On/Off button or select a different timer setting.
5. Wartung
Regelmäßige Wartung gewährleistet optimale Leistung und Langlebigkeit Ihres Deckenventilators.
- Reinigung: Wischen Sie die Lüfterflügel und das Motorgehäuse regelmäßig mit einem weichen, fusselfreien Tuch ab.amp Tuch. Keine Scheuer- oder Lösungsmittel verwenden.
- Befestigungsschrauben: Check all screws on the fan blades and mounting hardware annually to ensure they are secure.
- Blattbalance: If the fan wobbles, ensure all blades are securely attached and consider using a blade balancing kit (not included) if necessary.
6. Fehlerbehebung
Sollten Sie Probleme mit Ihrem Lüfter haben, beachten Sie bitte die folgenden häufig auftretenden Probleme und Lösungen:
| Problem | Mögliche Ursache | Lösung |
|---|---|---|
| Lüfter startet nicht | Der Lüfter wird nicht mit Strom versorgt | Prüfen Sie den Sicherungsautomaten und den Wandschalter. Stellen Sie sicher, dass alle Kabelverbindungen fest sitzen. |
| Fernbedienung funktioniert nicht | Dead batteries or incorrect pairing | Replace remote batteries. Refer to the full manual for remote pairing instructions. |
| Der Ventilator wackelt übermäßig | Loose blades or unbalanced blades | Ensure all blade screws are tight. Check for bent blades. Use a blade balancing kit if needed. |
| Lauter Betrieb | Loose screws or motor issues | Tighten all screws. If noise persists, contact customer support. |
7. Spezifikationen
| Besonderheit | Detail |
|---|---|
| Marke | LEDLUX |
| Modellnummer | SYCF9605 |
| Farbe | Schwarz |
| Montagetyp | Deckenmontage |
| Anzahl der Geschwindigkeiten | 6 |
| Bandtage | 12 Volt (DC) |
| Verwendung im Innen- und Außenbereich | Innenbereich |
| Kontrollmethode | Fernbedienung |
| Effizienz | Hohe Effizienz |
| Anzahl der Klingen | 8 |
| Klingenmaterial | Aluminium |
8. Garantie und Support
LEDLUX steht für die Qualität seiner Produkte ein.

Image: A graphic detailing the LEDLUX "Worry-Free Promise," which includes a 3-Year Full Warranty on all parts and a 10-Year Motor Warranty.
- Motorgarantie: The DC motor is covered by a 10-year free replacement warranty.
- Teilegarantie: All other parts of the fan are covered by a full 3-year warranty.
For warranty claims, technical assistance, or missing parts, please contact LEDLUX customer support through the retailer where the product was purchased or visit the official LEDLUX webWebsite.