Einführung
This manual provides essential information for the setup, operation, and maintenance of your PowerA Enhanced Wireless Controller, featuring the unique Pikachu vs. Gengar design. This officially licensed controller is designed to enhance your gaming experience on Nintendo Switch, Nintendo Switch Lite, and Nintendo Switch (OLED Model) consoles.
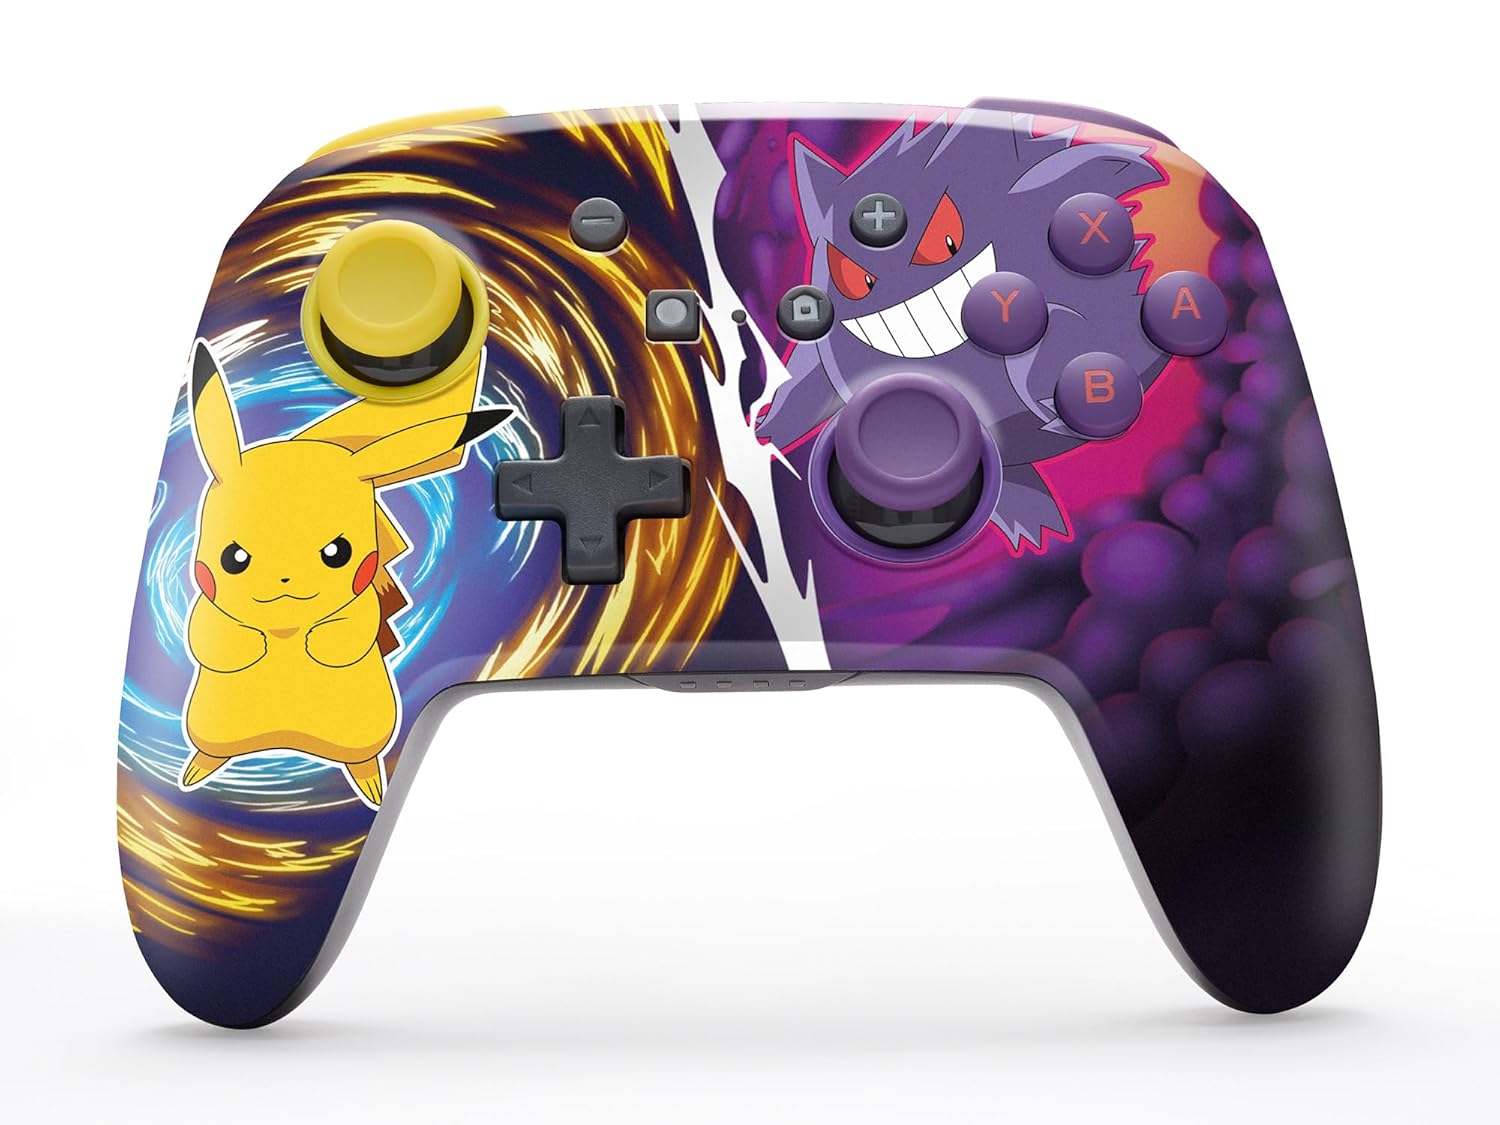
The PowerA Enhanced Wireless Controller with Pikachu vs. Gengar artwork.
Hauptmerkmale
- Kabellose Verbindung: Utilizes Bluetooth 5.0 technology for a stable connection.
- Wiederaufladbarer Akku: Integrated lithium-ion battery provides up to 30 hours of gameplay per charge.
- Frei belegbare, erweiterte Gaming-Tasten: Two programmable buttons on the back for custom control.
- Ergonomisches Design: Überlegene Ergonomie für ausgedehnte, komfortable Gaming-Sessions.
- Smooth Thumbstick Control: Embedded anti-friction rings ensure precise and fluid movement.
- Bewegungssteuerung: Supports intuitive motion controls for compatible games.

Ergonomisches Design für komfortables Spielen.
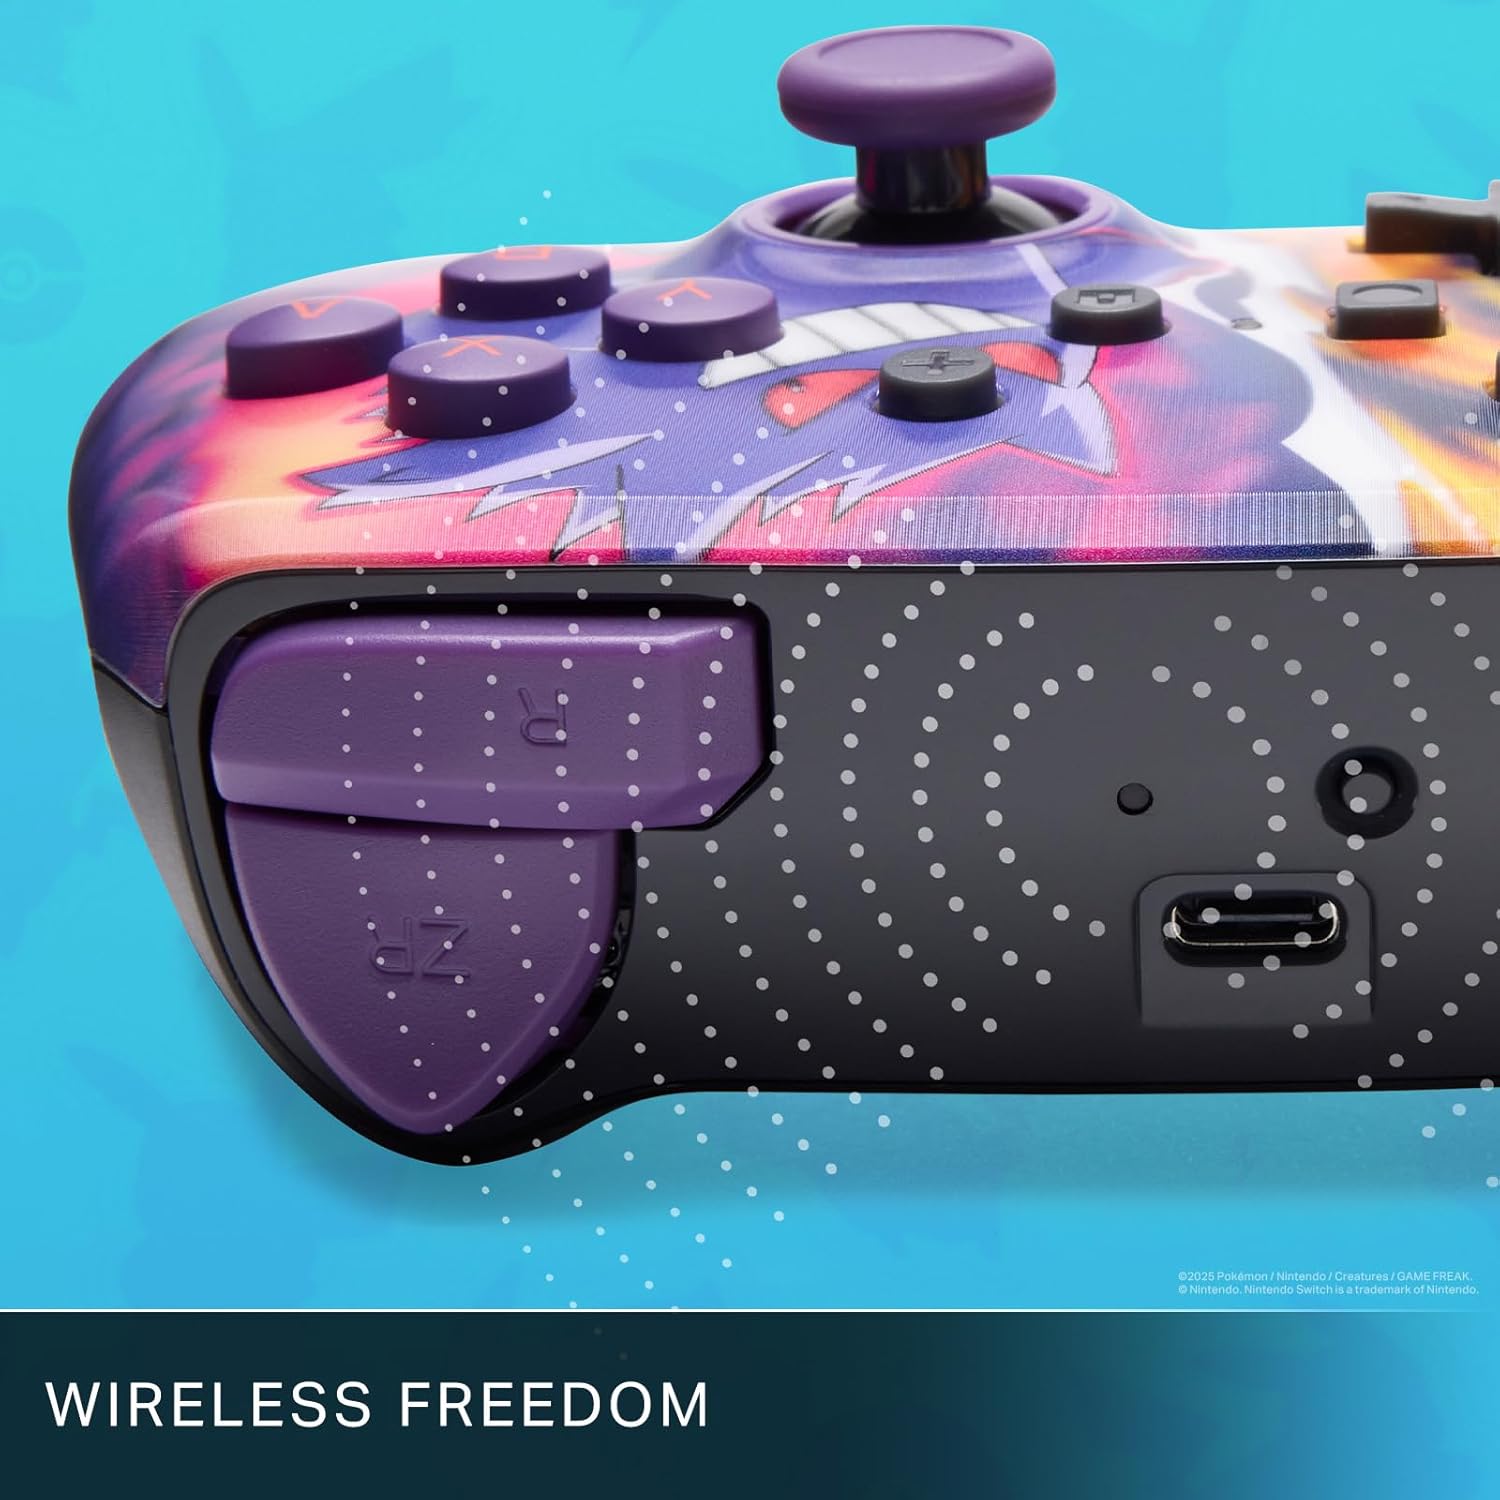
Enjoy wireless freedom with Bluetooth 5.0 technology.
Einrichtung und Kopplung
- Stellen Sie sicher, dass Ihre Nintendo Switch-Konsole eingeschaltet und auf die neueste Systemsoftware aktualisiert ist.
- Wählen Sie im HOME-Menü die Option Controller, Dann Griff/Reihenfolge ändern.
- Halten Sie die SYNC-Taste on the top edge of your PowerA Enhanced Wireless Controller for at least one second. The Player LED(s) will flash.
- Once paired, the Player LED(s) corresponding to the controller number will remain lit.
- Drücken Sie die Ein Knopf to confirm and exit the menu. Your controller is now ready for use.
Aufladen des Controllers
The controller features an internal 900mAh lithium-ion rechargeable battery, providing up to 30 hours of gameplay on a single charge. To charge your controller:
- Connect the included 10ft (3m) USB-C charge cable to the USB-C port on the top of the controller.
- Connect the other end of the USB-C cable to a USB power source (e.g., Nintendo Switch dock, USB wall adapter, or computer USB port).
- The LED indicator on the controller will show charging status. It will typically turn off or change color when fully charged.

Connect the USB-C cable to charge your controller.
Erweiterte Gaming-Tasten
Your PowerA Enhanced Wireless Controller includes two mappable Advanced Gaming Buttons (AGBs) on the back, allowing you to assign specific button functions for quick access during gameplay.
Programming AGBs:
- Drücken Sie die Programmtaste on the back of the controller. The Program LED will flash, indicating programming mode.
- Press the button you wish to map (A/B/X/Y/L/R/ZL/ZR/Left Stick Click/Right Stick Click/D-Pad). The Program LED will flash rapidly.
- Press the Advanced Gaming Button (AGB L or AGB R) you want to assign the function to. The Program LED will stop flashing, indicating the AGB is now programmed.
Resetting AGBs:
To reset all Advanced Gaming Buttons to their default (no function) state, press and hold the Programmtaste for five seconds. The Program LED will flash slowly, then turn off, confirming the reset.
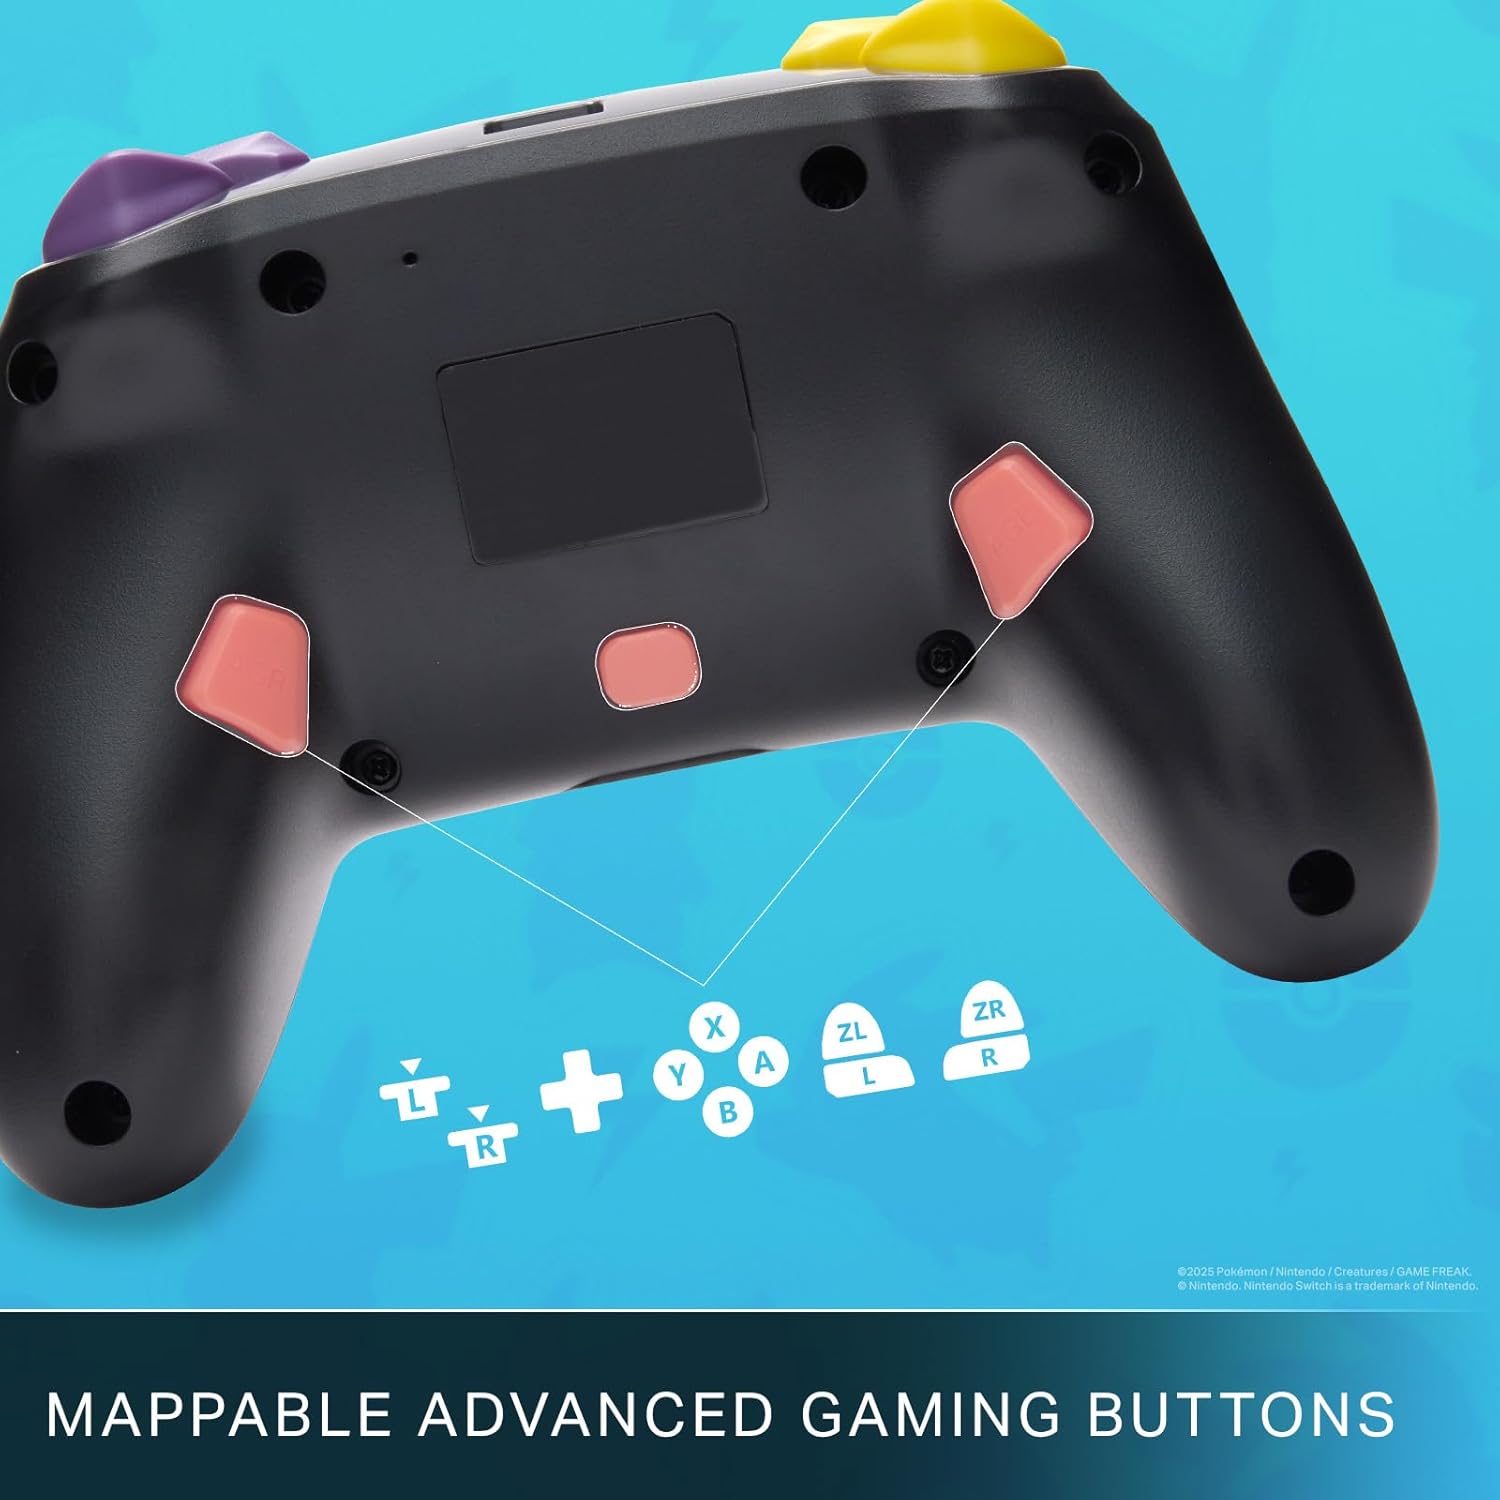
Mappable Advanced Gaming Buttons for personalized control.
Kompatibilität
This PowerA Enhanced Wireless Controller is compatible with the following Nintendo consoles:
- Nintendo-Schalter
- Nintendo Switch Lite
- Nintendo Switch (OLED Model)
- Nintendo Switch 2 (Note: C button not available)

The controller is compatible with Nintendo Switch 2, though the C button functionality is not available.
Technische Daten
| Besonderheit | Detail |
|---|---|
| Kompatible Geräte | Nintendo-Schalter |
| Controllertyp | Gamepad |
| Konnektivitätstechnologie | Bluetooth, USB |
| Zusätzliche Merkmale | Ergonomisch, kabellos |
| Anzahl der Tasten | 12 |
| Hardware-Plattform | Spielkonsole |
| Stromquelle | Batteriebetrieben (wiederaufladbare Lithium-Ionen-Batterie) |
| Kompatible Videospielkonsolenmodelle | Nintendo Switch, Nintendo Switch Lite |
| Artikelgewicht | 0.68 Pfund |
| Artikelabmessungen | 6.02 x 4.41 x 2.48 Zoll |
| Farbe | Pikachu vs Gengar |
| Modellname | Pikachu vs. Gengar |
| Modellnummer | NSGP0420-01R |
Pflege und Wartung
- Keep the controller dry. Avoid exposure to moisture or extreme temperatures.
- Reinigen Sie den Controller mit einem weichen, trockenen Tuch. Verwenden Sie keine scharfen Chemikalien oder Scheuermittel.
- Bewahren Sie den Controller bei Nichtgebrauch an einem sicheren Ort auf, um Beschädigungen zu vermeiden.
Fehlerbehebung
Controller stellt keine Verbindung her:
- Stellen Sie sicher, dass der Controller vollständig aufgeladen ist.
- Verify the controller is within the Bluetooth range of your Nintendo Switch console.
- Attempt to re-pair the controller following the "Setup and Pairing" instructions.
Nicht reagierende Tasten/Joysticks:
- Prüfen Sie, ob sich um die Knöpfe oder Joysticks herum physische Hindernisse oder Ablagerungen befinden.
- Perform a hard reset by holding the SYNC button for 10 seconds, then attempt to re-pair.
- Ensure the controller's firmware is up to date (check PowerA's official webWebsite für Aktualisierungen).
Garantie und Support
This PowerA Enhanced Wireless Controller comes with a Zwei Jahre beschränkte Garantie. For detailed warranty information, product support, and troubleshooting assistance, please visit the official PowerA support webWebsite: