1. Produktüberschreitungview
The QRD Junior E5 Wireless Controller is a compact and versatile gaming controller designed for a wide range of platforms, including Nintendo Switch, Switch Lite, Switch OLED, PC (Windows), Mac, iOS, and Android devices. Its ergonomic design and advanced features provide an enhanced gaming experience.

Bild 1.1: Vorderseite view of two QRD Junior E5 Wireless Controllers.

Image 1.2: Back and front views of the QRD Junior E5 Wireless Controller, highlighting its design.
2. Packungsinhalt
- QRD Junior E5 Wireless Controller (2 units for this package)
- USB-C-Ladekabel
- Benutzerhandbuch (dieses Dokument)
3. Einrichtung und Verbindung
3.1 Laden des Controllers
Before first use, fully charge the controller. Connect the provided USB-C cable to the controller's charging port and the other end to a USB power source (e.g., console, PC, or USB wall adapter). The indicator lights will show charging status and turn off when fully charged.
3.2 Verbindung mit Nintendo Switch
- On the Nintendo Switch HOME Menu, select Controller > Griff/Reihenfolge ändern.
- Halten Sie die Home-Taste on the QRD Junior E5 controller for 3-5 seconds until the indicator lights start flashing rapidly.
- Sobald die Verbindung hergestellt ist, leuchten die entsprechenden Spieler-Anzeigeleuchten am Controller dauerhaft.
3.3 Connecting to PC (Windows/Mac)
The controller supports both wireless Bluetooth and wired USB-C connections for PC and Mac.
3.3.1 Drahtlose Bluetooth-Verbindung
- Ensure your PC/Mac has Bluetooth enabled.
- On your PC/Mac, go to Bluetooth settings and search for new devices.
- Halten Sie die Home-Taste on the QRD Junior E5 controller for 3-5 seconds until the indicator lights start flashing rapidly.
- Select "QRD Controller" or similar from the list of available devices to pair.
- The controller supports X-Eingang for PC games.
3.3.2 Kabelgebundene USB-C-Verbindung
Connect the controller to your PC/Mac using the provided USB-C cable. The controller will be automatically recognized, and no driver installation is required.
3.4 Verbindung zu iOS-/Android-Geräten
- Enable Bluetooth on your iOS/Android device.
- Halten Sie die Home-Taste on the QRD Junior E5 controller for 3-5 seconds until the indicator lights start flashing rapidly.
- Suchen nach "QRD Controller" or similar in your device's Bluetooth settings and pair.
4. Bedienungsanleitung und Funktionen
4.1 Grundlegende Bedienelemente
The QRD Junior E5 controller features standard button layouts including A/B/X/Y buttons, D-pad, Left/Right joysticks, L/R/ZL/ZR triggers, Home button, and +/- buttons.
4.2 TURBO-Funktion
The TURBO function allows for continuous or automatic rapid firing of buttons. This feature can be customized for different games and play styles.
- To set TURBO: Press and hold the desired action button (e.g., A) and then press the TURBO-Taste once. The button will now continuously fire when held.
- To set Auto-TURBO: Press and hold the desired action button and then press the TURBO-Taste a second time. The button will automatically fire without being held.
- To clear TURBO: Press and hold the desired action button and then press the TURBO-Taste ein drittes Mal.
- Einstellen der TURBO-Geschwindigkeit: Drücken Sie die TURBO-Taste und die Up/Down D-pad simultaneously to cycle through speeds: 8 times/sec, 15 times/sec, 25 times/sec.

Image 4.1: Illustration of the Turbo function for rapid actions in games.
4.3 6-Axis Gyro Motion Sensor
The controller is equipped with an advanced 6-axis gyro motion sensor, allowing for precise viewpoint and tilt operations in compatible games. Tilt, turn, and twist the controller to interact with game environments dynamically.

Image 4.2: Demonstrating the 6-Axis Gyro motion sensor capability.
4.4 Adjustable Vibration Feedback
Dual vibration motors provide immersive haptic feedback. The vibration intensity can be adjusted to suit personal preference and game requirements.
- Vibration modes: 0% (no vibration), 30% (weak), 70% (medium), and 100% (strong).
- To adjust vibration: Press the Vibrationstaste (if present, or a combination like TURBO + Left/Right joystick click) to cycle through intensity levels. Refer to the quick start guide for specific button combinations.

Image 4.3: Visual representation of the adjustable vibration feature.
5. Wartung und Pflege
- Halten Sie den Controller trocken und schützen Sie ihn vor extremen Temperaturen.
- Reinigen Sie den Controller mit einem weichen, trockenen Tuch. Verwenden Sie keine scharfen Chemikalien oder Scheuermittel.
- Vermeiden Sie es, den Controller fallen zu lassen oder starken Stößen auszusetzen.
- Bewahren Sie den Controller bei Nichtgebrauch an einem sicheren Ort auf, um Beschädigungen zu vermeiden.
6. Fehlerbehebung
6.1 Controller verbindet sich nicht
- Stellen Sie sicher, dass der Controller vollständig aufgeladen ist.
- Verify Bluetooth is enabled on your device (Switch, PC, Mac, iOS, Android).
- Stellen Sie sicher, dass sich der Controller im Kopplungsmodus befindet (die Kontrollleuchten blinken schnell).
- Versuchen Sie, sowohl den Controller als auch das Gerät, mit dem Sie eine Verbindung herstellen möchten, neu zu starten.
- If connecting to Switch, ensure you are on the "Change Grip/Order" screen.
- For PC/Mac, try a wired USB-C connection to rule out Bluetooth issues.
6.2 Eingabeverzögerung oder nicht reagierende Tasten
- Ensure the controller is within range of the connected device.
- Überprüfen Sie, ob andere drahtlose Geräte Störungen verursachen.
- Confirm the controller is fully charged. Low battery can affect performance.
- Restart the controller and the game/device.
6.3 Vibration funktioniert nicht oder ist fehlerhaft
- Check the vibration settings on the controller (refer to section 4.4) to ensure it's not set to 0%.
- Vergewissern Sie sich, dass das Spiel, das Sie spielen, Vibrationsfeedback unterstützt.
- Ensure the controller's firmware is up to date (if applicable, check the manufacturer's webSeite? ˅).
7. Spezifikationen
| Modell | Junior E5 |
| Marke | QRD |
| Konnektivität | Kabelloses Bluetooth, kabelgebundenes USB-C |
| Kompatibilität | Nintendo Switch, Switch Lite, Switch OLED, PC (Windows), Mac, iOS, Android |
| Eingabemodi | X-input (PC), Switch-input (Nintendo Switch) |
| Besondere Merkmale | 6-Axis Gyro Motion Sensor, Adjustable Vibration, TURBO Function |
| Abmessungen (ca.) | 5 x 3.31 x 2.13 Zoll (12.7 x 8.4 x 5.4 cm) |
| Gewicht ca.) | 1.06 Pfund (0.48 kg) |
| Batterie | 2 Nonstandard Battery batteries required (internal, rechargeable) |

Image 7.1: Physical dimensions of the QRD Junior E5 Wireless Controller.
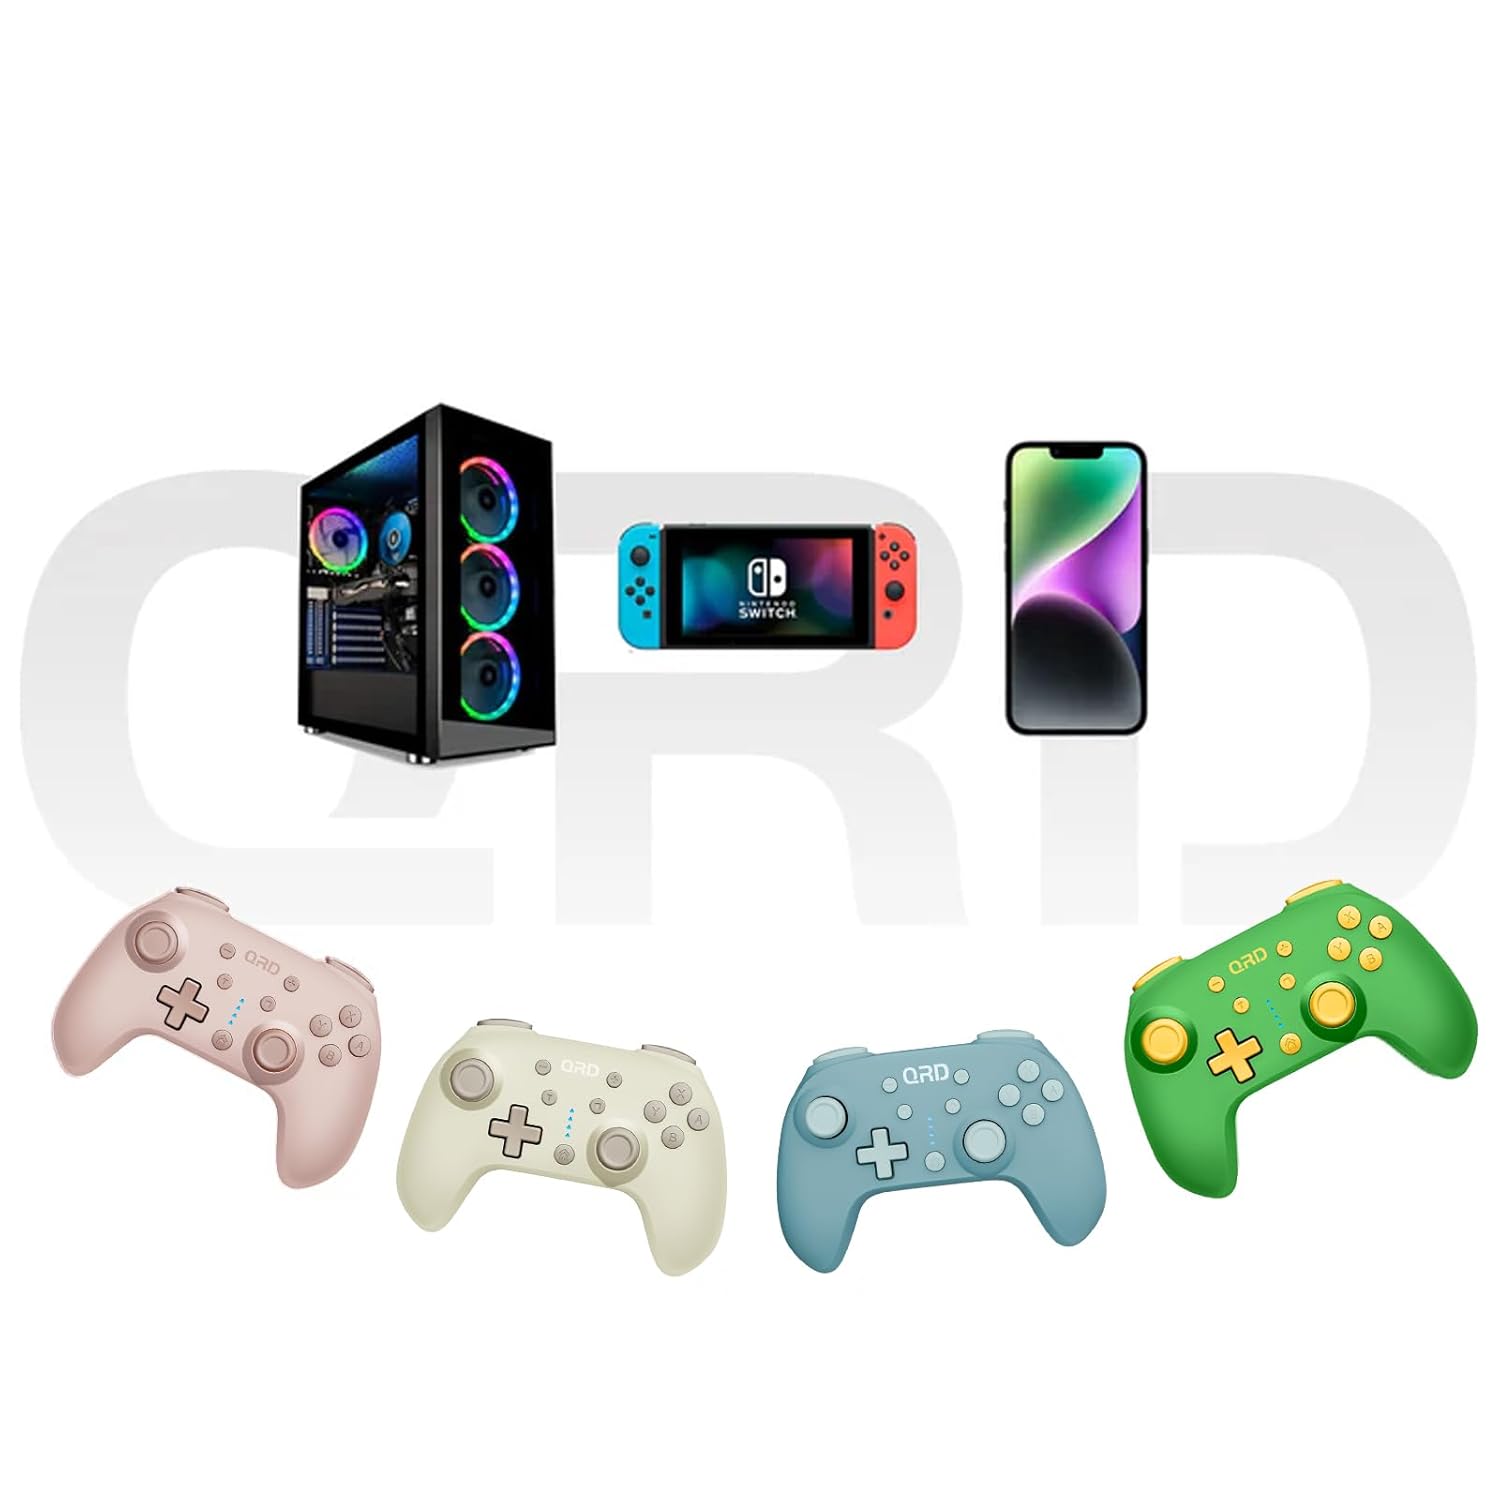
Image 7.2: Multi-platform compatibility of the QRD Junior E5 Wireless Controller.
8. Garantie und Support
QRD products are designed for reliability and performance. For warranty information, technical support, or service inquiries, please refer to the contact information provided with your purchase or visit the official QRD webBitte bewahren Sie Ihren Kaufbeleg für Garantieansprüche auf.
Weitere Unterstützung finden Sie unter QRD Store on Amazon.