
ClokoWe T800
ClokoWe Mini-Projektor T800 Benutzerhandbuch
Modell: T800
1. Einleitung
This manual provides detailed instructions for the safe and effective use of your ClokoWe Mini Projector T800. Please read this manual thoroughly before operating the device and retain it for future reference.
Sicherheitshinweise
- Schauen Sie nicht direkt in die Projektorlinse, wenn der lamp ist eingeschaltet.
- Sorgen Sie für eine ausreichende Belüftung rund um den Projektor, um eine Überhitzung zu vermeiden.
- Halten Sie den Projektor von Wasser oder anderen Flüssigkeiten fern.
- Verwenden Sie nur das mit dem Gerät mitgelieferte Netzteil.
- Versuchen Sie nicht, den Projektor selbst zu zerlegen oder zu reparieren. Wenden Sie sich an den Kundendienst.
2. Packungsinhalt
Überprüfen Sie, ob alle Artikel im Paket vorhanden sind:
- ClokoWe Mini Projector T800
- HDMI-Kabel
- Fernbedienung
- Netzkabel
- Benutzerhandbuch (dieses Dokument)
3. Produktüberschreitungview
Machen Sie sich mit den Komponenten und Funktionen des Projektors vertraut.
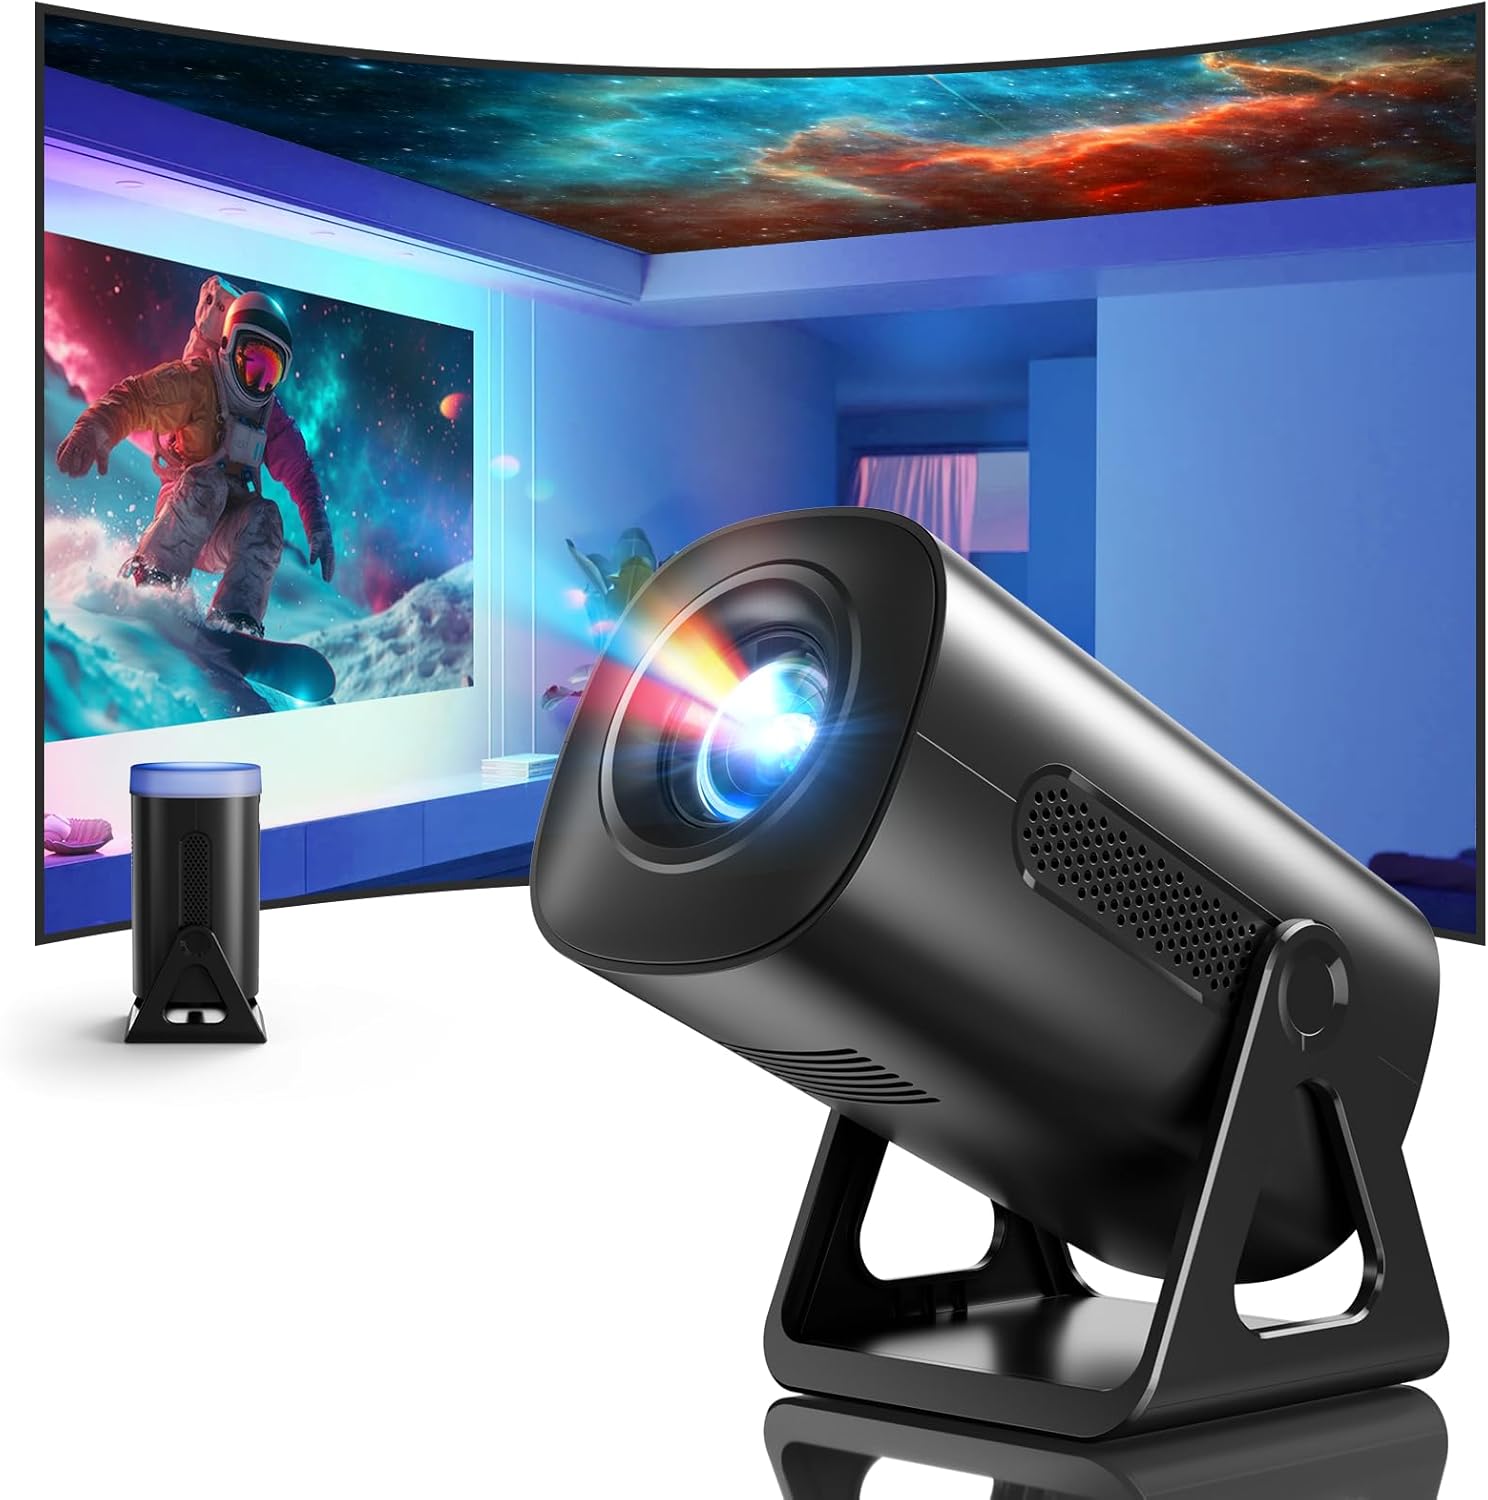
Bild 3.1: Vorderseite view of the ClokoWe Mini Projector T800, showcasing its compact design and projection capability.
Hauptmerkmale:
- Native 1080p Resolution with 4K Support
- 270° Rotatable Stand for flexible projection angles
- Integrated Star Projector with 6 Galaxy Projection Modes and 7 Ambient Night Light Colors
- Dual Band WiFi 6 (2.4G/5G) for stable wireless connectivity
- Bluetooth 5.2 HiFi Speaker for enhanced audio
- Automatic Keystone Correction and 50%-100% Zoom function
- Multiple connectivity options: USB, HDMI, AV, Audio

Image 3.2: Dimensions and weight of the projector, highlighting the 270-degree rotatable stand.
4. Einrichtung
4.1 Stromanschluss
- Schließen Sie das Netzkabel an den Stromeingang des Projektors an.
- Stecken Sie das andere Ende des Netzkabels in eine normale Steckdose.
- Die Betriebskontrollleuchte leuchtet auf.
4.2 Platzierung und Anpassung
The 270° rotatable stand allows for flexible placement and projection.

Image 4.1: The projector's 270-degree rotation feature, enabling projection onto walls, floors, or ceilings.
- Positionierung: Stellen Sie den Projektor auf eine stabile, ebene Fläche.
- Winkeleinstellung: Rotate the projector body on its stand to achieve the desired projection angle (up to 270 degrees).
- Fokus: Verwenden Sie den Fokusring am Projektorobjektiv, um das Bild zu schärfen.
- Trapezkorrektur: The projector features automatic keystone correction. If the image appears trapezoidal, the device will automatically adjust it to a rectangular shape. Manual adjustments may also be available in the settings menu.

Image 4.2: Demonstration of automatic keystone correction and image zoom capabilities.
5. Bedienungsanleitung
5.1 Erstes Einschalten
- Drücken Sie die Ein/Aus-Taste am Projektor oder auf der Fernbedienung.
- The projector will start up and display the main interface.
5.2 Konnektivität
The projector supports various input sources and wireless connections.

Bild 5.1: Überview of supported device connections via HDMI, USB, and Audio interfaces.
5.2.1 WiFi Connection (Dual Band WiFi 6)
- Navigieren Sie im Projektor zum Menü „Einstellungen“.
- Wählen Sie „Netzwerk“ oder „WLAN-Einstellungen“.
- Wählen Sie aus der Liste Ihr gewünschtes 2.4-GHz- oder 5-GHz-WLAN-Netzwerk aus.
- Geben Sie das Passwort ein und verbinden Sie sich.

Image 5.2: Demonstrating Dual Band WiFi 6 connectivity and wired screen mirroring with a smartphone.
5.2.2 Bluetooth-Verbindung (Bluetooth 5.2)
- Gehen Sie zu „Einstellungen“ und wählen Sie „Bluetooth“.
- Schalten Sie Bluetooth ein und suchen Sie nach verfügbaren Geräten.
- Wählen Sie Ihren Bluetooth-Lautsprecher oder Ihre Kopfhörer aus der Liste aus, um sie zu koppeln.

Image 5.3: The projector's Bluetooth 5.2 capability for connecting to external audio devices.
5.2.3 HDMI/USB/AV Connection
- Connect your device (e.g., laptop, TV stick, game console) to the corresponding HDMI, USB, or AV port on the projector.
- Select the correct input source from the projector's main menu using the remote control.
5.3 Projection Modes (Star Projector & Night Light)
The projector includes integrated ambient lighting features.

Image 5.4: The projector's ability to display 7 night light colors and 6 galaxy projection modes.
- Galaxienprojektion: Access the 'Star Projector' or 'Galaxy Modes' option in the menu to select from 6 different galaxy patterns.
- Ambient-Nachtlicht: With the lens cover on, select from 7 ambient light colors to use the projector as a night light.
5.4 Bildanpassung
- Zoomfunktion: Adjust the projection size from 50% to 100% via the projector's menu settings.
- Bildqualität: The projector supports native 1080p resolution and 4K input. Ensure your source content is of high quality for the best viewErfahrung.
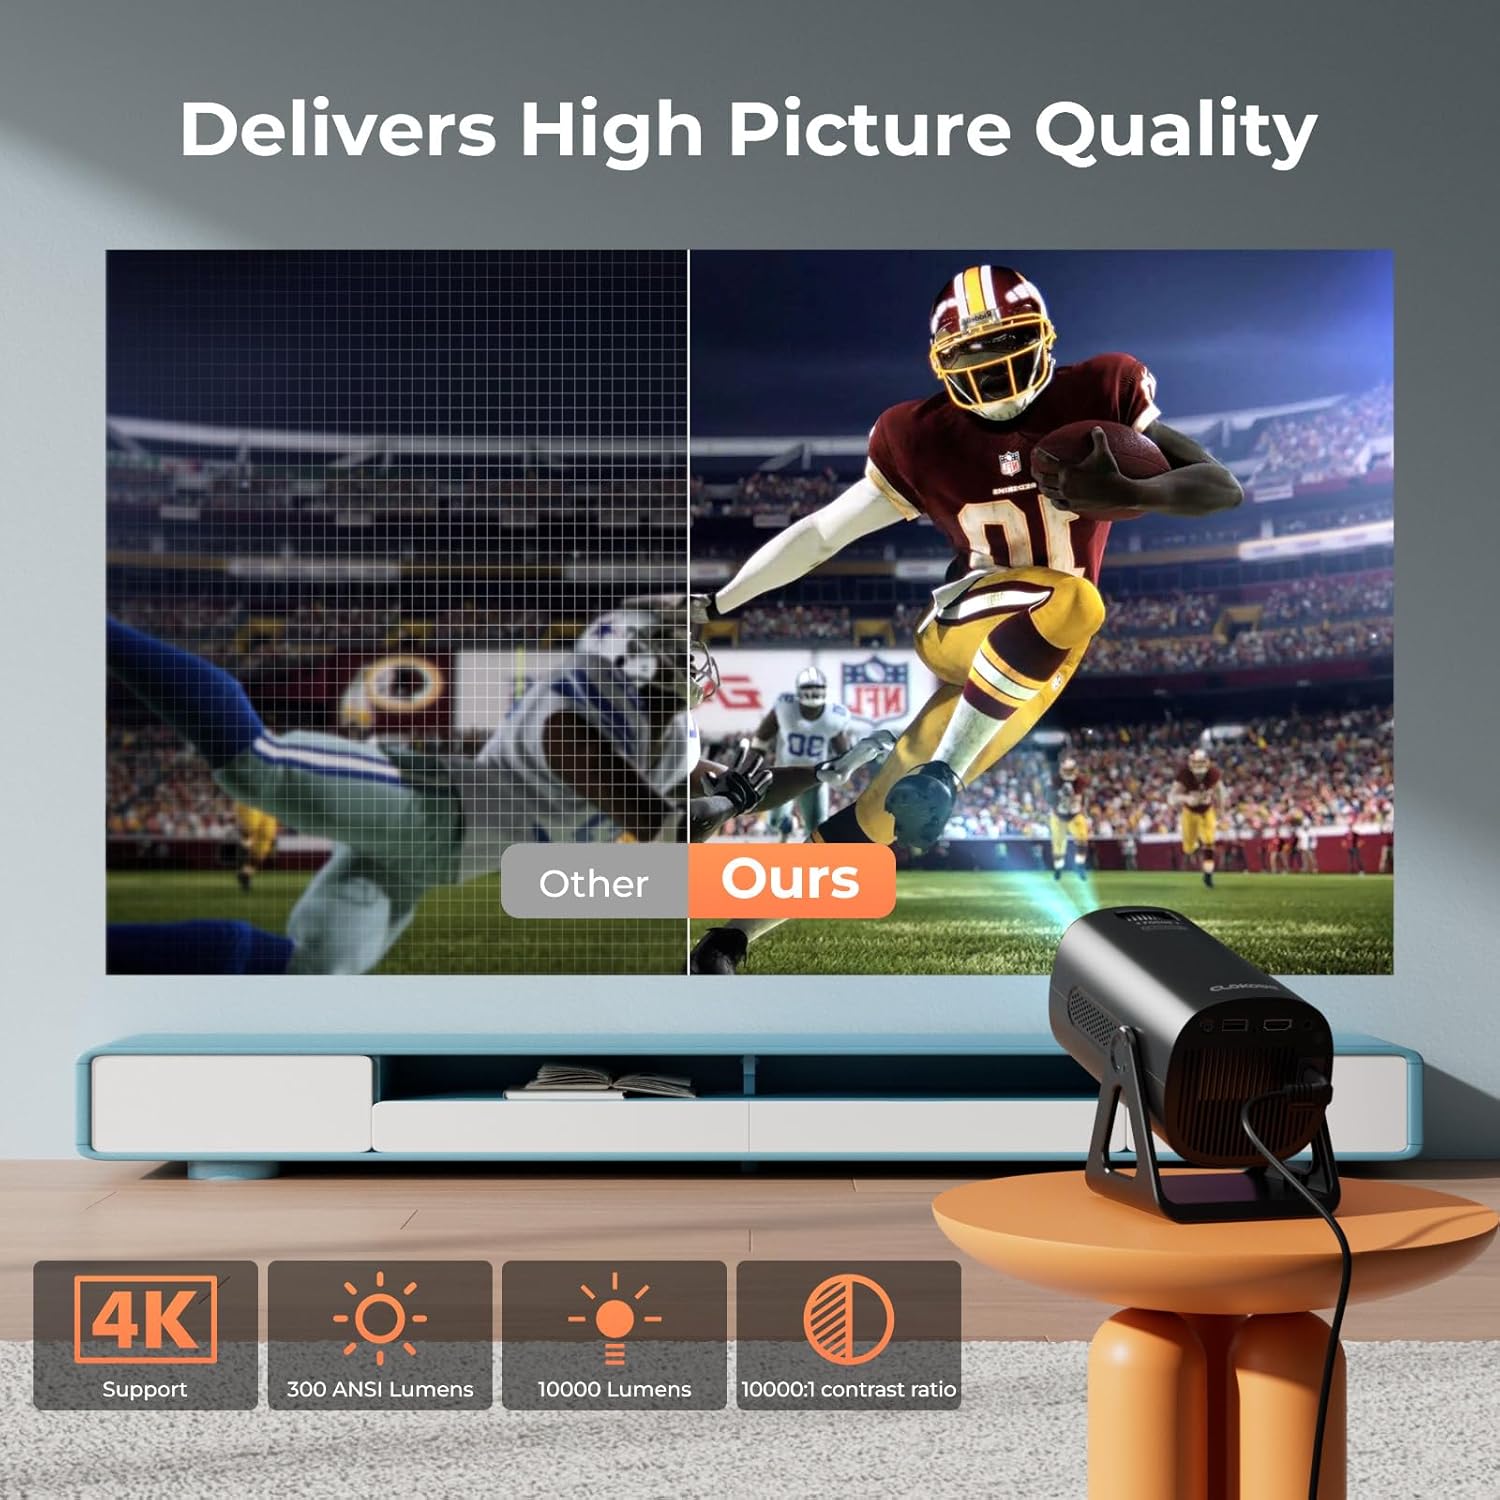
Image 5.5: Visual comparison of picture quality, emphasizing 4K support and brightness specifications.
6. Wartung
- Linsenreinigung: Verwenden Sie ein weiches, fusselfreies Tuch, das speziell für optische Linsen entwickelt wurde, um die Projektorlinse vorsichtig abzuwischen. Verwenden Sie keine Scheuermittel.
- Staubentfernung: Regularly clean the projector's vents with a soft brush or compressed air to prevent dust buildup, which can affect performance and lifespan.
- Lagerung: Bei längerer Nichtbenutzung sollte der Projektor an einem kühlen, trockenen Ort aufbewahrt werden, vorzugsweise in der Originalverpackung oder einem Schutzkoffer.
- Ausschalten: Always power off the projector correctly and allow it to cool down before unplugging or moving it.
7. Fehlerbehebung
Häufige Probleme und Lösungen:
- Kein Strom:
• Ensure the power cord is securely connected to both the projector and the power outlet.
• Prüfen Sie, ob die Steckdose funktionsfähig ist. - Kein Bild/Signal:
• Verify that the correct input source (HDMI, USB, AV) is selected in the projector's menu.
• Check the connection cables between the projector and the source device.
• Ensure the source device is powered on and outputting a signal. - Verschwommenes Bild:
• Stellen Sie den Fokusring am Projektorobjektiv ein.
• Ensure the projection surface is flat and the projector is stable.
• Check if the lens is clean. - Das Bild ist trapezförmig:
• The automatic keystone correction should adjust this. If not, check for manual keystone adjustment options in the settings. - Kein Ton:
• Check the volume settings on both the projector and the source device.
• If using Bluetooth, ensure the external speaker/headphones are properly paired and connected.
• If using HDMI, ensure the audio output is correctly configured on the source device. - WLAN-/Bluetooth-Verbindungsprobleme:
• Ensure the projector is within range of the WiFi router or Bluetooth device.
• Restart the projector and the network device.
• Re-enter WiFi passwords carefully.
8. Spezifikationen
| Besonderheit | Spezifikation |
|---|---|
| Modellnummer | T800 |
| Bildschirmauflösung | 1280 x 720 (Native 1080p, 4K Support) |
| Konnektivitätstechnologie | 3.5-mm-Klinkenanschluss, Bluetooth 5.2, HDMI, USB, Wi-Fi 6 (2.4 GHz/5 GHz) |
| Besonderheit | Portable, 270° Rotatable Stand, Star Projector, Ambient Night Light, Auto Keystone Correction, Zoom |
| Empfohlene Verwendung | Wirtschaft, Bildung, Gaming, Heimkino |
| Artikelgewicht | 2.38 Pfund |
| Verpackungsabmessungen | 9.13 x 6.69 x 5.28 Zoll |
9. Garantie und Support
ClokoWe products are designed for reliability and performance. For warranty information, technical support, or service inquiries, please refer to the warranty card included in your package or visit the official ClokoWe website. Please have your model number (T800) and purchase details ready when contacting support.
Ask a question about this manual
Ask about setup, troubleshooting, compatibility, parts, safety, or missing instructions. Manuals+ will review the question and use this page’s manual context to help answer it.