
1. Einleitung
This manual provides essential instructions for the installation, operation, and maintenance of your Lockly Smart Lock Secure Pro with Knob. Please read this manual thoroughly before installation and retain it for future reference. This smart lock offers multiple access methods including fingerprint, PIN Genie keypad, smartphone app, and traditional physical keys, along with built-in Wi-Fi connectivity.
2. Sicherheitshinweise
- Versuchen Sie nicht, das Schloss selbst zu zerlegen oder zu reparieren. Dies kann zum Erlöschen der Garantie und zu Schäden führen.
- Use only the specified battery type (AA alkaline batteries). Do not mix old and new batteries or different types of batteries.
- Um Fehlfunktionen zu vermeiden, ist während der Installation sicherzustellen, dass alle Komponenten fest befestigt sind.
- Bewahren Sie die physischen Schlüssel an einem sicheren Ort fernab vom Schloss auf.
- Protect the keypad from direct sunlight and extreme weather conditions to prolong its lifespan.
3. Produktüberschreitungview
The Lockly Smart Lock Secure Pro with Knob integrates advanced security features into a convenient door locking solution. It features a biometric fingerprint sensor, a patented PIN Genie keypad, and Wi-Fi for remote access.

Image: Lockly Smart Lock Secure Pro with Knob illustrating its various unlocking methods: fingerprint, PIN Genie keypad, physical key, and smartphone app control.
4. Door Preparation & Compatibility
Before installation, verify your door's dimensions meet the requirements for the Lockly Smart Lock Secure Pro with Knob. Proper door preparation is crucial for correct functionality.

Image: Diagram showing required door measurements for Lockly Smart Lock installation, including door thickness (1 3/8" - 2") and backset (2 3/8" or 2 3/4").

Bild: Vorderseite view diagram detailing standard door bore hole (2 inch / 50mm) and backset (2.8 inch / 71mm) dimensions for knob installation.
Ensure your door thickness is between 1 3/8 inches and 2 inches. The backset should be either 2 3/8 inches or 2 3/4 inches. The bore hole diameter for the knob should be 2 inches (50mm).
5. Installationsanleitung
Dieser Abschnitt bietet einen allgemeinen Überblickview of the installation process. For detailed step-by-step instructions, refer to the dedicated installation guide included with your product packaging.
5.1 Mechanische Installation
- Bereiten Sie die Tür vor: Ensure the door is properly drilled according to the compatibility requirements.
- Installieren Sie den Riegel: Setzen Sie den Riegel in die Türkante ein und befestigen Sie ihn mit Schrauben.
- Installieren Sie die Außenbaugruppe: Place the exterior lock assembly onto the door, ensuring the spindle passes through the latch.
- Montage der inneren Montageplatte: Befestigen Sie die innere Montageplatte mit den mitgelieferten Schrauben an der äußeren Baugruppe.
5.2 Electronic Installation
- Kabel anschließen: Verbinden Sie das Kabel von der äußeren Baugruppe vorsichtig mit der inneren Baugruppe.
- Installieren Sie die Innenbaugruppe: Mount the interior assembly onto the mounting plate and secure it.
- Batterien einlegen: Open the battery cover on the interior assembly and insert four (4) AA alkaline batteries.
- Perform Handing Process: Follow the on-screen or app instructions to calibrate the lock for your door's handing (left or right).
6. Ersteinrichtung & App-Kopplung
After physical installation, download the Lockly App from your device's app store to complete the setup and connect your smart lock to Wi-Fi.
- Download Lockly App: Suchen nach "Lockly" in the App Store or Google Play Store.
- Benutzerkonto erstellen: Öffnen Sie die App und folgen Sie den Anweisungen, um ein neues Benutzerkonto zu erstellen.
- Neues Gerät hinzufügen: Select "Add New Device" and choose your Lockly Smart Lock model.
- Paarsperre: Follow the in-app instructions to pair your lock via Bluetooth and connect it to your home Wi-Fi network. This enables remote control and monitoring.
7. Operating Your Lockly Smart Lock
7.1 Entsperren mit Fingerabdruck
The Lockly Smart Lock features AI Biometric Fingerprint Technology for quick access.

Image: A finger placed on the Lockly Smart Lock's biometric sensor, demonstrating its 0.2-second recognition speed and capacity for up to 99 unique fingerprints.
- Fingerabdrücke registrieren: Use the Lockly App to register up to 99 unique fingerprints.
- Place Finger: Gently place your registered finger on the fingerprint sensor.
- Freischalten: The lock will unlock in approximately 0.2 seconds if the fingerprint is recognized.
7.2 Unlocking with PIN Genie Keypad
The patented PIN Genie keypad prevents code guessing by dynamically shuffling numbers.

Bild: Nahaufnahme view of the Lockly Smart Lock's PIN Genie keypad, illustrating how the digit locations dynamically shuffle after each use to prevent password guessing.
- Activate Keypad: Berühren Sie den Bildschirm, um die Tastatur zu aktivieren.
- Pin eingeben: Enter your 6-8 digit PIN code. The numbers will shuffle after each digit entry.
- Bestätigen: Press the Lockly button (bottom center) to confirm.
7.3 Unlocking with Lockly App
Control your lock remotely using the Lockly App via built-in Wi-Fi.
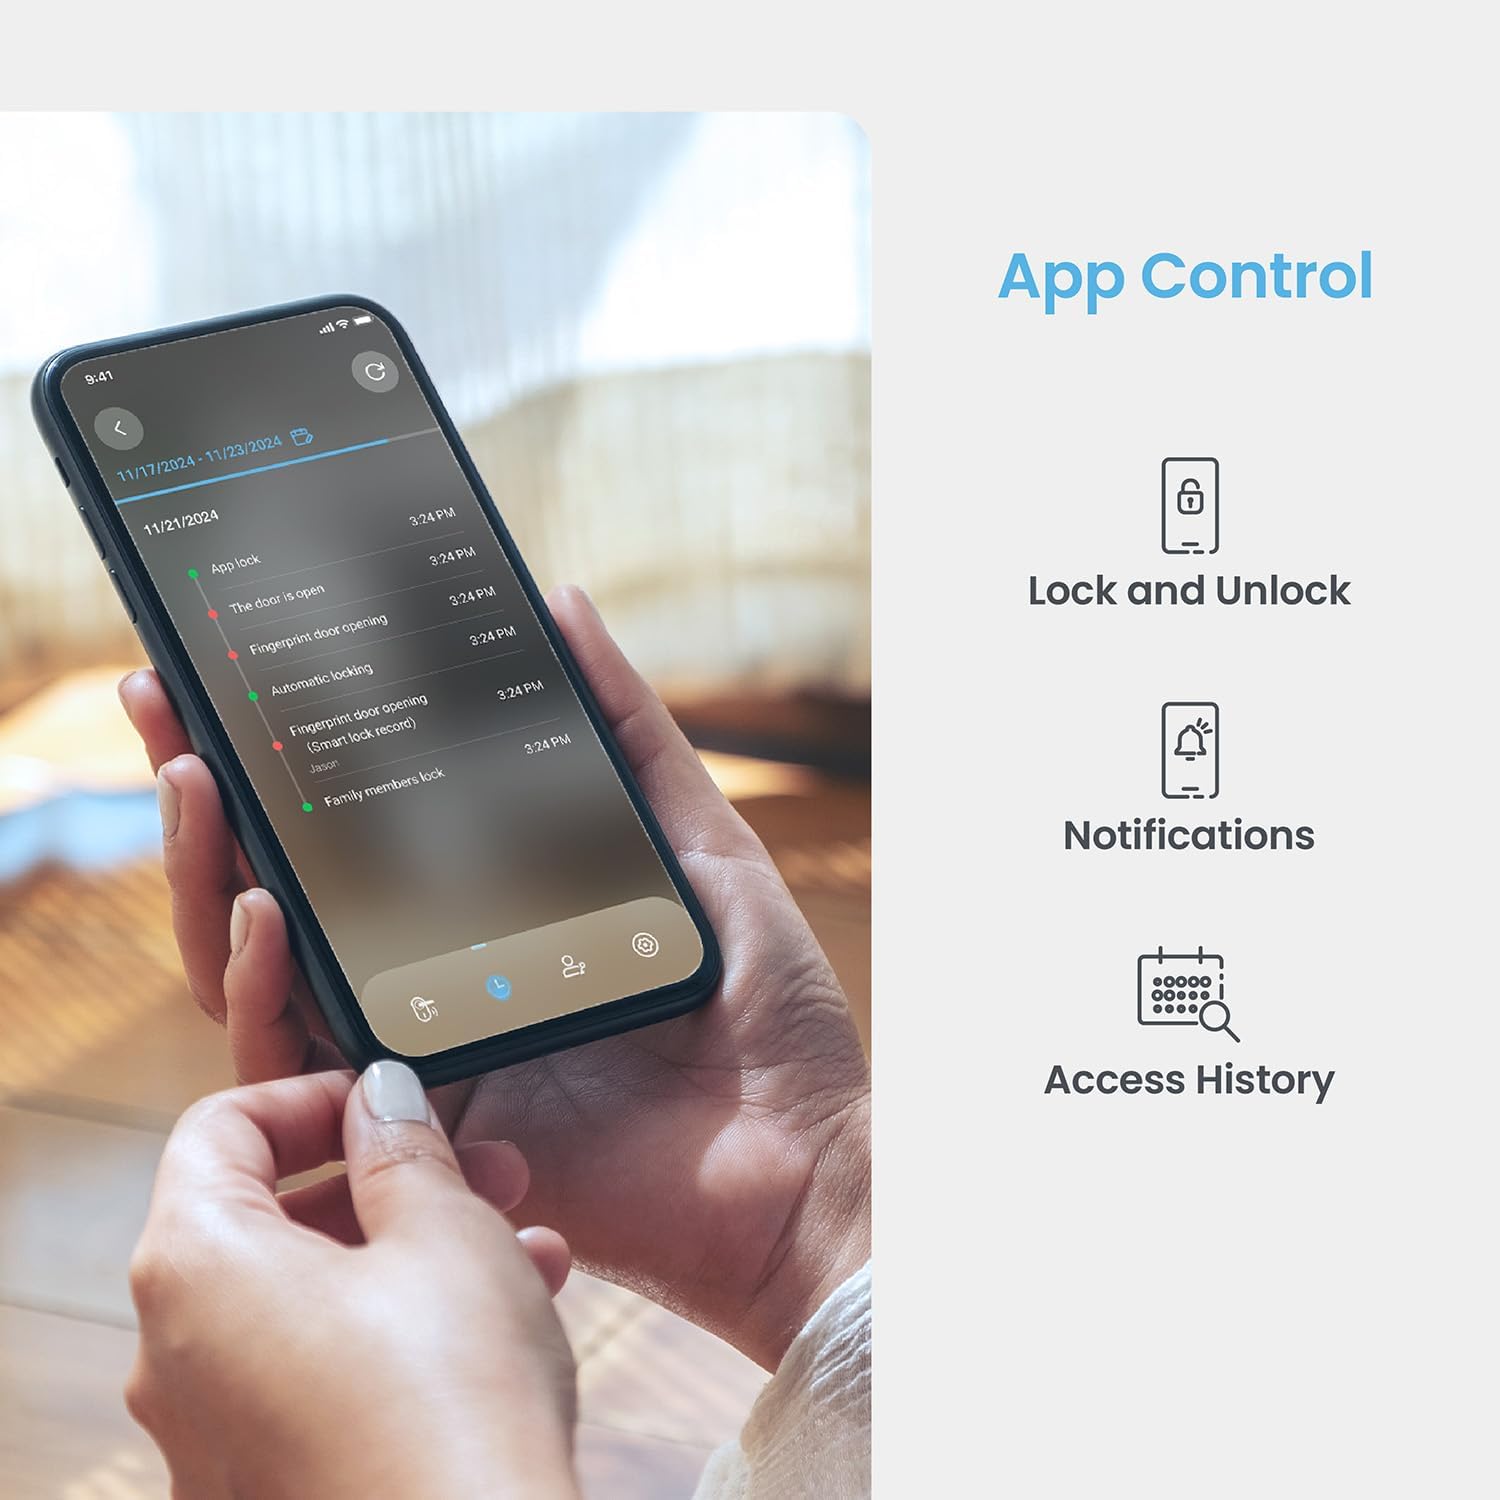
Image: A smartphone displaying the Lockly App, showing options for remote lock/unlock, notifications, and access history logs.
- Öffne App: Launch the Lockly App on your smartphone.
- Select Lock: Choose the desired lock from your device list.
- Sperren/Entsperren: Tap the lock/unlock icon to control the deadbolt.
7.4 Entriegelung mit physischem Schlüssel
Two physical backup keys are provided for manual unlocking.
- Schlüssel einfügen: Insert the physical key into the keyhole located on the exterior assembly.
- Schlüssel umdrehen: Drehen Sie den Schlüssel, um den Riegel zu entriegeln.
7.5 Automatische Verriegelungsfunktion
The programmable auto-lock feature ensures your door is always secured.
- Aktivieren/Deaktivieren: Configure auto-lock settings via the Lockly App.
- Verzögerung einstellen: Customize the delay time before the lock automatically engages after being closed.
7.6 Sprachsteuerungsintegration
Integrate your Lockly Smart Lock with smart home assistants.
- Connect to Alexa/Google Assistant: Follow the instructions in the Lockly App to link your lock with Amazon Alexa or Google Assistant.
- Sprachbefehle: Use voice commands to lock or unlock your door (e.g., "Alexa, lock the front door").
8. Benutzerverwaltung
Manage access for multiple users through the Lockly App.
- Add/Remove Users: Create or delete user profiles, assigning unique fingerprints or PIN codes.
- eKeys/eBadges: Grant temporary or permanent access to guests via eKeys or eBadges, which can be sent directly from your smartphone.
- Offline-Zugangscodes: Generate time-sensitive or single-use access codes that do not require internet connectivity for the recipient.
- Aktivitätsprotokolle: Review a detailed history of lock activity, including who accessed the door and when.
9. Wartung
9.1 Batteriewechsel
The lock operates on 4 AA alkaline batteries, providing approximately 8 months of battery life. Replace batteries when the low battery indicator appears on the lock or in the app.
- Zugang zum Batteriefach: Entfernen Sie die Batterieabdeckung an der inneren Baugruppe.
- Batterien ersetzen: Remove old batteries and insert four new AA alkaline batteries, ensuring correct polarity.
- Abdeckung schließen: Setzen Sie die Batterieabdeckung wieder auf.
9.2 Reinigung
Reinigen Sie die Außenseite des Schlosses mit einem weichen, fusselfreien Tuch.amp Verwenden Sie kein scheuerndes Reinigungs- oder Lösungsmittel, da diese die Oberfläche oder elektronische Bauteile beschädigen könnten.
10. Fehlerbehebung
- Schloss reagiert nicht: Check battery levels. Replace batteries if low. Ensure cables are securely connected.
- Keypad Not Activating: Ensure the screen is clean and free of debris. Try touching different areas of the screen.
- Fingerabdruck nicht erkannt: Stellen Sie sicher, dass Ihr Finger sauber und trocken ist. Registrieren Sie Ihren Fingerabdruck erneut, falls die Probleme weiterhin bestehen.
- Probleme mit der App-Konnektivität: Verify your home Wi-Fi network is active and the lock is within range. Restart the lock and your router if necessary.
- Fehlfunktion der automatischen Verriegelung: Check auto-lock settings in the Lockly App. Ensure the door sensor is not obstructed.
11. Spezifikationen
| Besonderheit | Detail |
|---|---|
| Modell | Secure Pro with Knob |
| ASIN | B0DZXB86LZ |
| Entsperrmethoden | Fingerprint, PIN Genie Keypad, Lockly App, Physical Key |
| Fingerabdruckerkennung | 0.2 seconds, up to 99 fingerprints |
| Keypad Technology | Patented PIN Genie (dynamic number shuffling) |
| Konnektivität | Built-in Wi-Fi, Bluetooth |
| Stromquelle | 4 x AA-Alkalibatterien |
| Akkulaufzeit | Ungefähr 8 Monate |
| Kompatibilität der Türstärke | 1 3/8" - 2" |
| Kompatibilität der Dornmaße | 2 3/8" oder 2 3/4" |
| Sprachsteuerung | Alexa, Google Assistant compatible |
| Standard | Built-to ANSI Standard |
12. Garantie und Support
For warranty information, technical support, or to register your product, please visit the official Lockly website or contact Lockly customer service. Keep your purchase receipt as proof of purchase.
Online-Hilfe: www.lockly.com/support