
1. Einleitung
This manual provides detailed instructions for the installation and care of your SRJTEK replacement screen for the Google Pixel 8A. Please read all instructions carefully before beginning the installation process.
This replacement screen is compatible with Google Pixel 8A models GKV4X, G6GPR, G8HHN, and G576D. It features a 6.1-inch OLED display with a resolution of 1080x2400 pixels.
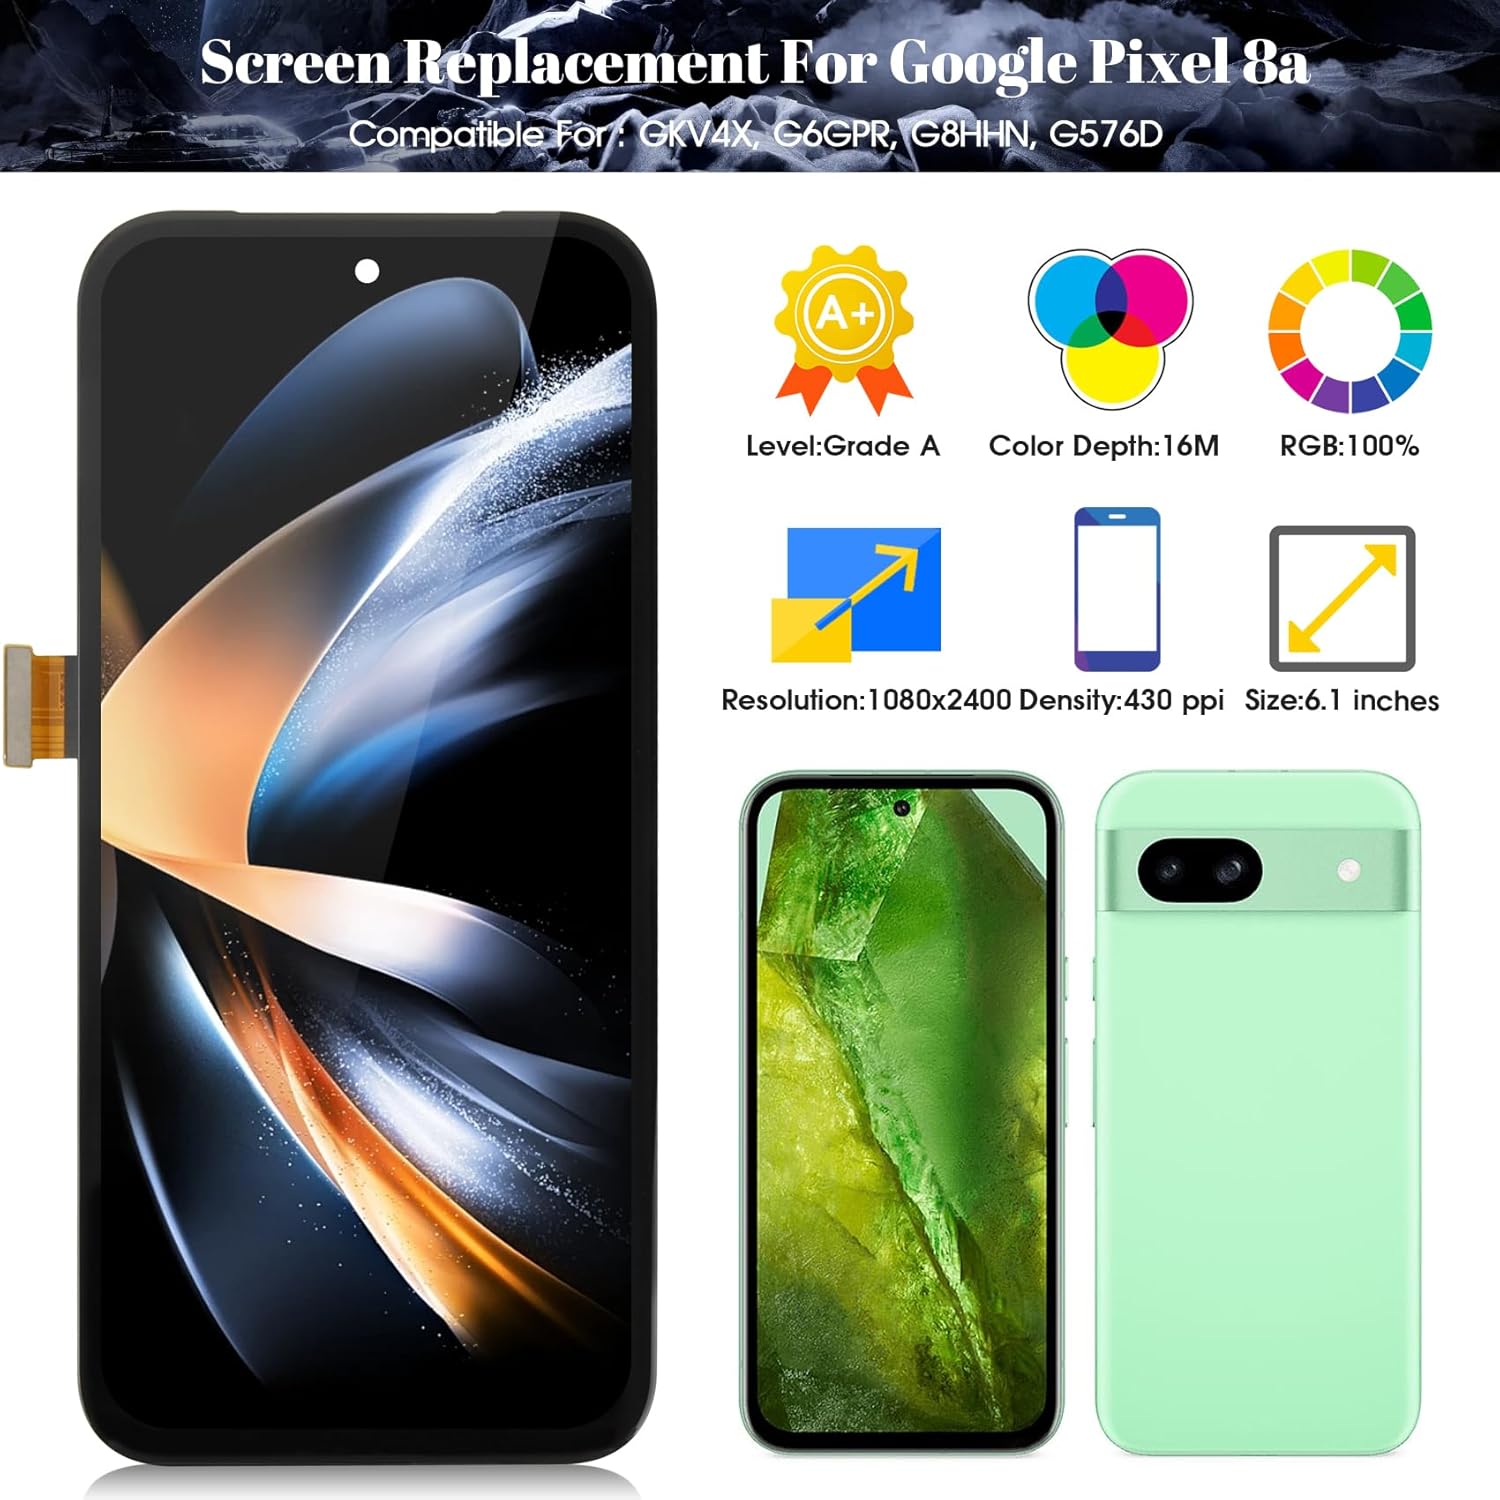
Bild: Überview of the SRJTEK Google Pixel 8A screen replacement, showing key specifications like size, resolution, and color depth.
2. Sicherheitshinweise und wichtige Hinweise
Performing a screen replacement requires careful handling of delicate components. Incorrect installation can damage your device. If you are not confident in your ability to perform this repair, seek professional assistance.
- Vorsichtig handhaben: Screen edges and corners are fragile. Avoid applying excessive pressure.
- Bend Limit: Do not over-bend the LCD flex cable. Bending it beyond 90 degrees can cause damage.
- Zuerst ausschalten: Ensure your device is completely powered off before beginning any installation steps.
- Elektrostatische Entladung (ESD): Take precautions against ESD. Use an anti-static wrist strap or frequently touch a grounded metal object.
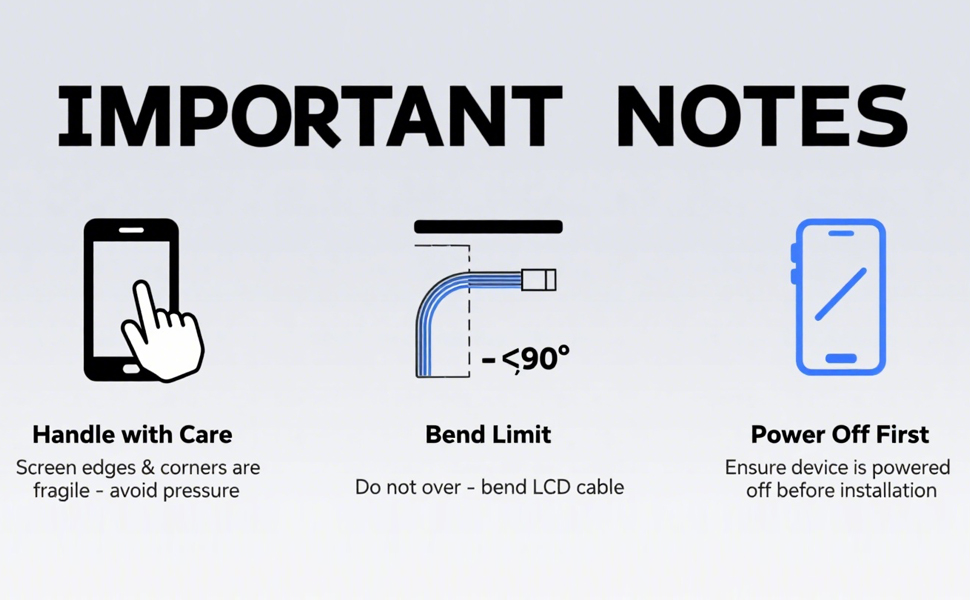
Image: Visual representation of important safety notes: handle with care, bend limit for flex cables, and power off the device before starting.
3. Packungsinhalt
The SRJTEK screen replacement kit typically includes:
- SRJTEK Google Pixel 8A LCD Display Digitizer Touch Screen Assembly (without frame)
- Basic repair tool kit (may include screwdrivers, pry tools, suction cup, SIM ejector tool, adhesive strips)
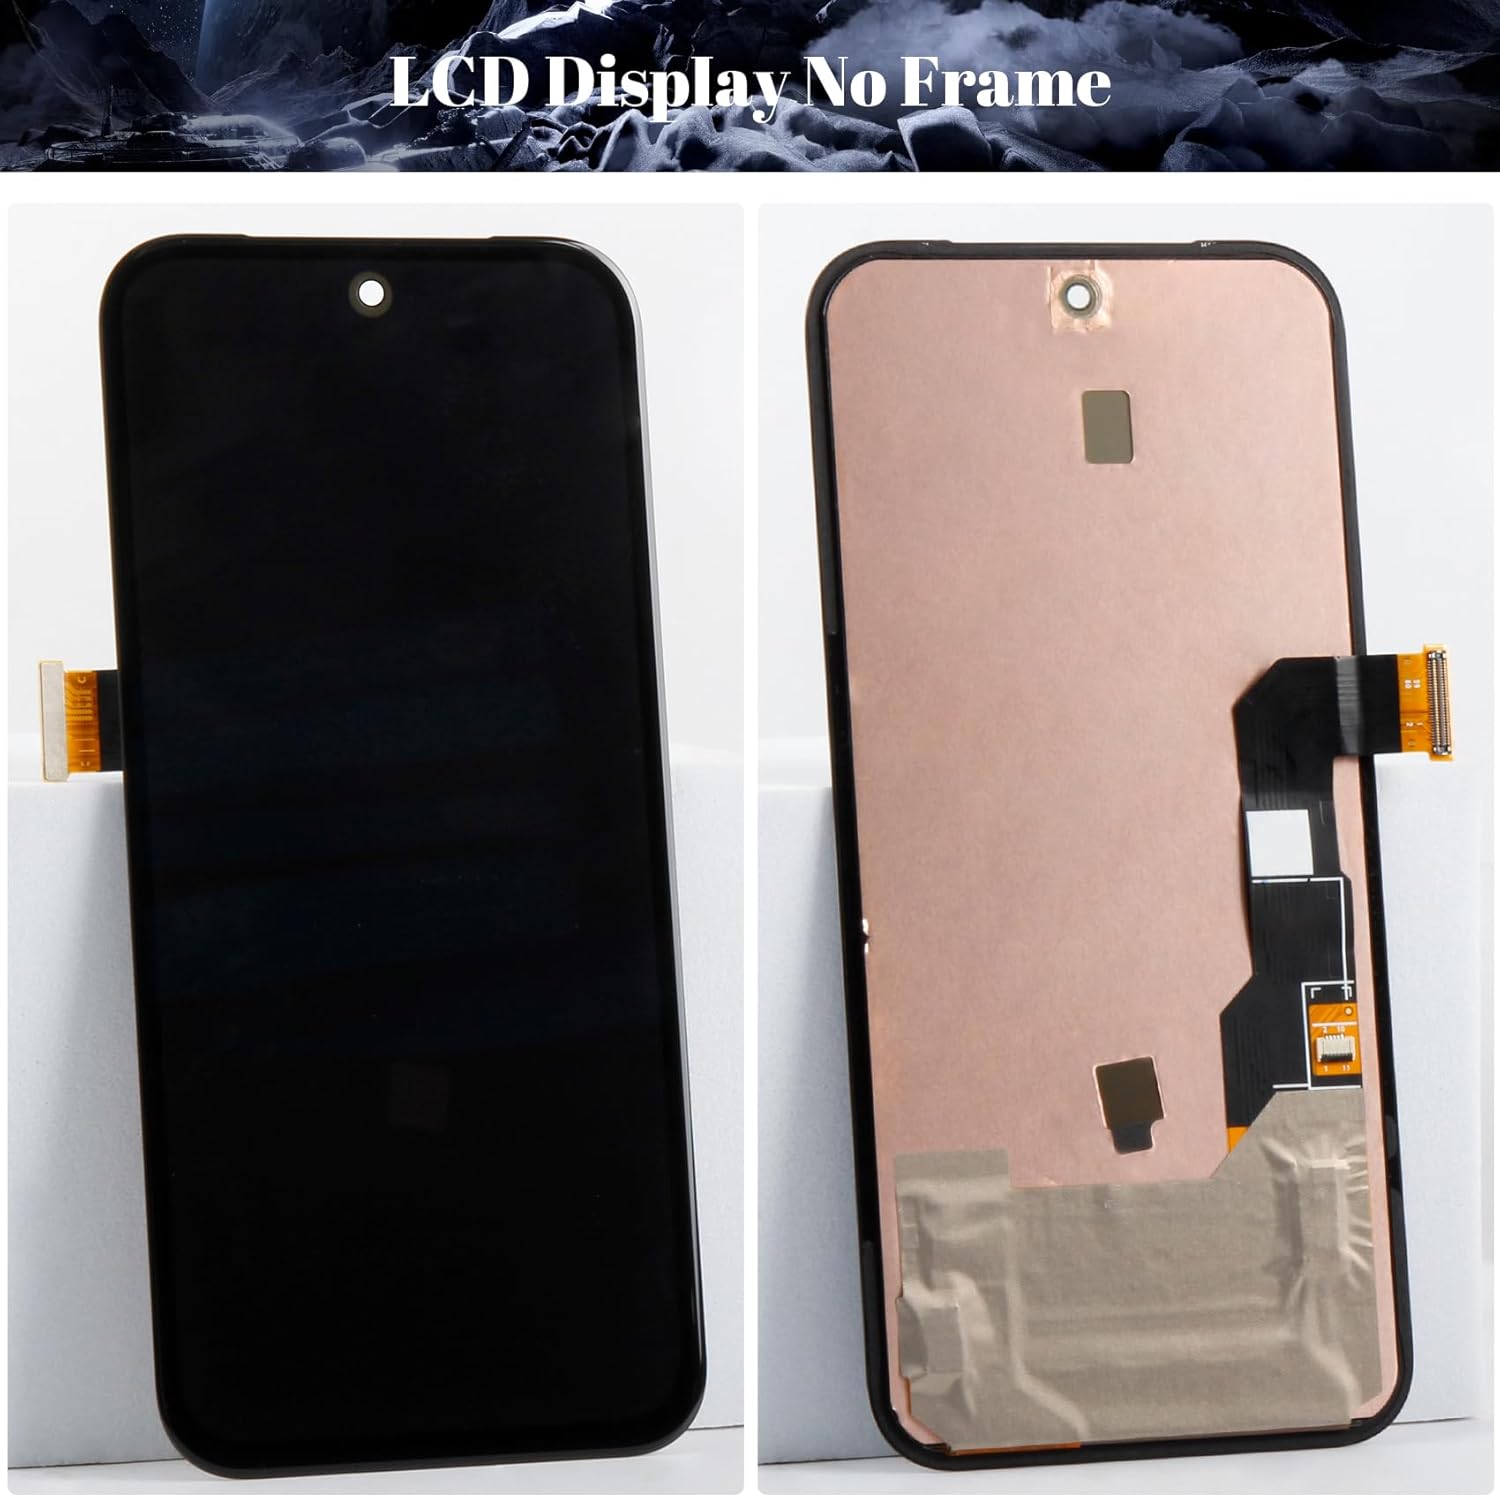
Abbildung: Vorder- und Rückseite view of the SRJTEK Google Pixel 8A LCD display assembly without a frame.

Image: Contents of a typical screen replacement tool kit, including various screwdrivers, pry tools, suction cup, and adhesive.
4. Einrichtung und Installation
Before starting, ensure your phone is powered off and disconnect the battery if possible. This guide provides general steps; specific disassembly and reassembly procedures may vary slightly. Refer to online repair guides or videos for your specific phone model for detailed visual instructions.
- Bereiten Sie Ihren Arbeitsbereich vor: Clear a clean, well-lit, and static-free area.
- SIM-Fach entfernen: Use the SIM ejector tool to remove the SIM card tray.
- Heat the Edges (if necessary): Gently heat the edges of the screen with a heat gun or hairdryer to soften the adhesive. Do not overheat.
- Pry Open the Screen: Use a suction cup to lift the screen slightly, then insert a thin pry tool (plastic preferred) to carefully separate the old screen from the phone frame. Work slowly around all edges.
- Disconnect Flex Cables: Once the screen is partially separated, carefully disconnect the flex cables connecting the screen to the motherboard. This usually involves prying up small ZIF connectors.
- Altes Display entfernen: Completely remove the damaged screen.
- Transfer Components (if applicable): If your new screen does not come with a frame, you may need to transfer components like the earpiece speaker, front camera, and fingerprint sensor flex cable from your old screen to the new one. For fingerprint functionality, the fingerprint flex cable needs to be removed from your old screen and requires calibration after installation.
- Reinigen Sie den Rahmen: Remove any old adhesive residue from the phone frame.
- Test New Screen: Before applying new adhesive, connect the new screen's flex cables to the motherboard. Power on the phone and test the display, touch functionality, and any transferred components. Power off the phone after testing.
- Neuen Klebstoff auftragen: Apply new adhesive strips around the phone frame where the screen will sit.
- Neuen Bildschirm installieren: Carefully align and press the new screen into the phone frame. Ensure all flex cables are properly connected and not pinched.
- Sichern Sie den Bildschirm: Apply gentle, even pressure around the edges of the screen to ensure it adheres properly. You may use clamps or rubber bands for a few hours.
- Reinsert SIM Tray: Reinsert the SIM card tray.

Bild: Nahaufnahme von vorn view of the replacement LCD screen for Google Pixel 8A, showing the display area and cutout for the front camera.

Image: Close-up back view of the replacement LCD screen for Google Pixel 8A, showing the flex cable connections and mounting points.
5. Betrieb (Prüfungen nach der Installation)
After installation, perform the following checks to ensure proper functionality:
- Einschalten: Turn on your Google Pixel 8A.
- Anzeigeprüfung: Verify that the display shows images correctly, with no dead pixels, lines, or discoloration.
- Touch-Funktionalität: Test the entire screen for touch responsiveness. Drag an icon across the screen to ensure there are no dead spots.
- Helligkeitsanpassung: Check if the screen brightness can be adjusted.
- Fingerabdruck Sensor: If you transferred the fingerprint flex cable, ensure it is calibrated and functioning correctly.
- Front Camera/Earpiece: If transferred, test the front camera and earpiece speaker.
6. Wartung
To prolong the life of your new screen:
- Displayschutz: Apply a high-quality screen protector to prevent scratches.
- Schutzhülle: Use a protective phone case to guard against drops and impacts.
- Reinigung: Clean the screen with a soft, lint-free cloth, preferably microfiber. Use a screen-specific cleaning solution if necessary, applied to the cloth, not directly to the screen.
- Druck vermeiden: Stellen Sie keine schweren Gegenstände auf Ihr Telefon und üben Sie keinen übermäßigen Druck auf den Bildschirm aus.
- Temperaturextreme: Avoid exposing your phone to extreme temperatures.
7. Fehlerbehebung
Sollten nach der Installation Probleme auftreten, beachten Sie bitte Folgendes:
| Problem | Mögliche Ursache | Lösung |
|---|---|---|
| Bildschirm lässt sich nicht einschalten | Loose flex cable connection, battery not connected, damaged screen. | Check all flex cable connections. Ensure battery is connected. Re-test the screen. If still not working, the screen may be faulty. |
| Touch not responding or dead spots | Loose touch flex cable, damaged touch digitizer, software issue. | Ensure touch flex cable is securely connected. Restart the phone. If the problem persists, the digitizer may be faulty. |
| Lines or discoloration on display | Damaged display flex cable, display panel damage, incorrect connection. | Check display flex cable connection. Ensure no debris is on the connector. If the issue persists, the display panel may be faulty. |
| Fingerabdrucksensor funktioniert nicht | Fingerprint flex cable not transferred, improperly connected, or not calibrated. | Ensure the original fingerprint flex cable was transferred and correctly connected. Perform fingerprint calibration as required by Google Pixel 8A. |
| Screen lifting from frame | Insufficient adhesive, improper seating. | Reapply new adhesive and ensure the screen is properly seated and clamped during curing. |
If troubleshooting steps do not resolve the issue, contact SRJTEK customer support or consult a professional repair service.
8. Spezifikationen
- Produktart: LCD Display Digitizer Touch Screen Assembly (without frame)
- Kompatibilität: Google Pixel 8A (Models: GKV4X, G6GPR, G8HHN, G576D)
- Bildschirmgröße: 6.1 Zoll
- Auflösung: 1080x2400 Pixel
- Anzeigetyp: OLED
- Fingerprint Support: Yes (requires transfer of original flex cable and calibration)
- Artikelgewicht: Ungefähr 0.32 Unzen
- Hersteller: SRJTEK
Screen Type Comparison
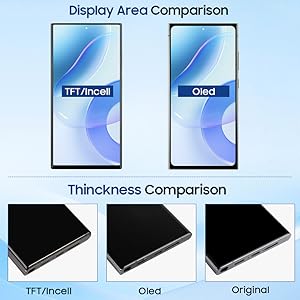
Image: Comparison illustrating differences in display area and thickness between TFT/Incell, OLED, and Original screen types.
Frame Type Comparison
Image: Visual comparison between a screen replacement that includes a frame and one that does not. This product is "Without Frame".
9. Garantie und Support
SRJTEK products are quality tested before shipment. For warranty information or technical support, please refer to the seller's policy on the platform where the product was purchased or contact SRJTEK customer service directly.
Common issues addressed by warranty may include manufacturing defects such as unresponsive touch, dead pixels, or display abnormalities not caused by installation error or physical damage.
For further assistance, you may visit the SRJTEK store on Amazon: SRJTEK Store