
1. Einleitung
This manual provides detailed instructions for the AITRIP ESP32-C3 0.42-inch OLED Development Board. This compact board integrates the ESP32-C3FN4/FH4 core, offering Wi-Fi and Bluetooth Low Energy (BLE) connectivity, along with a built-in 0.42-inch OLED screen. It is designed for various Internet of Things (IoT) applications, wearable devices, and smart home projects, providing a versatile platform for development.
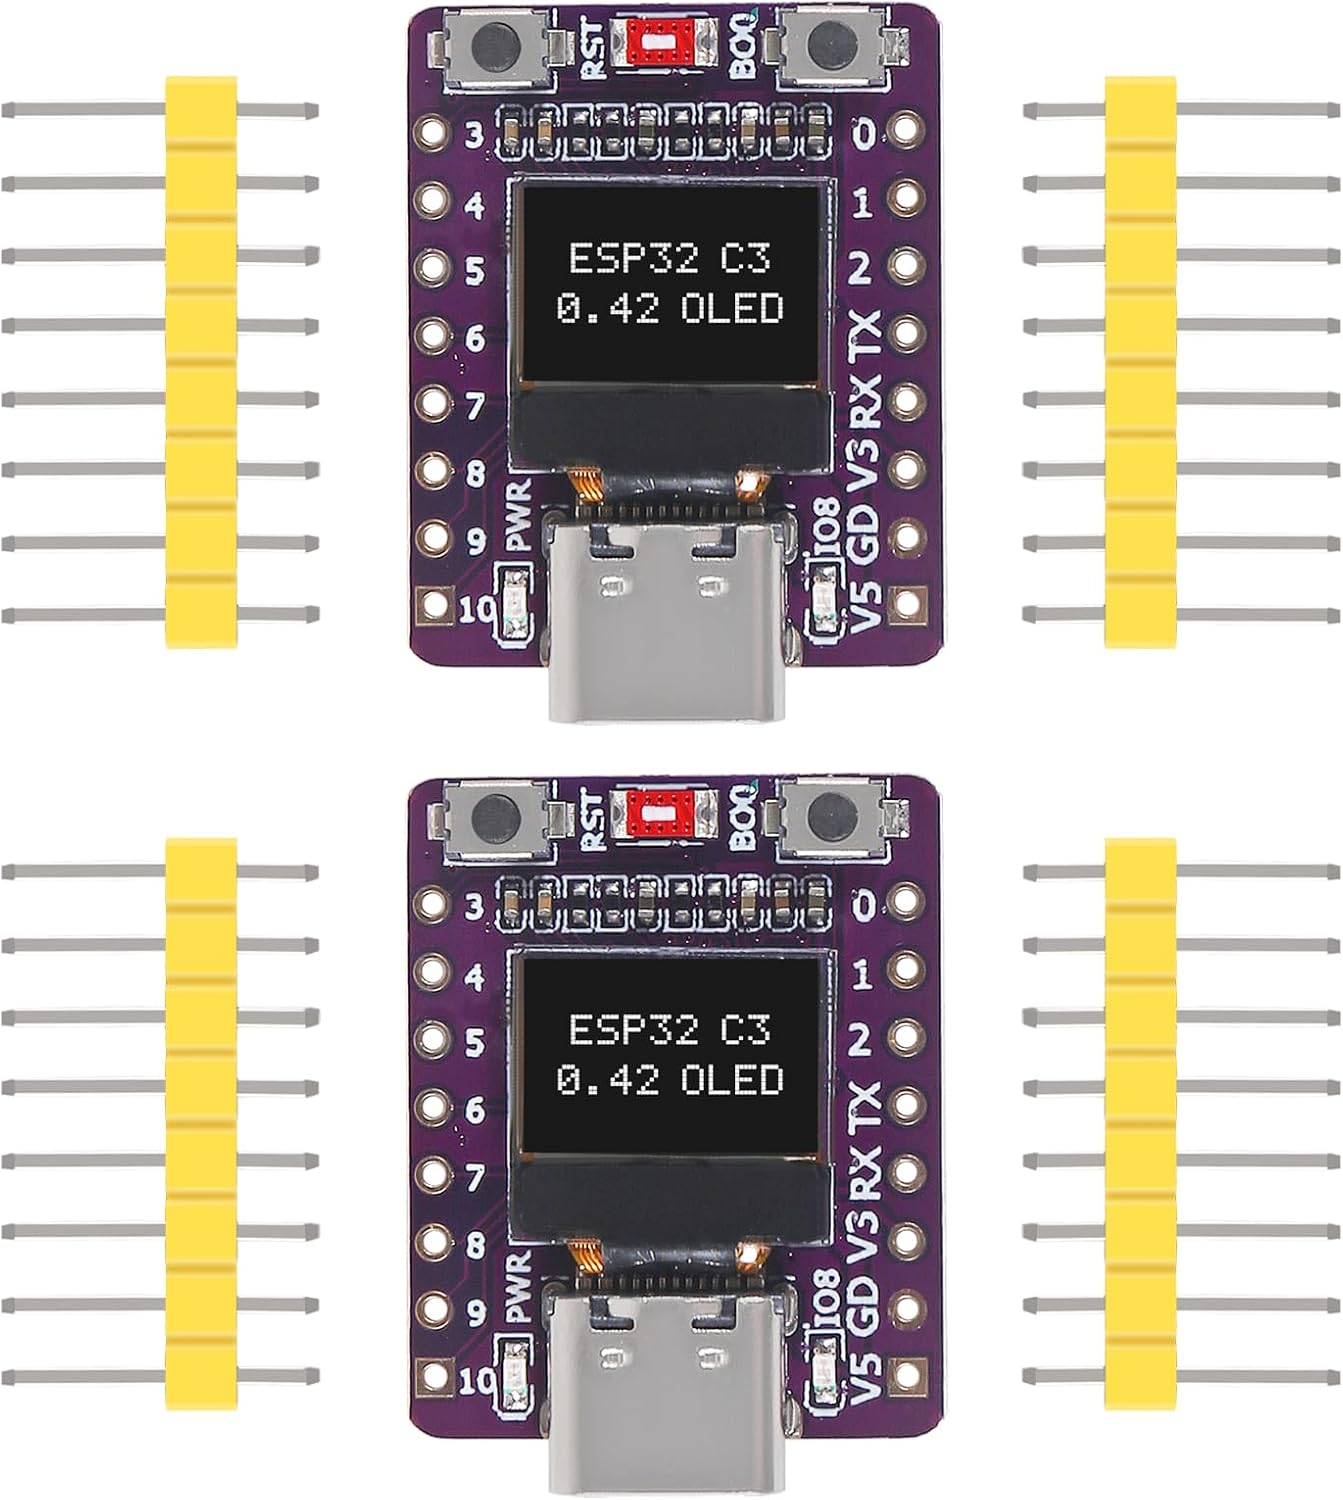
Figure 1: Two AITRIP ESP32-C3 0.42-inch OLED Development Boards with included pin headers.
2. Produktmerkmale
- Kernprozessor: Based on ESP32-C3FN4/FH4, featuring a built-in 4MB flash memory.
- Kabellose Verbindung: Integrated Wi-Fi and Bluetooth (BLE) capabilities with an onboard ceramic antenna.
- Anzeige: Equipped with a 0.42-inch OLED screen for visual output.
- Programmierung: Supports USB download for convenient firmware updates and programming.
- Peripherieschnittstellen: Includes 1x I2C, 1x SPI, 2x UART, 11x GPIO (supporting PWM), and 4x ADC pins for extensive connectivity.
- Kompaktes Design: Features a supermini form factor, ideal for space-constrained projects.
3. Spezifikationen
| Besonderheit | Detail |
|---|---|
| Prozessor | Espressif ESP32-C3 (Core M Family) |
| Betriebssystem | FreeRTOS |
| Speicherkapazität | 4 MB |
| Konnektivitätstechnologie | Bluetooth, USB, WLAN |
| Artikelgewicht | 0.317 Unzen |
| Verpackungsabmessungen | 2.91 x 1.26 x 0.87 Zoll |
| Abmessungen der Platine (ca.) | 25 mm x 20 mm (0.98 x 0.78 Zoll) |
4. Packungsinhalt
Jedes Paket enthält typischerweise:
- ESP32-C3 0.42-inch OLED Development Board(s)
- Pin Headers (for soldering)
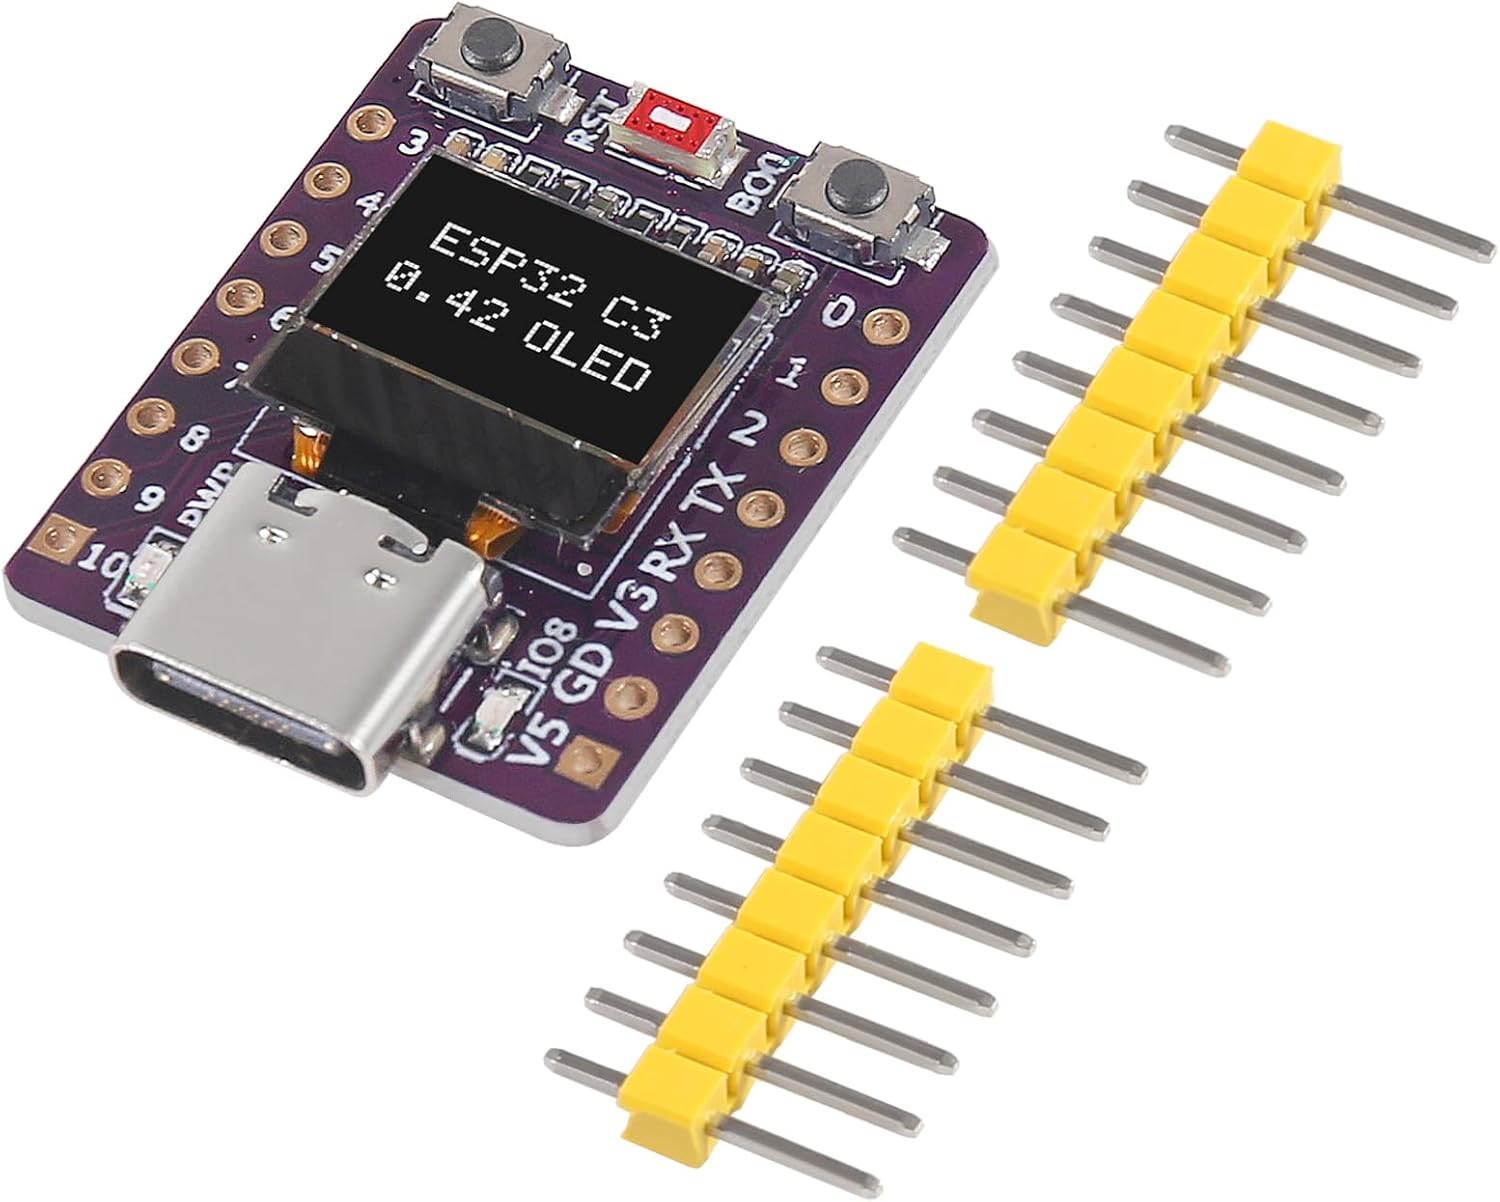
Figure 2: Contents of the AITRIP ESP32-C3 Development Board package.
5. Einrichtung und Hardwareview
Before using the development board, it is recommended to solder the included pin headers to allow for easy integration with breadboards or custom circuits. The board features a USB-C port for power and data communication, along with reset and boot buttons.
5.1 Platinenabmessungen

Figure 3: Approximate dimensions of the ESP32-C3 Development Board.
5.2 Komponentendetails

Abbildung 4: Ausführlich views of key components including the USB-C port, ESP32-C3 chip, and control buttons.
5.3 Pinbelegungsdiagramm
Understanding the pinout is essential for connecting peripherals and programming the board. Refer to the diagram below for GPIO assignments and power pins.
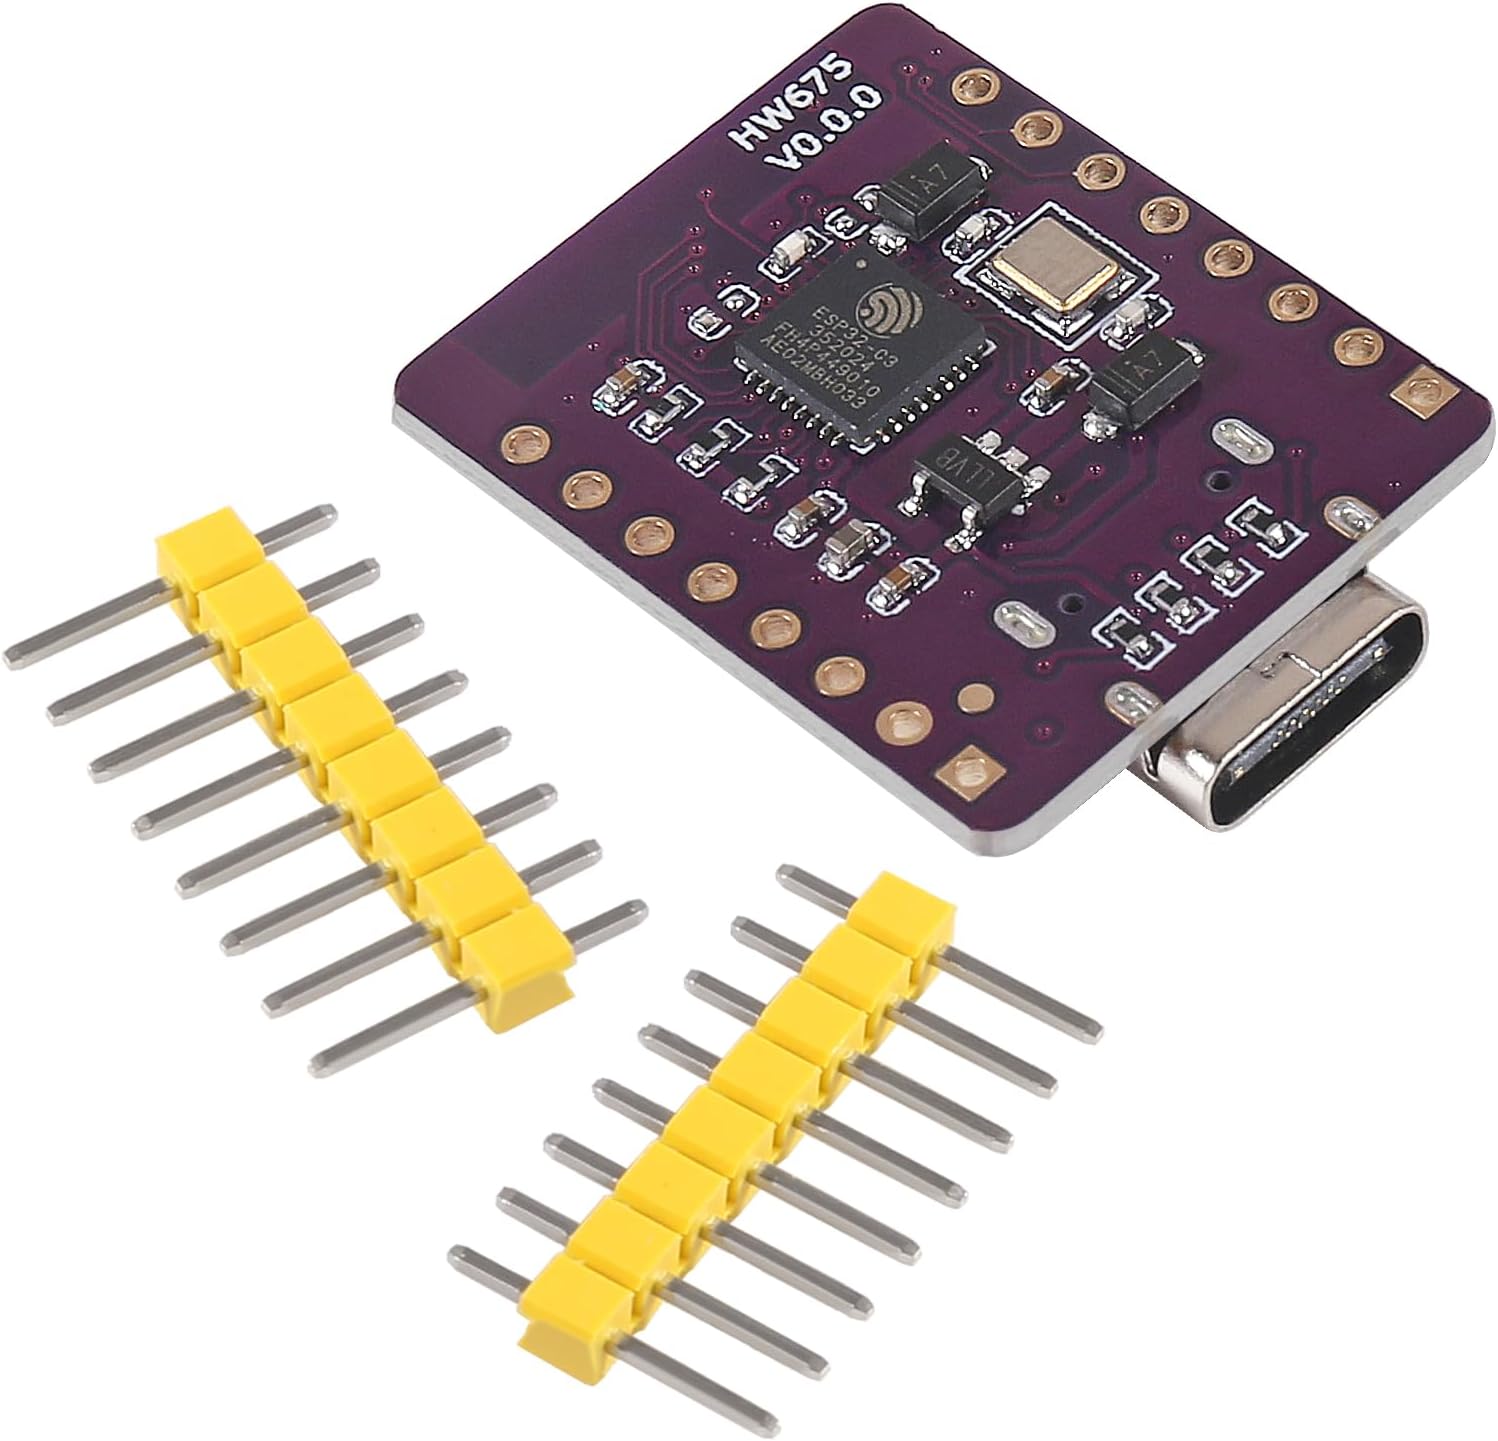
Figure 5: Pinout diagram of the ESP32-C3 Development Board. Note that for the 0.42-inch OLED, I2C SDA and SCL pins are typically GPIO5 and GPIO6, respectively, though some configurations may vary.
6. Bedienungsanleitung
The AITRIP ESP32-C3 Development Board can be programmed using various integrated development environments (IDEs), such as the Arduino IDE or Espressif's ESP-IDF. The onboard 0.42-inch OLED display is typically controlled via I2C communication.
6.1 Initial Programming Setup
- Installieren Sie die Arduino IDE: Laden Sie die neueste Version der Arduino IDE von der offiziellen Arduino-Website herunter und installieren Sie sie. webWebsite.
- ESP32-Board-Unterstützung hinzufügen: In der Arduino IDE gehen Sie zu
File > Preferencesand add the ESP32 board manager URL to the 'Additional Board Manager URLs' field. - ESP32-Boards installieren: Gehe zu
Tools > Board > Boards Manager, search for 'ESP32', and install the 'esp32 by Espressif Systems' package. - Ausschuss auswählen: Unter
Tools > Board > ESP32 Arduino, select a compatible ESP32-C3 board, such as 'MakerGo ESP32C3 Supermini' or a generic ESP32-C3 Dev Module. - Connect Board: Connect the ESP32-C3 board to your computer using a USB-C cable.
- Port auswählen: Gehe zu
Tools > Portund wählen Sie den seriellen Port aus, der zu Ihrer angeschlossenen Platine gehört.
6.2 OLED Display Usage
The 0.42-inch OLED display typically uses the I2C protocol. Common libraries like U8g2 or Adafruit SSD1306 can be used to control it. Based on user feedback, the I2C SDA and SCL pins for the OLED may be GPIO5 and GPIO6, respectively. The usable display area might also require specific offsets (e.g., xOffset=28, yOffset=24 for a 72x40 display within a 128x64 buffer) depending on the specific OLED driver and library configuration.
Refer to the library documentation and example sketches for detailed programming instructions for the OLED.
6.3 Example Anwendungen
The ESP32-C3's Wi-Fi and Bluetooth capabilities, combined with its rich GPIO, enable a wide range of applications, from simple sensor data logging to complex IoT nodes. The board also supports GUI interface programs like LVGL for more advanced display applications.
Video 1: Demonstration of an ESP32-C3 Development Board's features, including Wi-Fi and Bluetooth connectivity, and its application in various projects. This video is provided by Aceirmc US.
Video 2: Ein kurzer Überblickview of an ESP32 module, showcasing its compact size and potential for integration into electronic projects. This video is provided by Aitrip.
7. Wartung
To ensure the longevity and proper functioning of your AITRIP ESP32-C3 Development Board, follow these maintenance guidelines:
- Vorsichtig handhaben: Vermeiden Sie es, das Board fallen zu lassen oder es Stößen auszusetzen.
- Statische Entladung verhindern: Always handle the board on an anti-static mat or by touching a grounded object to discharge static electricity.
- Trocken halten: Schützen Sie die Platine vor Feuchtigkeit und Flüssigkeiten, da diese Kurzschlüsse und Schäden verursachen können.
- Betriebsumgebung: Use the board within its specified operating temperature and humidity ranges.
- Sauberkeit: Halten Sie die Platine frei von Staub und Schmutz. Verwenden Sie bei Bedarf eine weiche, trockene Bürste oder Druckluft zur Reinigung.
8. Fehlerbehebung
If you encounter issues with your ESP32-C3 Development Board, consider the following common troubleshooting steps:
- Probleme mit der Stromversorgung: Ensure the board is receiving adequate power via the USB-C port. Check the cable and power source.
- USB-Verbindung: Verify that the USB-C cable is securely connected and that your computer recognizes the serial port. Try a different USB port or cable.
- Treiberinstallation: Confirm that the necessary USB-to-serial drivers (e.g., CP210x or CH340, depending on the board's chip) are installed on your computer.
- Programmierfehler: If code upload fails, check your Arduino IDE board and port selections. Ensure the correct ESP32-C3 board type is selected.
- OLED-Display funktioniert nicht: Double-check the I2C pin assignments (SDA, SCL) in your code against the board's pinout. Verify the I2C address of the OLED module. Ensure the display library is correctly configured for the 0.42-inch OLED.
- Boot modus: If programming issues persist, try holding down the BOOT button while pressing and releasing the RST button, then release BOOT to enter download mode.
- Community-Unterstützung: For specific programming or hardware issues, consult online forums and communities dedicated to ESP32 development.
9. Garantie und Support
For warranty information and technical support, please refer to the official AITRIP product page or contact AITRIP customer service directly. Keep your purchase receipt for warranty claims.