1. Einleitung
This manual provides instructions for the safe and efficient use of your Brother CP2160F Computerized Sewing Machine. Please read this manual thoroughly before operating the machine to ensure proper function and to prevent damage or injury. Keep this manual in a safe place for future reference.
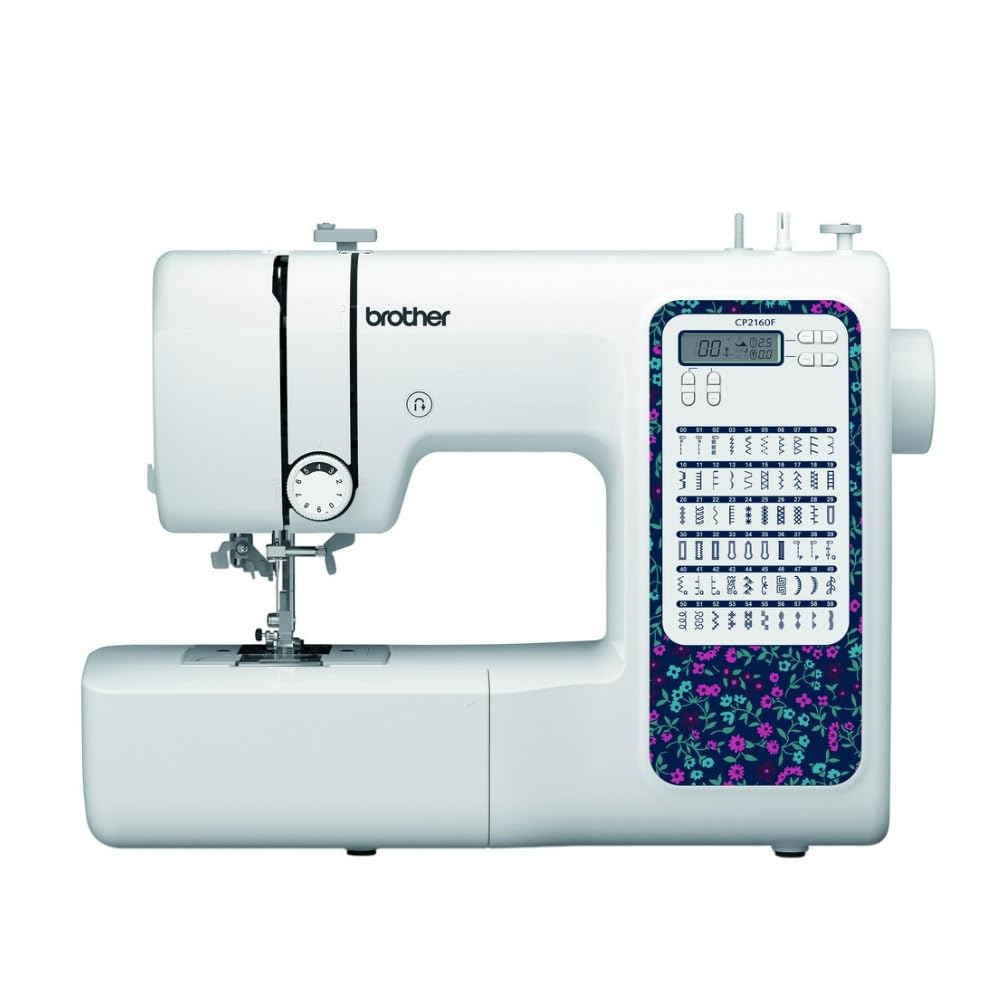
Figure 1: Brother CP2160F Computerized Sewing Machine. This image shows the overall view of the sewing machine, highlighting its compact design and the LCD screen for stitch selection.
2. Wichtige Sicherheitshinweise
Beim Gebrauch eines Elektrogeräts sollten immer grundlegende Sicherheitsvorkehrungen getroffen werden, darunter die folgenden:
- Lesen Sie alle Anweisungen, bevor Sie diese Nähmaschine verwenden.
- Halten Sie die Finger von allen beweglichen Teilen fern. Besondere Sorgfalt ist um die Nähmaschinennadel erforderlich.
- Verwenden Sie immer die richtige Stichplatte. Bei Verwendung einer falschen Platte kann die Nadel abbrechen.
- Schalten Sie die Nähmaschine aus, bevor Sie Einstellungen im Nadelbereich vornehmen, z. B. das Einfädeln der Nadel, das Wechseln der Nadel, das Einfädeln der Spule oder das Wechseln des Nähfußes.
- Trennen Sie die Nähmaschine immer vom Stromnetz, wenn Sie Abdeckungen entfernen, schmieren oder andere Wartungseinstellungen vornehmen, die in der Bedienungsanleitung erwähnt werden.
- Lassen Sie niemals Gegenstände in Öffnungen fallen oder stecken Sie sie hinein.
- Nicht im Freien verwenden.
- Nicht in Bereichen betreiben, in denen Aerosolprodukte (Sprays) verwendet werden oder Sauerstoff verabreicht wird.
- Zum Trennen schalten Sie alle Bedienelemente in die Position „Aus“ und ziehen dann den Stecker aus der Steckdose.
3. Packungsinhalt
Überprüfen Sie, ob alle Komponenten im Paket vorhanden sind:
- Brother CP2160F Computerized Sewing Machine
- Netzkabel
- Fußschalter
- Accessory Bag (containing bobbins, needle set, twin needle, screwdriver, spool caps, extra spool pin, seam ripper, cleaning brush)
- 7 Sewing Feet: Buttonhole foot, Zipper foot, Blind stitch foot, Button sewing foot, Overcasting foot, Monogramming foot, Zigzag foot (on machine)
- Bedienungsanleitung (dieses Dokument)
4. Einrichtung
4.1 Stromanschluss
- Stellen Sie die Maschine auf eine stabile, ebene Fläche.
- Insert the machine plug into the jack on the right side of the machine.
- Insert the power supply plug into a standard electrical outlet.
- Turn on the main power switch, located on the right side of the machine. The LCD screen will illuminate.
4.2 Spulenwicklung
- Setzen Sie eine Garnrolle auf den Garnrollenstift.
- Guide the thread through the upper thread guide and around the pre-tension disc.
- Setzen Sie eine leere Spule auf die Spulenwickelwelle und schieben Sie sie nach rechts.
- Wrap the thread clockwise around the bobbin a few times.
- Press the foot controller (or Start/Stop button) to begin winding. The machine will stop automatically when the bobbin is full.
- Cut the thread, push the bobbin winder shaft to the left, and remove the wound bobbin.
4.3 Einfädeln der Maschine (Obergewinde)
- Heben Sie den Nähfußhebel an.
- Setzen Sie eine Garnrolle auf den Garnrollenstift.
- Führen Sie den Faden durch die obere Fadenführung.
- Follow the numbered threading path indicated on the machine, ensuring the thread passes through the tension discs and takes up lever.
- Use the advanced needle threading system: Lower the presser foot, lower the needle, then push down the needle threader lever to engage it. Guide the thread through the hook and release the lever.
- Pull the thread loop through the needle eye.
4.4 Nadelinstallation
- Schalten Sie die Maschine aus.
- Lösen Sie die Nadel clamp Schraube durch Drehen gegen den Uhrzeigersinn lösen.
- Die alte Nadel entfernen.
- Setzen Sie die neue Nadel so ein, dass die flache Seite zur Rückseite der Maschine zeigt, und schieben Sie sie so weit wie möglich nach oben.
- Ziehen Sie die Nadel clamp fest verschrauben.
5. Bedienung
5.1 Stichauswahl
The CP2160F features 60 built-in stitches. Use the stitch selector buttons (usually '+' and '-') to navigate through the stitch patterns displayed on the LCD screen. The recommended stitch length and width will be displayed automatically, but can be adjusted if desired.
5.2 Automatische Knopflöcher
This machine includes 7 auto-size buttonhole styles. Attach the buttonhole foot. Place the button you wish to match into the buttonhole foot's holder. Select the desired buttonhole stitch. The machine will automatically sew a buttonhole to the correct size.
5.3 Free-Arm Sewing
To convert to free-arm sewing, slide off the accessory box located at the front of the machine. This exposes the free arm, ideal for sewing cylindrical items like cuffs, sleeves, and pant hems.
5.4 Sewing Thick Fabrics
The CP2160F's robust feed system and fixed needle bar are designed to handle thick materials such as denim and tweed. Ensure you use the correct needle type and size for the fabric thickness to prevent needle breakage and ensure smooth feeding.
5.5 Using Included Sewing Feet
The machine comes with seven specialized sewing feet. Refer to the specific stitch instructions for which foot to use. To change a presser foot:
- Heben Sie Nadel und Nähfuß an.
- Drücken Sie den schwarzen Hebel an der Rückseite des Nähfußhalters, um den aktuellen Nähfuß zu lösen.
- Align the new foot with the pin on the presser foot holder and lower the presser foot lever until it snaps into place.
6. Wartung
6.1 Maschine reinigen
Regular cleaning helps maintain optimal performance. Always unplug the machine before cleaning.
- Feed Dogs: Remove the needle plate and use the cleaning brush to remove lint and dust from the feed dogs and bobbin area.
- Hook Race: Carefully remove the bobbin case and clean the hook race area with the brush.
- Exterieur: Wipe the exterior surfaces with a soft, dry cloth. Do not use liquid cleaners or harsh chemicals.
Note: This machine does not require user lubrication.
7. Fehlerbehebung
Bevor Sie den Kundendienst kontaktieren, ...view diese häufigen Probleme und ihre Lösungen:
| Problem | Mögliche Ursache | Lösung |
|---|---|---|
| Nadel bricht | Incorrect needle size/type for fabric; bent needle; needle not fully inserted; pulling fabric while sewing. | Use correct needle; replace bent needle; re-insert needle correctly; guide fabric gently. |
| Ausgelassene Stiche | Needle bent or dull; incorrect needle insertion; improper threading; wrong needle for fabric. | Replace needle; re-insert needle; re-thread machine; use appropriate needle. |
| Thread jams | Improper threading; lint in bobbin case; bobbin wound unevenly. | Re-thread machine; clean bobbin area; re-wind bobbin evenly. |
| Maschine lässt sich nicht einschalten | Power cord not connected; power switch off; electrical outlet issue. | Check power cord connections; ensure switch is ON; test outlet with another appliance. |
8. Spezifikationen
- Modell: Brother CP2160F
- Stichzahl: 60 integrierte Stiche
- Knopflöcher: 7 One-step auto-size buttonholes
- Nadeleinfädler: Advanced Needle Threading System
- Anzeige: LCD Bildschirm
- Sewing Area: Free-arm capability
- Zuführsystem: Exceptional feed for thick fabrics
- Included Feet: 7 (Buttonhole, Zipper, Blind Stitch, Button Sewing, Overcasting, Monogramming, Zigzag)
- Farbe: Weiß
- Material: Metall, Kunststoff
- Produktabmessungen (T x B x H): 6.65" x 12.2" x 16.26"
- Artikelgewicht: 226 Unzen (ca. 14.1 Pfund)
- Energiequelle: Kabelgebundene Elektrik
- UPC: 196271536956
9. Kundendienst und Garantie
For technical assistance, warranty information, or service inquiries, please contact Brother customer support. Refer to the official Brother webDie aktuellsten Kontaktdaten und Garantiebedingungen finden Sie auf der Website oder in der mit Ihrem Kauf gelieferten Dokumentation.
Online-Hilfe: www.brother-usa.com/support
Hinweis: Die Garantiebedingungen können je nach Region und Händler variieren. Bewahren Sie Ihren Kaufbeleg für Garantieansprüche auf.