
Einführung
The Zunate 3-Outlet Sprinkler Timer is designed to automate your garden watering, providing efficient and customizable irrigation for lawns, gardens, and other applications. This device features robust brass terminals for durability, a user-friendly interface with an LCD screen, and the ability to set up to three independent watering programs per day. It also includes a child safety lock function and is designed to minimize water waste.
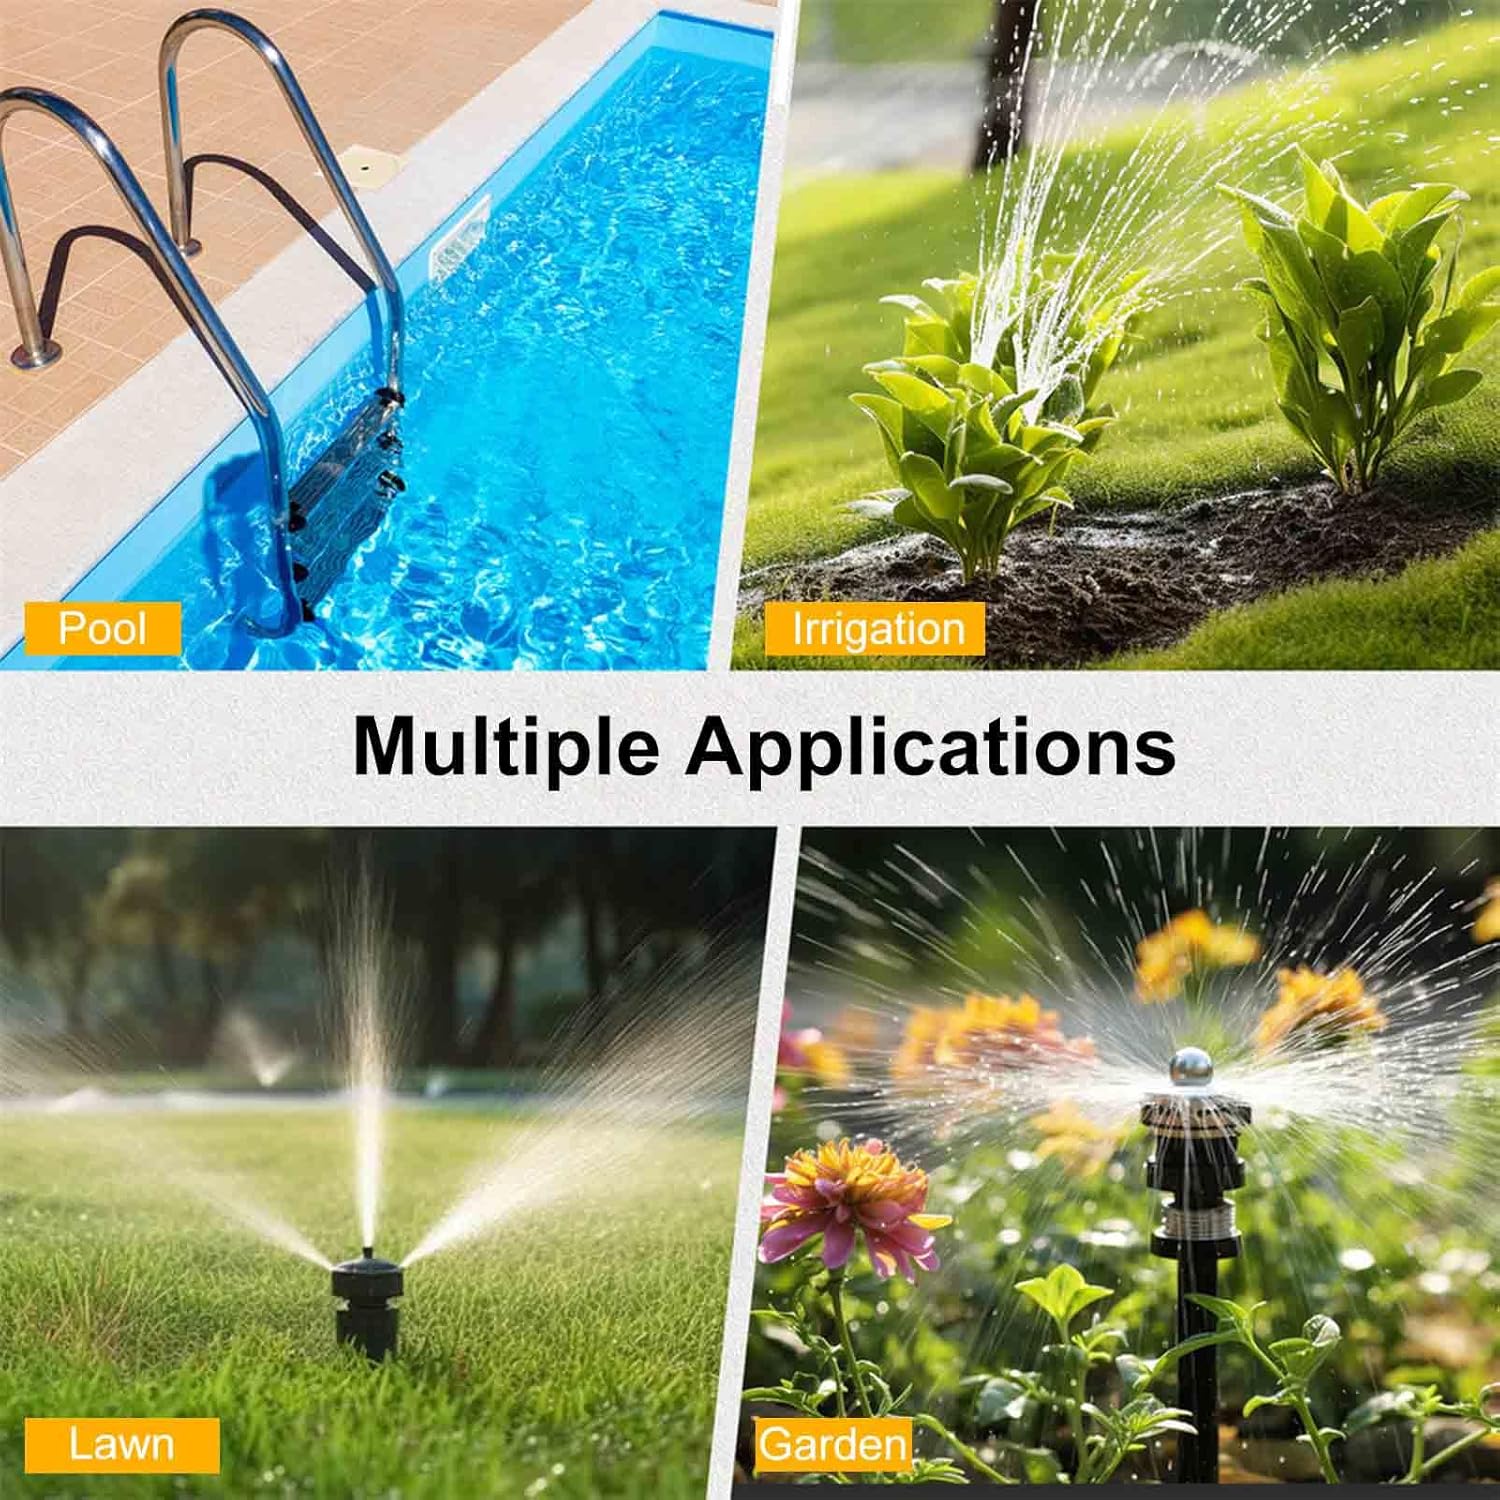
Figure 1: Multiple applications for the Zunate Sprinkler Timer, suitable for various watering needs.
Aufstellen
1. Einlegen der Batterie
The sprinkler timer requires two 2A batteries (not included) for operation. Ensure batteries are inserted with correct polarity.
- Suchen Sie das Batteriefach auf der Rückseite des Timers.
- Öffnen Sie die Abdeckung des Batteriefachs.
- Insert two 2A batteries, observing the positive (+) and negative (-) markings.
- Schließen Sie den Batteriefachdeckel fest.

Figure 2: Battery compartment and low battery reminder feature. The timer operates on two 2A batteries.
2. Anschluss des Timers an einen Wasserhahn
The timer features a durable brass inlet terminal for connection to your garden hose faucet.
- Stellen Sie sicher, dass der Wasserhahn abgedreht ist.
- Screw the timer's brass inlet terminal onto your standard NH3/4 inch external thread faucet. Hand-tighten only to prevent damage.
- Ensure a tight seal to prevent leaks.
3. Connecting Hoses to Outlets
The timer has three independent outlets for connecting your garden hoses.
- Attach your garden hoses to the three outlets at the bottom of the timer.
- Ensure each hose is securely fastened to prevent leaks.
Bedienungsanleitung
1. Benutzeroberfläche vorbeiview
The timer features an intuitive interface with a central knob, five control buttons, and an LCD screen for easy programming.

Figure 3: Front panel of the Zunate Sprinkler Timer, highlighting the water inlet, control buttons, display screen, and programming knob.
- Knopf: Used to select different programming modes (Set Clock, Start Time, How Long, How Often, Auto, Off).
- Tasten: Five buttons (Zone, +, -, OK, Manual) for navigation and setting adjustments.
- LCD Bildschirm: Displays current time, program settings, and status indicators.
2. Setting the Current Time (Set Clock)
- Turn the knob to the 'Set Clock' position.
- Verwenden Sie die Tasten „+“ und „-“, um Stunde und Minute einzustellen.
- Drücken Sie „OK“, um jede Einstellung zu bestätigen.
3. Programmierung von Bewässerungsplänen
The timer allows for up to three independent watering programs (P1, P2, P3) per day.
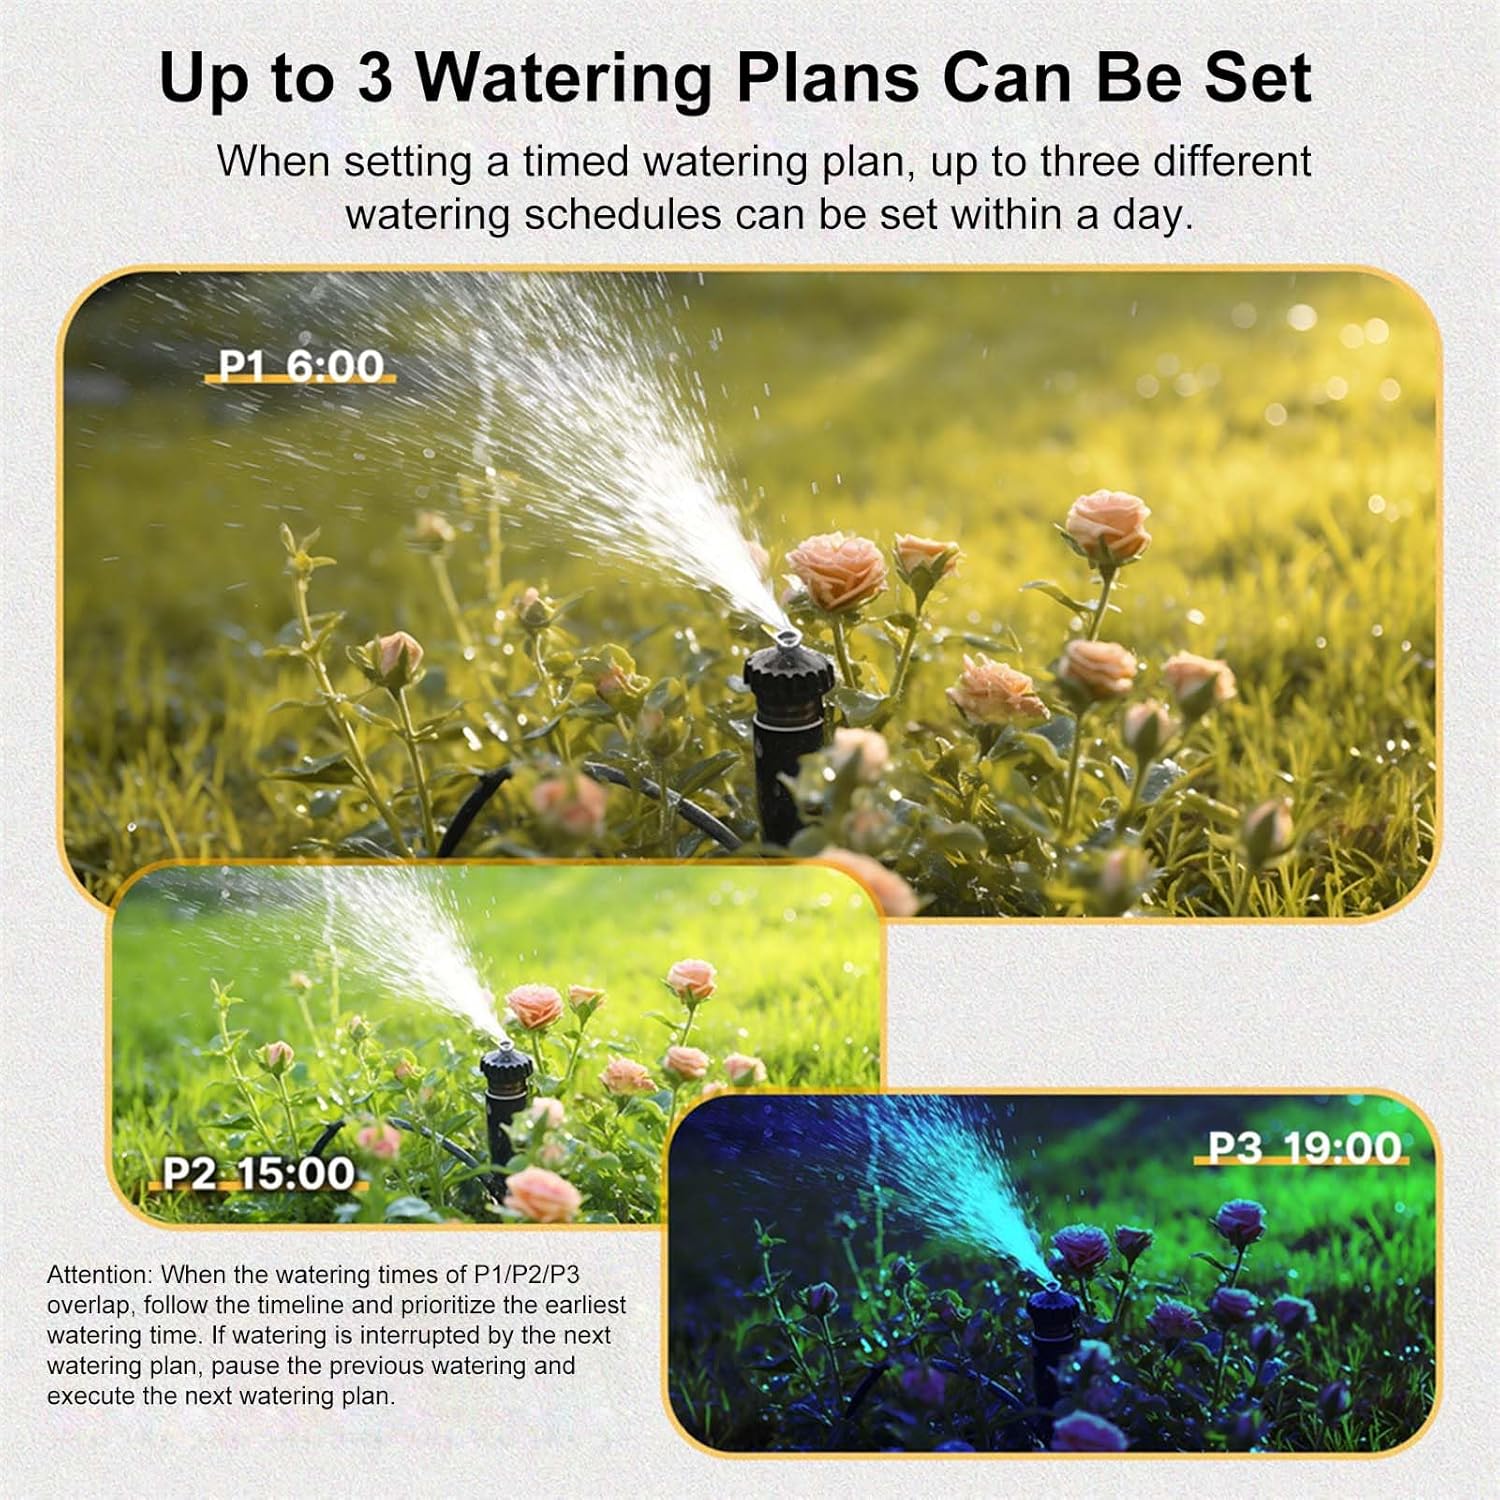
Abbildung 4: Bspample of three distinct watering plans (P1, P2, P3) that can be set within a single day.
- Programm auswählen: Press the 'Zone' button to cycle through P1, P2, P3.
- Startzeit einstellen: Turn the knob to 'Start Time'. Use '+' and '-' to set the desired start time for the selected program. Press 'OK'.
- Set Watering Duration (How Long): Turn the knob to 'How Long'. Use '+' and '-' to set the duration (e.g., minutes, hours). Press 'OK'.
- Set Watering Frequency (How Often): Turn the knob to 'How Often'. Use '+' and '-' to set the frequency (e.g., every X hours, every X days, specific days of the week). Press 'OK'.
- Programm aktivieren: Turn the knob to 'Auto' to activate the programmed schedule.
Notiz: If watering times for P1/P2/P3 overlap, the timer prioritizes the earliest watering time. If watering is interrupted by a subsequent plan, the previous watering will pause, and the next plan will execute.
4. Manuelle Bewässerung
To initiate watering outside of the programmed schedule:
- Press the 'Manual' button.
- Use '+' and '-' to set the desired manual watering duration.
- Drücken Sie 'OK', um die manuelle Bewässerung zu starten.
- To stop manual watering, press 'Manual' again or turn the knob to 'Off'.
5. Regenverzögerungsfunktion
The timer includes a rain delay feature to temporarily pause watering.
- In 'Auto' mode, press and hold the 'Delay' button (often combined with '+').
- Use '+' and '-' to select the desired delay duration (e.g., 1 day, up to 15 days).
- Press 'OK' to confirm the rain delay. The timer will resume its schedule after the delay period.
6. Kindersicherung
The child lock prevents unintended changes to the timer settings.

Figure 5: The child lock feature helps prevent accidental changes to settings.
- Aktivieren: In 'Auto' mode, press and hold the '-' button for 5 seconds. A lock icon will appear on the screen.
- Deaktivieren: Press and hold the '-' button for 3 seconds. The lock icon will disappear.
Wartung
1. Batteriewechsel
When the battery icon flashes on the LCD screen, it indicates low battery and replacement is needed.
- Turn the timer knob to 'Off'.
- Entfernen Sie die alten Batterien aus dem Fach.
- Insert two new 2A batteries, ensuring correct polarity.
- Schließen Sie das Batteriefach.
- Reset the current time if necessary.
2. Reinigung
Periodically clean the timer to ensure optimal performance.
- Wischen Sie die Außenseite mit einem weichen,amp Tuch.
- Keine Scheuer- oder Lösungsmittel verwenden.
- Check the inlet filter for debris and clean if necessary.
3. Winterfestmachung
Before freezing temperatures, disconnect the timer from the faucet and store it indoors.
- Turn off the water supply and disconnect the timer.
- Drain any remaining water from the timer.
- Remove batteries if storing for an extended period.
- Store in a dry, frost-free location.
Fehlerbehebung
| Problem | Mögliche Ursache | Lösung |
|---|---|---|
| Timer schaltet sich nicht ein/LCD bleibt schwarz | Defekte oder falsch eingesetzte Batterien. | Replace batteries with new 2A batteries, ensuring correct polarity. |
| Kein Wasserfluss | Faucet is off; timer is in 'Off' mode; low water pressure; clogged filter. | Ensure faucet is fully open. Turn knob to 'Auto' or initiate 'Manual' watering. Check water pressure. Clean inlet filter. |
| Wasser tritt an den Anschlüssen aus. | Loose connections; worn washers. | Tighten all connections. Replace washers if damaged. |
| Zeitschaltuhr hält sich nicht an den Zeitplan | Timer not in 'Auto' mode; incorrect program settings; child lock active. | Ensure knob is set to 'Auto'. Verify program settings (Start Time, How Long, How Often). Deactivate child lock if active. |
Technische Daten

Figure 6: Detailed dimensions of the Zunate 3-Outlet Sprinkler Timer.
- Modellnummer: Zunatek25h31tavi-11
- Material: Brass, PC, ABS
- Arbeitsdruck: Approx. 0.05-0.8Mpa / 7.25-116psi
- Arbeitstemperatur: Approx. 4.5℃-45℃ / 40.1℉-113℉
- Stromversorgung: 2 * 2A batteries (not included)
- Wasserdichtigkeit: IPX5
- Regenverzögerung: 1 day, up to 15 days
- Schlauchverbinder: NH3/4 inch external thread (US)
- Produktabmessungen: 15.2 * 7.5 * 12.5 cm / 6 * 3 * 5 inch (approx.)
- Artikelgewicht: 1.33 Pfund
Garantie und Support
For warranty information or technical support, please refer to the product packaging or contact the seller directly through your purchase platform. Keep your purchase receipt for warranty claims.