1. Einleitung
Thank you for choosing the Smeike Black Exterior Wall Sconce. This manual provides essential information for the safe installation, operation, and maintenance of your new light fixtures. Please read these instructions thoroughly before beginning installation and retain them for future reference.
2. Sicherheitshinweise
WARNING: Risk of Electric Shock. Disconnect power at the circuit breaker or fuse box before installation or servicing.
- Alle elektrischen Anschlüsse müssen den örtlichen Vorschriften, Verordnungen oder dem National Electric Code (NEC) entsprechen.
- Wenn Sie mit elektrischen Leitungen nicht vertraut sind, sollten Sie einen qualifizierten Elektriker hinzuziehen.
- Verwenden Sie ausschließlich UL- oder ETL-gelistete Drahtverbinder.
- Überschreiten Sie nicht die maximale Wassermengetage für die Glühbirne angegeben.
- Stellen Sie sicher, dass das Gerät ordnungsgemäß geerdet ist.
- Tragen Sie während der Installation Schutzbrille und Handschuhe.
3. Packungsinhalt
Verify that all components are present before installation. If any part is missing or damaged, do not attempt to assemble or install the fixture. Contact customer service for assistance.
- Exterior Wall Sconce (2 units)
- Montagezubehör-Set (Schrauben, Drahtverbinder, Montageplatte)
- Bedienungsanleitung
Notiz: Bulbs are NOT included. This fixture requires E26 base bulbs (60W Max).
4. Spezifikationen
| Modell | A275-3-2PK-SG |
| Abmessungen (L x B x H) | 8" x 6.5" x 11.4" |
| Montage der Rückplatte | 4.5 Zoll B x 6.3 Zoll H |
| Material | Aluminum, Glass, Iron |
| Beenden | Matte Black, Powder Coated |
| Schirmmaterial | Saatglas |
| Bandtage | 110 Volt (Wechselstrom) |
| Wastage (maximal) | 60 Watt pro Glühbirne |
| Lampensockel | E26 (Leuchtmittel nicht enthalten) |
| Verwendung im Innen- und Außenbereich | Innenbereich, Außenbereich |
| Besondere Merkmale | Waterproof, Anti-Rust, Anti-corrosion, Weather Resistance |
| Zertifizierung | ETL-gelistet |

Image: Detailed product dimensions and electrical specifications.
5. Installation (Einrichtung)
Before you begin, ensure you have the following tools (not included): Phillips screwdriver, flathead screwdriver, wire strippers, electrical tape, and safety glasses.
- Vorbereitung für die Installation: Turn off the power at the circuit breaker or fuse box to the outlet box where the fixture will be installed.
- Alte Armatur entfernen (falls zutreffend): Carefully remove any existing light fixture and its mounting hardware.
- Montageplatte anbringen: Secure the mounting plate to the outlet box using the screws provided. Ensure the plate is firmly attached and level.
- Drahtverbindungen:
- Verbinden Sie Schwarz Kabel von der Leuchte zum Schwarz (hot) wire from the outlet box using a wire nut.
- Verbinden Sie Weiß Kabel von der Leuchte zum Weiß (neutral) wire from the outlet box using a wire nut.
- Verbinden Sie Boden Draht (blankes Kupfer oder grün) von der Leuchte zur Boden wire from the outlet box and the mounting plate using a wire nut.
- Stecken Sie alle Kabel vorsichtig in die Anschlussdose.
- Montieren Sie die Vorrichtung: Align the fixture with the mounting plate and secure it with the provided screws. Ensure the fixture is flush against the wall and stable.
- Glühbirne einbauen: Insert an E26 base bulb (max 60W) into the socket.
- Strom wiederherstellen: Schalten Sie den Strom am Sicherungsautomaten oder Sicherungskasten wieder ein. Testen Sie die Leuchte.
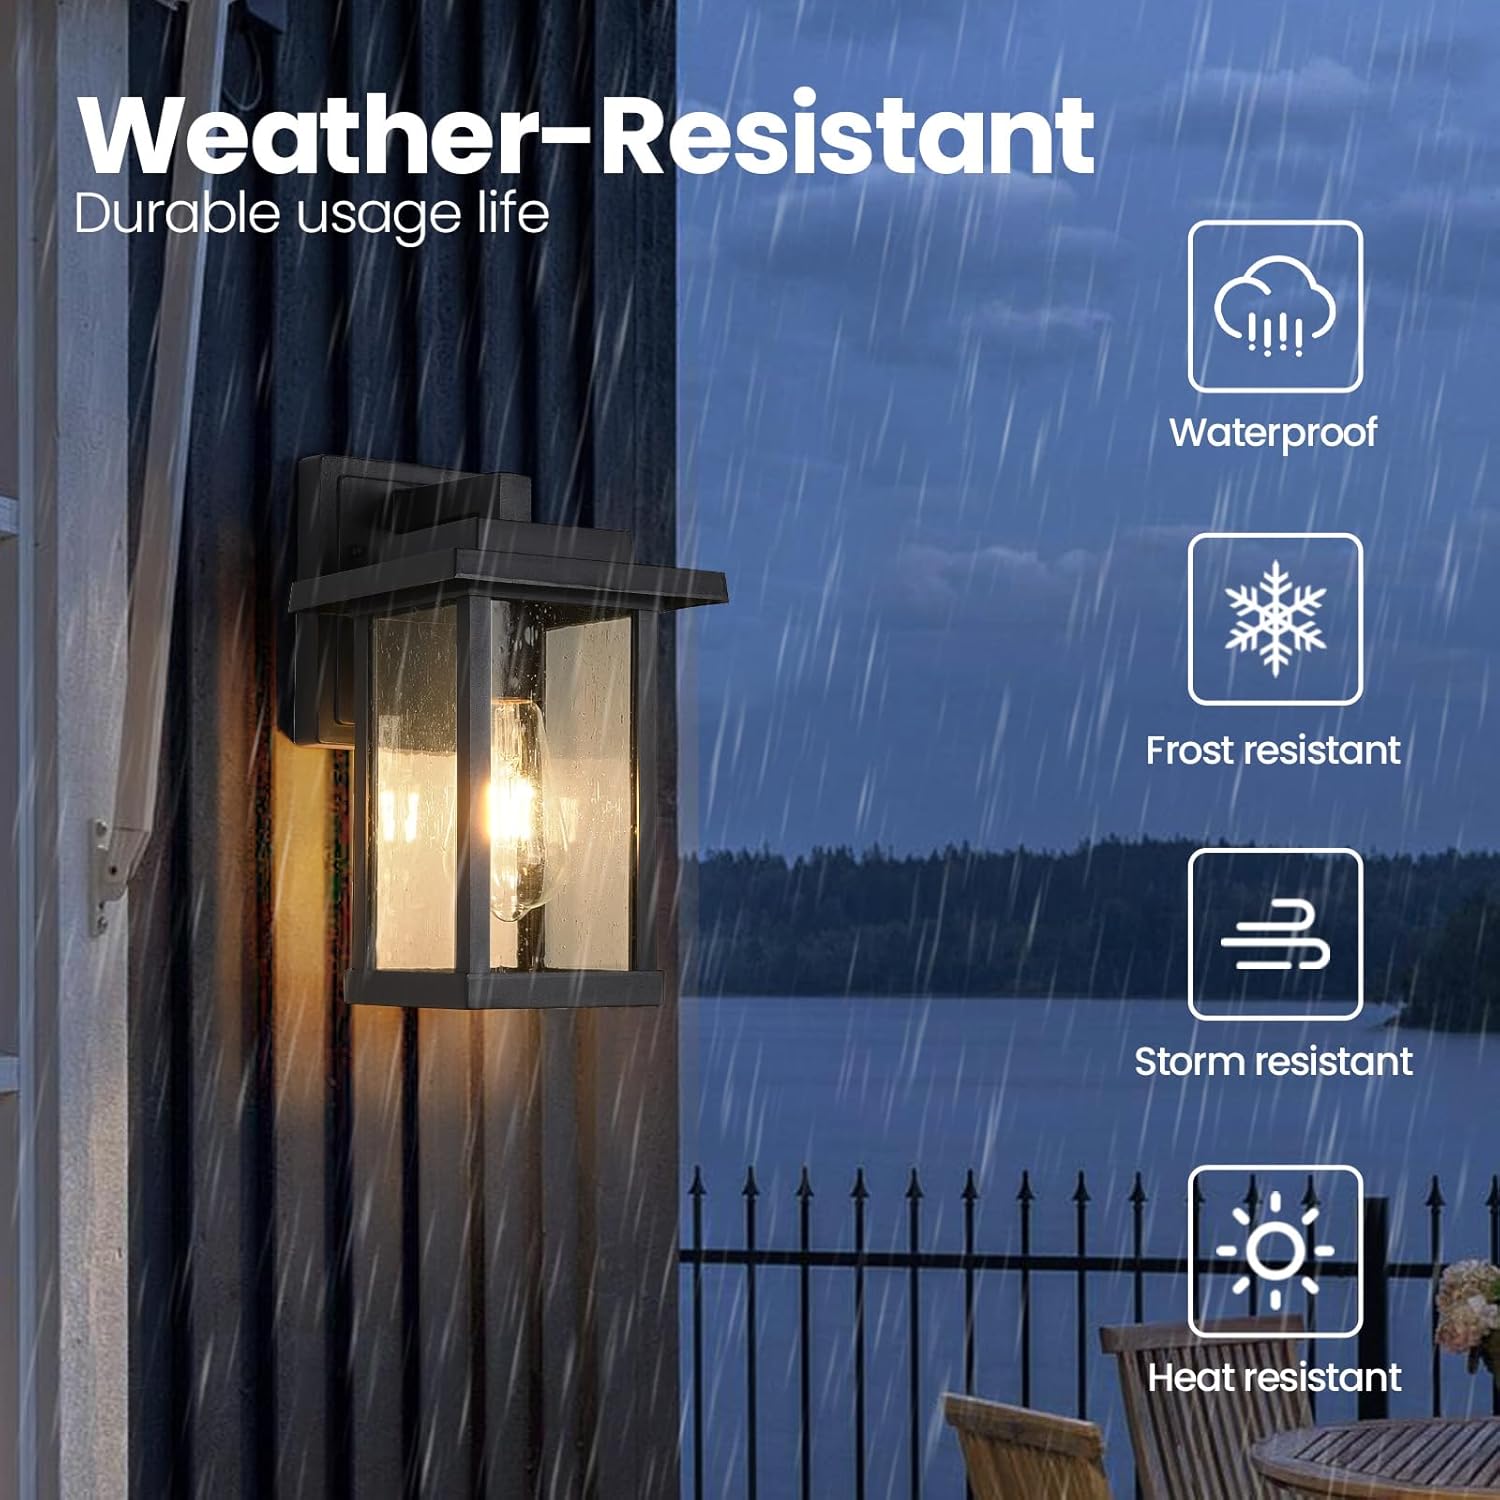
Abbildung: Explosionszeichnung view showing fixture components and mounting hardware.

Bild: Example of the Smeike wall sconce installed on an exterior wall.
6. Bedienung
The Smeike Black Exterior Wall Sconce operates via a standard wall switch (not included). Once installed and powered, simply use your existing wall switch to turn the light fixture on or off.

Image: Visual representation of the light fixture in its 'on' and 'off' states.
7. Wartung
Regelmäßige Wartung gewährleistet die Langlebigkeit und optimale Leistung Ihrer Leuchte.
- Reinigung: To clean the fixture, turn off the power and wipe it with a soft, damp cloth. Do not use abrasive cleaners or solvents, as these may damage the finish or glass. The open bottom design allows for easy cleaning and bulb replacement without disassembly.
- Lampenwechsel: Ensure power is off before replacing bulbs. The fixture features an open bottom, allowing for easy access to the bulb socket. Simply unscrew the old bulb and screw in a new E26 base bulb (max 60W).
- Wetterbeständigkeit: This fixture is designed with a refined matte black finish and explosion-proof tempered seeded glass for protection against rust, corrosion, water, frost, storm, and heat. Periodically inspect the fixture for any signs of wear or damage to maintain its weather-resistant properties.

Image: The open bottom design for easy bulb replacement and cleaning.

Image: Visual representation of the fixture's weather-resistant capabilities.
8. Fehlerbehebung
Sollten Sie Probleme mit Ihrer Leuchte haben, beachten Sie bitte die folgenden häufigen Probleme und Lösungen:
| Problem | Mögliche Ursache | Lösung |
|---|---|---|
| Licht geht nicht an. | Kein Strom am Gerät. Lose Kabelverbindung. Glühbirne defekt. | Überprüfen Sie den Leistungsschalter oder die Sicherung. Stellen Sie sicher, dass alle Drahtverbindungen fest sitzen (schalten Sie vorher die Stromzufuhr aus). Die Glühbirne durch eine neue ersetzen. |
| Licht flackert. | Lose Glühbirne. Lose Kabelverbindung. Falscher Glühbirnentyp. | Glühbirne festziehen. Überprüfen Sie die Kabelverbindungen (vorher die Stromzufuhr unterbrechen). Ensure bulb is E26 base and within 60W max. |
| Fixture is not stable. | Mounting screws not tightened. | Ensure mounting plate and fixture screws are securely fastened. |
Sollte das Problem nach Anwendung dieser Lösungsansätze weiterhin bestehen, wenden Sie sich bitte an den Kundendienst.
9. Garantie und Support
The Smeike Black Exterior Wall Sconce comes with a one-year warranty from the date of purchase, covering manufacturing defects. If you encounter any problems with your product, please contact Smeike customer service. We are committed to providing a satisfactory solution within 24 hours.
For support, please refer to the contact information provided with your purchase or visit the official Smeike webWebsite.