1. Einleitung
This manual provides instructions for the safe assembly, operation, maintenance, and troubleshooting of your EYESUN Exercise Bike Model QM-530W. Please read this manual thoroughly before using the product and retain it for future reference.
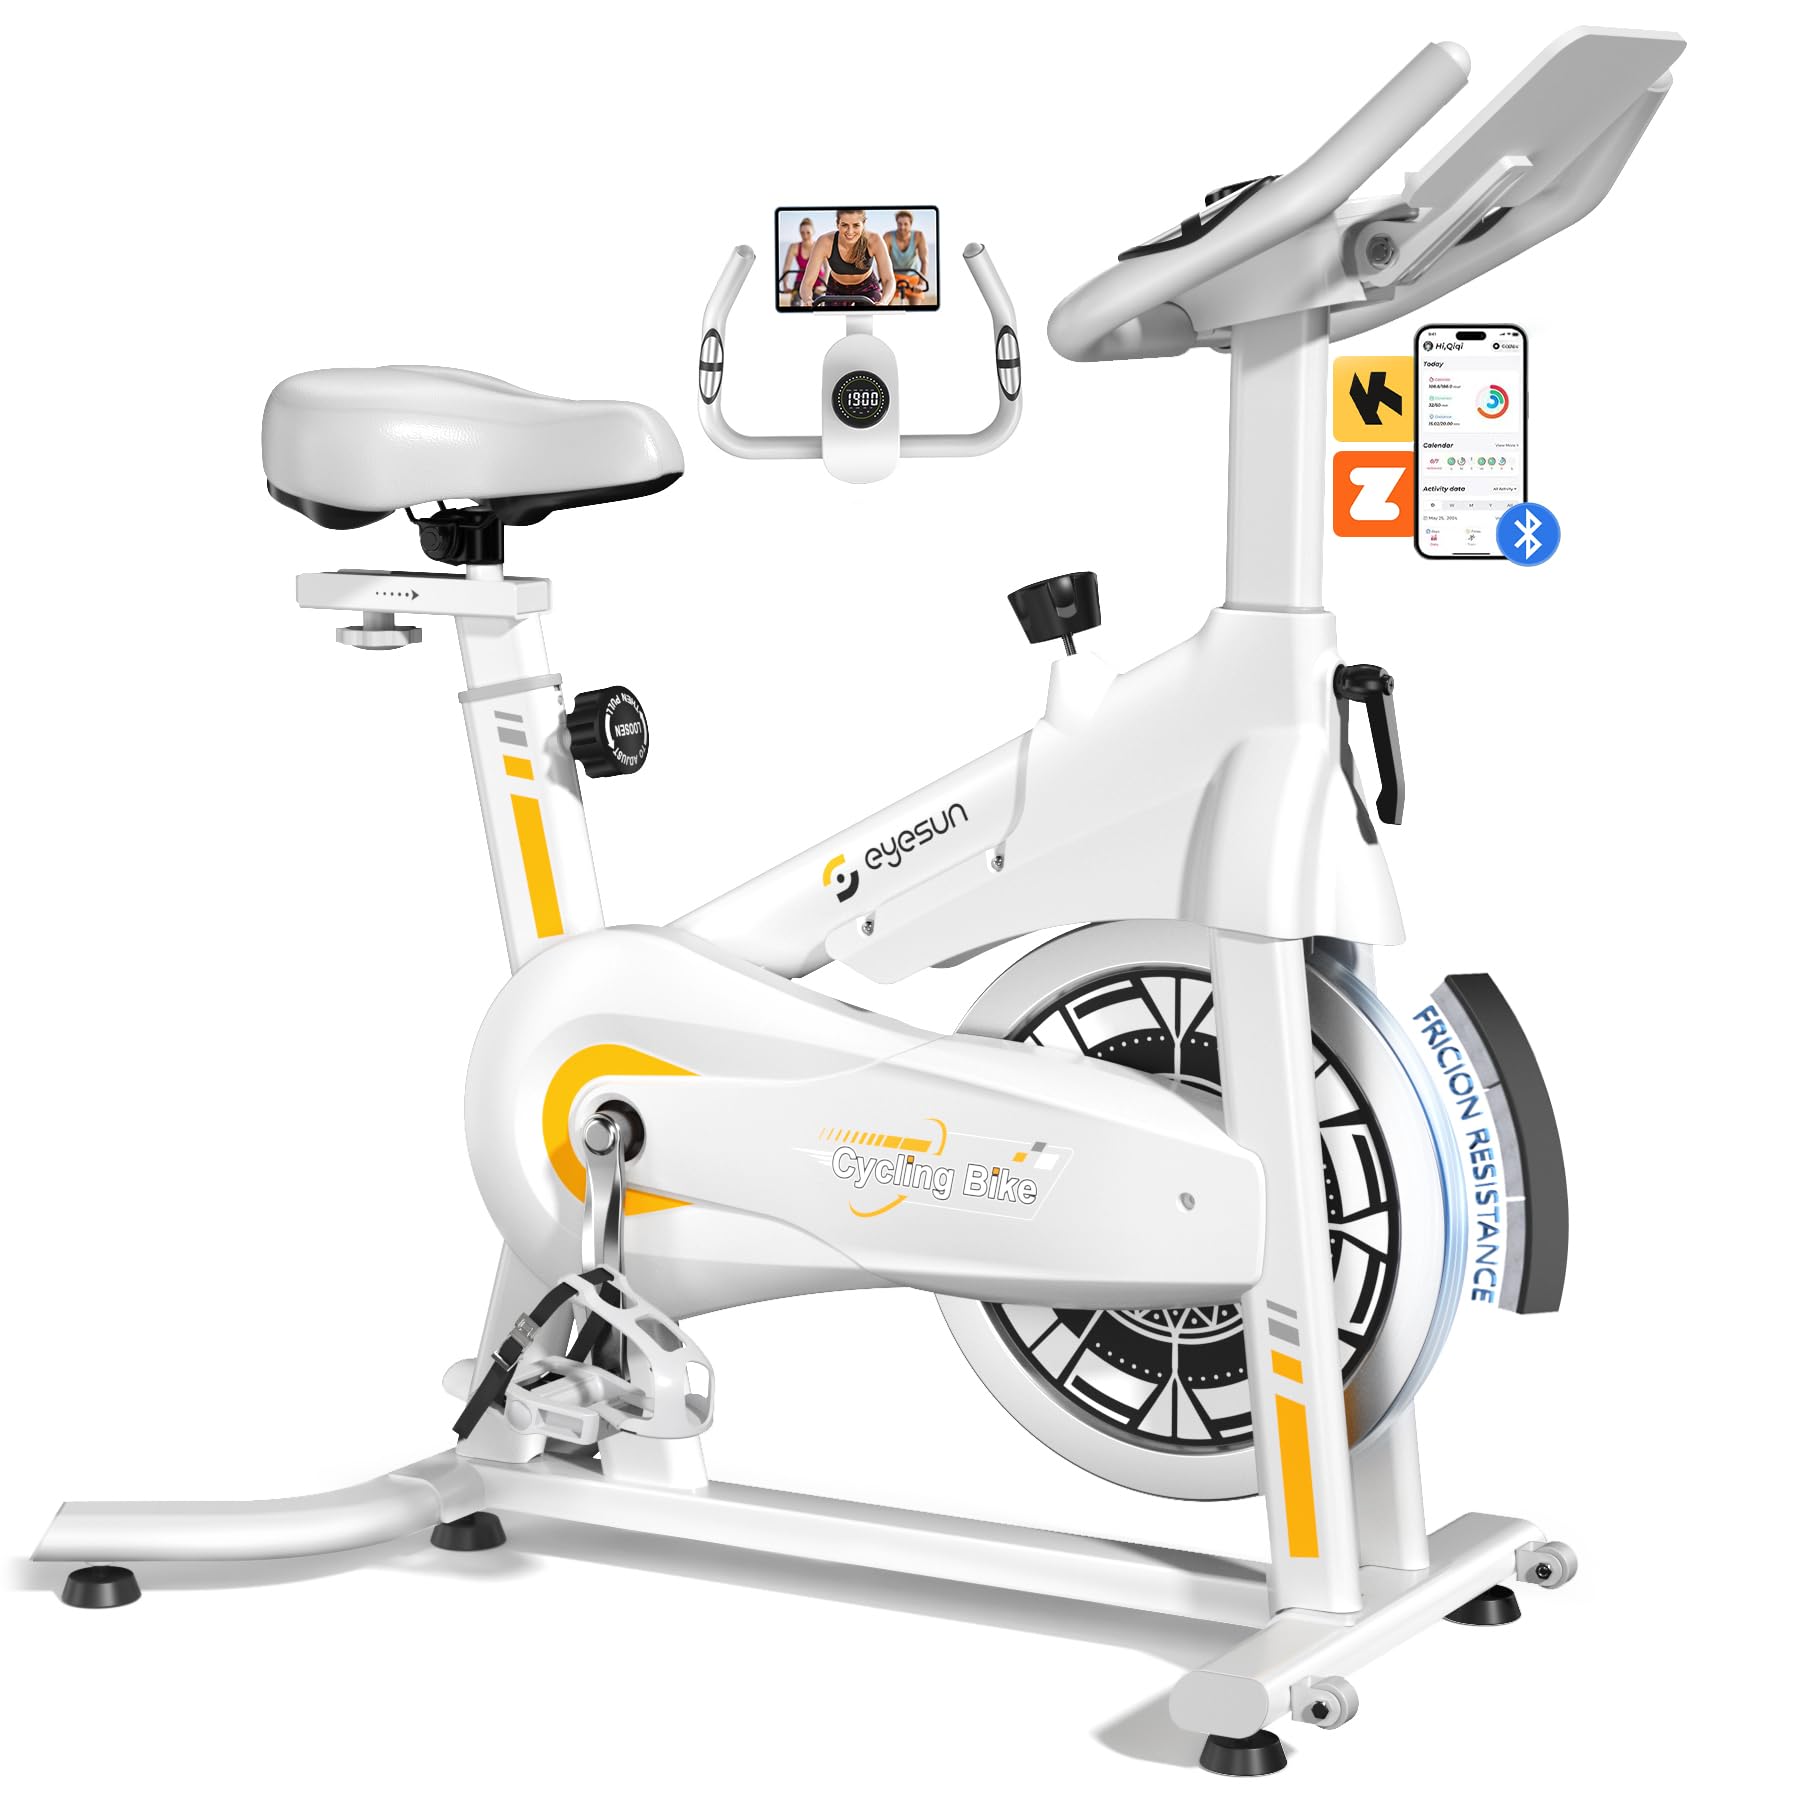
Image 1: EYESUN Exercise Bike QM-530W, White & Yellow model.
2. Sicherheitshinweise
Before beginning any exercise program, consult with your physician. It is essential to understand and follow all safety precautions to prevent injury and ensure proper operation of the exercise bike.
- Stellen Sie vor jedem Gebrauch sicher, dass alle Teile sicher befestigt sind.
- Stellen Sie das Heimtrainer auf eine ebene, stabile Fläche. Verwenden Sie eine Matte darunter, um den Boden zu schützen und die Geräuschentwicklung zu reduzieren.
- Halten Sie Kinder und Haustiere während des Betriebs vom Gerät fern.
- Tragen Sie geeignete Sportschuhe und -kleidung. Vermeiden Sie weite Kleidung, die sich in beweglichen Teilen verfangen könnte.
- Die maximale Benutzergewichtskapazität für dieses Fahrrad beträgt 330 lbs (150 kg).
- The resistance bar functions as an emergency stop. Press it down firmly to stop the flywheel immediately.
- Adjustable cage pedals are designed to keep your feet secure during exercise. Ensure your feet are properly secured before starting.
- Do not dismount the bike until the flywheel has completely stopped.

Image 2: Illustration of the exercise bike's sturdy construction and body muscles engaged during use.
3. Packungsinhalt
Prüfen Sie vor Beginn der Montage, ob alle Komponenten vorhanden sind. Sollten Teile fehlen oder beschädigt sein, wenden Sie sich bitte an den Kundendienst.
- Hauptrahmen (vormontiert)
- Lenkermontage
- Sattelstütze und Sattel
- Stabilisatoren vorne und hinten
- Pedale (links und rechts)
- LCD-Monitor
- Hardware-Set (Schrauben, Unterlegscheiben, Muttern, Werkzeuge)
- Bedienungsanleitung
4. Montageanleitung
The EYESUN Exercise Bike is designed for quick assembly, with approximately 80% of the unit pre-assembled. Typical assembly time is around 25 minutes.
- Stabilisatoren anbringen: Secure the front and rear stabilizers to the main frame using the provided bolts and washers. Ensure they are tightened firmly.
- Pedale installieren: Identifizieren Sie das linke (L) und das rechte (R) Pedal. Die Schrauben des linken Pedals werden gegen den Uhrzeigersinn, die des rechten Pedals im Uhrzeigersinn angezogen. Schrauben Sie sie in die Kurbelarme und ziehen Sie sie mit einem Schraubenschlüssel fest.
- Sitz montieren: Setzen Sie die Sattelstütze in den Hauptrahmen ein und stellen Sie die gewünschte Höhe ein. Fixieren Sie sie mit dem Verstellknopf. Befestigen Sie den Sattel an der Sattelstütze.
- Lenker anbringen: Slide the handlebar assembly into the front post. Adjust the height and secure with the adjustment knob.
- LCD-Monitor anschließen: Connect the sensor cable from the main frame to the back of the LCD monitor. Ensure the connection is vertical and perpendicular to the flywheel for accurate data tracking. Mount the LCD monitor onto the handlebar post.
Video 1: Detailed assembly guide for the EYESUN Exercise Bike. This video demonstrates step-by-step installation of components.
5. Anpassungen
Die richtige Einstellung des Fahrrads gewährleistet Komfort und Effektivität während des Trainings.
5.1 Sitzeinstellung
- Höhe: Lösen Sie den Verstellknopf an der Sattelstütze. Verstellen Sie die Sattelhöhe so, dass Ihr Bein leicht gebeugt ist, wenn sich das Pedal in der untersten Position befindet. Ziehen Sie den Knopf anschließend fest.
- Vorwärts rückwärts: Loosen the adjustment knob under the seat. Slide the seat forward or backward to achieve a comfortable position relative to the handlebars. Ensure your knees are aligned with the balls of your feet when pedals are horizontal. Tighten the knob securely.
5.2 Lenkerverstellung
- Lösen Sie den Verstellknopf an der Lenkerstange. Stellen Sie den Lenker auf eine bequeme Höhe ein, die eine entspannte Oberkörperhaltung ermöglicht. Ziehen Sie den Knopf anschließend fest.
5.3 Widerstandseinstellung
- The resistance knob is located on the main frame. Turn the knob clockwise to increase resistance and counter-clockwise to decrease resistance.
- Zum Betätigen der Notbremse den Widerstandsknopf fest nach unten drücken.

Image 3: Visual guide for adjusting handlebar and seat positions for various user heights.
Video 2: Demonstration of adjusting the seat and handlebar for optimal user comfort.
6. Bedienung des Heimtrainers
6.1 Funktionen des LCD-Monitors
The upgraded LCD monitor tracks your workout data in real-time.
- Zeit: Dauer deines Trainings.
- Geschwindigkeit: Aktuelle Fahrgeschwindigkeit.
- Distanz: Die während des Trainings zurückgelegte Gesamtstrecke.
- Kalorien: Geschätzter Kalorienverbrauch.
- Impuls: Heart rate (if connected to a compatible sensor, not included).
- Kilometerzähler: Insgesamt zurückgelegte Strecke.
Ensure the APP sensor cable is correctly connected to the flywheel for accurate data tracking.

Image 4: Close-up of the digital LCD display and proper sensor cable connection.
6.2 App-Integration
The exercise bike supports Bluetooth connectivity for integration with fitness applications.
- Kompatible Apps: FantomFite, KINOMAP, and Zwift.
- Datensynchronisierung: Supports syncing with Google Fit and Apple Health for comprehensive fitness tracking.
- Tablet-Halter: Use the built-in tablet holder to enjoy music or videos while riding, or to view your fitness app.

Image 5: Illustration of the exercise bike's compatibility with popular fitness applications.
Video 3: Endeview of the LCD monitor and Bluetooth connectivity features.
7. Wartung
Regelmäßige Wartung gewährleistet die Langlebigkeit und den sicheren Betrieb Ihres Heimtrainers.
- Reinigung: Wischen Sie das Fahrrad mit Werbung abamp Nach jedem Gebrauch mit einem Tuch abwischen, um Schweiß und Staub zu entfernen. Scheuermittel vermeiden.
- Inspektion: Überprüfen Sie regelmäßig alle Schrauben, Muttern und beweglichen Teile auf festen Sitz und Verschleiß. Ziehen Sie lose Befestigungselemente fest.
- Schmierung: The belt drive system is designed to be low maintenance and quiet. No lubrication is typically required for the belt.
- Lagerung: When not in use, store the bike in a dry, cool place away from direct sunlight and moisture. The built-in transport wheels allow for easy relocation.

Image 6: Features like the smooth belt drive and stable U-shaped bottom contribute to low maintenance and durability.

Image 7: The space-saving design and transport wheels facilitate easy movement and storage.
8. Fehlerbehebung
If you encounter issues with your EYESUN Exercise Bike, refer to the following common problems and solutions.
| Problem | Mögliche Ursache | Lösung |
|---|---|---|
| Quietschende oder schleifende Geräusche während des Betriebs | Loose components; debris in flywheel area; worn belt. | Check and tighten all bolts and nuts. Inspect flywheel area for foreign objects. If noise persists, contact support. |
| Inaccurate LCD monitor readings | Sensor cable not connected properly; low battery in monitor. | Ensure the APP sensor cable is securely and vertically connected to the monitor. Replace monitor batteries if necessary. |
| Widerstand ändert sich nicht | Problem mit dem Widerstandsknopfmechanismus. | Check if the resistance knob is fully engaged. If the mechanism feels loose or unresponsive, contact support. |
| Wobbly seat or handlebars | Einstellknöpfe nicht ausreichend festgezogen. | Ensure all seat and handlebar adjustment knobs are tightened firmly after positioning. |
9. Spezifikationen
| Besonderheit | Detail |
|---|---|
| Modellnummer | QM-530W |
| Technische Daten | 100.08 x 50.55 x 106.93 cm (39.4 x 19.9 x 42.1 Zoll) |
| Artikelgewicht | 21.32 kg |
| Maximale Gewichtskapazität | 330 kg |
| Antriebssystem | Riemenantrieb |
| Material | Legierter Stahl |
| Widerstandsmechanismus | Friction (Adjustable Brake Pad) |
| Besondere Merkmale | Adjustable Pedal, Adjustable Resistance Level, Adjustable Seat, Flywheel |
| Empfohlene Benutzergröße | 4'8" to 6'1" (142 cm to 185 cm) |
| Inseam Range | 25"–35" (63.5 cm – 89 cm) |
| Stromversorgung (Monitor) | Battery Powered (Batteries Included) |
10. Garantie und Support
EYESUN provides a 24 Monate sorgenfreie Garantie for your exercise bike. This warranty covers manufacturing defects and ensures product quality.
For any questions, concerns, or warranty claims, please contact EYESUN customer service:
- E-Mail: support@eyesun.net
- Der Kundensupport ist rund um die Uhr erreichbar.