
1. Einleitung und Produktübersichtview
This manual provides detailed instructions for the installation, operation, and maintenance of your WALI Vertical Dual Monitor Wall Mount, Model 012ARMV-49. This mount is designed to support two monitors in a stacked configuration, optimizing desk space and providing ergonomic viewwinkeln.
The mount supports displays from 17 to 49 inches, with a maximum weight capacity of 44 lbs (20 kg) per arm. It is compatible with VESA 75x75mm and 100x100mm mounting patterns. Key features include flexible tilt, swivel, and height adjustments, along with 360-degree rotation for versatile screen positioning.
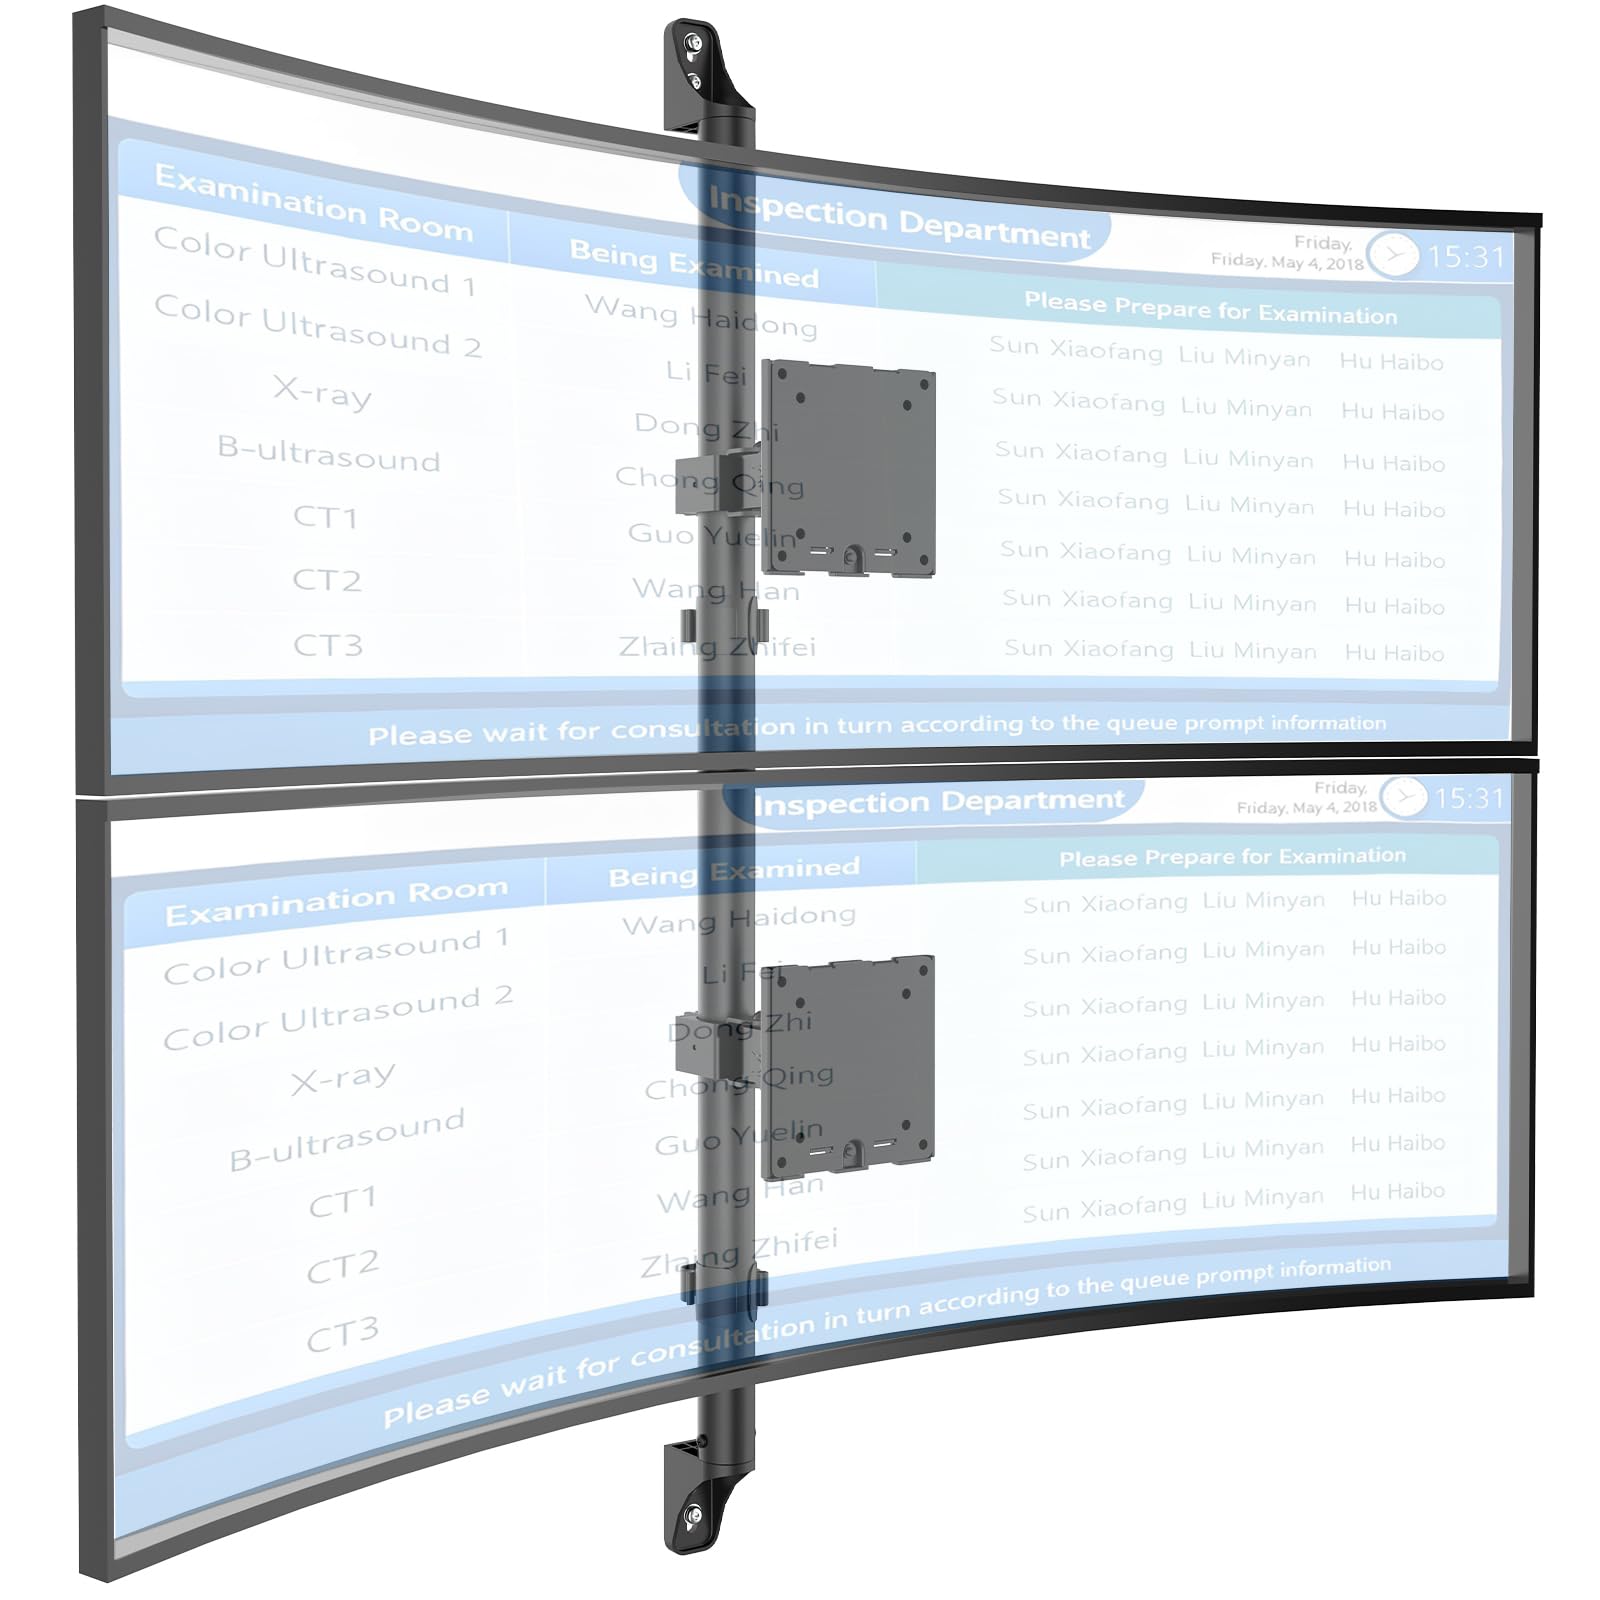
Figure 1: WALI Vertical Dual Monitor Wall Mount with two curved monitors.
2. Sicherheitshinweise
Please read and understand all instructions before installation and use. Failure to do so may result in personal injury or property damage. Keep this manual for future reference.
- Gewichtskapazität: Do not exceed the maximum weight capacity of 44 lbs (20 kg) per monitor. Exceeding this limit can result in serious injury or product failure.
- Monitorgröße: Stellen Sie sicher, dass Ihre Monitore im unterstützten Größenbereich von 17 bis 49 Zoll liegen.
- VESA-Kompatibilität: Verify your monitor's VESA mounting pattern (75x75mm or 100x100mm) before installation.
- Wandtyp: This mount is designed for installation on concrete/brick walls or wooden studs. Do not install on drywall alone.
- Professionelle Installation: Wenn Sie sich bezüglich des Installationsprozesses oder der Wandart unsicher sind, konsultieren Sie einen qualifizierten Fachmann.
- Bewegliche Teile: Halten Sie Hände und Finger während der Justierung von beweglichen Teilen fern, um ein Einklemmen zu vermeiden.
- Kinder: Kleinteile und Verpackungsmaterialien sollten von Kindern ferngehalten werden, da sie eine Erstickungsgefahr darstellen können.
3. Packungsinhalt
Verify that all components are present and undamaged. If any parts are missing or damaged, contact WALI customer support.
- 1 x WALI Vertical Dual Monitor Wall Mount (Black)
- Mounting Hardware Kit (includes screws, washers, wall anchors for masonry, and self-tapping screws for wood)
- Bedienungsanleitung
4. Spezifikationen
| Besonderheit | Spezifikation |
|---|---|
| Montagetyp | Wandhalterung |
| Bewegungstyp | Artikulieren |
| Marke | WALI |
| Material | Dual aerospace-grade aluminum mounting brackets, High-strength steel pole |
| Farbe | Schwarz |
| Kompatible Geräte | Monitor, Fernseher |
| Maximaler Neigungswinkel | 20 Grad |
| Minimum Supported Screen Size | 17 Zoll |
| Maximum Supported Screen Size | 49 Zoll |
| Modellnummer | 012ARMV-49 |
| VESA-Kompatibilität | 75x75mm, 100x100mm |
| Gewichtskapazität | 44 kg pro Arm |
5. Einrichtung und Installation
Follow these steps carefully to install your WALI Vertical Dual Monitor Wall Mount.
5.1 Wandvorbereitung
- Wandtyp identifizieren: This mount is suitable for wooden studs, solid concrete walls, and brick walls.
- Ständerwerk lokalisieren (bei Holzwänden): Use a stud finder to locate the center of a wooden stud. Mark the drilling locations.
- Bohrstandorte markieren: Hold the wall plate against the wall at your desired height and mark the screw holes. Ensure it is level.

Figure 2: Wall compatibility for installation.
5.2 Attaching the Wall Plate
- Pilotlöcher bohren: Drill pilot holes at the marked locations. The size of the drill bit will depend on your wall type and the provided hardware.
- Sichere Wandplatte: Attach the wall plate to the wall using the appropriate screws and anchors for your wall type. Ensure it is firmly secured.

Figure 3: Securing the wall mount plate.
5.3 Attaching VESA Plates to Monitors
- Remove Original Stand: Carefully remove the original stand from your monitors.
- VESA-Platte anbringen: Align the VESA plate with the mounting holes on the back of your monitor. Use the provided screws to secure the plate. Ensure the plate is oriented correctly for vertical stacking.
5.4 Mounting Monitors to the Arm
- Slide Arm onto Wall Base: Carefully slide the monitor arm assembly onto the secured wall base.
- Attach Monitors: With assistance, carefully lift each monitor and slide its VESA plate onto the corresponding arm bracket. Ensure it clicks securely into place.
- Secure Monitors: Use the safety screws or clips to prevent accidental dislodgement of the monitors from the arms.

Figure 4: Monitor arm assembly and attachment points.
5.5 Kabelmanagement
- Kabel verlegen: Utilize the integrated cable management system to route monitor cables neatly along the arm and down the wall pole.
- Sichere Kabel: Use the provided clips or ties to secure the cables, preventing clutter and ensuring a clean setup.

Abbildung 5: Integriertes Kabelmanagementsystem.
6. Bedienungsanleitung (Einstellungen)
The WALI Vertical Dual Monitor Wall Mount offers various adjustments for optimal viewKomfort.
- Höhenverstellung: The monitors can be adjusted vertically along the main pole. Loosen the adjustment screws on the arm brackets, slide the monitors to the desired height, and then re-tighten the screws. The maximum height adjustment is 28.74 inches.
- Neigungseinstellung: Tilt the monitors up to +50 degrees or down to -20 degrees to reduce glare and find your preferred viewing-Winkel.
- Schwenkeinstellung: Swivel the monitors up to +/-90 degrees horizontally for collaborative work or to adjust the viewing-Richtung.
- Drehung: Rotate the monitors 360 degrees to switch between landscape and portrait orientations.

Figure 6: Tilt, Swivel, and Rotation adjustments.

Figure 7: Full motion adjustment range and dimensions.
7. Wartung
Regelmäßige Wartung gewährleistet die Langlebigkeit und den sicheren Betrieb Ihrer Monitorhalterung.
- Reinigung: Wischen Sie die Halterung mit einem weichen, fusselfreien Tuch ab.amp Mit einem Tuch abwischen. Vermeiden Sie scheuernde Reiniger oder Lösungsmittel.
- Dichtheit prüfen: Überprüfen Sie regelmäßig alle Schrauben und Verbindungen, um sicherzustellen, dass sie fest sitzen. Ziehen Sie sie gegebenenfalls nach.
- Auf Schäden prüfen: Regularly inspect the mount for any signs of wear, damage, or corrosion. Discontinue use and contact support if any issues are found.
8. Fehlerbehebung
If you encounter issues with your WALI Vertical Dual Monitor Wall Mount, refer to the following common problems and solutions:
- Der Monitor hängt durch oder hält seine Position nicht:
- Ensure the monitor weight is within the 44 lbs (20 kg) per arm limit.
- Tighten the tension adjustment screws on the arm joints using the included tool.
- Das Mount fühlt sich instabil an:
- Verify that the wall plate is securely fastened to the wall with appropriate anchors for your wall type.
- Check that all connections between the arm and the VESA plates are tight.
- Difficulty Adjusting Monitor Position:
- Loosen the tension adjustment screws slightly if the movement is too stiff.
- Ensure no cables are obstructing the movement of the arms.
9. Garantie und Support
Your WALI Vertical Dual Monitor Wall Mount comes with a 10 Jahr Garantie, die Material- und Verarbeitungsfehler bei normalem Gebrauch abdecken.
For technical assistance, missing parts, or warranty claims, please contact WALI customer support. Our experienced and friendly US-based customer support team is available to assist you 7 days a week.
Kontaktinformationen: Refer to the WALI webDie aktuellsten Kontaktdaten finden Sie auf der Website oder der Produktverpackung.