Ashfly Handheld Digital Microscope (Model inskam382) User Manual
Model: inskam382
1. Einleitung
The Ashfly Handheld Digital Microscope (Model inskam382) is a portable STEM science tool designed for children aged 5-13. It features a 2.0-inch IPS screen, offering 200x to 1000x magnification, and includes photo and video recording capabilities. This device encourages outdoor exploration and scientific discovery by allowing users to observe the microscopic world around them.
Image: The Ashfly Handheld Digital Microscope in white, showcasing dank seines kompakten Designs.
2. Lieferumfang
Bitte überprüfen Sie den Packungsinhalt nach dem Auspacken:
Ashfly Handheld Digital Microscope (Model inskam382)
USB-C-Ladekabel
Umhängeband
Bedienungsanleitung
Pre-mounted Biological Slides (Quantity may vary)
Bild: Example of pre-mounted biological slides included with the microscope, featuring vegetable, plant, and animal specimens.
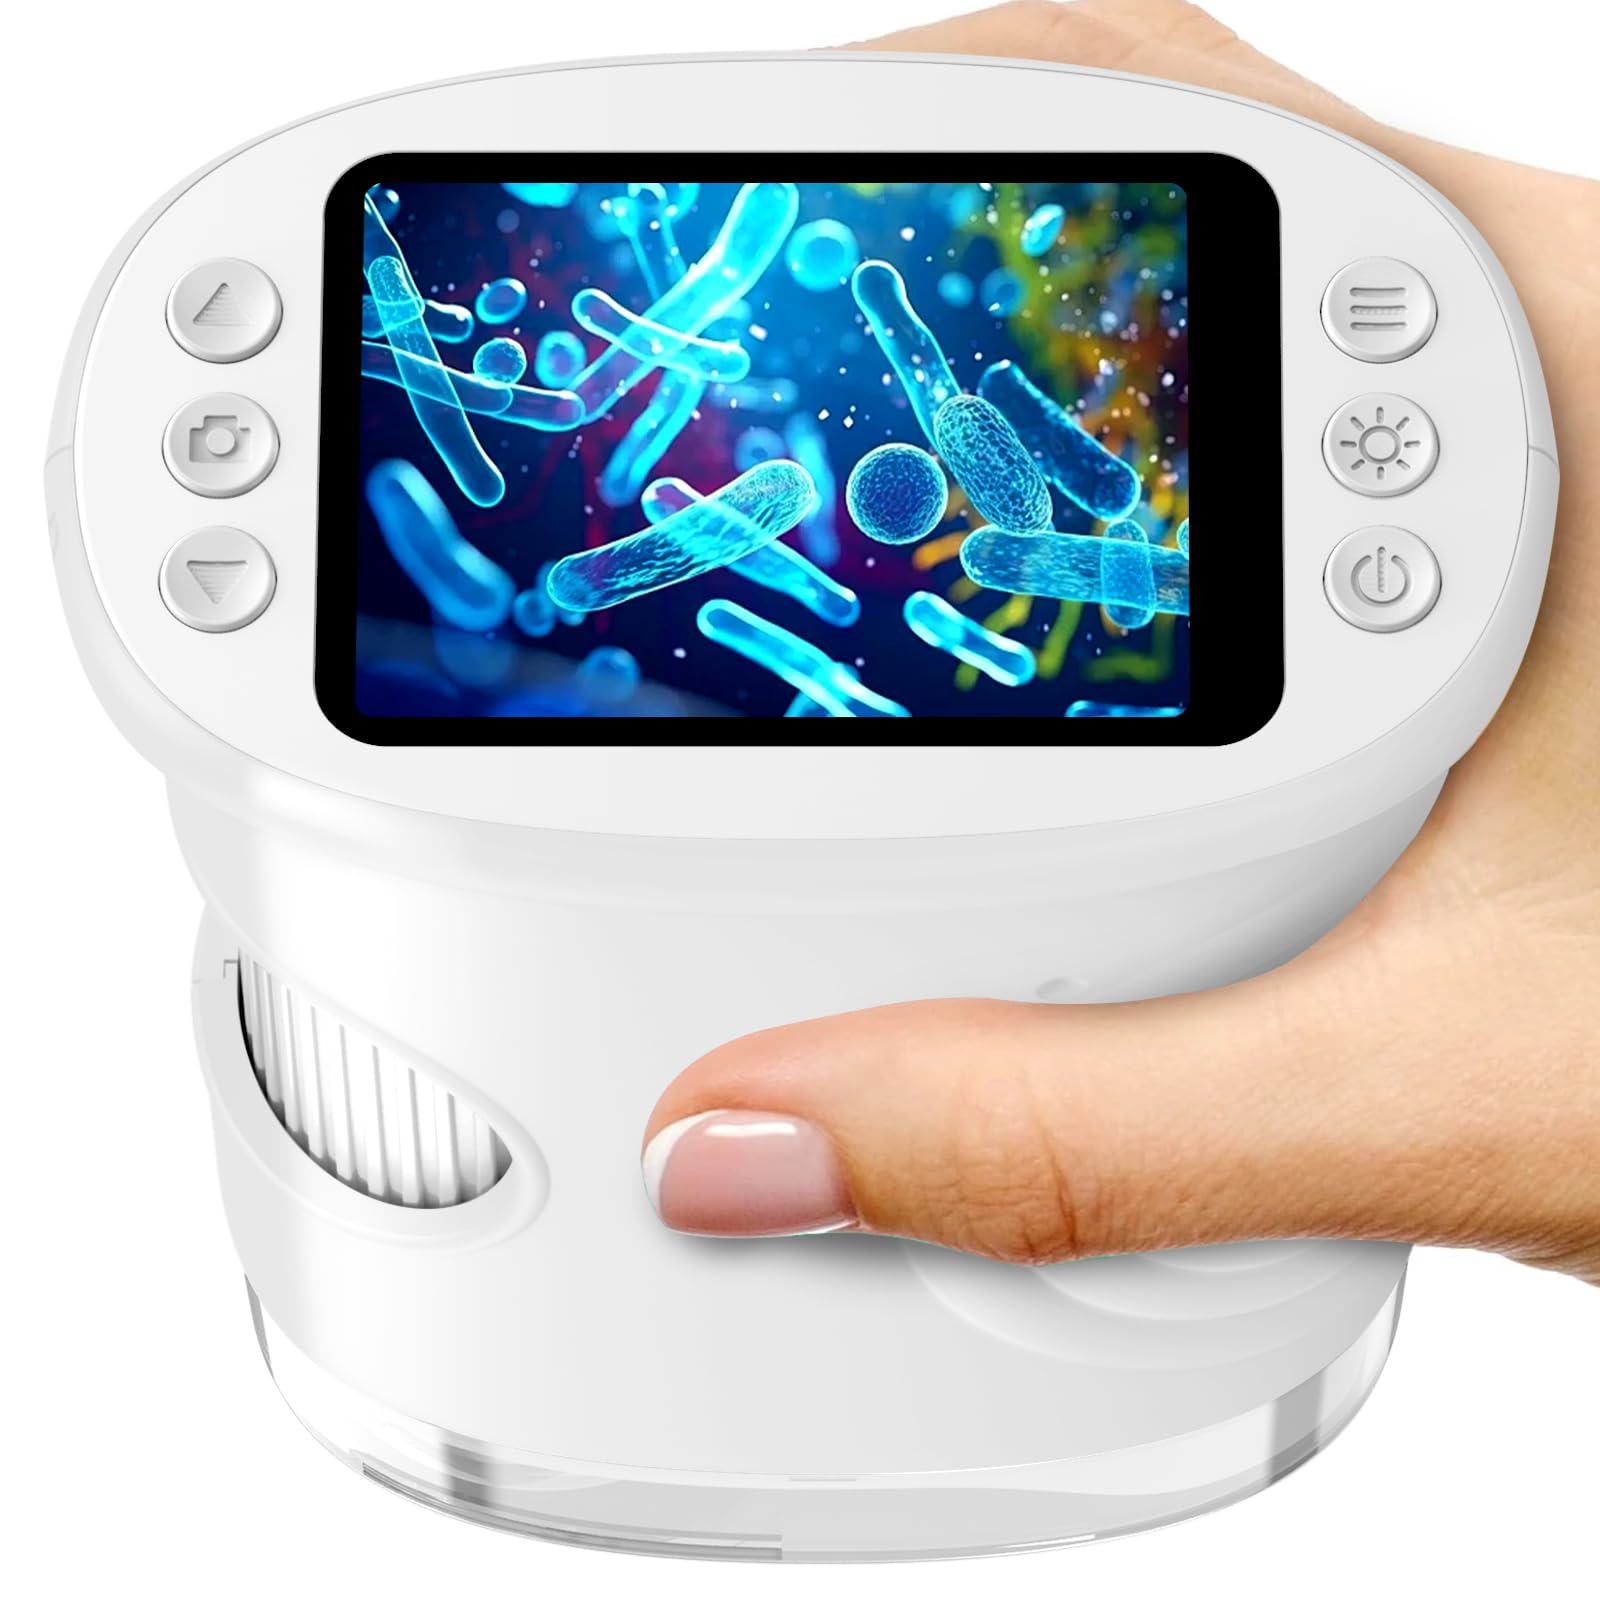
3. Hauptmerkmale
Vergrößerung: 200x to 1000x digital zoom for detailed observation.
Anzeige: 2.0-inch IPS HD screen for clear viewing.
Aufnahme: One-touch photo and video capture function.
Portabilität: Lightweight (0.28 lbs) and ergonomic design with a neck strap for easy carrying.
Leistung: Built-in 600mAh rechargeable battery, providing up to 2.5 hours of continuous use.
Konnektivität: USB-C port for charging and PC connection for larger display.
Beleuchtung: Integrated LED light source for enhanced visibility.
Bild: Eine explodierte view diagram illustrating the 1080P HD digital lens system within the microscope.
4. Einrichtung
4.1 Aufladen des Geräts
Before first use, fully charge the microscope. Connect the provided USB-C cable to the microscope's charging port and the other end to a USB power adapter (not included) or a computer's USB port. The charging indicator will show the charging status.
4.2 Ein-/Ausschalten
To power on, press and hold the power button located on the device until the screen illuminates. To power off, press and hold the power button again until the screen turns off.
4.3 Einlegen einer Micro-SD-Karte (optional)
To save photos and videos, insert a Micro SD card (not included) into the designated slot. Ensure the card is inserted correctly with the contacts facing down. The device supports Micro SD cards for expanded storage.
5. Bedienungsanleitung
5.1 Einstellen von Vergrößerung und Fokus
Place the microscope's lens directly over the object you wish to observe. Rotate the focus wheel, typically located on the side of the device, to adjust the clarity of the image on the screen. The magnification can be adjusted between 200x and 1000x by rotating the focus wheel and moving the microscope closer or further from the object.
Image: A child using the microscope, rotating the focus wheel to view a fish in an aquarium.
5.2 Fotografieren und Videoaufnahmen
Once the image is clear on the 2.0-inch IPS screen, press the designated photo button to capture a still image. To record a video, press the video button to start recording, and press it again to stop. Ensure a Micro SD card is inserted to save your recordings.
Image: A child observing a bee with the microscope, highlighting the photo and video recording capabilities.
5.3 Anschließen an einen Computer
Für ein größeres viewErfahrung sammeln oder übertragen files, connect the microscope to a computer using the USB-C cable. The microscope may appear as a removable disk drive, allowing you to access saved photos and videos. Some operating systems may require driver installation, which can typically be found on the manufacturer's webWebsite.
Image: The microscope connected to a laptop, demonstrating how to transfer photos and videos for a larger view.
5.4 Using Pre-mounted Slides
If included, place a pre-mounted biological slide under the microscope's lens. Adjust the focus wheel to achieve a clear image. These slides offer a convenient way to explore various specimens immediately.
Video: A demonstration of the Ashfly Kids Microscope in use, showing how to observe various objects and adjust settings.
6. Wartung
6.1 Reinigung
To clean the microscope's body, use a soft, dry cloth. For the lens and screen, use a specialized lens cleaning cloth and solution to avoid scratches. Do not use abrasive cleaners or immerse the device in water.
6.2 Speicherung
Store the microscope in a cool, dry place away from direct sunlight and extreme temperatures. When not in use for extended periods, ensure the battery is partially charged (around 50%) to prolong its lifespan.
7. Fehlerbehebung
Problem
Mögliche Ursache
Lösung
Gerät lässt sich nicht einschalten.
Schwache Batterie; Einschalttaste nicht richtig gedrückt.
Charge the device using the USB-C cable. Press and hold the power button firmly for a few seconds.
Das Bild ist unscharf.
Incorrect focus; Lens dirty; Object too far/close.
Rotate the focus wheel to adjust. Clean the lens with a soft cloth. Adjust the distance between the lens and the object.
Fotos/Videos können nicht gespeichert werden.
No Micro SD card inserted; SD card full or corrupted.
Legen Sie eine Micro-SD-Karte ein. Löschen Sie unnötige Inhalte. files or replace the SD card. Ensure the SD card is not locked.
Verbindung zum PC nicht möglich.
Faulty USB-C cable; Incorrect PC settings; Driver issue.
Try a different USB-C cable. Check PC's USB port. Ensure the microscope is powered on. Consult PC's device manager for driver issues.
8. Spezifikationen
Besonderheit
Detail
Modellname
inskam382
Marke
Aschenfliege
Vergrößerung
200x - 1000x (Digital)
Anzeige
2.0"-IPS-Bildschirm
Lichtquelle
LED
Stromquelle
600mAh USB-C Rechargeable Battery
Material
Plastik
Farbe
Weiß
Kompatible Geräte
Personal Computer (for data transfer/larger view)
9. Garantie und Support
Ashfly provides technical support for this product. For any questions, issues, or technical assistance, please contact Ashfly customer service through the retailer's platform or the official Ashfly webBitte bewahren Sie Ihren Kaufbeleg für Garantieansprüche auf.
Video: A brief instructional video demonstrating the usage of the Ashfly Children's Microscope.
Ask a question about this manual
Ask about setup, troubleshooting, compatibility, parts, safety, or missing instructions. Manuals+ will review the question and use this page’s manual context to help answer it.