Einführung
This manual provides detailed instructions for the setup, operation, and maintenance of your Ratakee Digital Alarm Clock Radio H249. Please read this manual thoroughly before using the device to ensure proper functionality and to maximize your user experience. This device features a large LED display, dual alarms, AM/FM radio with presets, adjustable alarm volume, sleep timer, and display dimmer.

Bild: Vorderseite view of the Ratakee Digital Alarm Clock Radio H249, displaying the time 12:00 PM in blue LED digits.
Produktmerkmale vorbeiview
- Großes LED-Display: 6.6-inch screen with 1.6-inch blue LED numbers for clear visibility.
- Doppelalarme: Set two independent alarms with options for beep or radio wake-up.
- AM/FM-Radio: Digital tuning with frequency ranges FM 87.5-108MHz and AM 520-1710KHz.
- Sendervoreinstellungen: Save up to 20 AM and 20 FM stations for quick access.
- Einstellbare Alarmlautstärke: Alarm volume can be set from levels 5 to 15.
- Schlaf-Timer: Program the radio to turn off automatically after 10-90 minutes.
- Display-Dimmer: Four brightness levels for the LED display.
- Schlummerfunktion: Sorgt für 9 zusätzliche Minuten Schlaf.
- Batterie-Backup: 2 AAA batteries (not included) preserve time and alarm settings during power outages.
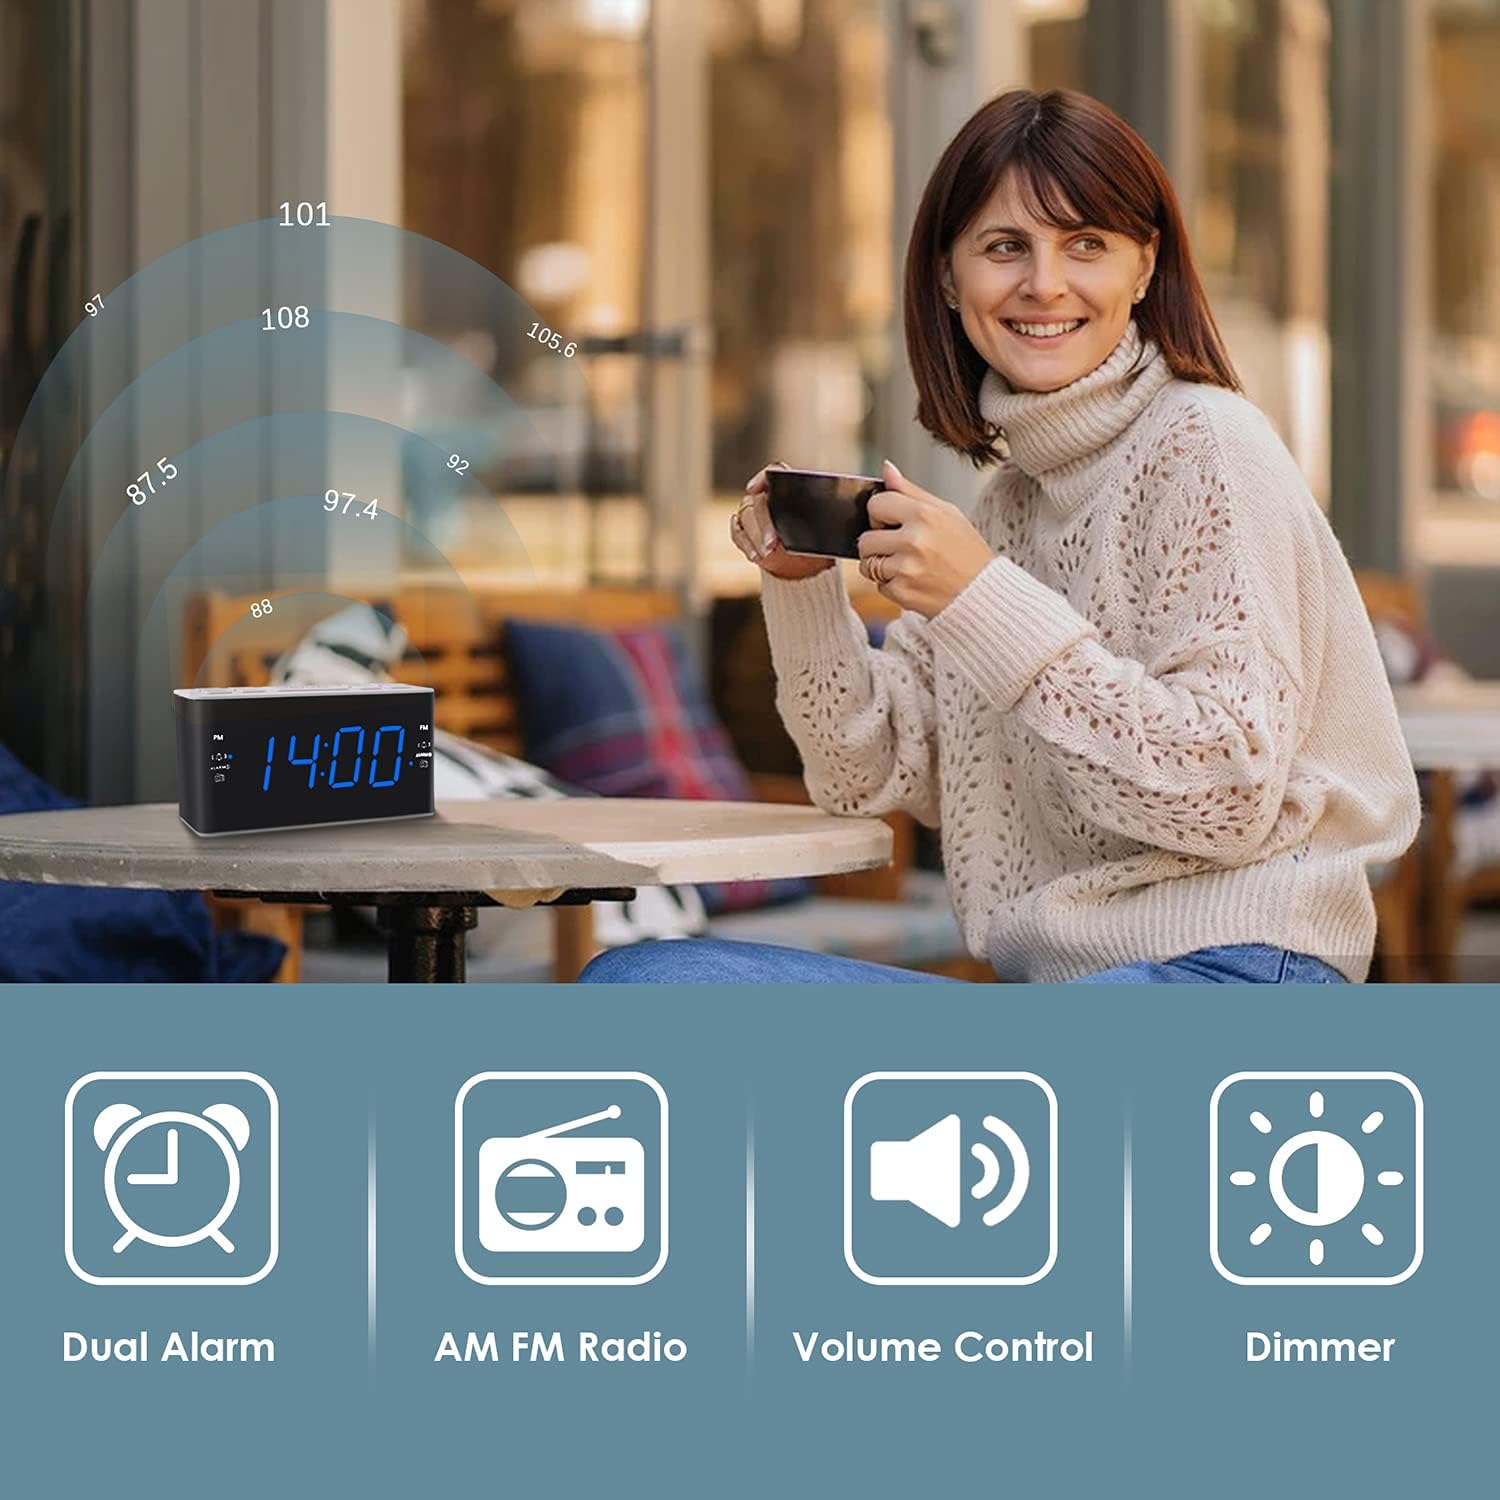
Image: Visual representation of the alarm clock's main features: Dual Alarm, AM FM Radio, Volume Control, and Dimmer, with a woman enjoying music in the background.
Aufstellen
1. Stromanschluss
The Ratakee H249 operates on AC power. Connect the provided power cord to the clock radio and then plug it into a standard AC 120V 60Hz wall outlet. The display will illuminate once power is supplied.
2. Batterie-Backup-Installation
For battery backup, insert two (2) AAA batteries (not included) into the battery compartment located on the bottom of the unit. The battery backup maintains time and alarm settings during a power interruption but does not power the clock display or radio functions.
3. Erstzeiteinstellung
- Halten Sie die ZEIT EINSTELLEN Drücken Sie den Knopf. Die Stundenziffern beginnen zu blinken.
- Verwenden Sie die Lautstärke+ or vol- Tasten zum Einstellen der Stunde. Beachten Sie die PM-Anzeige, wenn Sie eine Nachmittagszeit einstellen.
- Drücken Sie die ZEIT EINSTELLEN Drücken Sie die Taste erneut. Die Minutenanzeige blinkt.
- Verwenden Sie die Lautstärke+ or vol- Tasten zum Einstellen der Minuten.
- Drücken Sie die ZEIT EINSTELLEN Drücken Sie die Taste ein weiteres Mal, um die Zeiteinstellung zu bestätigen und den Modus zu verlassen.
Bedienungsanleitung
1. Alarme einstellen (Alarm 1 und Alarm 2)
The clock radio features two independent alarms. The process is identical for both.
- Halten Sie die ALARM1 (oder ALARM2) button. The alarm hour digits will flash.
- Verwenden Sie die Lautstärke+ or vol- buttons to set the desired alarm hour. Observe the PM indicator.
- Drücken Sie die ALARM1 (oder ALARM2) button again. The alarm minute digits will flash.
- Verwenden Sie die Lautstärke+ or vol- Tasten zum Einstellen der gewünschten Alarmminuten.
- Drücken Sie die ALARM1 (oder ALARM2) button again to select the alarm source:
- Signalton: A standard alarm tone.
- Radio: Wakes you up to the last tuned radio station.
- Drücken Sie die ALARM1 (oder ALARM2) button one more time to confirm and activate the alarm. An alarm icon will appear on the display.
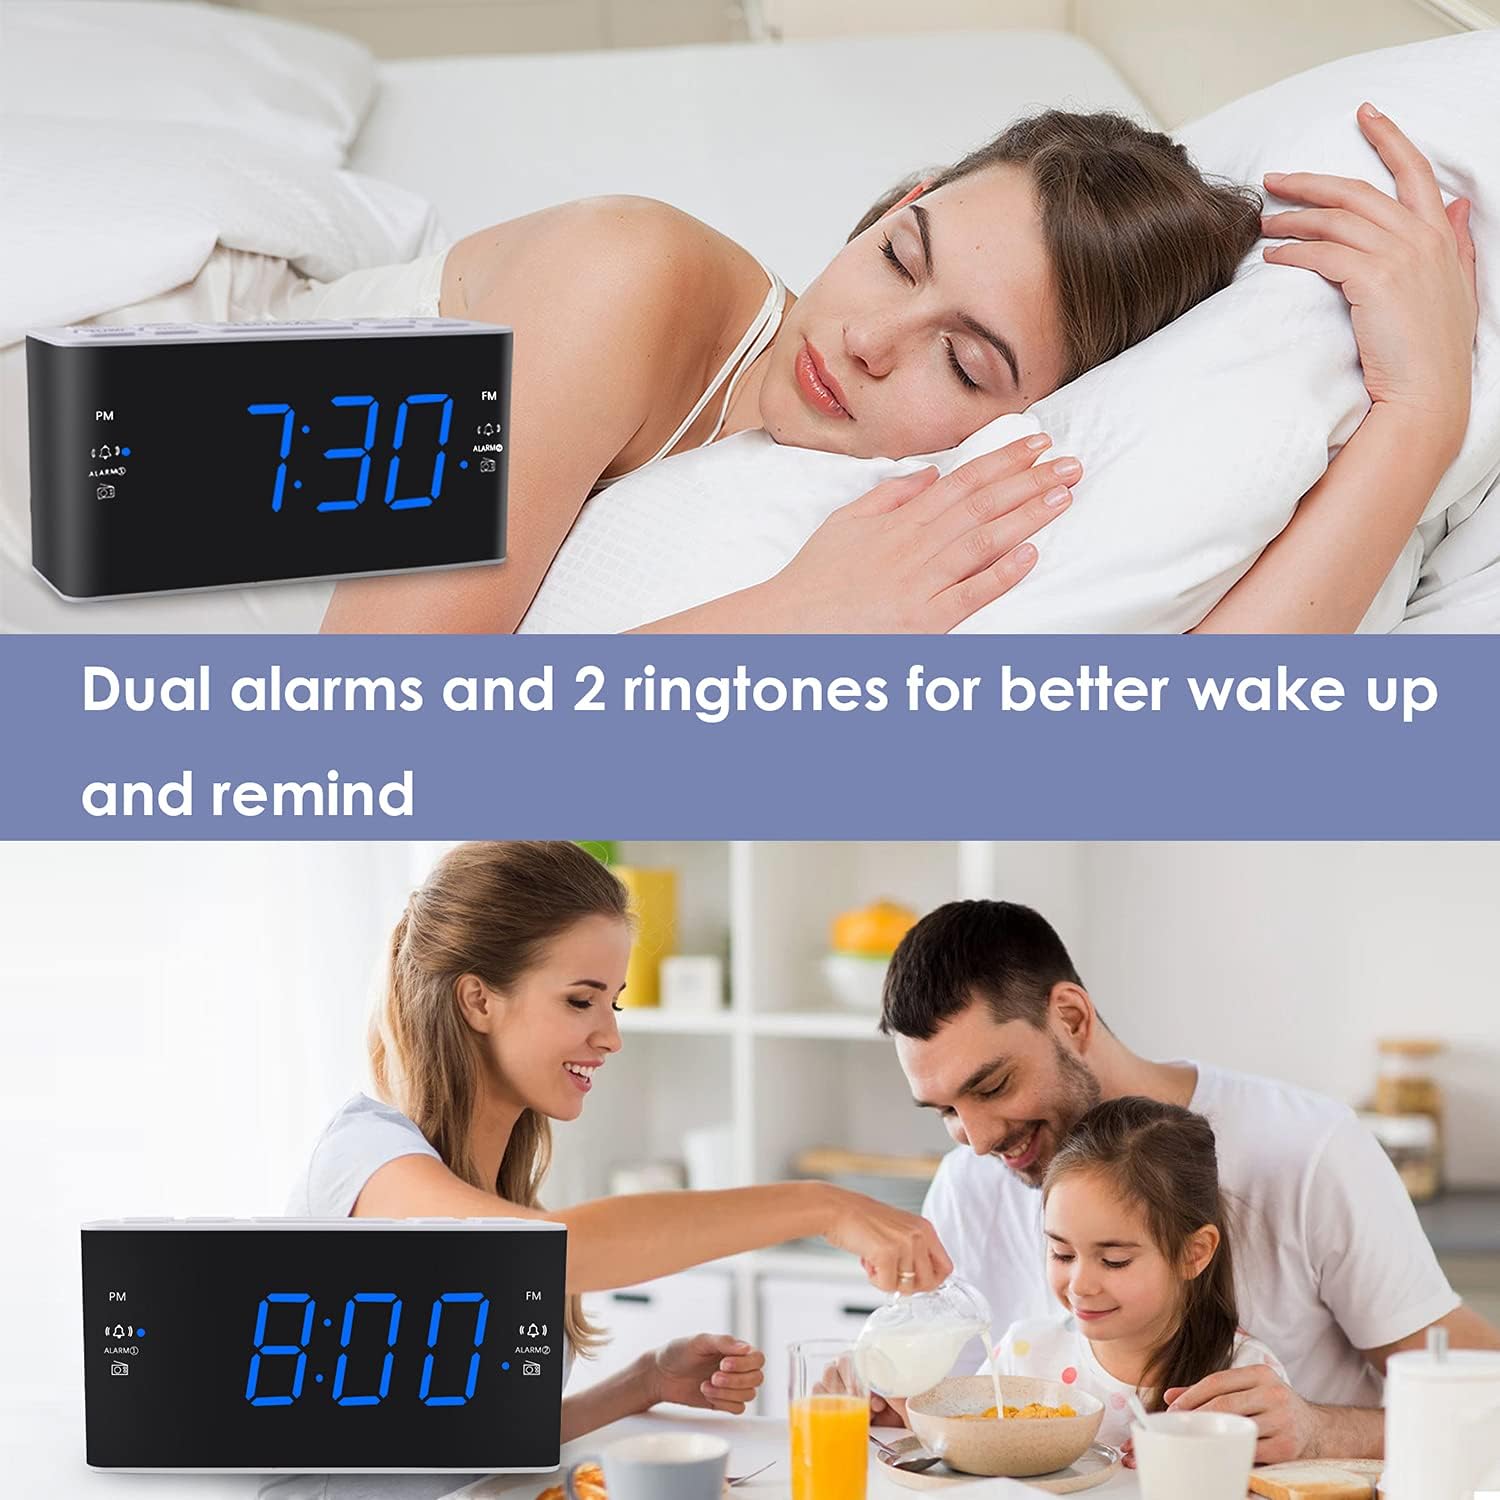
Image: The alarm clock displaying 7:30, with icons indicating dual alarms are set, positioned on a bedside table next to a person waking up.
2. Einstellen der Alarmlautstärke
When an alarm is sounding, use the Lautstärke+ or vol- buttons to adjust the alarm volume between levels 5 and 15.
3. Schlummerfunktion
Wenn ein Alarm ertönt, drücken Sie die große Taste. SCHLUMMER/DIMMER button to temporarily silence the alarm for 9 minutes. The alarm will sound again after 9 minutes. This can be repeated up to 5 times. To cancel the alarm completely, press any other button (e.g., ALARM1, ALARM2, RADIO).

Image: A hand reaching to press the SNOOZE button on the alarm clock, which shows 8:30, illustrating the snooze function.
4. AM/FM-Radiobetrieb
- Drücken Sie die RADIO Knopf zum Ein- und Ausschalten des Radios.
- To tune, press the Lautstärke+ or vol- buttons to manually adjust the frequency. Press and hold these buttons for automatic scanning to the next available station.
- Voreinstellungen festlegen: While listening to a desired station, press and hold the VOREINSTELLUNG button. The preset number will flash. Use Lautstärke+ or vol- to select a preset slot (P01-P20 for AM/FM). Press VOREINSTELLUNG wieder zu speichern.
- Voreinstellungen abrufen: Drücken Sie kurz die VOREINSTELLUNG Taste zum Durchschalten der gespeicherten Sender.
- Adjusting Radio Volume: Verwenden Sie die Lautstärke+ or vol- buttons when the radio is on to adjust the listening volume.
5. Sleep-Timer
Der Sleep-Timer ermöglicht es dem Radio, für eine festgelegte Dauer zu spielen, bevor es sich automatisch ausschaltet.
- Während das Radio spielt, drücken Sie die Taste SCHLAFEN button (if available, otherwise use a combination like SNOOZE + RADIO, or refer to specific button if different).
- Drücken Sie wiederholt die SCHLAFEN button to cycle through available sleep times (e.g., 10, 20, 30, 60, 90 minutes).
- The radio will turn off automatically after the selected time.
6. Display-Dimmer
Um die Helligkeit des LED-Displays anzupassen, drücken Sie die SCHLUMMER/DIMMER button (when the alarm is not sounding). Each press will cycle through the four available brightness levels (High, Medium, Low, Off).

Image: The alarm clock displaying 20:00 (8 PM) with a dimmed blue LED display, illustrating the dimmer function for nighttime use.
Wartung
1. Reinigung
To clean the clock radio, gently wipe the surface with a soft, dry cloth. Do not use abrasive cleaners, waxes, or solvents as these can damage the finish. Ensure the device is unplugged before cleaning.
2. Batteriewechsel (Notstromversorgung)
Wenn die Zeit- und Alarmeinstellungen bei einem Stromausfall nicht beibehalten werdentage, the AAA backup batteries may need to be replaced. Open the battery compartment, remove the old batteries, and insert two new AAA batteries, observing the correct polarity (+/-). Close the compartment securely.
Fehlerbehebung
| Problem | Mögliche Ursache | Lösung |
|---|---|---|
| Die Uhranzeige ist ausgeschaltet oder funktioniert nicht. | Kein Wechselstrom; Stromausfalltage; display dimmer set to 'Off'. | Ensure the power cord is securely plugged into a live outlet. Check for power outages. Press the SCHLUMMER/DIMMER button to adjust display brightness. |
| Time/Alarm settings are lost after a power outage. | Die Notstrombatterien sind defekt oder nicht installiert. | Install two fresh AAA batteries or replace existing ones in the battery compartment. |
| Der Alarm ertönt nicht. | Alarm is not activated; alarm volume is too low; incorrect alarm time. | Ensure the alarm icon is visible on the display. Re-check alarm time and source. Adjust alarm volume (levels 5-15). |
| Schlechter Radioempfang. | Antenne nicht ausgefahren; Störungen; schwaches Signal. | Fully extend the FM wire antenna. Reposition the clock radio to improve reception. Avoid placing near electronic devices that may cause interference. |
| Radio presets are not saved. | Incorrect saving procedure; power interruption without backup. | Stellen Sie sicher, dass Sie die Taste gedrückt halten. VOREINSTELLUNG button to save, then press again to confirm. Ensure backup batteries are installed and functional to retain settings during power loss. |
Technische Daten
| Besonderheit | Detail |
|---|---|
| Marke | Ratakee |
| Modellnummer | H249 |
| Anzeigetyp | Digitale LED (Blau) |
| Stromquelle | Kabelgebundenes Elektrogerät (Wechselstrom 120 V, 60 Hz) |
| Batterie-Backup | 2 AAA-Batterien (nicht im Lieferumfang enthalten) zum Speichern der Einstellungen |
| Technische Daten | 6.14 Zoll B x 3.15 Zoll H x 2.17 Zoll T |
| Artikelgewicht | 4 Unzen (0.25 Pfund) |
| Radio Frequency (FM) | 87.5–108 MHz |
| Radio Frequency (AM) | 520-1710 KHz |
| Besondere Merkmale | Adjustable Brightness, Adjustable Volume, Dual Alarms, Radio, Sleep Timer |
| Material | Plastik |

Image: Dimensional drawing of the alarm clock, indicating its width (6.14in), height (3.15in), and depth (2.17in).
Garantie und Support
Garantieinformationen
This Ratakee Digital Alarm Clock Radio H249 comes with a 1 Jahr eingeschränkte Garantie ab Kaufdatum. Zusätzlich ein 90 Tage Geld-zurück-Garantie is offered. This warranty covers manufacturing defects and malfunctions under normal use. It does not cover damage caused by misuse, accidents, unauthorized modifications, or external factors.
Kundenservice
For technical assistance, troubleshooting not covered in this manual, or warranty claims, please contact Ratakee customer support through the retailer's platform or the contact information provided with your purchase. Please have your model number (H249) and purchase date available when contacting support.