1. Einleitung
This manual provides essential information for the safe and efficient use of your Doro Leva E20 4G Flip Phone. Designed with seniors in mind, this phone features a large 2.8-inch display, contrasting keys, loud and clear sound, HD voice, a camera, and a dedicated assistance button. Please read these instructions carefully before using your new phone.

Image 1: Doro Leva E20 highlighting key features such as 4G connectivity, large display, clear sound, and hearing aid compatibility.
2. Einrichtung
2.1. Einlegen der SIM-Karte und des Akkus
Before using your phone, you must insert a SIM card (provided by your mobile network operator) and the battery.
- Open the phone: Gently open the flip phone to access the battery compartment.
- Entfernen Sie die Batterieabdeckung: Locate the notch on the back cover and carefully lift it off.
- Sim Karte einlegen: Slide the SIM card into the designated slot with the gold contacts facing down and the cut corner aligned as shown in the diagram (refer to your quick start guide for a visual).
- Batterie einlegen: Place the battery into its compartment, ensuring the contacts align with those in the phone.
- Abdeckung wieder anbringen: Snap the battery cover back into place until it clicks.
2.2. Aufladen des Telefons
Your phone's battery may not be fully charged upon purchase. It is recommended to fully charge the battery before first use.
- Schließen Sie das Ladegerät an: Plug the USB Type-C cable into the charging port on the phone.
- An Strom anschließen: Stecken Sie das andere Ende des Ladegeräts in eine Steckdose.
- Ladeanzeige: The charging indicator on the screen will show the charging status. The phone is fully charged when the indicator shows a full battery icon.
2.3. Ein-/Ausschalten
- So schalten Sie ein: Rot gedrückt halten Anruf beenden/Stromversorgung Drücken Sie so lange, bis das Doro-Logo erscheint.
- Ausschalten: Rot gedrückt halten Anruf beenden/Stromversorgung button, then select 'Power off' from the options on the screen.
3. Bedienungsanleitung
3.1. Grundfunktionen
- Einen Anruf tätigen:
- Geben Sie die Telefonnummer über die Tastatur ein.
- Drücken Sie die grüne Anruf Taste zum Starten des Anrufs.
- Anruf annehmen: Simply open the flip phone to answer an incoming call. Alternatively, press the green Anruf Taste.
- Anruf beenden: Close the flip phone or press the red Anruf beenden Taste.
- Lautstärke anpassen: Verwenden Sie während eines Anrufs oder bei der Medienwiedergabe die Lautstärketasten an der Seite des Telefons.
3.2. Sending and Receiving Messages (SMS)
- Vom Hauptmenü aus navigieren Sie zu Nachrichten.
- Wählen Neue Nachricht.
- Geben Sie die Telefonnummer des Empfängers ein oder wählen Sie eine aus Ihren Kontakten aus.
- Geben Sie Ihre Nachricht über die Tastatur ein.
- Drücken Schicken.
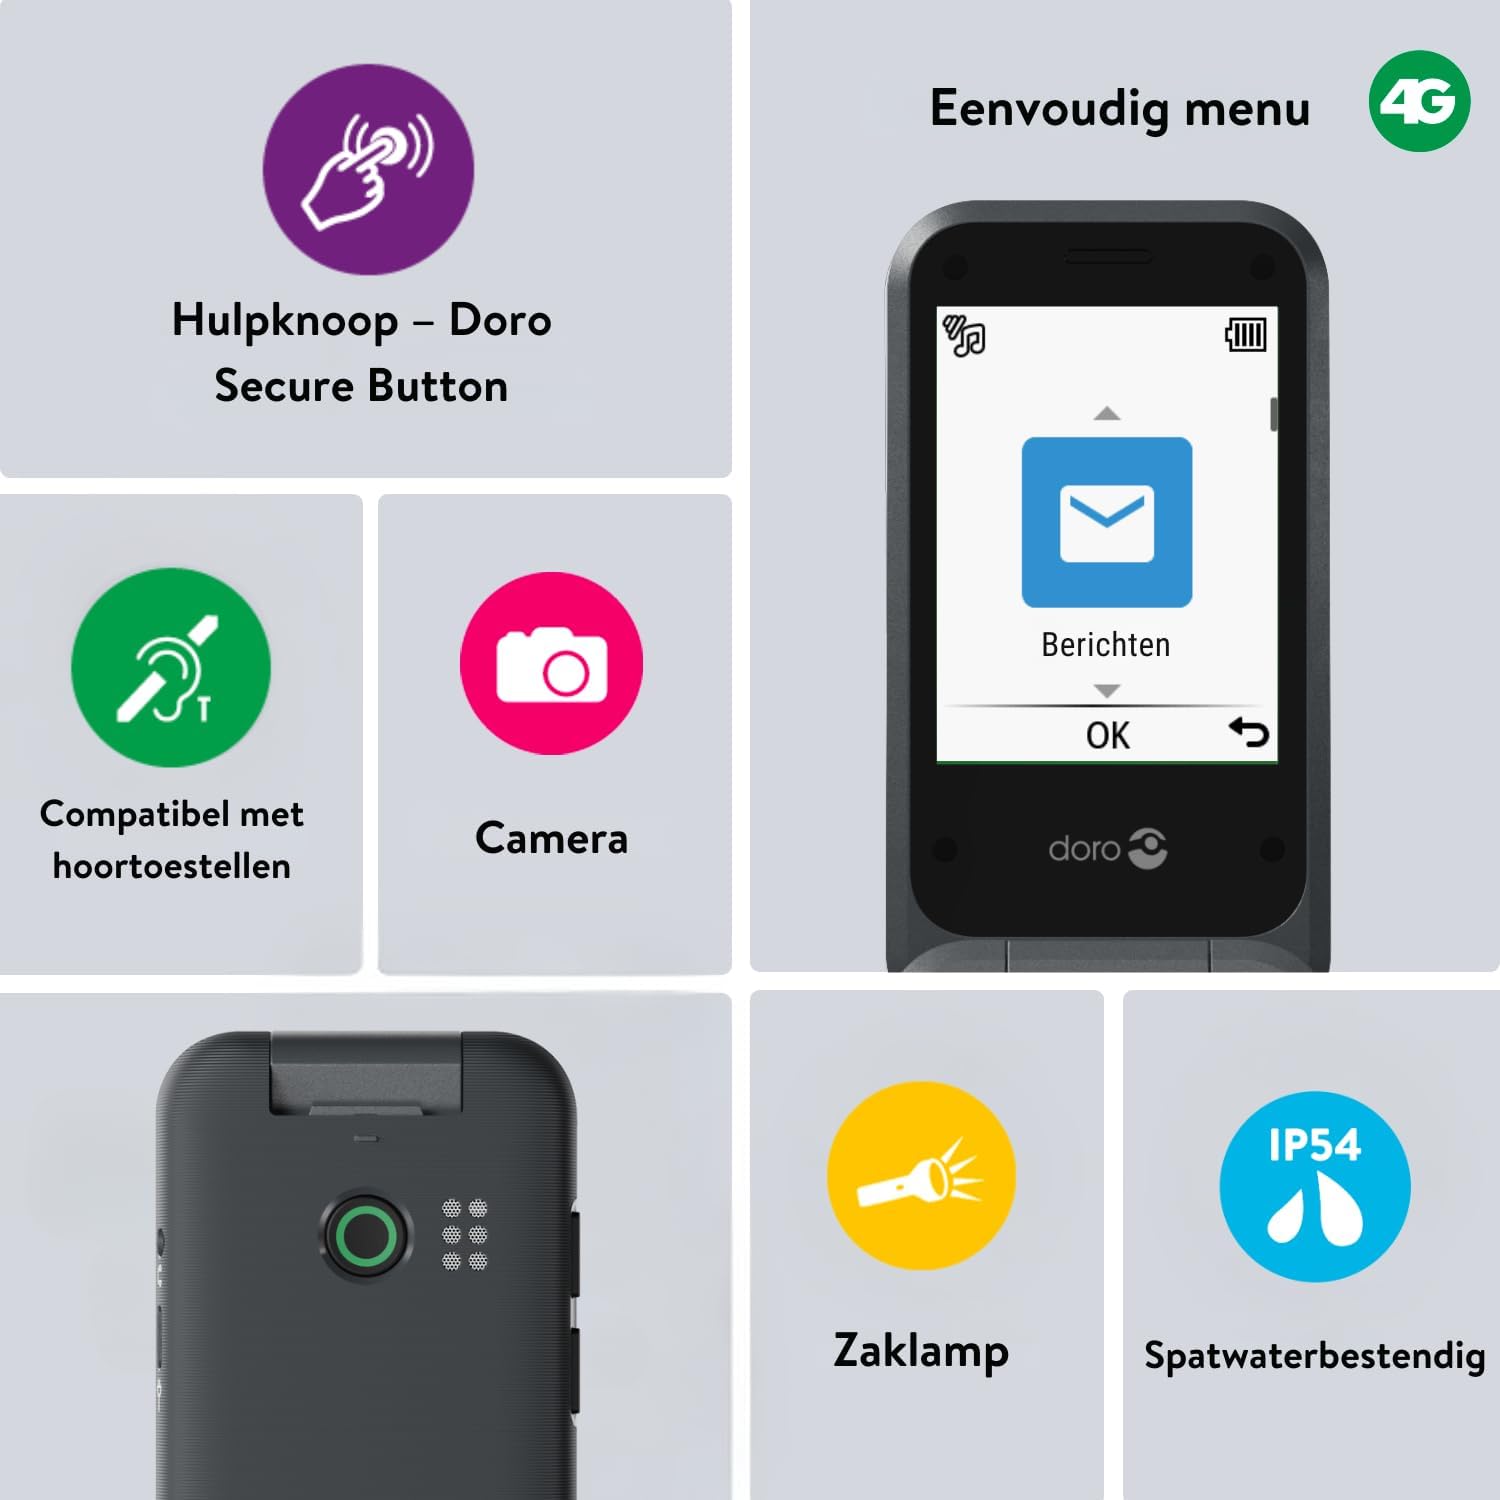
Image 2: The Doro Leva E20's simple menu interface, showing the 'Messages' icon, along with other features like the assistance button, camera, flashlight, and IP54 splash resistance.
3.3. Kamera
The Doro Leva E20 includes a basic camera for capturing photos.
- Wählen Sie im Hauptmenü Kamera.
- Gestalte dein Bild, indem du den Bildschirm als Orientierungspunkt nutzt. viewFinder.
- Drücken Sie die OK Klicken Sie auf die Schaltfläche, um ein Bild aufzunehmen.
3.4. Assistance Button (Doro Secure Button)
The dedicated assistance button is a key safety feature, allowing you to quickly contact pre-set emergency numbers.
- Einrichten: Refer to the phone's settings menu under 'Assistance' to program emergency contacts.
- Activating: Press and hold the assistance button (located on the back of the phone) for a few seconds. The phone will automatically call and send an SMS to your pre-programmed emergency contacts.

Image 3: The Doro Leva E20's Doro Secure Button, designed for quick access to emergency contacts.
3.5. Taschenlampe
So aktivieren Sie die eingebaute Taschenlampe:
- Locate the flashlight icon or dedicated button (if available) on the phone or in the quick settings menu.
- Press the corresponding key or navigate to the option to turn the flashlight on/off.
3.6. Schnellzugriffstasten
The Doro Leva E20 features quick access buttons for frequently used functions.
- Bevorzugte Kontakte: Assign frequently called numbers to speed dial keys.
- Kamera: A dedicated button or menu option for quick camera access.
- Nachrichten: A dedicated button or menu option for quick message access.

Image 4: The Doro Leva E20 in hand, showcasing the keypad with quick access buttons for favorite contacts, camera, and messages.
4. Wartung
4.1. Reinigen des Geräts
Damit Ihr Telefon in optimalem Zustand bleibt:
- Use a soft, dry, lint-free cloth to clean the screen and body of the phone.
- Vermeiden Sie die Verwendung aggressiver Chemikalien, Reinigungslösungsmittel oder starker Reinigungsmittel.
- Setzen Sie das Telefon keiner übermäßigen Feuchtigkeit aus.
4.2. Batteriepflege
The Doro Leva E20 is powered by a rechargeable battery. To maximize battery life and performance:
- Charge the phone regularly. Avoid letting the battery drain completely before recharging.
- Setzen Sie den Akku keinen extremen Temperaturen aus.
- Wenn das Telefon längere Zeit nicht benutzt wird, laden Sie es vor der Lagerung auf etwa 50 % auf.
4.3. Wasserbeständigkeit
The Doro Leva E20 has an IP54 rating, meaning it is protected against dust ingress and splashing water from any direction. It is not designed to be submerged in water.
5. Fehlerbehebung
If you encounter issues with your Doro Leva E20, try the following solutions:
| Problem | Mögliche Lösung |
|---|---|
| Das Telefon lässt sich nicht einschalten | Stellen Sie sicher, dass der Akku geladen ist. Schließen Sie das Ladegerät an und versuchen Sie es erneut. Prüfen Sie, ob der Akku richtig eingesetzt ist. |
| Anrufe können weder getätigt noch empfangen werden. | Check if the SIM card is correctly inserted. Ensure you have network coverage. Contact your service provider if the issue persists. |
| Schlechte Tonqualität | Adjust the volume. Ensure the speaker/microphone is not blocked. If using a hearing aid, ensure compatibility settings are correct. |
| Der Akku entlädt sich schnell | Reduce screen brightness. Close unused applications. Limit background data usage. Ensure the phone is not in an area with poor network signal, which can increase battery consumption. |
If these steps do not resolve the issue, please contact Doro customer support.
6. Spezifikationen
- Modellname: Leva E20
- Betriebssystem: Mocor OS
- CPU-Modell: Cortex A7
- Bildschirmgröße: 2.8 Zoll
- Auflösung: 320 x 240
- Mobilfunktechnologie: 4G
- Konnektivität: USB Typ C
- Speicherkapazität: 17 GB
- Farbe: Schwarz
- Wasserbeständigkeit: IP54 (spritzwassergeschützt)
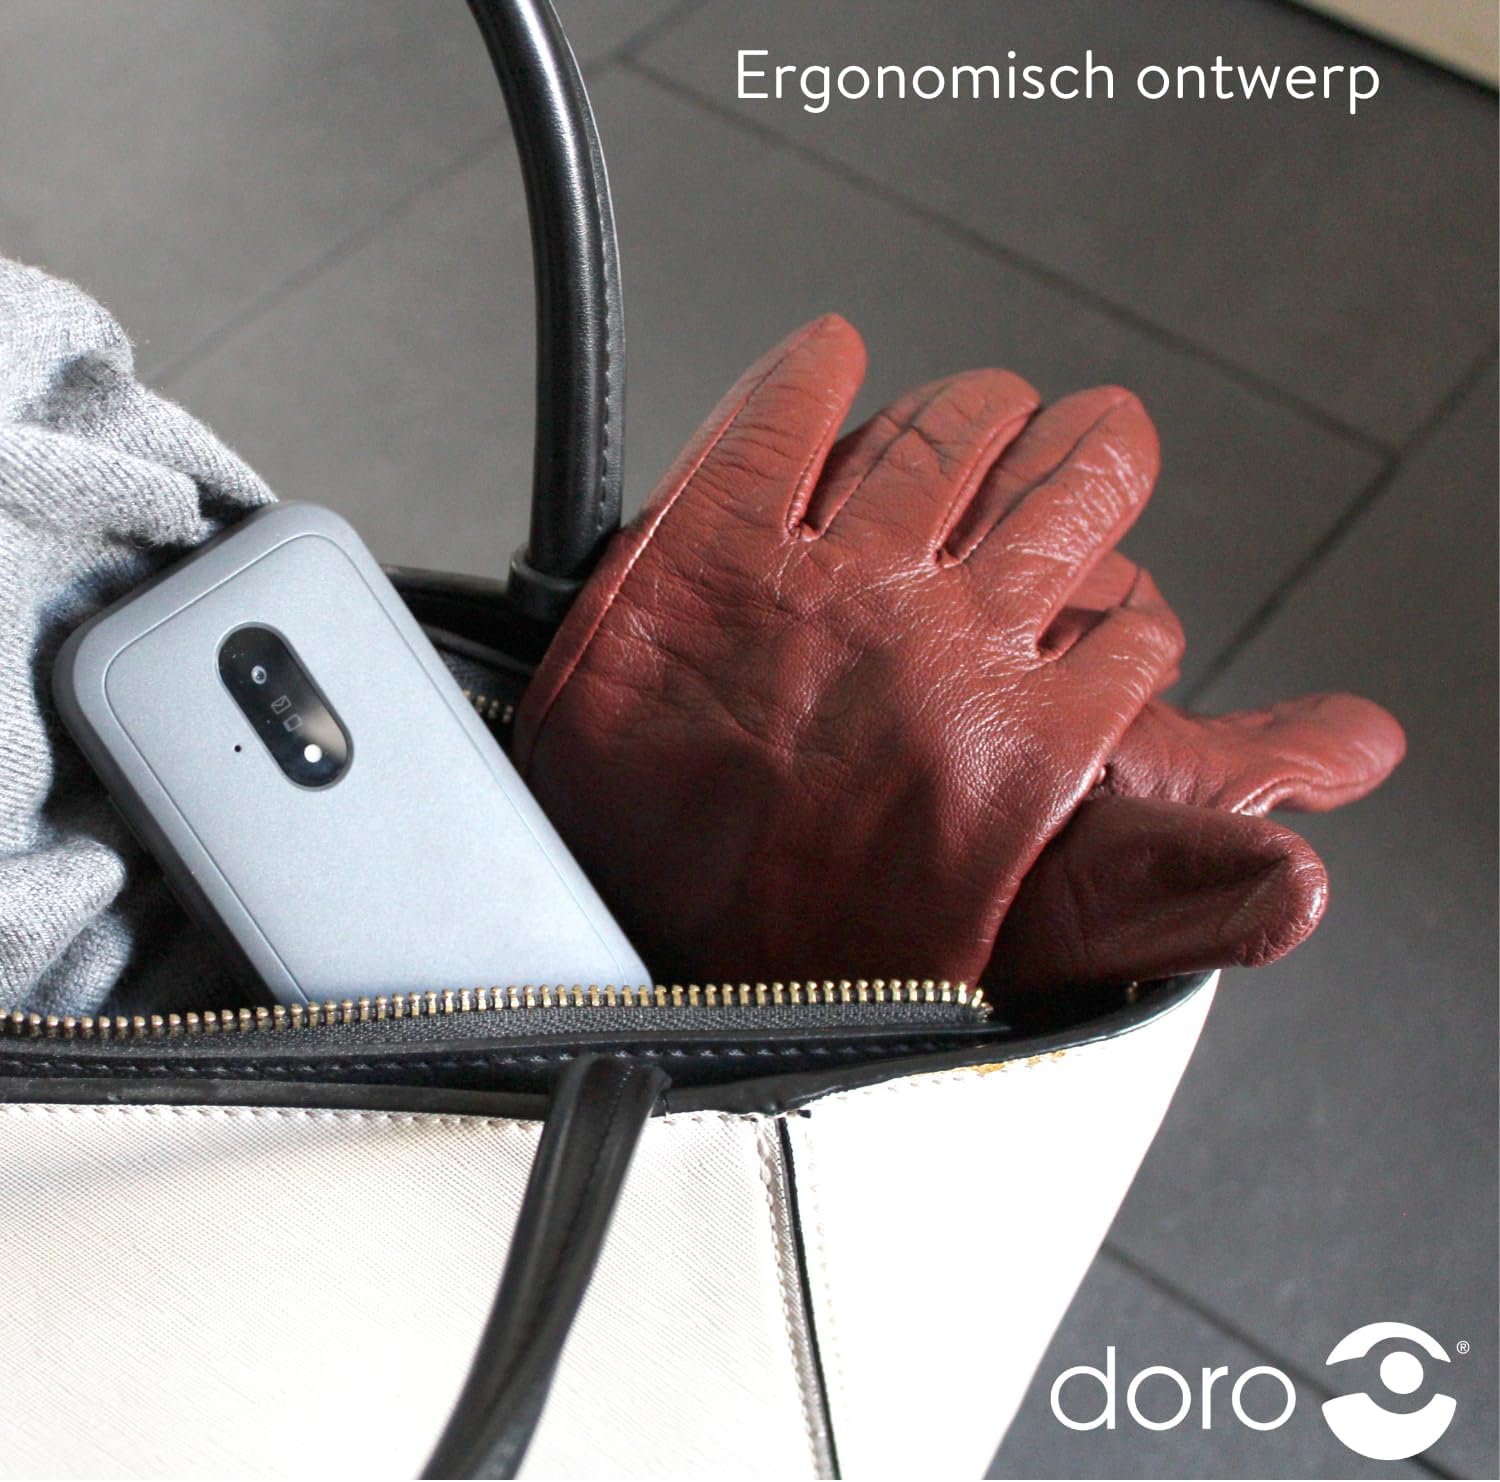
Image 5: The Doro Leva E20's ergonomic design allows for easy portability, fitting comfortably in a bag.
7. Garantie und Support
Your Doro Leva E20 is manufactured by Doro. For specific warranty information, including terms and conditions, please refer to the warranty card included with your product or visit the official Doro website. For technical support, troubleshooting assistance beyond this manual, or service inquiries, please contact Doro customer support directly.
Hersteller: Doro
WebWebsite: www.doro.com (Please check your regional Doro website for local support contact details.)