
1. Einleitung
This user manual provides comprehensive instructions for the safe and effective operation of the BSIDE Thermal Imager Multimeter. Please read this manual thoroughly before using the device and retain it for future reference.
2. Sicherheitshinweise
Beachten Sie stets die folgenden Sicherheitsvorkehrungen, um Verletzungen oder Schäden am Gerät zu vermeiden:
- Das Gerät darf nicht bedient werden, wenn es beschädigt erscheint.
- Ensure proper polarity when connecting test leads.
- Die maximalen Eingangswerte für keine Funktion dürfen überschritten werden.
- Beim Arbeiten an unter Spannung stehenden Stromkreisen ist Vorsicht geboten.
- Refer to local electrical codes and safety standards.
3. Produktüberschreitungview
The BSIDE Thermal Imager Multimeter is a versatile tool combining a high-resolution thermal camera with a full-featured digital multimeter. It is designed for applications such as home inspection, HVAC, electrical plumbing, electronic maintenance, and circuit analysis.
3.1 Hauptmerkmale
- 428x320 IR Resolution Thermal Imaging Camera
- Dual-Light Fusion for enhanced visibility
- 20000 Count Digital Multimeter functions (AC/DC Voltage, Resistance, Capacitance, Diode, Continuity, Temperature, AC Current Clamp)
- Data Recording Mode for tested data over time
- Macro Lens for detailed inspection of small components
- 15 Thermal Palettes for diverse visualization
- 3.98-inch Touch TFT LCD Screen (320x480 resolution)
- Temperature Range: -20℃ to 550℃ (-4℉ to 1022℉)
- 25Hz Bildwiederholfrequenz
- Efficient Data Storage and Export via USB
3.2 Packungsinhalt
- 1 x Infrared Camera Multimeter
- 1 x Makroobjektiv
- 1 x Ladekabel
- 1 x Tragetasche
- 1 x Benutzerhandbuch (dieses Dokument)
Note: The flexible AC current clamp is not included in the standard package.
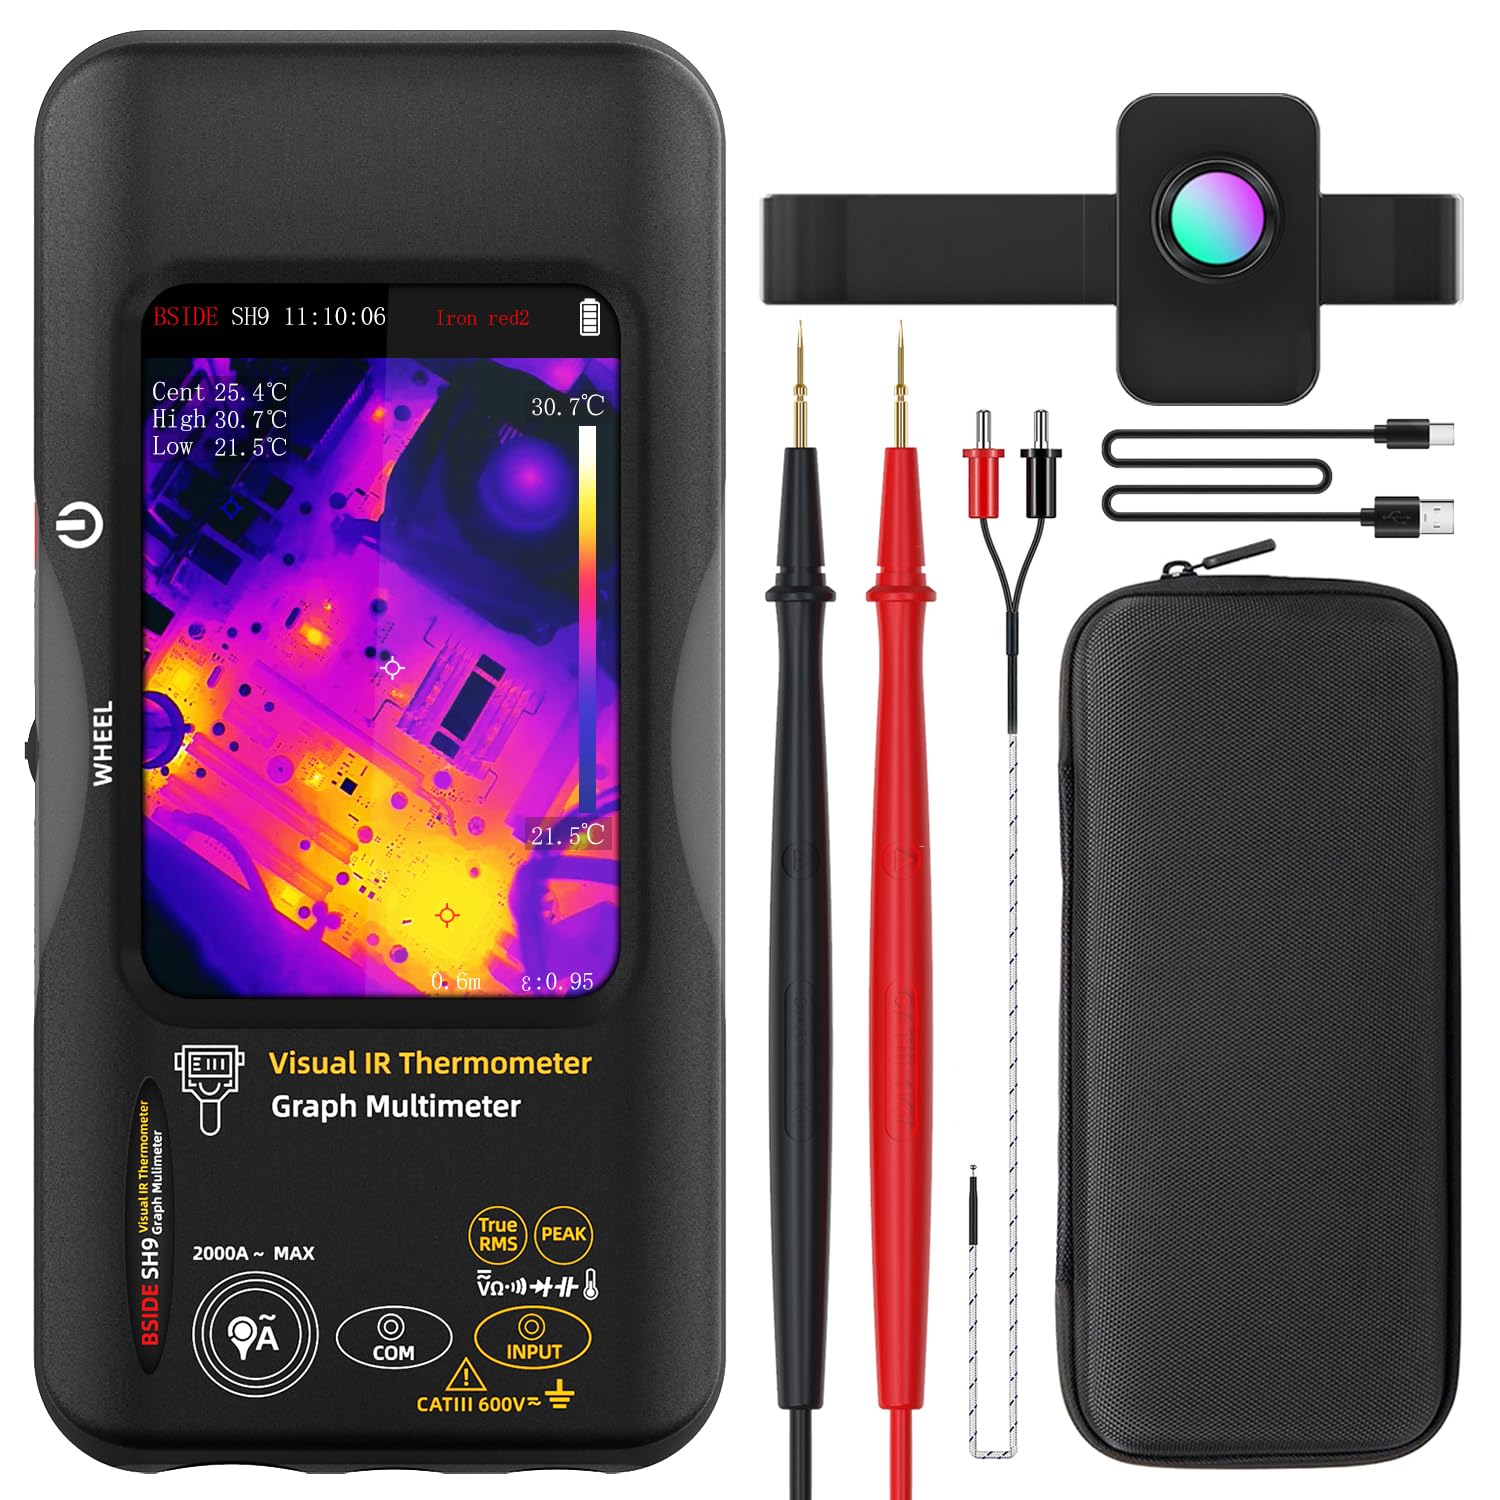
Figure 1: The BSIDE Thermal Imager Multimeter along with its included accessories, such as the macro lens, charging cable, and carrying case.
4. Einrichtung
4.1 Aufladen des Geräts
The device comes with a built-in 2500mAh rechargeable battery. Before first use, fully charge the device using the provided charging cable. Connect the charging cable to the device's charging port and a suitable USB power source.
4.2 Ein-/Ausschalten
Press and hold the power button located on the side of the device to power it on or off. The TFT LCD screen will illuminate upon successful power-on.
5. Bedienungsanleitung
5.1 Navigation auf der Benutzeroberfläche
The device features a 3.98-inch touch TFT LCD screen for intuitive navigation. Use touch gestures to select functions, adjust settings, and view data. A physical wheel button may also be present for additional control.
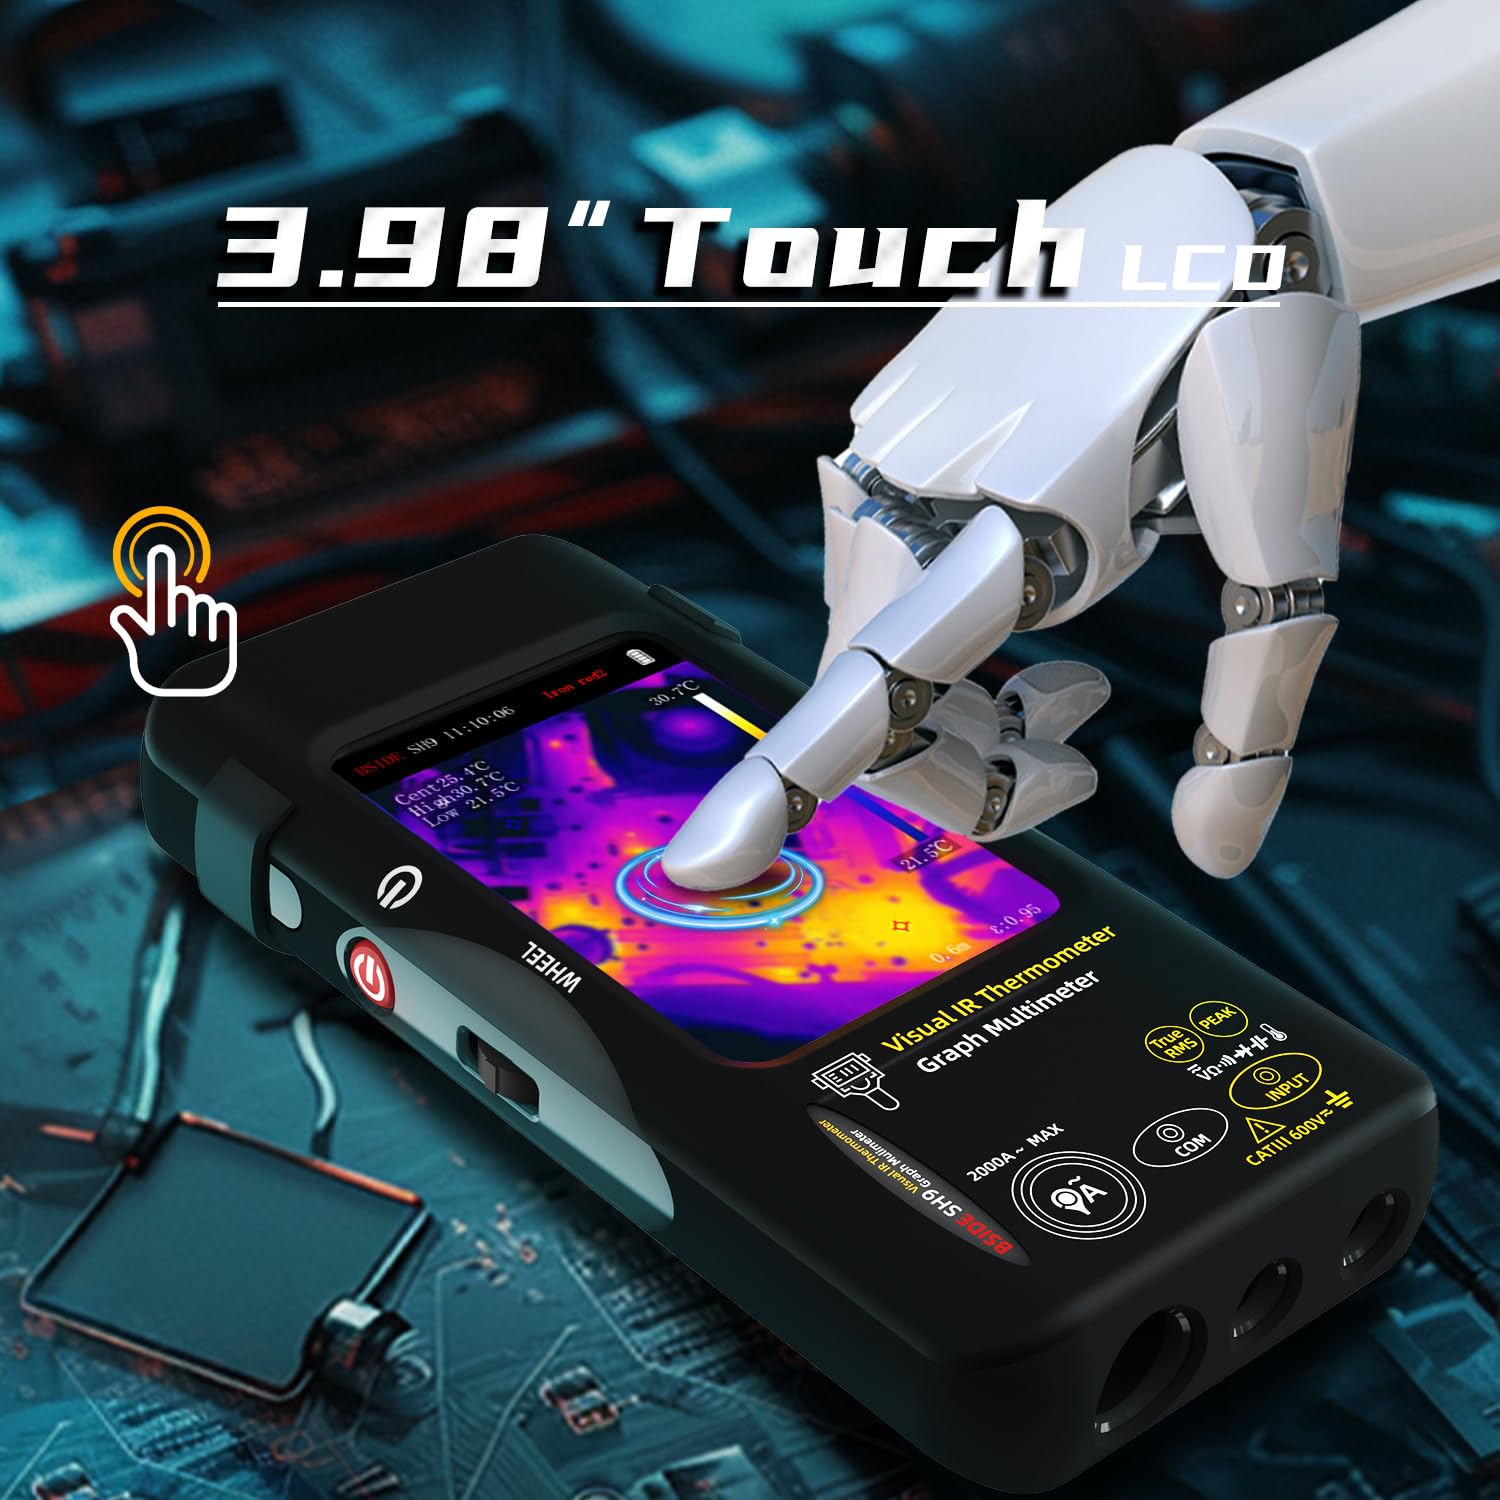
Figure 2: Demonstrates the touch screen interface of the device, allowing for easy interaction and data viewing.
5.2 Wärmebildmodus
To activate the thermal imaging function, select the appropriate mode on the screen. The device will display a thermal image with a resolution of 428x320 pixels. Hot, cold, and central spots temperatures are displayed on the screen.

Figure 3: The device displaying a thermal image with temperature readings, highlighting its 428x320 IR resolution capability.
5.2.1 Dual-Light Fusion
The Dual-Light Fusion feature overlays regular visual images with thermal images, providing enhanced detail and context. This mode is particularly useful for identifying the exact location of thermal anomalies.

Figure 4: Illustrates the difference between Fusion Mode and pure Thermal Mode, demonstrating how dual-light fusion provides a clearer understanding of the thermal landscape.
5.2.2 Thermische Paletten
The device offers 15 different thermal palettes to visualize temperature differences. Users can select the most suitable palette for their application to improve contrast and clarity.

Figure 5: A visual representation of the 15 distinct thermal palettes, including White Hot, Black Hot, Rainbow, and Iron Red, which can be selected to optimize thermal image interpretation.
5.2.3 Using the Macro Lens
Attach the included macro lens for detailed inspection of small electronic components, PCB hot spots, or other miniature objects. The macro lens has a working object distance of 35mm and a magnification of 0.3X.
5.3 Multimeterfunktionen
The integrated digital multimeter provides 20000 counts for precise measurements. Connect the test leads to the appropriate input jacks on the device.

Figure 6: The multimeter function showing a DC voltage reading with 20000 counts, demonstrating its high precision for electrical measurements.
5.3.1 Messmodi
Select the desired measurement mode (e.g., DC Voltage, AC-Voltage, Resistance, Capacitance, Diode, Continuity, Temperature, AC Current) using the on-screen interface or physical controls. Refer to the display for real-time readings.

Figure 7: The device in multimeter mode, displaying an AC voltage measurement along with a graph, indicating its data recording capability.
5.3.2 Data Recording Mode
The device can record up to 3 measurements over time, displaying them as a graph. This feature is useful for monitoring trends or intermittent issues. Access the recording mode through the menu.
6. Datenverwaltung
6.1 Image and Data Export
The device can store over 15,000 images. Connect the device to a computer via the provided USB cable to export stored thermal images and recorded measurement data for further analysis or reporting.

Figure 8: The device connected to a laptop, illustrating the real-time image export feature, allowing users to transfer and review thermal images on a larger screen.
7. Wartung
7.1 Reinigung
Wipe the device's exterior with a soft, damp Mit einem Tuch abwischen. Keine Scheuermittel oder Lösungsmittel verwenden. Vor der Reinigung sicherstellen, dass das Gerät ausgeschaltet ist.
7.2 Speicherung
When not in use, store the device in its carrying case in a cool, dry place, away from direct sunlight and extreme temperatures.
7.3 Batteriepflege
To prolong battery life, avoid fully discharging the battery frequently. Recharge the device regularly, even if not in active use, especially if storing for extended periods.
8. Fehlerbehebung
| Problem | Mögliche Ursache | Lösung |
|---|---|---|
| Gerät lässt sich nicht einschalten. | Niedriger Batteriestand; Gerätefehlfunktion. | Charge the battery; Contact customer support. |
| Das Wärmebild ist unscharf oder undeutlich. | Lens is dirty; Incorrect focus/distance. | Clean the lens with a soft cloth; Adjust distance to object. |
| Die Multimeteranzeigen sind ungenau. | Incorrect mode selected; Damaged test leads. | Verify the selected measurement mode; Inspect and replace test leads if necessary. |
| Cannot export data to computer. | USB cable issue; Driver not installed. | Try a different USB port/cable; Install necessary drivers (if applicable, check manufacturer webSeite? ˅). |
9. Spezifikationen
9.1 Infrared Camera Specifications
- Anzeigegröße: 3.98 Zoll TFT LCD
- IR-Auflösung: 320 x 428
- Bildschirmauflösung: 320 x 480
- Winkel von View (FOV): 50.0°(H) x 37.2°(V) / 63.6°(D)
- Räumliche Auflösung (IFOV): 8.89mrad
- Temperaturbereich: -20 550 bis 4 ℃ (-1022 ℉ bis XNUMX ℉)
- Thermische Empfindlichkeit/NETD: Less than 50mk
- Aktualisierungsrate: 25 Hz
- Entfernungseinstellungen: 0.3-3 m
- Emissionsgrad: 0.01-1 (einstellbar)
- Number of storage image: 15000
9.2 Spezifikationen für digitale Multimeter
- MAX Display: 20000 Zählwerte
- DC-Voltage: 20mV/200mV (±0.1%+3), 2V/20V (±0.1%+3), 200V/1000V (±0.5%+3)
- AC-Lautstärketage: 20mV/200mV (±0.5%+3), 2V/20V/200V/750V (±0.05%+3)
- Flexible AC Current: 200A/2000A (0.1A/1A resolution)
- Widerstand: 200Ω (±0.5%+3), 2kΩ/20KΩ/200KΩ (±0.2%+3), 2MΩ/20MΩ (±1%+3), 200MΩ (±5%+5)
- Kapazität: 999.99nF (±5.0%+20), 9.999µF/999.9µF (±2%+5), 99.999mF (±5%+10)
- Temperatur: -20℃~1300℃/-4℉-2372℉ (±2%+5)
- Diode: Ja
- Kontinuität: Ja
9.3 Macro Lens Specifications
- Working object distance: 35 mm
- Vergrößerung: 0.3X
9.4 Allgemeine Spezifikationen
- Leistung: 2500-mAh-Akku (eingebaut)
- Größe: 169 x 81 x 26.8M (6.65 x 3.19 x 1.02 Zoll)
- Gewicht: 274 g (9.69 Unzen)
10. Garantie und Support
Informationen zur Garantie und zum technischen Support finden Sie auf der offiziellen Website des Herstellers. webBesuchen Sie die Website oder kontaktieren Sie den Kundendienst. Bewahren Sie Ihren Kaufbeleg für Garantieansprüche auf.
Manufacturer: BSIDE
Contact information may be found on the official BSIDE webor oder innerhalb der Produktverpackung.