Lumoday LMD-36
Lumoday LMD-36 Nordic Wood Grain Digital Alarm Clock User Manual
Model: LMD-36
1. Einleitung
Vielen Dank für Ihren Einkauf.asing the Lumoday LMD-36 Digital Alarm Clock. This manual provides detailed instructions for setting up, operating, and maintaining your new alarm clock. Please read this manual thoroughly before use to ensure proper functionality and to maximize your product experience.
2. Packungsinhalt
Bitte überprüfen Sie den Packungsinhalt nach dem Auspacken:
- Lumoday LMD-36 Digital Alarm Clock (1 unit)
- USB Power Adapter (5V2.4A) (1 unit)
- USB-A to DC Power Cable (1 unit)
- Benutzerhandbuch (dieses Dokument)
Note: AAA batteries for backup are not included and must be purchased separately.
3. Produktüberschreitungview
The Lumoday LMD-36 features a large LED display with a Nordic wood grain design, blending seamlessly into various room decors. It offers multiple functions for convenience and reliability.

Abbildung 3.1: Front view of the Lumoday LMD-36 Digital Alarm Clock, showing the large LED display with time 5:25 AM.
Hauptmerkmale:
- Großes LED-Display: 1.8-inch digits for clear visibility.
- 3-stufige Helligkeitseinstellung: Customize display brightness for day or night.
- Doppelalarme: Set two independent alarms for different schedules (e.g., weekday and weekend).
- Adjustable Snooze Function: Snooze duration can be set to 5, 10, or 15 minutes.
- USB-Ladeanschlüsse: Includes one USB-A and one USB-C port for charging external devices.
- Batterie-Backup: Maintains time and alarm settings for up to 72 hours during power outages (benötigt 2 AAA-Batterien, nicht im Lieferumfang enthalten).
- Nordic Wood Grain Design: Aesthetic design to complement home decor.
4. Einrichtung
4.1 Stromanschluss
- Insert the DC plug of the power cable into the DC IN port on the back of the alarm clock.
- Connect the USB-A end of the power cable to the provided 5V2.4A USB power adapter.
- Stecken Sie den Netzadapter in eine normale Steckdose. Das LED-Display leuchtet auf.

Abbildung 4.1: Hinteren view of the alarm clock, highlighting the USB-A, USB-C, and DC power input ports.
4.2 Installation der Notstromversorgung
- Suchen Sie das Batteriefach an der Unterseite des Weckers.
- Schieben Sie die Batterieabdeckung auf.
- Insert two (2) AAA batteries (not included) according to the polarity markings (+ and -).
- Schließen Sie die Batterieabdeckung fest.
The backup batteries will preserve time and alarm settings during a power outage but will not power the display or alarm sound.

Abbildung 4.2: Unten view of the alarm clock, showing the battery compartment for AAA batteries.
5. Bedienungsanleitung
5.1 Uhrzeit einstellen
- Halten Sie die ZEITEINSTELLUNG button (often labeled with a clock icon or "SET") until the hour digits begin to flash.
- Drücken Sie die HR Taste, um die Stunde einzustellen.
- Drücken Sie die MIN Taste, um die Minute einzustellen.
- Drücken Sie die ZEITEINSTELLUNG Zum Bestätigen und Verlassen des Zeiteinstellungsmodus erneut drücken.
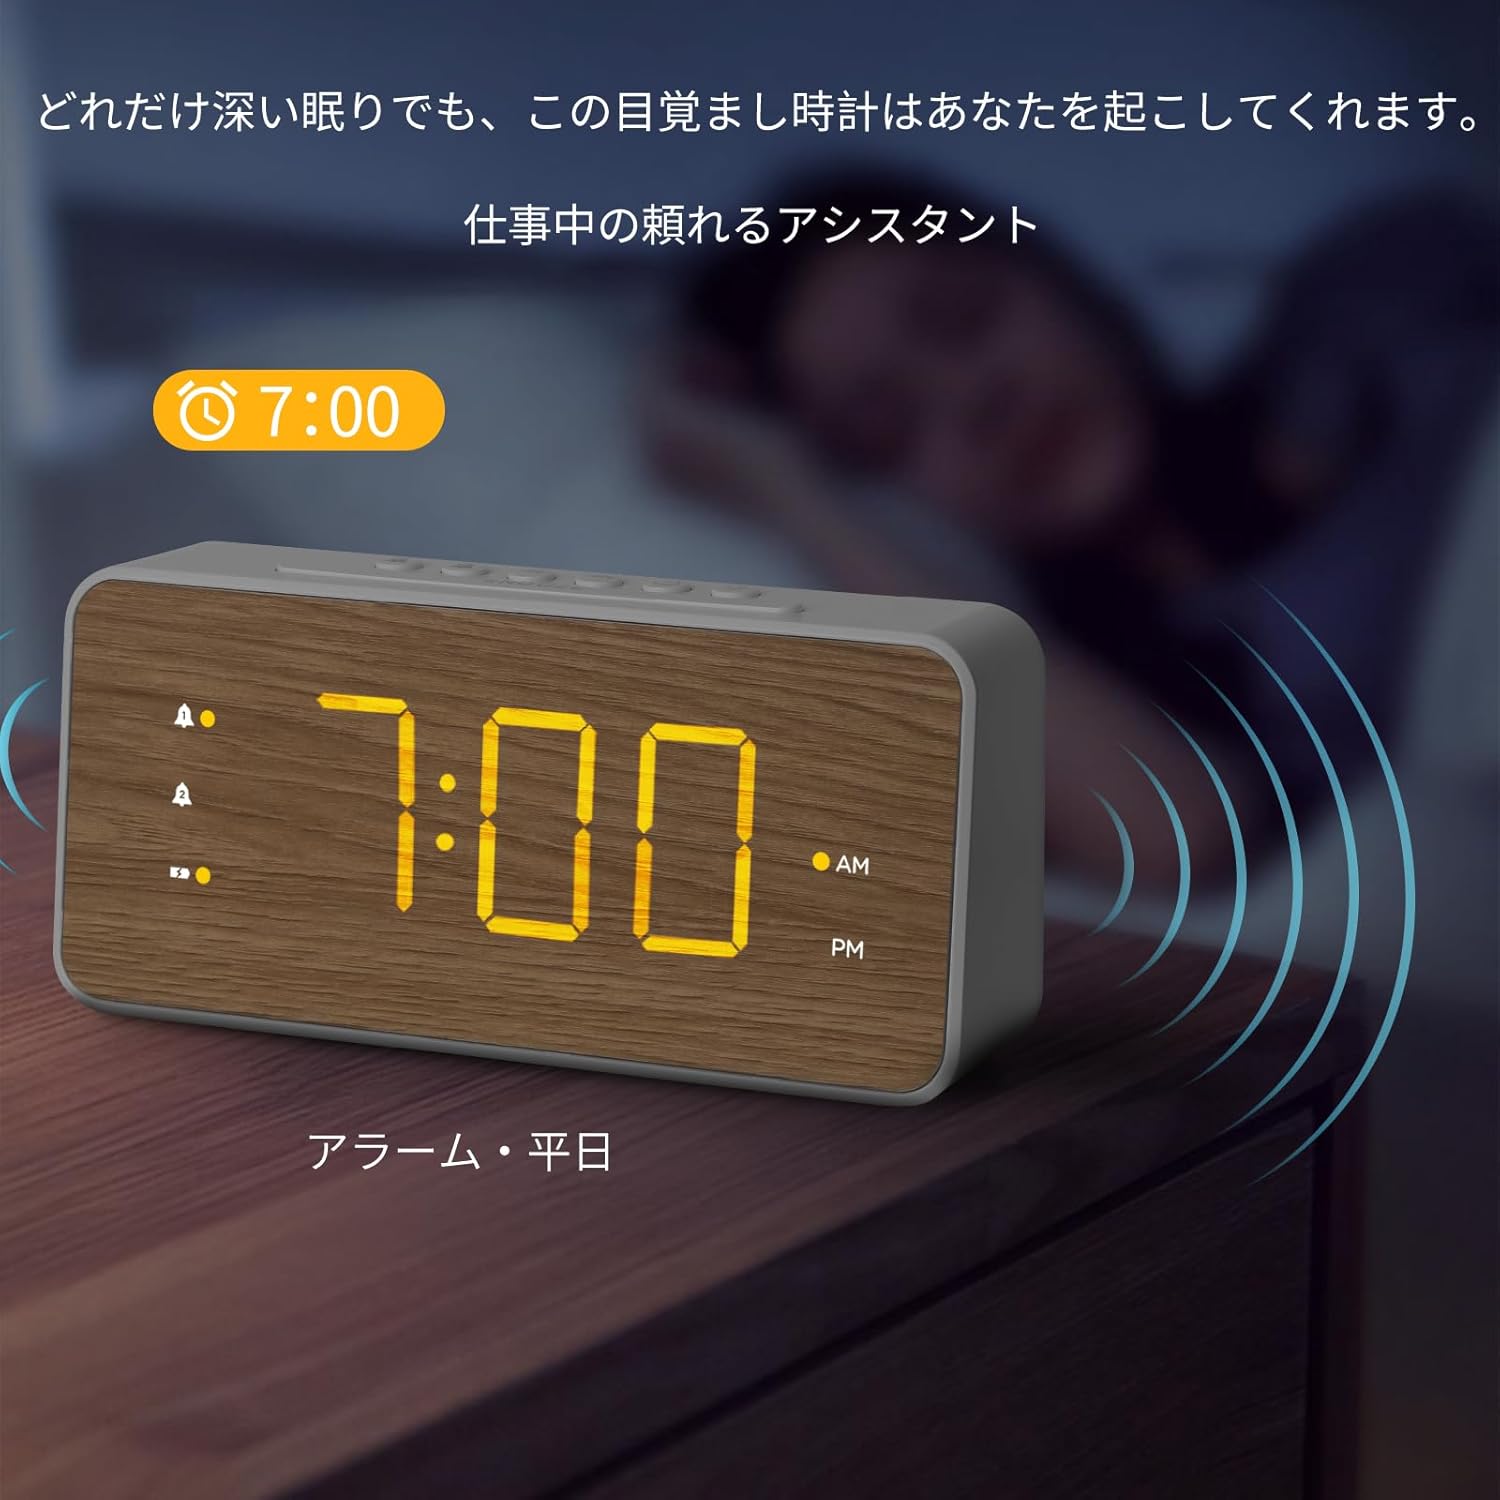
Abbildung 5.1: Top panel of the alarm clock with control buttons for setting time and alarms.
5.2 Alarme einstellen (Alarm 1 und Alarm 2)
This clock supports two independent alarms. The process is identical for both.
- Halten Sie die ALARM 1 button (bell icon with '1') until the hour digits for Alarm 1 begin to flash.
- Drücken Sie die HR Taste, um die Weckzeit einzustellen.
- Drücken Sie die MIN Taste, um die Alarmminute einzustellen.
- Drücken Sie die ALARM 1 button again to confirm the time. The alarm icon will appear on the display, indicating it is active.
- To set Alarm 2, repeat steps 1-4 using the ALARM 2 Schaltfläche (Glockensymbol mit der Zahl '2').
Um einen Alarm zu deaktivieren, drücken Sie die entsprechende Taste. ALARM button once. The alarm icon will disappear from the display.

Abbildung 5.2: The alarm clock displaying an active alarm for 7:00 AM, suitable for weekday use.

Abbildung 5.3: The alarm clock displaying an active alarm for 10:00 AM, suitable for weekend use.
5.3 Einstellen der Alarmlautstärke
The alarm volume can be adjusted to three levels.
- While an alarm is sounding, press the VOL button (speaker icon) repeatedly to cycle through the three volume levels (L1, L2, L3).
- The selected volume level will be displayed briefly.
5.4 Schlummerfunktion
Wenn ein Alarm ertönt, drücken Sie die große Taste. SCHLAFEN button on the top of the clock to temporarily silence the alarm. The alarm will sound again after the preset snooze duration.
To adjust the snooze duration (5, 10, or 15 minutes):
- Halten Sie die SCHLAFEN button until the current snooze duration flashes.
- Drücken Sie die HR or MIN button to cycle through 5, 10, or 15 minutes.
- Drücken Sie die SCHLAFEN Drücken Sie zur Bestätigung die Taste erneut.
Abbildung 5.4: Top panel of the alarm clock, highlighting the SNOOZE button for temporary alarm silencing.
5.5 Anpassung der Anzeigehelligkeit
The LED display has three brightness levels.
- Drücken Sie die HELLIGKEIT button (sun icon) repeatedly to cycle through the three brightness levels (High, Medium, Low).
- Wählen Sie die gewünschte Helligkeit für einen angenehmen Komfort. viewing.

Abbildung 5.5: The alarm clock demonstrating various brightness levels of its LED display.
5.6 USB-Ladeanschlüsse
The alarm clock is equipped with a USB-A and a USB-C charging port on the back.
- Connect your smartphone, earbuds, or other USB-powered devices to either the USB-A or USB-C port using their respective charging cables.
- The clock will provide power to charge your devices.
Abbildung 5.6: A smartphone connected to the USB-C port of the alarm clock for charging.
6. Wartung
- Reinigen Sie die Uhr mit einem weichen, trockenen Tuch. Verwenden Sie keine Scheuermittel oder Lösungsmittel.
- Die Uhr sollte nicht direktem Sonnenlicht, extremen Temperaturen oder hoher Luftfeuchtigkeit ausgesetzt sein.
- If the clock will not be used for an extended period, remove the AAA backup batteries to prevent leakage.
7. Fehlerbehebung
| Problem | Mögliche Ursache | Lösung |
|---|---|---|
| Das Display ist leer oder dunkel. | Power adapter not connected or faulty. Brightness set too low. | Ensure power adapter is securely connected. Press the BRIGHTNESS button to increase display brightness. |
| Der Alarm ertönt nicht. | Alarm not activated. Alarm volume set too low. | Stellen Sie sicher, dass das Alarmsymbol auf dem Display sichtbar ist. Passen Sie die Alarmlautstärke mit der Taste VOL an. |
| Zeit/Einstellungen nach Stromausfall verlorentage. | Die Notstrombatterien sind nicht installiert oder leer. | Legen Sie neue AAA-Batterien in das Batteriefach ein. |
| USB-Ladefunktion funktioniert nicht. | Device cable faulty. Device not compatible. | Try a different USB cable or device. Ensure the clock is powered via the adapter. |
8. Spezifikationen
| Besonderheit | Detail |
|---|---|
| Modellnummer | LMD-36 |
| Marke | Lumoday |
| Anzeigetyp | LED |
| Anzeigegröße | 1.8-inch digits |
| Helligkeitsstufen | 3 Stufen |
| Alarmmenge | 2 (Dual Alarms) |
| Schlummerdauer | 5, 10, 15 minutes (adjustable) |
| Ladeports | 1 x USB-A, 1 x USB-C |
| Leistungsaufnahme | DC Power Cord (5V2.4A adapter included) |
| Batterie-Backup | 2 x AAA batteries (not included), up to 72 hours |
| Abmessungen (B x H) | 20.7 cm x 9.6 cm (ca. 8.15 x 3.78 Zoll) |
| Material | ABS (Acrylnitril-Butadien-Styrol) |
| Farbe | White with Wood Grain finish |
9. Garantie und Support
Lumoday products come with a standard manufacturer's warranty. For specific warranty details, please refer to the warranty card included in your package or contact Lumoday customer support. If you encounter any issues or have questions regarding your LMD-36 Digital Alarm Clock, please contact our support team via the contact information provided on the product packaging or our official webWebsite.
10. Zusätzliche Produktinformationen
Produktvideos
Video 10.1: Ein Überview of the Lumoday LMD-36 Digital Alarm Clock's features, including its design, dual alarm settings, brightness adjustment, snooze function, and USB charging capabilities. This video demonstrates the clock in various settings like a bedroom, office, and living room, showcasing aufgrund seiner Vielseitigkeit und Benutzerfreundlichkeit.
Ask a question about this manual
Ask about setup, troubleshooting, compatibility, parts, safety, or missing instructions. Manuals+ will review the question and use this page’s manual context to help answer it.