
1. Produktüberschreitungview
The Dpofirs Small Portable Video Projector is a compact and versatile device designed for various entertainment and presentation needs. With its small footprint, it is easy to transport and set up, offering a projection size ranging from 14 to 100 inches. It supports a resolution of 1920 x 1080p and features 100Ansi 6000lm brightness, manual focus, and built-in stereo speakers.
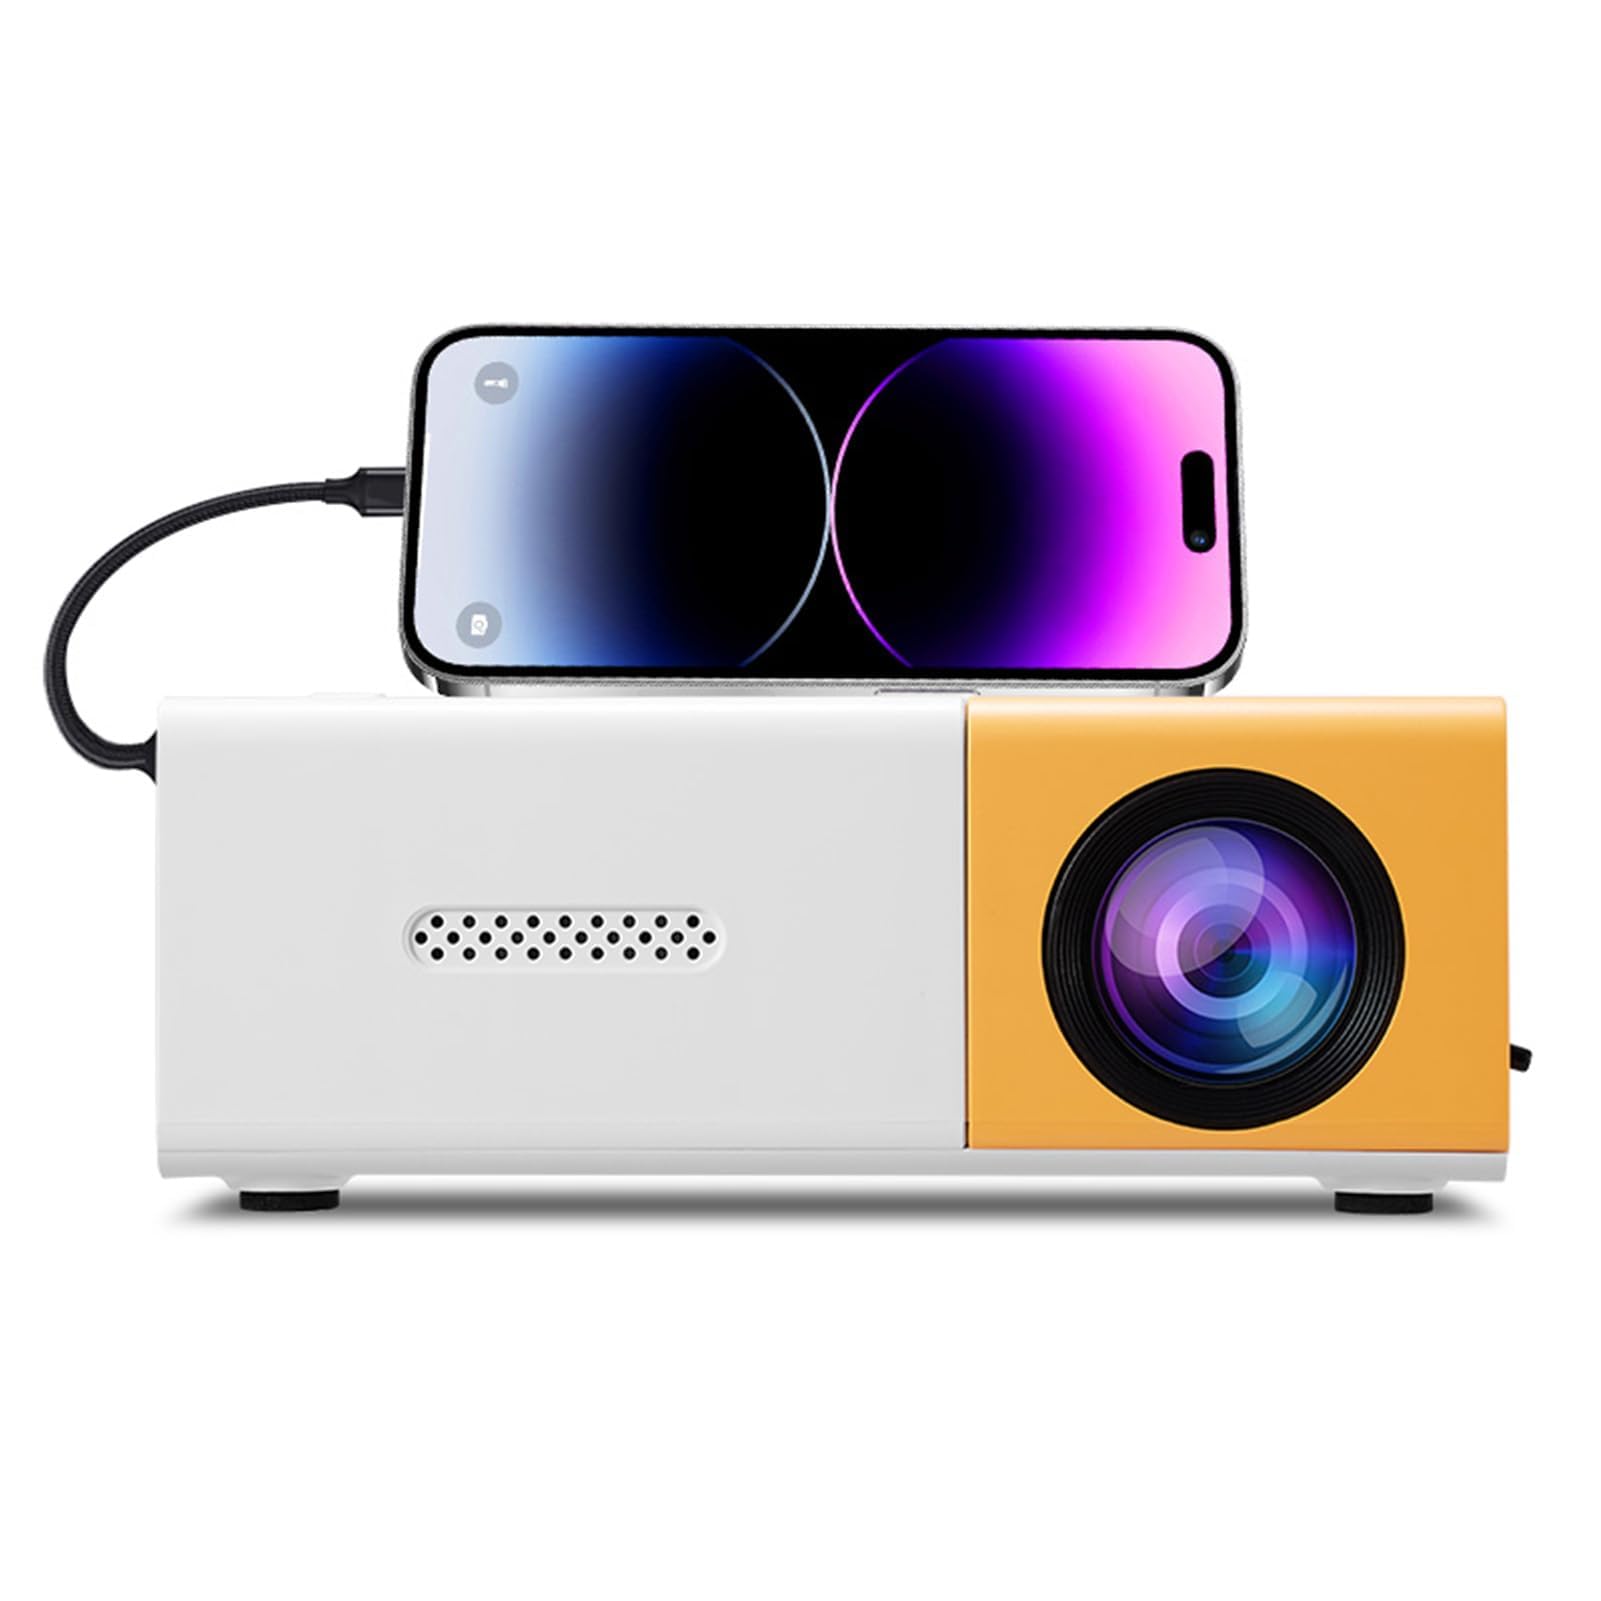
Image 1.1: The Dpofirs Small Portable Video Projector, showcasing dank seines kompakten Designs.

Image 1.2: The projector held in a hand, illustrating its compact and portable dimensions (5 x 3.4 x 1.9 inches).
2. Sicherheitshinweise
- Lesen Sie vor der Benutzung des Projektors alle Anweisungen sorgfältig durch.
- Schauen Sie nicht direkt in die Projektorlinse, wenn der lamp ist eingeschaltet.
- Halten Sie den Projektor von Wasser oder anderen Flüssigkeiten fern.
- Sorgen Sie für ausreichende Belüftung, um eine Überhitzung zu vermeiden. Blockieren Sie die Belüftungsöffnungen nicht.
- Use only the power adapter specified for this device (Type C, 5V 2A).
- Versuchen Sie nicht, den Projektor selbst zu zerlegen oder zu reparieren. Wenden Sie sich an qualifiziertes Servicepersonal.
- Außerhalb der Reichweite von Kindern aufbewahren.
3. Packungsinhalt
Bitte überprüfen Sie den Packungsinhalt nach dem Auspacken. Sollten Artikel fehlen oder beschädigt sein, wenden Sie sich bitte an Ihren Händler.
- Dpofirs Small Portable Video Projector
- Fernbedienung
- Stromkabel (USB Typ-C)
- Bedienungsanleitung
4. Product Display and Controls
4.1 Projector Ports and Buttons

Abbildung 4.1: Vorder- und Rückseite view of the projector with labeled ports and control buttons.
- Ein- / Ausschalter: Befindet sich auf der Oberseite.
- Left Click / Right Click / OK Buttons: Navigation buttons on the top panel.
- Signal Source Button: Zur Auswahl der Eingangsquelle.
- Zurück-Taste: Um in Menüs zurückzugehen.
- AV-Schnittstelle: For analog audio/video input.
- Micro USB (5V 2A) Power Interface: Zum Anschluss des Netzkabels.
- USB-Schnittstelle: Zum Anschließen von USB-Geräten (z. B. USB-Sticks).
- Gleichstromversorgung: (Note: Description mentions Type C, image shows DC. Use Type C as per description).
- High Definition Interface (HDMI): For connecting devices via HDMI.
4.2 Fernbedienungsfunktionen

Image 4.2: Layout of the remote control with labeled buttons.
- Open Key (Power): Schaltet den Projektor ein oder aus.
- Source Key: Wählt die Eingangsquelle aus.
- Stumm: Schaltet den Ton stumm oder hebt die Stummschaltung auf.
- Directional Keys (Up, Down, Left, Right): Navigiert durch Menüs.
- OK-Taste: Bestätigt die Auswahl.
- Volume Down / Volume Increase: Regelt die Lautstärke.
- Einstellungsschlüssel: Accesses the projector settings menu.
- Eingabetaste: Kehrt zum vorherigen Menü zurück.
- Menütaste: Öffnet das Hauptmenü.
5. Installationsanleitung
5.1 Stromanschluss
- Connect the provided USB Type-C power cable to the Micro USB (5V 2A) Power Interface on the projector.
- Connect the other end of the cable to a compatible 5V 2A power adapter (not always included) or a power bank.

Image 5.1: The projector can be powered by a power bank (5V 2A minimum) for portable use.
5.2 Platzierung und Projektionsgröße
Position the projector on a stable, flat surface. The projection distance determines the screen size. The projector can project images from 14 to 100 inches diagonally.
- Für eine optimale viewing experience, a playback size of 20-60 inches is recommended.
- This corresponds to a projection distance of approximately 0.8m to 1.6m.

Image 5.2: Recommended projection distances for various screen sizes (e.g., 0.8m for 24 inches, 1.6m for 47 inches).

Image 5.3: The projector can achieve large screen sizes up to 100 inches, with examples shown for 24, 35, 47, and 152 inches (note: 152 inches may exceed stated maximum of 100 inches).
5.3 Fokuseinstellung
The projector features manual focus. Before turning on the projector or if the image appears blurry:
- Locate the focus ring or knob near the lens.
- Rotate the focus ring until the projected image becomes clear and sharp.
5.4 Trapezkorrektur
The projector supports automatic vertical keystone correction. If the image appears trapezoidal (wider at the top or bottom):
- The projector automatically corrects vertical distortion (up and down).
- For side projection or horizontal correction, access the settings menu to make manual adjustments.
6. Bedienungsanleitung
6.1 Ein-/Ausschalten
- So schalten Sie das Gerät ein: Press the Power On/Off button on the projector or the 'Open Key' on the remote control.
- So schalten Sie das Gerät aus: Press the Power On/Off button on the projector or the 'Open Key' on the remote control again.
6.2 Auswahl der Eingangsquelle
Der Projektor unterstützt mehrere Eingangsquellen:
- HDMI: Connect laptops, gaming consoles, streaming sticks, etc., via the High Definition Interface.
- USB: Connect USB flash drives to play media files direkt.
- EIN V: Connect older devices using the AV interface.
- Bildschirmspiegelung: Supports wired and wireless screen mirroring for Android devices.
To select an input source, press the 'Signal Source' button on the projector or the 'Source Key' on the remote control and navigate to your desired input.
6.3 Navigation and Settings
- Use the directional keys (Up, Down, Left, Right) on the projector or remote to navigate through menus.
- Drücken Sie die Taste „OK“, um die Auswahl zu bestätigen.
- Press the 'Return' button to go back to the previous screen or menu.
- Press the 'Settings Key' on the remote to access advanced projector settings, including picture, sound, and system options.
6.4 Lautstärkeregelung
Adjust the audio volume using the 'Volume Down' and 'Volume Increase' buttons on the remote control.
6.5 Anwendungsszenarien
The projector is suitable for a variety of uses:
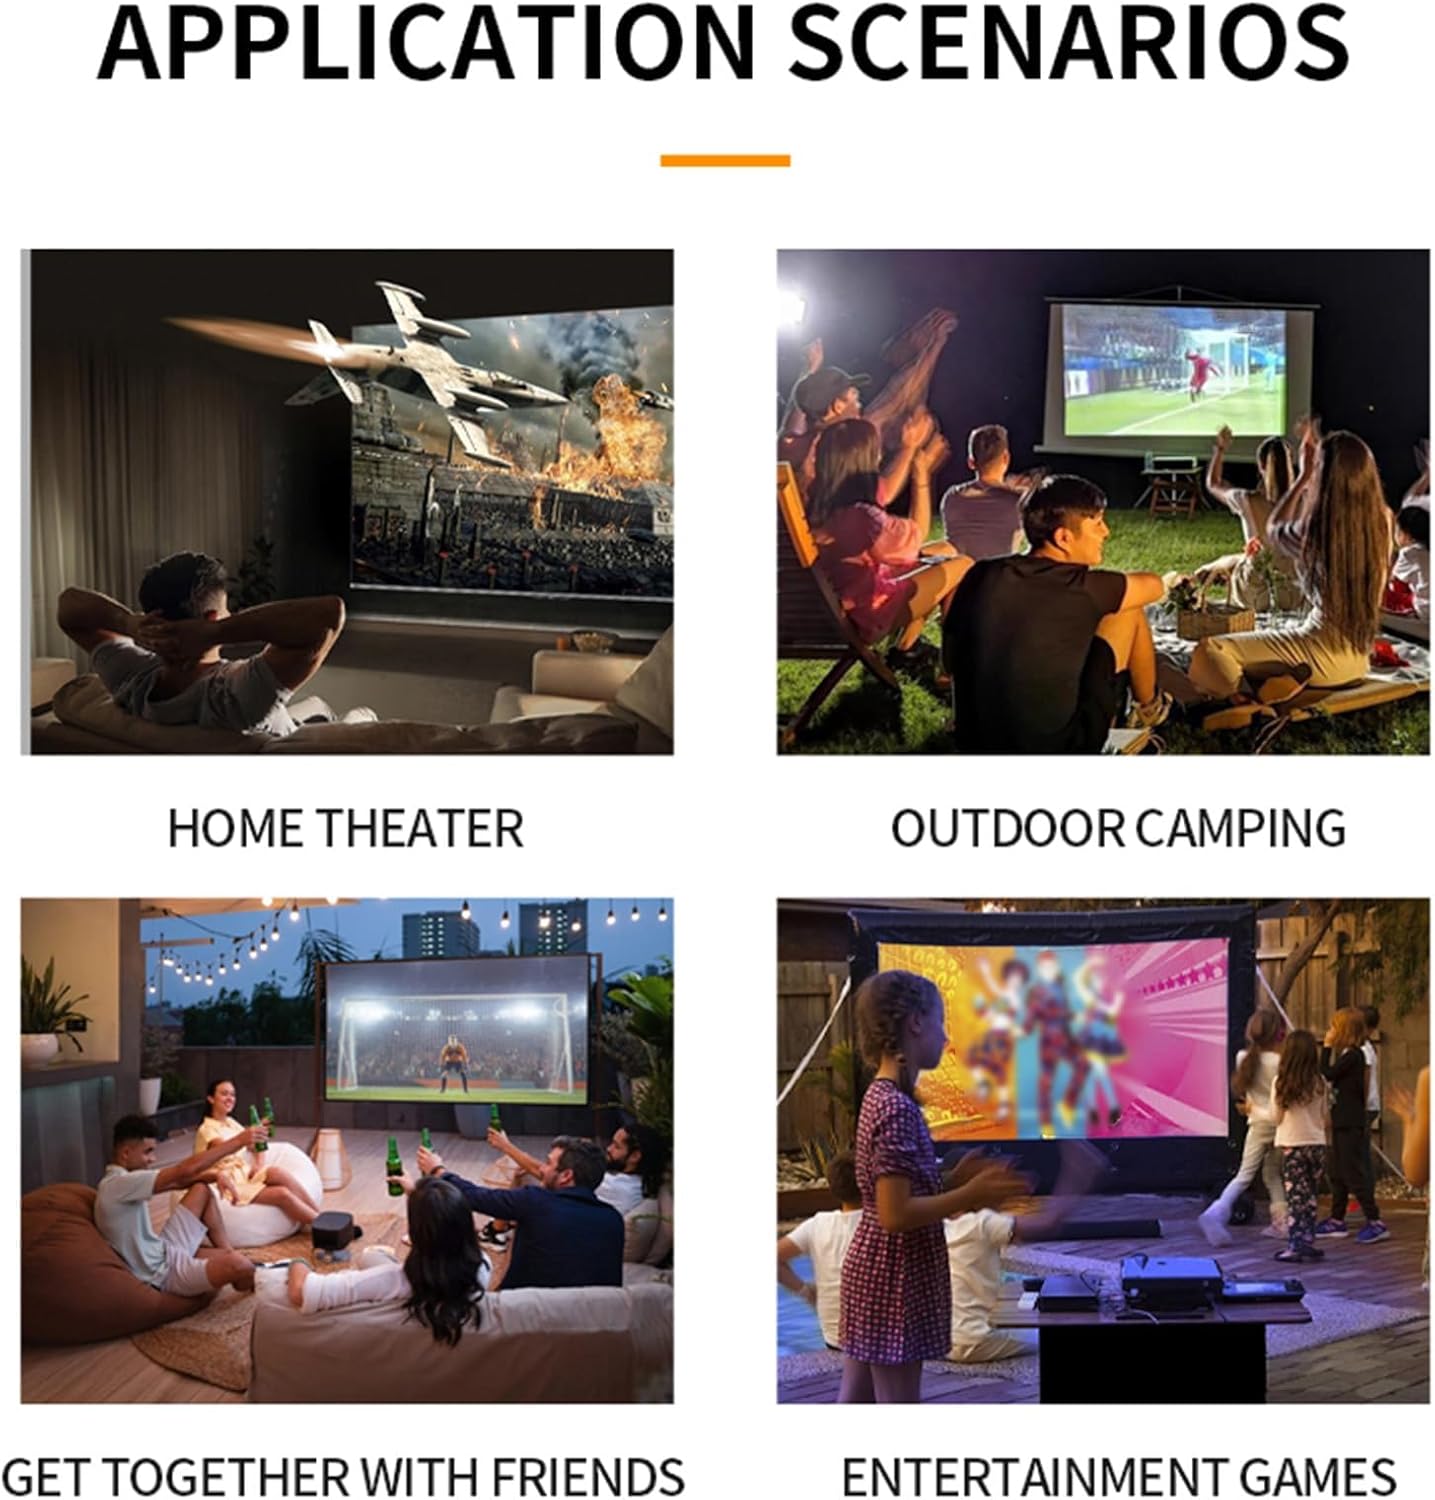
Abbildung 6.1: Beispielamples of projector use in various settings including home theater, outdoor camping, social gatherings, and gaming.
- Heimkino: Genießen Sie Filme und Fernsehsendungen auf einem großen Bildschirm.
- Außenbereich C.amping: Das tragbare Design ermöglicht Unterhaltung im Freien.
- Get-togethers with Friends: Share content or play games with a group.
- Entertainment Games: Verbinde deine Spielkonsolen für ein immersives Erlebnis.
7. Wartung
- Reinigung der Linse: Verwenden Sie ein weiches, fusselfreies Tuch, das speziell für optische Linsen entwickelt wurde. Verwenden Sie keine scheuernden Reinigungs- oder Tücher.
- Reinigung des Casing: Wischen Sie das Gehäuse des Projektors mit einem weichen, trockenen Tuch ab. Bei hartnäckigem Schmutz verwenden Sie ein leicht dämpfendes Tuch.amp Tuch ab und trocknen Sie es anschließend gründlich ab.
- Belüftung: Ensure the ventilation openings are clear of dust and debris to maintain optimal cooling. Use a soft brush or compressed air to gently clean them.
- Lagerung: Wenn Sie den Projektor längere Zeit nicht verwenden, lagern Sie ihn an einem kühlen, trockenen Ort, geschützt vor direkter Sonneneinstrahlung und extremen Temperaturen.
8. Fehlerbehebung
8.1 Kein Bild oder schlechte Bildqualität
- Überprüfen Sie die Leistung: Stellen Sie sicher, dass der Projektor ordnungsgemäß an die Stromversorgung angeschlossen und eingeschaltet ist.
- Eingabequelle: Verify that the correct input source (HDMI, USB, AV) is selected.
- Fokuseinstellung: Stellen Sie den Fokusring manuell ein, bis das Bild scharf ist.
- Trapezkorrektur: Adjust keystone settings if the image is distorted.
- Kabelverbindung: Ensure all video cables are securely connected. Try a different cable if possible.
- Geräteausgang: Check the output settings of your connected device (laptop, smartphone) to ensure it's sending a signal to the projector.
8.2 Kein Ton
- Lautstärke: Erhöhen Sie die Lautstärke sowohl am Projektor als auch am angeschlossenen Quellgerät.
- Mute-Funktion: Ensure the projector is not muted (check remote control).
- Audioausgang: Wenn Sie ein externes Audiosystem verwenden, stellen Sie sicher, dass es ordnungsgemäß angeschlossen und als Ausgabegerät ausgewählt ist.
- Originalton: Verify that the source device is playing audio.
8.3 Fernbedienung funktioniert nicht
- Batterien: Ersetzen Sie die Batterien in der Fernbedienung.
- Sichtlinie: Stellen Sie sicher, dass eine direkte Sichtverbindung zwischen der Fernbedienung und dem Infrarotempfänger des Projektors besteht.
9. Spezifikationen
| Besonderheit | Spezifikation |
|---|---|
| Modellnummer | Dpofirseikmp1t75y |
| Artikeltyp | LED Film Projector |
| Native Auflösung | 320 x 240 Pixel |
| Support-Lösung | Up to 1920 x 1080 (1080p) 60Hz |
| Helligkeit | 100 Ansi / 6000 Lumens |
| Kontrastverhältnis | 10000:1 |
| Fokus | Handbuch |
| Korrektur | Trapezoid Correction (Auto vertical, manual side via settings) |
| Lautsprecher | Built-in box speaker 4Ω 2W |
| Power Interface | Typ C (5V 2A) |
| Eingangsanschlüsse | 1x HD Multimedia Interface, 1x USB Port, 1x AV Interface |
| Ausgangsport | 3.5-mm-Kopfhörerbuchse |
| Projektionsgröße | 14 bis 100 Zoll |
| Optimal Playback Size | 20-60 Zoll |
| Optimal Playback Distance | 0.8m bis 1.6m |
| Maße | 5 x 3.4 x 1.9 Zoll (12.6 x 8.58 x 4.77 cm) |
| Artikelgewicht | 12.9 Unzen (ca. 365 g) |
| Kühlsystem | Innovative cooling fan system (80% noise reduction) |
10. Garantie und Support
For warranty information, please refer to the warranty card included with your purchase or contact your retailer. Dpofirs is committed to providing quality products and customer support.
If you encounter any issues or have questions regarding your Dpofirs Small Portable Video Projector, please contact Dpofirs customer support through the retailer's platform or the official Dpofirs webWebsite für Unterstützung.