1. Einleitung
This manual provides detailed instructions for the setup, operation, maintenance, and troubleshooting of the RGBlink NDI PTZ Camera Controller (RGBBKT). This device is designed for professional video production environments, offering comprehensive control over various PTZ cameras using multiple protocols.
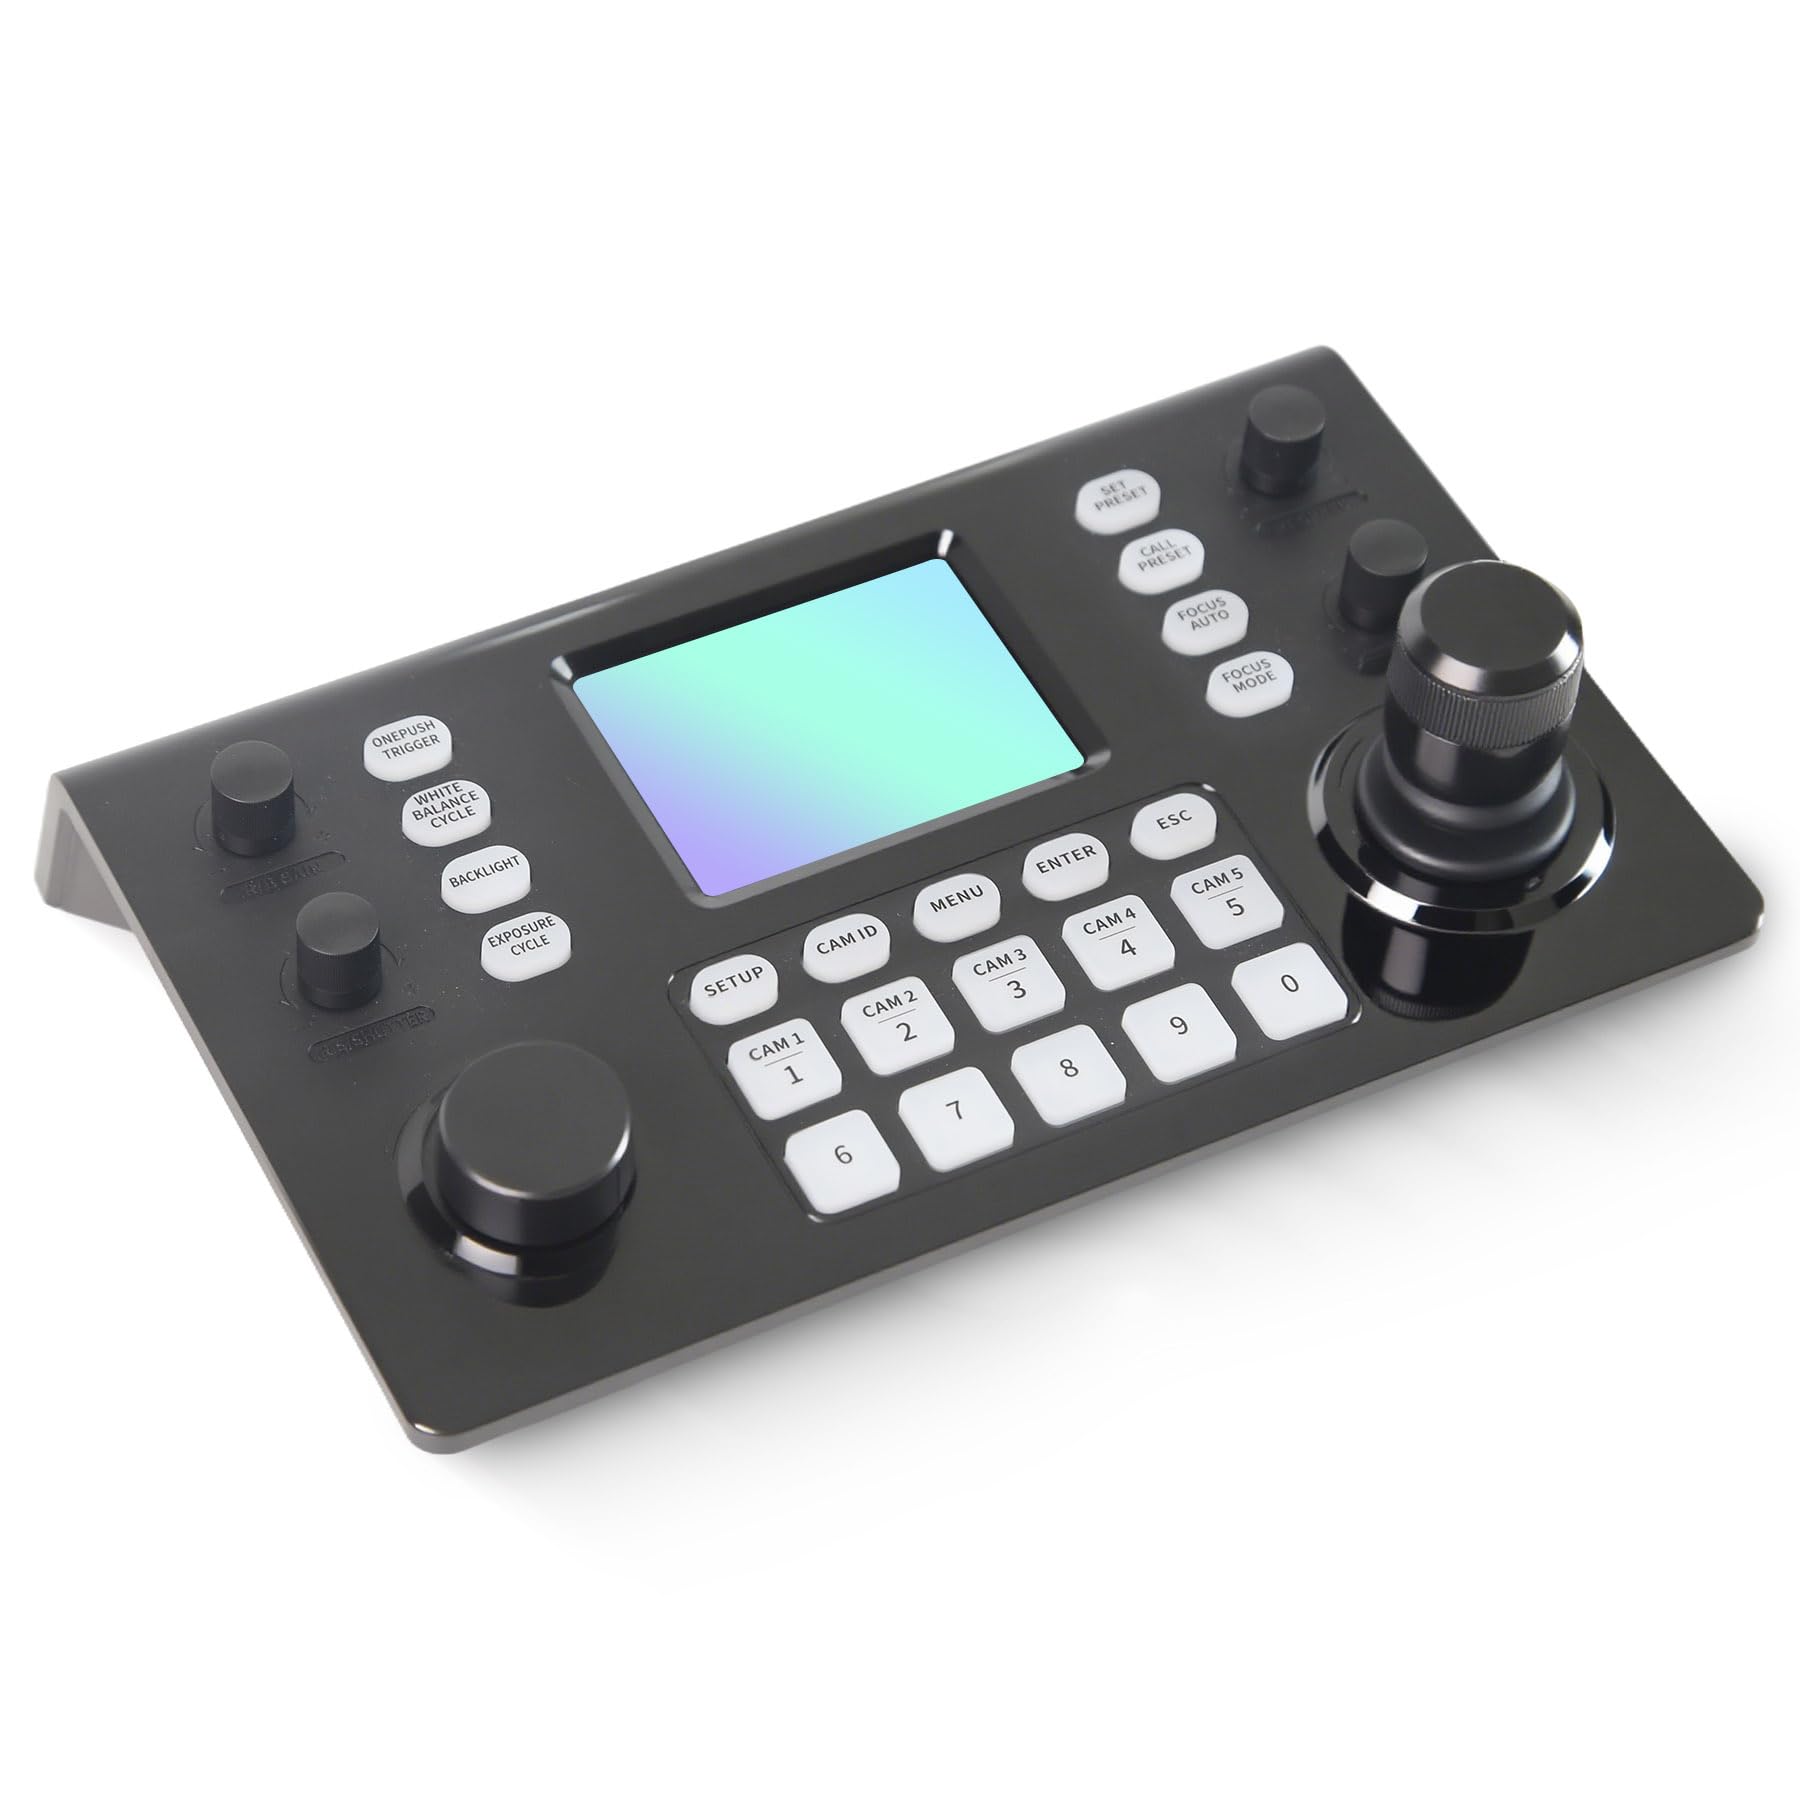
Image 1.1: RGBlink NDI PTZ Camera Controller (RGBBKT).
2. Einrichtung
Follow these steps to set up your RGBlink NDI PTZ Camera Controller.
2.1 Auspacken und erste Inspektion
- Entnehmen Sie vorsichtig alle Komponenten aus der Verpackung.
- Prüfen Sie, ob alle in der Packliste aufgeführten Gegenstände vorhanden sind.
- Inspect the controller for any signs of physical damage. If damage is found, contact your dealer immediately.
2.2 Anschließen des Controllers
The RGBlink NDI PTZ Camera Controller supports various connection methods for power and camera control.
- Power-over-Ethernet (PoE): Connect a single RJ45 Ethernet cable from a PoE-enabled network switch to the controller's LAN port. This provides both power and network connectivity.
- Externes Netzteil: If PoE is not available, connect the provided power adapter to the DC 12V input port and to a power outlet.
- Kameraanschlüsse:
- Ethernet (IP Control): Connect PTZ cameras to the same network as the controller via RJ45 Ethernet cables. The controller supports VISCA over IP, ONVIF v2.42, and NDI v5.5 protocols.
- Serielle Steuerung: For cameras supporting serial communication, use RS232, RS422, or RS485 interfaces. Connect the appropriate cables from the controller's serial ports to the cameras.

Image 2.1: Rear panel connections including RS-232, RS-422, LAN (PoE), and Power Input.

Abbildung 2.2: Beispielample connection diagram showing PTZ Controller, PoE Switch, PTZ Cameras, Audio Mixer, and Computer.

Image 2.3: Diagram illustrating IP camera connections via a network switch.
2.3 Netzwerkkonfiguration
For IP-based camera control, ensure the controller and cameras are on the same network segment. The controller supports automatic detection of NDI-enabled PTZ cameras.
- Access the controller's web Schnittstelle durch Eingabe ihrer IP-Adresse in a web browser. (Refer to the device's display or network tools to find the IP address).
- The default login credentials are typically 'admin' with a blank password. It is recommended to set a strong password immediately.
- Innerhalb der web interface, configure camera protocols (e.g., ONVIF, VISCA over IP) and enter camera-specific user credentials if required.

Image 2.4: NDI|HX camera search and control interface on the controller.
3. Bedienung
This section details the operational functions of the RGBlink NDI PTZ Camera Controller.
3.1 Überview von Kontrollen
The controller features a 3.49" LCD display, a 3D joystick, various knobs, and a numeric keypad for intuitive control.

Image 3.1: The controller's 3.49-inch LCD display.

Abbildung 3.2: Detailansicht view of the 3D joystick and multi-function knobs.

Image 3.3: Layout of the controller's buttons and numeric keypad area.
3.2 Kameraauswahl
- Schnellwahltasten: Use the dedicated CAM 1-5 buttons for quick selection of up to 5 cameras.
- Numerische Tastatur: For cameras beyond the quick select buttons (up to 255), press the CAM-ID button, then enter the camera number using the numeric keypad, and press EINGEBEN.

Image 3.4: The controller's ability to manage multiple cameras.
3.3 PTZ-Steuerung
- Joysticks: The 3D joystick controls pan (left/right), tilt (up/down), and zoom (rotate the joystick).
- PT-Geschwindigkeitsknopf: Adjusts the gimbal movement speed for pan and tilt.
- Zoom Knob: Provides precise zoom control, especially useful in preview Modus.
3.4 Image Parameter Adjustment
- IRIS/SHUTTER Knob: Rotate to adjust aperture and shutter speed. Press to switch control modes.
- R/B GAIN Knob: Rotate to adjust red and blue gain. Press to switch control modes.
- FOCUS Button: Drücken Sie die AUTOFOKUS button to switch the camera to auto focus mode.
- EXPOSURE Button: Cycles through exposure modes (Aperture Priority, Shutter Priority, Gain Priority, Manual Exposure, Auto Exposure).
- HINTERGRUNDBELEUCHTUNGS-Taste: Toggles the camera's backlight mode.
- WHITE BALANCE CYCLE Button: Cycles through white balance modes (Indoor, Outdoor, Manual, Auto).
- ONE PUSH TRIGGER Button: When white balance is set to "One-Push White Balance", press this button to initiate a one-push white balance calibration.

Image 3.5: Functions of buttons and knobs on the left side of the controller.

Image 3.6: Functions of buttons and knobs on the right side of the controller, including preset controls.
3.5 Voreinstellungen
- SET PRESET Button: Press to enter preset position mode. Use the numeric keys to enter the preset number (0-9) and press EINGEBEN speichern. Drücken Sie ESC , um zu beenden.
- CALL PRESET Button: Press to enter preset recall mode. Use the numeric keys to enter the preset number (0-9) and press EINGEBEN to recall. Press ESC , um zu beenden.
- The controller supports saving and recalling up to 255 presets per camera.
3.6 Menünavigation
- MENU-Taste: Press to open or close the camera settings menu. In menu control mode, the joystick controls navigation (up, down, left, right), EINGEBEN confirms selections, and ESC acts as a back button.
4. Wartung
Proper maintenance ensures the longevity and optimal performance of your RGBlink NDI PTZ Camera Controller.
4.1 Reinigung
- Use a soft, dry cloth to clean the exterior of the controller.
- Bei hartnäckigen Verschmutzungen leicht dampDas Tuch mit Wasser oder einer milden, nicht scheuernden Reinigungslösung befeuchten.
- Avoid using harsh chemicals, solvents, or abrasive materials, as these can damage the surface and display.
- Ensure no liquids enter the device through openings or ports.
4.2 Speicherung
- When not in use for extended periods, store the controller in a cool, dry place away from direct sunlight and extreme temperatures.
- Schützen Sie das Gerät vor Staub und Feuchtigkeit.
5. Fehlerbehebung
Dieser Abschnitt bietet Lösungen für häufig auftretende Probleme.
5.1 Kein Strom
- Überprüfen Sie die Stromquelle: Stellen Sie sicher, dass das Netzteil sowohl mit dem Controller als auch mit einer funktionierenden Steckdose fest verbunden ist.
- PoE-Prüfung: If using PoE, verify that the Ethernet cable is connected to a PoE-enabled port on your network switch and that the switch is powered on.
- Kabelintegrität: Inspect the power cable and Ethernet cable for any damage.
5.2 Cannot Control Camera
- Netzwerkkonnektivität: For IP cameras, ensure the controller and cameras are on the same network and can communicate. Check network cables and IP addresses.
- Protokoll-Fehlanpassung: Verify that the correct control protocol (e.g., VISCA over IP, ONVIF, NDI, Pelco-D/P) is selected on both the controller and the camera.
- Kamera-ID: Ensure the correct camera ID is selected on the controller.
- Anmeldeinformationen: If the camera requires authentication, confirm that the correct username and password are configured in the controller's web Schnittstelle.
- Serielle Verbindung: For serial control, check RS232/RS422/RS485 cable connections and ensure baud rates and addresses match between the controller and camera.
- Firmware: Ensure both the controller and cameras have the latest firmware installed. Visit the RGBlink support webWebsite für Updates.
5.3 Probleme mit dem LCD-Display
- Kein Bildschirm: Stellen Sie sicher, dass der Controller eingeschaltet ist.
- Anzeige dimmen: Check if there are any brightness settings on the controller that can be adjusted.
6. Spezifikationen
| Besonderheit | Detail |
|---|---|
| Modell | RGBBKT |
| Abmessungen (L x B x H) | 11.4 x 7.8 x 5.9 Zoll (ca. 290 x 200 x 150 mm) |
| Gewicht | 2.2 Pfund (ca. 1 kg) |
| Anzeige | 3.49"-LCD |
| Kontrollprotokolle | VISCA over IP, ONVIF v2.42, NDI v5.5, Pelco-D/P |
| Schnittstellen | RS232, RS422, RS485, RJ45 Ethernet (PoE) |
| Camera Capacity | Up to 255 PTZ cameras |
| Leistungsaufnahme | PoE or DC 12V (external adapter) |
| Joystick | High-precision Hall sensor 3D joystick |

Image 6.1: Controller dimensions and typical usage environments.

Image 6.2: Visual representation of supported protocols including RJ45, RS485, RS422, RS232, ONVIF, NDI, Pelco-D, Pelco-P, and Visca.
7. Produktvideodemonstration
Watch the official product video for a visual demonstration of the RGBlink NDI PTZ Camera Controller's features and operation.
Video 7.1: Official demonstration of the RGBlink PTZ Camera Controller Joystick, showcasing multi-camera control and key features.
8. Garantie und Support
For warranty information, technical support, or service inquiries, please contact RGBlink customer service or visit their official webWebsite.
- Hersteller: Xiamen RGBlink Science & Technology Co.,Ltd.
- Offiziell WebWebsite: www.rgblink.com (Hinweis: Dies ist ein Platzhalter. URL, please refer to your product packaging or official documentation for the correct support webWebsite.)
- Kontaktinformationen: Refer to the RGBlink official website for the most current contact details for technical support and warranty claims.


