
1. Einleitung
Thank you for choosing the ieGeek 3K (5MP) Wireless Solar PTZ Outdoor Security Camera. This manual provides essential information for the proper installation, operation, and maintenance of your device. Please read it thoroughly before use and retain it for future reference.
2. Produktüberschreitungview
The ieGeek ZS GX4S is a high-performance outdoor security camera designed for comprehensive surveillance. It features 3K (5MP) resolution, solar power for continuous operation, 360° pan/tilt/zoom capabilities, intelligent PIR human detection, color night vision, and two-way audio communication.
2.1 Hauptmerkmale
- 3K (5MP) Ultra HD-Auflösung: Provides clearer images than 1080p and 3MP cameras.
- 100 % kabellos und solarbetrieben: Easy installation with a 5200mAh rechargeable battery and efficient solar panel.
- 360°-PTZ-Abdeckung: 355° horizontal pan and 120° vertical tilt via the ieGeek Cam app.
- Intelligent PIR Human Detection: Advanced AI algorithms reduce false alarms from insects or leaves.
- Farbnachtsicht: Clear color images up to 15 meters, day and night.
- Zweiwege-Audio: Built-in speaker and microphone for remote communication.
- Intelligentes Alarmsystem: Triggers sound, white light, or both upon detection to deter intruders.
- IP65 Wetterfest: Entwickelt, um verschiedenen Witterungsbedingungen standzuhalten.
- Lokaler und Cloud-Speicher: Supports Micro SD cards up to 128GB and optional cloud storage.
- Alexa-Kompatibilität: Integrate with your smart home system.
2.2 Packungsinhalt
Bitte prüfen Sie das Paket auf folgende Artikel:
- ieGeek ZS GX4S Security Camera
- Solarpanel
- Montagehalterung
- Befestigungsschrauben und Dübel
- USB-Ladekabel
- Bedienungsanleitung
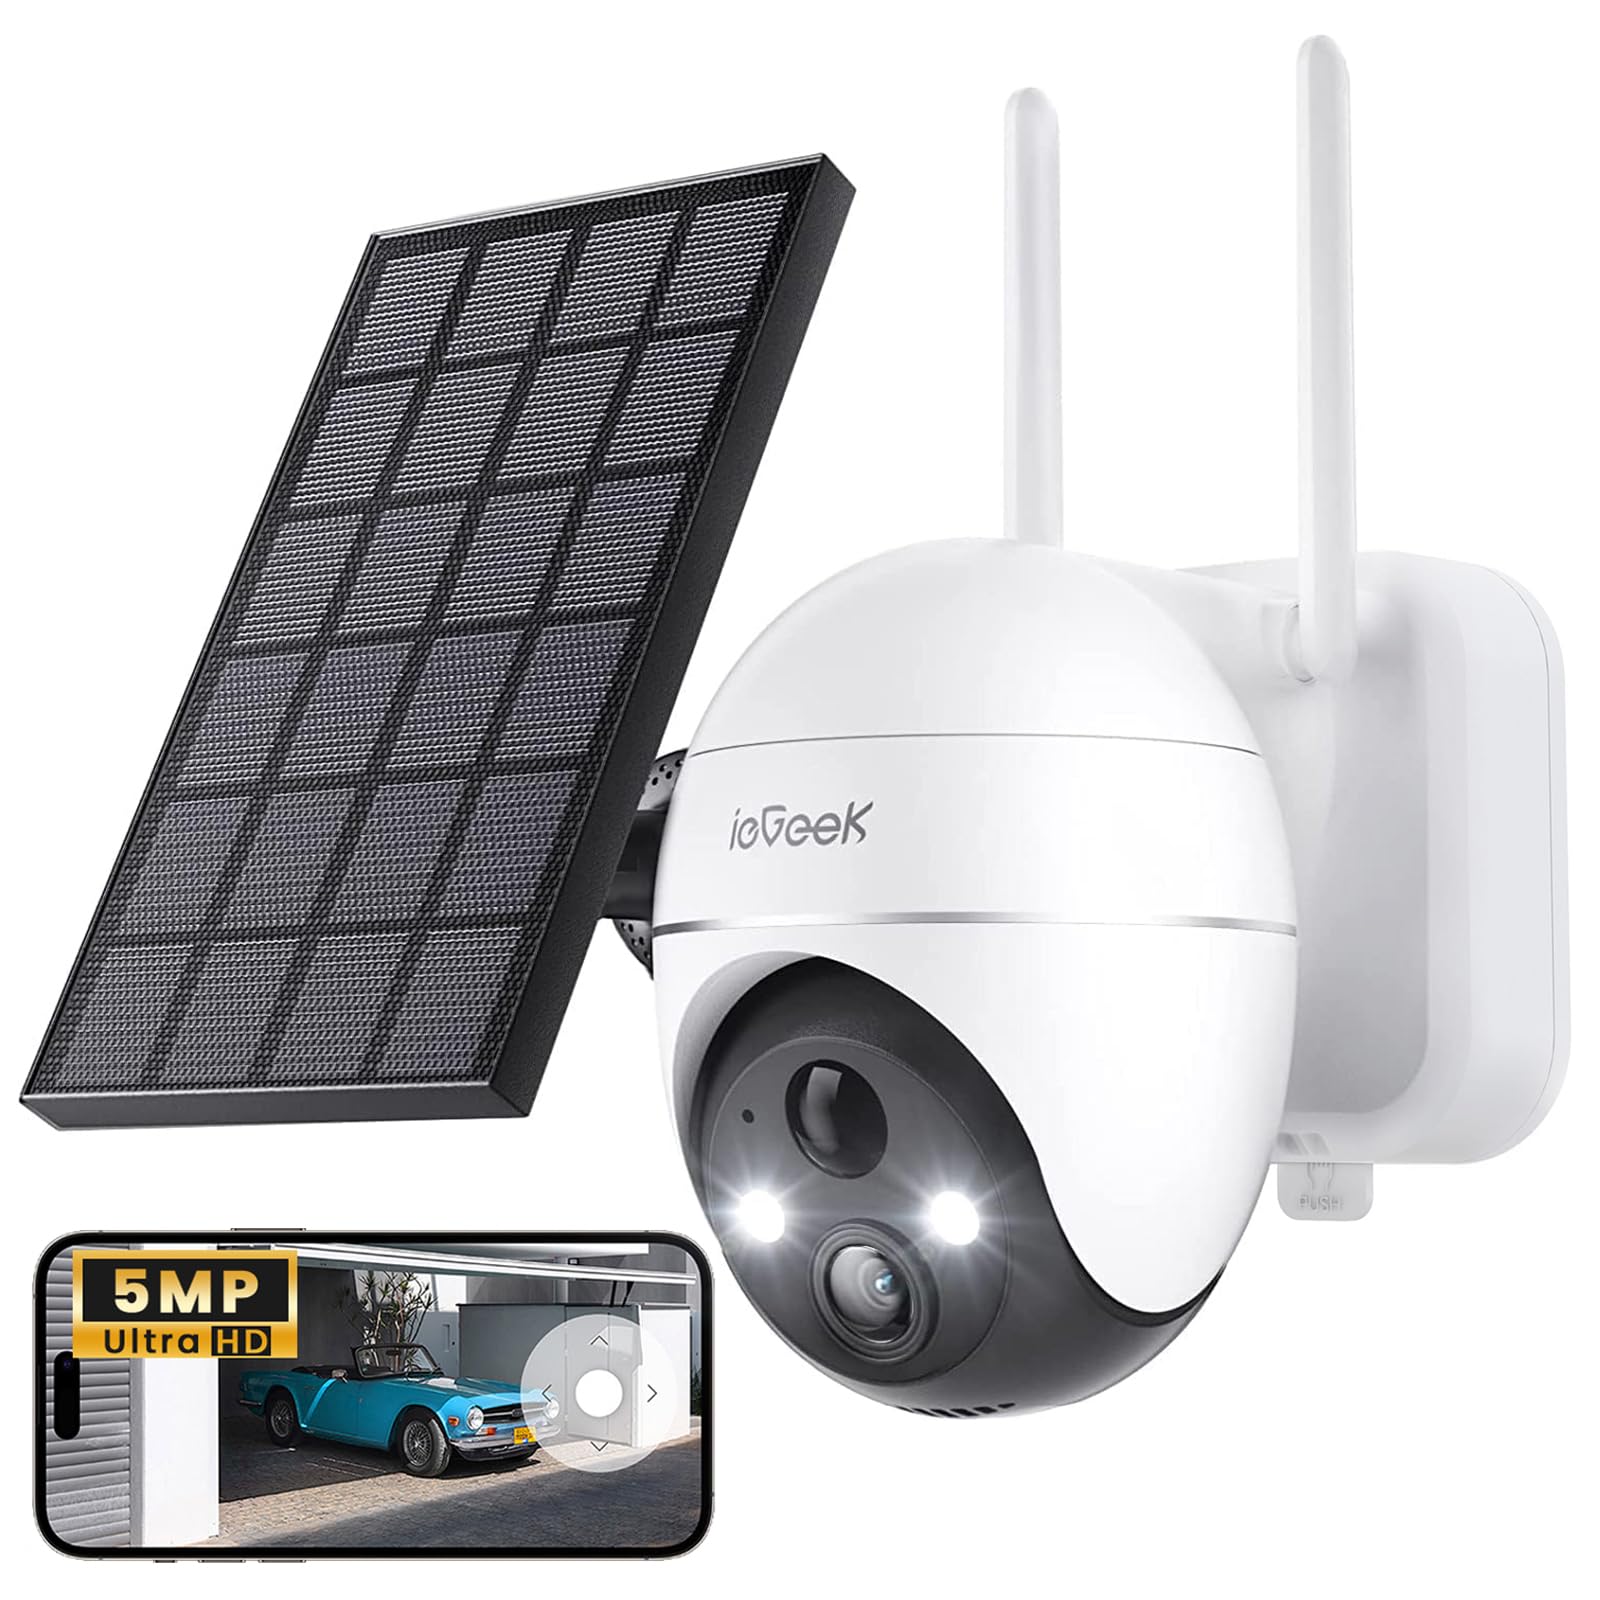
Image: ieGeek ZS GX4S Security Camera with its solar panel.

Bild: Nahaufnahme view of the camera lens, infrared LEDs, and light sensors.
3. Einrichtung
3.1 Erstaufladung
Before first use, fully charge the camera's built-in battery using the provided USB cable and a 5V/2A power adapter (not included). The charging indicator light will turn solid blue when fully charged.
3.2 App-Installation
Laden Sie die ieGeek Cam app from the Google Play Store (for Android) or the Apple App Store (for iOS). Alternatively, scan the QR code below to download the app.

Image: A woman using the ieGeek Cam app on her smartphone, demonstrating app usage.
3.3 Kamerakopplung
- Öffne die ieGeek Cam-App und erstelle ein Konto oder melde dich an.
- Tippen Sie auf das "+"-Symbol, um ein neues Gerät hinzuzufügen.
- Folgen Sie den Anweisungen auf dem Bildschirm, um die Kamera einzuschalten und sie gegebenenfalls zurückzusetzen.
- Select your 2.4GHz Wi-Fi network and enter the password. (Note: 5GHz Wi-Fi is not supported).
- Scannen Sie den auf Ihrem Smartphone angezeigten QR-Code mit der Kameralinse.
- Sobald die Verbindung hergestellt ist, benennen Sie Ihre Kamera und schließen Sie die Einrichtung ab.
3.4 Montage der Kamera und des Solarpanels
Choose a suitable location for installation, ensuring good Wi-Fi signal strength and adequate sunlight exposure for the solar panel. The camera is IP65 weatherproof, suitable for outdoor use.

Image: The ieGeek camera connected to its solar panel, illustrating the wireless setup with a single power line.
- Platzierung der Kamera: Montieren Sie die Kamera in einer Höhe von 2-3 Metern (6.5-10 Fuß), um eine optimale Erfassungsreichweite und ein optimales Sichtfeld zu gewährleisten. view.
- Platzierung des Solarmoduls: Position the solar panel in a location that receives direct sunlight for several hours each day to ensure continuous charging. Connect the solar panel cable to the camera's charging port.
- Use the provided screws and wall plugs to securely attach the mounting bracket to a wall or other stable surface.
- Befestigen Sie die Kamera an der Halterung und stellen Sie den Winkel nach Bedarf ein.

Image: The ieGeek camera and solar panel mounted on the exterior of a house, demonstrating solar charging efficiency.
4. Bedienung der Kamera
4.1 Live View und Wiedergabe
Greifen Sie auf die ieGeek Cam-App zu, um view den Live-Feed Ihrer Kamera. Sie können auch erneutview aufgenommenes footage stored on the Micro SD card or cloud service.
4.2 Schwenk-, Neige- und Zoomsteuerung (PTZ)
Use the controls within the ieGeek Cam app to remotely adjust the camera's viewSchwenkwinkel. Die Kamera unterstützt einen horizontalen Schwenkbereich von 355° und eine vertikale Neigung von 120°, sodass Sie einen großen Bereich abdecken können.

Image: The ieGeek camera illustrating its 360-degree pan and tilt rotation capabilities.
The camera also features 4x digital zoom, accessible through the app, to view Details genauer.

Image: The camera demonstrating its 5x automatic zoom feature on a swimming pool, maintaining clarity.
4.3 Zwei-Wege-Audio
Use the microphone and speaker functions in the app to communicate with visitors or deter unwanted guests. Tap the microphone icon in the live view Sprechen und loslassen, um zuzuhören.

Image: A delivery person interacting with the camera, showcasing the two-way audio feature for package instructions.
4.4 Bewegungserkennung und Alarme
The camera utilizes advanced PIR human detection to minimize false alarms. You can customize detection zones and sensitivity settings within the app.

Image: The ieGeek camera demonstrating 99% accurate smart human detection as a person approaches a doorstep.
Upon detection, the camera can trigger a siren, white light, or both, and send instant notifications to your smartphone (within 1.5 seconds).

Image: The ieGeek camera activating its siren and white light alarm to deter a potential intruder at night.

Image: A smartphone and smartwatch displaying a motion detection alert from the ieGeek Cam app.
4.5 Nachtsicht
The camera provides clear color night vision up to 15 meters, ensuring detailed surveillance even in low-light conditions.

Image: The ieGeek camera providing clear color night vision up to 15 meters, capturing details in the dark.

Image: A comparison showing the difference between traditional black and white night vision and the camera's clearer color night vision.
4.6 Speichermöglichkeiten
The camera supports local storage via a Micro SD card (up to 128GB, not included) and offers optional cloud storage services for secure backup of your recordings.

Image: The ieGeek Cloud icon alongside a smartphone displaying a video album, indicating cloud storage functionality.
5. Wartung
5.1 Batteriemanagement
The camera is powered by a 5200mAh rechargeable battery, continuously charged by the solar panel. Ensure the solar panel is clean and receives adequate sunlight for optimal performance. In periods of low sunlight, the battery may require occasional manual charging via the USB port.
5.2 Reinigung
- Reinigen Sie das Kameraobjektiv und das Solarpanel regelmäßig mit einem weichen Tuch.amp Stoff, um eine klare Bildqualität und effizientes Aufladen mit Solarenergie zu gewährleisten.
- Verwenden Sie keine aggressiven Chemikalien oder Scheuermittel.
5.3 Firmware-Updates
Periodically check the ieGeek Cam app for available firmware updates. Keeping your camera's firmware up-to-date ensures optimal performance, security, and access to new features.
6. Fehlerbehebung
If you encounter issues with your ieGeek camera, please refer to the following common problems and solutions:
| Problem | Mögliche Lösung |
|---|---|
| Kamera lässt sich nicht einschalten | Ensure the battery is charged. Connect to a USB power source to confirm. Check solar panel connection. |
| Keine Verbindung zum WLAN möglich | Ensure you are using a 2.4GHz Wi-Fi network. Check Wi-Fi password. Move camera closer to the router. Reset the camera and try pairing again. |
| Schlechte Bildqualität | Clean the camera lens. Ensure there is sufficient lighting. Check Wi-Fi signal strength. |
| Häufige Fehlalarme | Adjust PIR sensitivity settings in the app. Define specific detection zones to exclude irrelevant areas. |
| Keine Aufnahme auf SD-Karte | Ensure the Micro SD card is inserted correctly and formatted within the app. Check if the card is full or corrupted. |
| Zwei-Wege-Audio funktioniert nicht | Check microphone and speaker permissions for the app on your phone. Ensure camera's speaker volume is not muted in the app. |
7. Spezifikationen
| Besonderheit | Detail |
|---|---|
| Modellname | ZS GX4S |
| Auflösung | 5 Megapixel (3K) |
| Konnektivitätstechnologie | Drahtlos (Wi-Fi 2.4 GHz) |
| Stromquelle | Battery Powered (5200mAh) with Solar Panel |
| Schwenk- / Neigungswinkel | 355° Schwenken, 120° Neigen |
| Nachtsichtbereich | 15 Meter (Farbnachtsicht) |
| Wasserbeständigkeit | IP65 (wasserdicht) |
| Lagerung | Micro-SD-Karte (bis zu 128 GB), Cloud-Speicher |
| Kontrollmethode | Application (ieGeek Cam) |
| Kompatible Geräte | Smartphone, Computer, Laptop |
| Videokodierung | H.265 |
| Maße | 17 x 16 x 12.6 Zentimeter |
8. Garantie und Support
ieGeek provides dedicated customer support for its products. If you encounter any issues or have questions regarding your ieGeek 3K (5MP) Wireless Solar PTZ Outdoor Security Camera, please contact our support team.
8.1 Garantieinformationen
Please refer to the warranty card included in your product packaging or visit the official ieGeek webDie detaillierten Garantiebedingungen finden Sie auf der Website. Bewahren Sie Ihren Kaufbeleg als Kaufnachweis auf.
8.2 Kundendienst
Our support team is available to assist you with any technical issues or inquiries. You can typically reach us through the contact information provided on the ieGeek official website or within the ieGeek Cam application.

Image: Icons representing ieGeek customer support services including contact, 24/7 service, maintenance, and product returns.